9 Kitchen Scraps to Use in the Garden Without a Bin
Use eggshells, peels, tea leaves, and more without a compost bin. Get safe placement tips, realistic timing, and the scraps best left out.
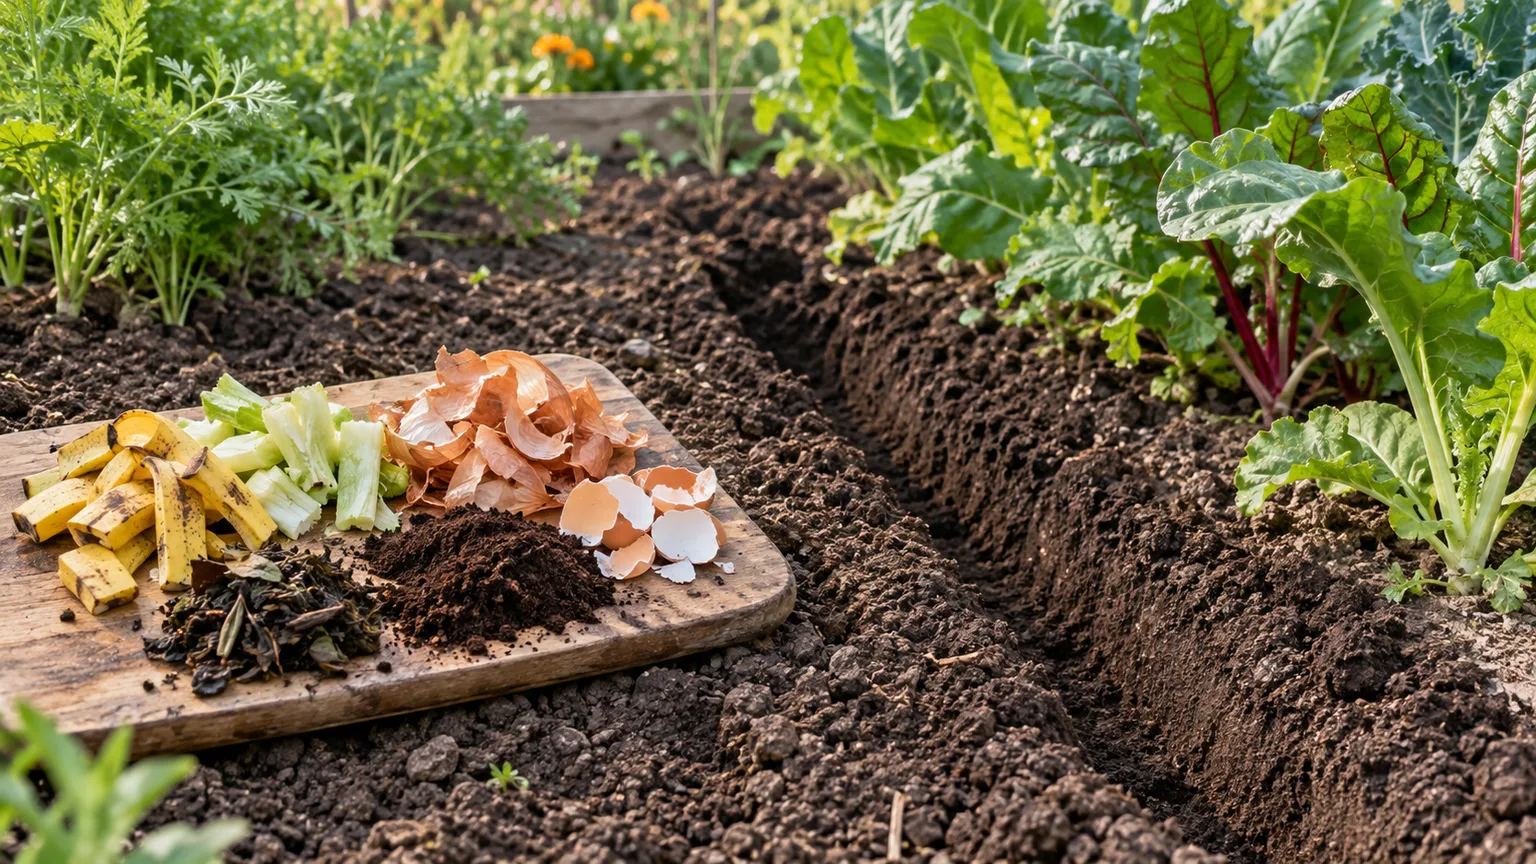
You do not need a compost bin to return a small amount of plant-based kitchen waste to the garden. You do need to give it time: buried peels and leaves are not instant fertilizer, and the soil organisms that break them down need a suitable place to work.
The practical no-bin option is usually a small trench or hole in an idle outdoor bed. This is often called in-ground or in-situ composting—decomposition still happens, just where the material will be used instead of in a separate pile. Washington State University Extension describes trench and pit methods as low-maintenance ways to incorporate organic matter into garden soil; GrowVeg gives a similar approach for vegetable waste between crop rows. (WSU Extension; GrowVeg)
That distinction matters. If by “without composting” you mean without a bin, these scraps can be useful. If you mean without letting them decompose, none of them can reliably feed a plant in raw form on demand.
What “without composting” actually means
When fruit or vegetable scraps are buried, bacteria, fungi, and soil animals gradually turn them into smaller compounds and organic matter. Until that happens, a peel is mainly a piece of food in the soil—not a balanced, predictable fertilizer that a plant can take up immediately.
So think of the method as composting in place. It suits gardeners who have a bed with spare space, make modest amounts of plant-only scraps, and do not need finished compost to carry elsewhere. It is a poor shortcut for someone trying to fix yellow leaves, add a known dose of potassium, or rescue a fruiting plant with a nutrient disorder.
Start with the method, not the ingredient
Before deciding whether to bury a banana peel or tea leaves, decide where the material can break down without causing trouble. Soil texture, temperature, moisture, and the size of the scrap affect how quickly it disappears; a cold, waterlogged bed is not a good decomposition site.
Use an idle bed and bury small amounts
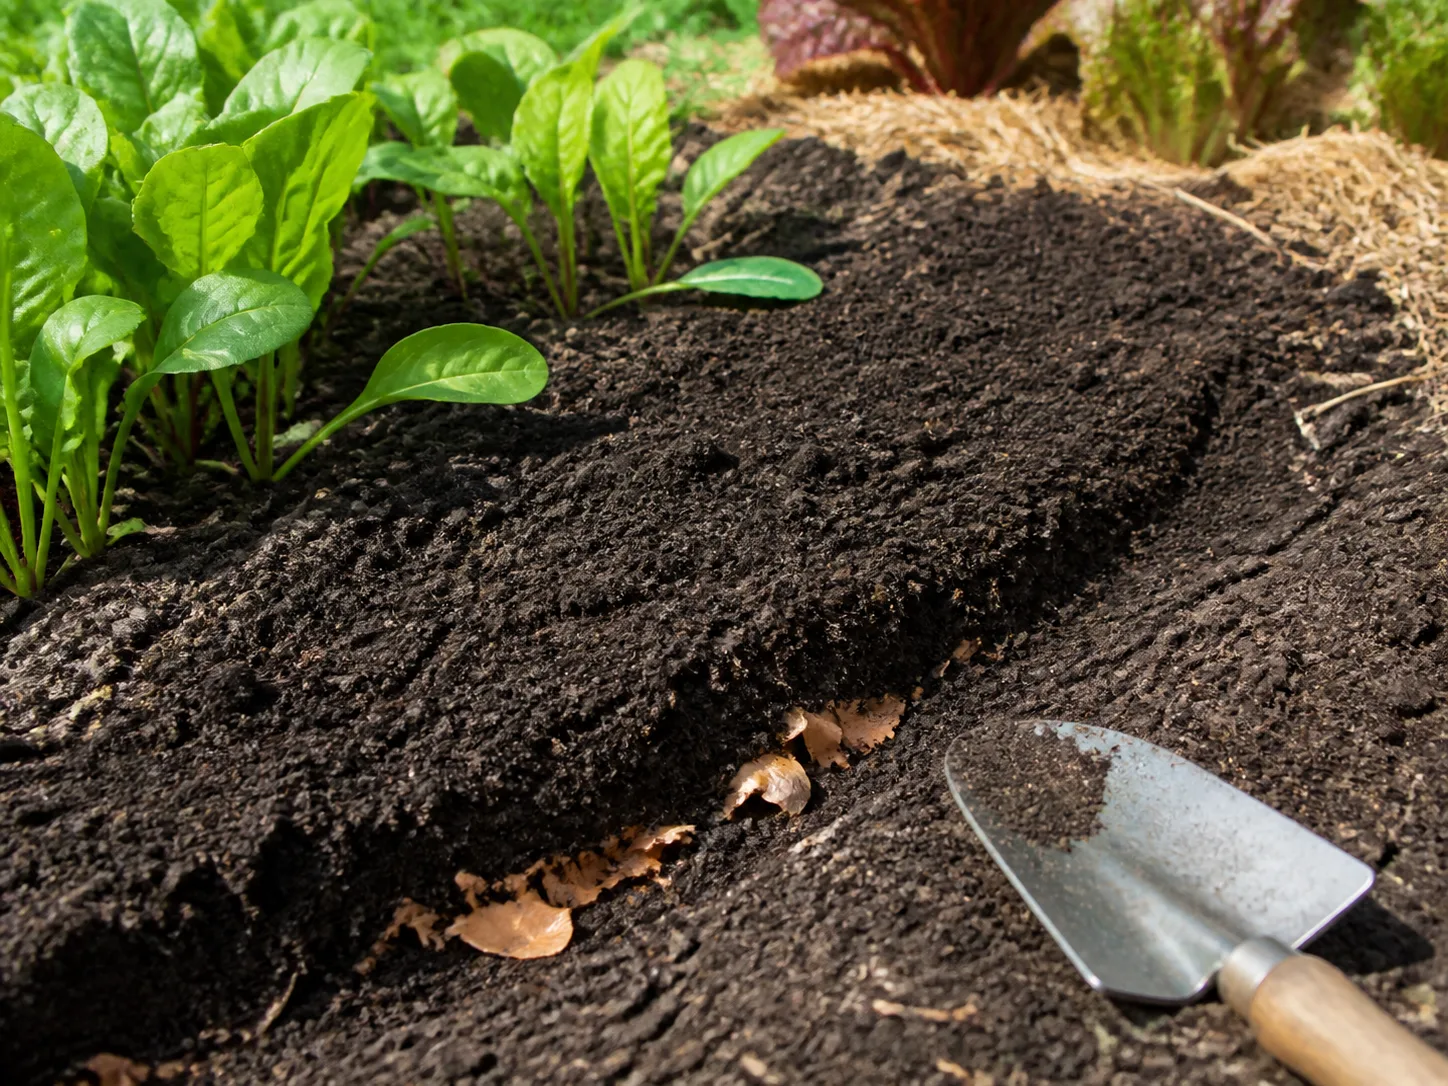
Choose an unused strip of a vegetable bed, the space between rows, or a future planting area. Chop soft scraps into small pieces, spread them rather than packing them into a dense wad, then cover them fully with soil; a shallow trench about a foot deep is a useful starting point where bed depth allows. WSU Extension describes deeper trenches and pits for in-ground composting and notes that food scraps should be buried well to discourage rodents. Follow local guidance if wildlife is a recurring issue.
Start with a small bowl of scraps, not a week’s worth of kitchen waste in one hole. A concentrated pocket of wet food can smell, draw animals, or break down poorly if the surrounding soil is compacted or saturated. There is no universal pounds-per-bed rate for mixed scraps, so keep portions modest and rotate the burial spot rather than repeatedly adding to the same patch.
Keep scraps away from roots, containers, and water
Do not put a mound of fresh scraps against a plant’s crown or bury it through the active root zone. Digging can sever roots, and the temporary burst of microbial activity around decomposing food is not the place to set a tender seedling. Use a vacant bed or a gap between rows, then plant after the scraps have softened and mostly disappeared.
This method is for soil beds, not indoor pots or small planters. Containers hold less soil, have limited drainage, and put roots close to the decomposing material; raw scraps can turn a pot into a smelly, pest-prone pocket. Keep food scraps away from standing water, drains, and places where runoff could carry material into a pond or stream.
Nine scraps that can go into garden soil
The most useful benefit for most of these scraps is returning organic material to the soil over time, not delivering a fast dose of one nutrient. The table is a quick sorting guide; the notes below explain the exceptions.
| Kitchen scrap | Better no-bin method | Realistic expectation |
|---|---|---|
| Eggshells | Rinse, dry, crush finely; mix a small amount into an outdoor bed | Slow calcium contribution, not a quick cure |
| Loose tea leaves | Remove the leaves from the bag and bury a modest handful | Organic matter as it breaks down; not a pH treatment |
| Used coffee grounds | Avoid fresh surface application; if returning them, use a small buried amount in an idle bed and wait | Cautious, conditional use; fresh grounds can inhibit plants |
| Banana peels | Chop into small pieces and bury | Nutrients become available through decomposition, not instantly |
| Onion and garlic skins | Tear or chop, then cover completely | Dry organic material; no dependable pest-control effect |
| Citrus peels | Chop finely and bury in small quantities | Tough rinds take time; scattered peels are not a reliable repellent |
| Lettuce cores | Chop and bury in a thin layer | Soft, moist scraps usually break down more readily than thick rinds |
| Potato peels | Use clean scraps from healthy potatoes and bury | Organic material; avoid carrying diseased plant tissue into a bed |
| Plain bean cooking water | Cool, dilute well, and use sparingly on soil if unsalted | A small reuse of water, not a measured fertilizer |
1. Eggshells: slow calcium, not a blossom-end-rot cure
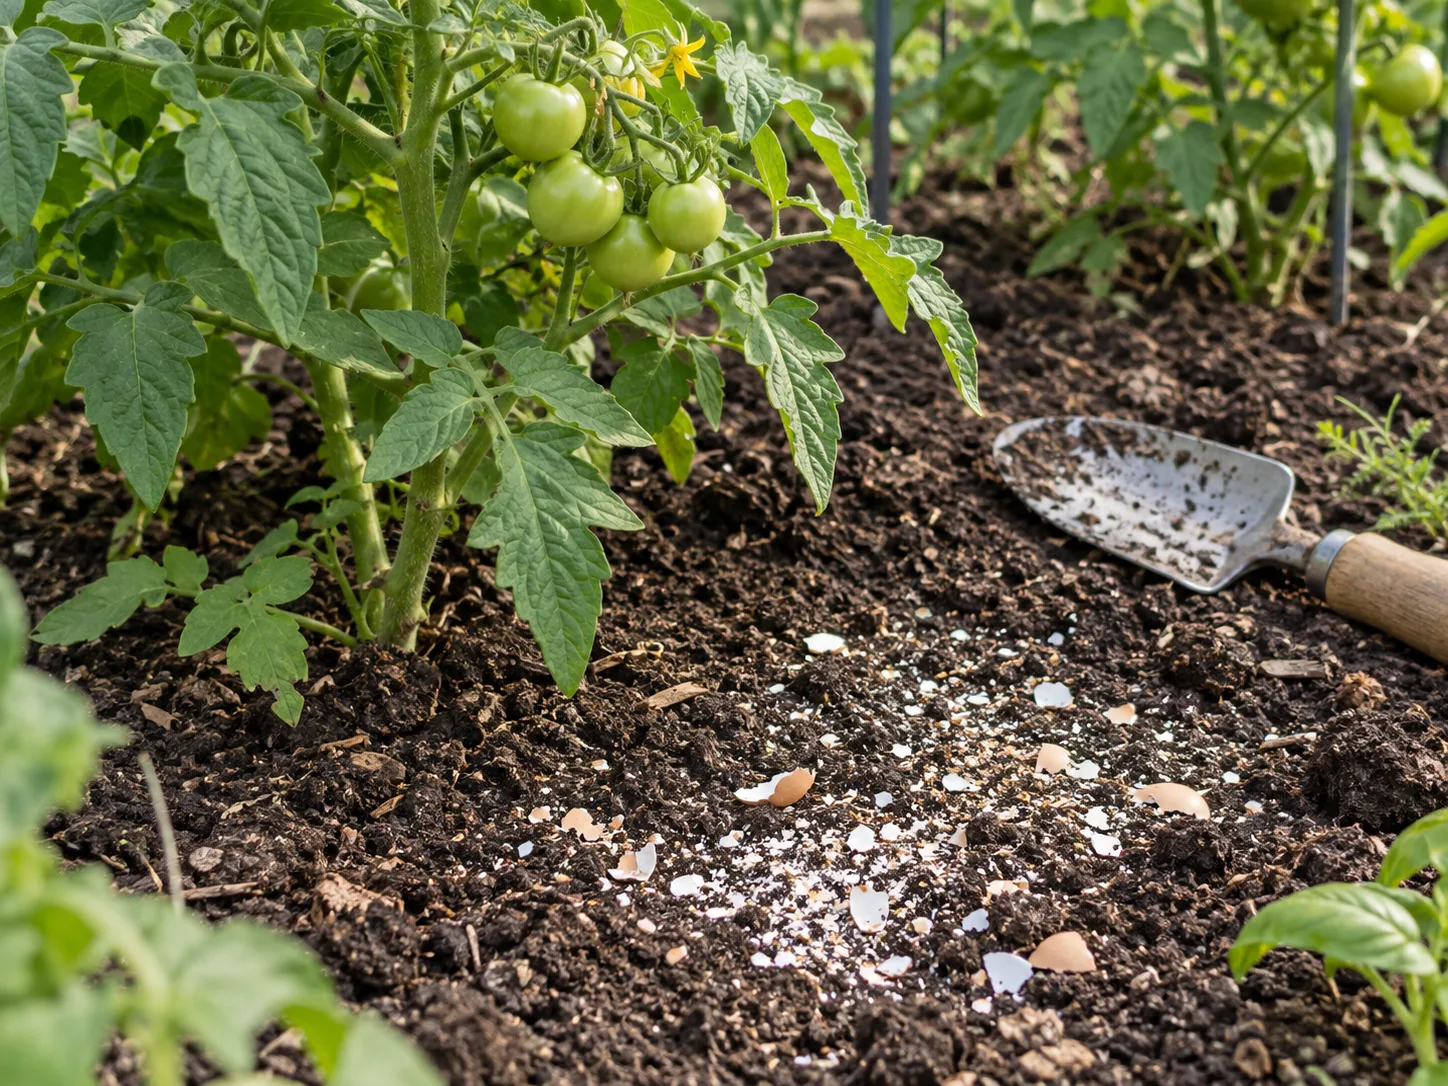
Rinse eggshells to remove clinging egg, let them dry, and crush them as finely as is convenient. Small fragments are easier to mix through soil than intact halves, but even finely crushed kitchen shells are not a fast-acting calcium treatment.
Eggshells are mostly calcium carbonate, yet the calcium does not become plant-available on the schedule a fruiting tomato needs. North Carolina Cooperative Extension specifically cautions that adding shells will not make calcium available quickly enough to prevent or fix blossom-end rot; uneven watering is often part of the problem, and a soil test is a better guide before adding calcium. (NC State Extension)
If you have a spare shell or two, crush them and return them to an outdoor bed as a slow organic-material addition. Do not expect a ring of shell pieces to stop slugs, and do not use eggshells as a substitute for steady soil moisture or a soil test. For more detail on the calcium claim, see our guide to eggshells in the garden.
2. Loose tea leaves: organic matter, not a pH fix
Used loose tea leaves can go into a trench in modest amounts after they have cooled. They are soft enough to mix with other plant scraps, but their value is still gradual: soil organisms have to decompose them before their components become part of the soil system.
Open tea bags and use the leaves only unless the bag’s material is clearly labeled for garden composting. Bags, tags, strings, staples, flavorings, and sweeteners add materials the garden does not need. Do not assume tea leaves will acidify the soil or correct a nutrient problem; use a soil test and a crop-appropriate amendment when pH actually needs adjustment.
An evidence-focused review from Just Grow Something treats kitchen scraps as variable soil amendments rather than standardized fertilizer products, a useful distinction when the amount and composition change with every cup. (Just Grow Something)
3. Used coffee grounds: the one to handle cautiously
Coffee grounds are popular because they contain organic material and nitrogen-rich compounds, but “used” does not automatically mean harmless to place straight on a bed. Washington State University Extension’s review reports that fresh spent grounds can inhibit growth in a range of plants and advises against using them directly as a soil amendment or mulch; a thick, fine layer can also compact and interfere with air and water movement. (WSU Extension, Using Coffee Grounds in Gardens and Landscapes)
For a no-bin garden, my conservative recommendation is do not sprinkle fresh grounds around seedlings or use them as a surface blanket. If you still want to return a small amount, bury it in a well-covered spot in an idle bed, away from roots, and wait until it has broken down before planting there. That is a cautious in-ground reuse, not an evidence-backed dose; the safer route for routine coffee grounds is to compost them or use a local food-scrap program.
Grounds are also not a reliable way to acidify soil or repel slugs. Test soil pH before trying to change it, and use a proven slug-management method rather than relying on yesterday’s coffee. Our coffee grounds guide covers those claims in more detail.
4. Banana peels: chop first and wait
Cut banana peel into small strips or pieces before burying it. A whole peel is bulky, can remain recognizable for a long time in cool soil, and creates one concentrated pocket instead of distributing the material through the bed.
Banana peels contain minerals, including potassium, but the presence of a nutrient in a peel does not mean a growing plant can use it immediately. Soil organisms must break the peel down first, and the result is not a complete fertilizer with a known nutrient ratio. A small chopped portion in an idle bed is reasonable if you can wait; a “banana peel tea” is not a reliable substitute for a measured feed.
Keep the pieces covered so they do not become an exposed snack for animals. If you have a banana peel every day, rotate small burial spots rather than stacking peel after peel beside one plant.
5. Onion and garlic skins: dry scraps that need time
Papery onion and garlic skins are light and dry, so tear them into pieces before adding them. They can be mixed with softer vegetable scraps in a covered trench; on their own, a dry wad of skins may sit on top of the soil and blow around instead of making useful contact with moist earth.
Use them as organic material, not as a fungicide or pest barrier. The strong smell of an allium in the kitchen does not prove that its dry skin will protect a tomato or cabbage from pests in a garden bed. If you want to manage a particular pest, identify it first and choose a method tested for that pest rather than relying on a handful of skins.
Do not bury a large volume in one spot. A little mixed through a small batch of plant scraps is easier to cover and less likely to create a visible, slow-breaking layer.
6. Citrus peels: chop small and bury
Orange, lemon, lime, and grapefruit rinds are thicker than lettuce or tea leaves. Slice them into small pieces so they contact more moist soil, then bury them in a modest quantity rather than laying a bright ring of peel on the bed surface.
Expect citrus to break down more slowly than soft vegetable trimmings, especially in cool or dry soil. Do not scatter peels as a dependable way to repel cats, ants, or other pests; the scent fades, and scattered scraps remain accessible to animals. If an animal deterrent is the goal, use a method designed for that animal instead.
This is a practical reuse for a few peels, not a reason to bury a bucket of rind beside a living plant. If the bed is already wet or the scraps are piling up faster than you can bury them, freeze them for a municipal collection program or choose a suitable composting route.
7. Lettuce cores: soft scraps for a covered trench
Lettuce cores and outer leaves are among the easier scraps to prepare because they are soft and mostly water. Chop a core into small pieces, mix it with other plant scraps, and cover it in soil rather than leaving it on the surface to wilt, attract insects, or dry into a mat.
The speed of breakdown still depends on conditions. A moist, warm bed with active soil life will process a small soft scrap sooner than a cold, dry, or compacted patch, but that does not mean the nutrients feed the nearest plant on the same day. Keep the portion small and use the spot for a future planting rather than placing lettuce waste against a seedling.
If the core is slimy or moldy from prolonged storage, it is still plant matter, but do not handle it as a special plant tonic. Bury it with the ordinary scraps, cover it well, and wash tools that touched decaying material before using them on healthy plants.
8. Potato peels: use healthy scraps only
Clean peels from a healthy potato can be chopped and buried in an outdoor bed. They add organic material as they break down, but they are not a dependable potassium treatment and should not be left exposed where animals can dig them up.
Keep diseased potato tissue out of the garden, especially if the plant or tuber showed rot, lesions, or another suspected disease. Do not assume that burying infected material will sanitize it; ordinary backyard soil does not provide the controlled heat of a managed hot-composting process. When in doubt, discard diseased scraps according to local waste guidance rather than moving them around the bed.
Also check the peel for eyes or sprouting pieces. If a piece starts growing, remove the volunteer potato if it is in the wrong place; do not leave an unwanted plant competing with the crop you meant to grow.
9. Plain bean cooking water: occasional and unsalted
Aquafaba is the liquid from cooked or canned chickpeas and other beans. It is tempting to call it fertilizer, but home-cooked liquids vary, and there is no standardized nutrient analysis or dependable garden dose for a splash of bean water.
If the liquid is plain, unsalted, and cooled, you can dilute it well and use a small amount on outdoor soil when the bed actually needs water. Do not pour a whole potful into one hole, splash it over leaves, or use liquid containing salt, oil, broth, sauce, or heavy seasoning. If you are unsure how it was prepared, plain water is the better choice.
Treat this as a minor water reuse, not a way to feed a hungry plant. A complete fertilizer labeled for the crop is the more predictable option when a soil test or plant symptoms show that nutrients are needed.
A low-mess way to add scraps without a bin
A repeatable routine is better than scattering every scrap wherever you happen to be standing. Pick a future planting strip, bury a modest amount, cover it fully, and mark the spot if you will need to remember where you placed it.
Choose the trench depth and a safe spot
Dig a trench about 12 inches deep where the bed is deep enough, or a hole that allows the scraps to sit under a substantial layer of soil. WSU Extension describes 12–18-inch trenches and pits at least 8 inches deep in its in-ground composting guidance, with burial helping reduce access by rodents. GrowVeg likewise recommends a roughly one-foot trench for in-situ composting. These are starting references, not a guarantee against wildlife; adapt to your soil depth, local conditions, and any municipal rules. (WSU Extension; GrowVeg)
Place a thin layer of chopped scraps along the bottom, not a dense, wet wad. Replace the soil so no food remains visible, press the surface lightly, and water only if the surrounding soil is dry. In a shallow raised bed, a shallow cover may not be enough to protect roots or wildlife; use an empty bed, a lidded in-ground digester, or a local collection option instead.
Keep a simple rotation: use one section while another breaks down, then plant into the older section when the scraps are no longer recognizable. In cold weather, decomposition slows; in saturated soil it can become unpleasant rather than productive. If you open a spot and find intact peels or a sour odor, cover it again and let it rest rather than adding more.
What to leave out, and when to choose another route
For an ordinary home garden bed, stick to small amounts of raw fruit, vegetable scraps, shells, loose tea leaves, and coffee grounds only with the caution described above. Do not bury meat, fish, dairy, grease, oily leftovers, or salty and heavily seasoned food in an open garden bed; these are more attractive to animals and can create odor. A secure collection program or an enclosed system designed for those materials is a better fit.
Leave out diseased plant material, seed-filled weeds, and scraps contaminated with cleaning chemicals or non-food packaging. Do not bury tea bags, plastic mesh, staples, twist ties, produce stickers, or coated paper. Separate the plant matter from packaging before it reaches the soil.
Skip direct burial if your soil is waterlogged, very shallow, compacted, or already crowded with roots. It is also a poor match for a balcony without an outdoor bed, a shared garden where the practice is not allowed, or a site with persistent rats, raccoons, dogs, or other digging animals. If food disappears from a burial spot or the soil is repeatedly disturbed, stop adding scraps there and switch to a sealed collection or composting option.
Do not use scraps to replace a soil test or a balanced fertilizer plan. Each household’s waste is different, and the mineral content of a peel or cooking liquid is not a known application rate. The evidence-focused review from Just Grow Something makes the same useful distinction: kitchen by-products are variable soil amendments, not standardized fertilizer. (Just Grow Something)
How to tell whether scraps have broken down
There is no reliable calendar date for every scrap. Soft lettuce pieces may disappear sooner than tough citrus rind or eggshell fragments, and warm, moist, biologically active soil generally processes material faster than cold or dry ground. Expect weeks to months, not overnight; check by gently opening a small edge of the marked spot rather than digging through the whole bed.
When the food is no longer recognizable and the soil smells earthy rather than sour, the area is in better shape for planting. If you can still see a large peel, smell fermentation, or notice a wet pocket, replace the soil and wait longer. Add no more food to that spot until it has settled down.
The goal is not to create a hidden pile of raw waste under every plant. It is to return a small quantity of suitable organic material to soil that has enough time, air, and moisture to break it down. When a garden has no safe place for that process, using a community collection service or a contained compost system is the more responsible choice.
Conclusion
Eggshells, loose tea, banana peels, citrus rind, lettuce cores, potato peels, onion and garlic skins, and small amounts of other plant scraps can be returned to an outdoor bed without a separate compost bin. The useful habit is to chop what is bulky, bury modest portions in a future planting area, cover them thoroughly, and wait for soil life to do its work.
Be choosy about the exceptions: fresh coffee grounds deserve real caution, bean water should be plain and unsalted, and eggshells will not quickly fix blossom-end rot. Treat kitchen scraps as slow soil-building material—not instant fertilizer—and skip direct burial when roots, drainage, disease, or wildlife make the site a poor fit.



