Monstera Care: Light, Water, Soil & Fix Problems
New to Monstera deliciosa? Learn light placement, watering by soil dryness, the right potting mix, and how to fix yellow leaves, brown tips, and pests.
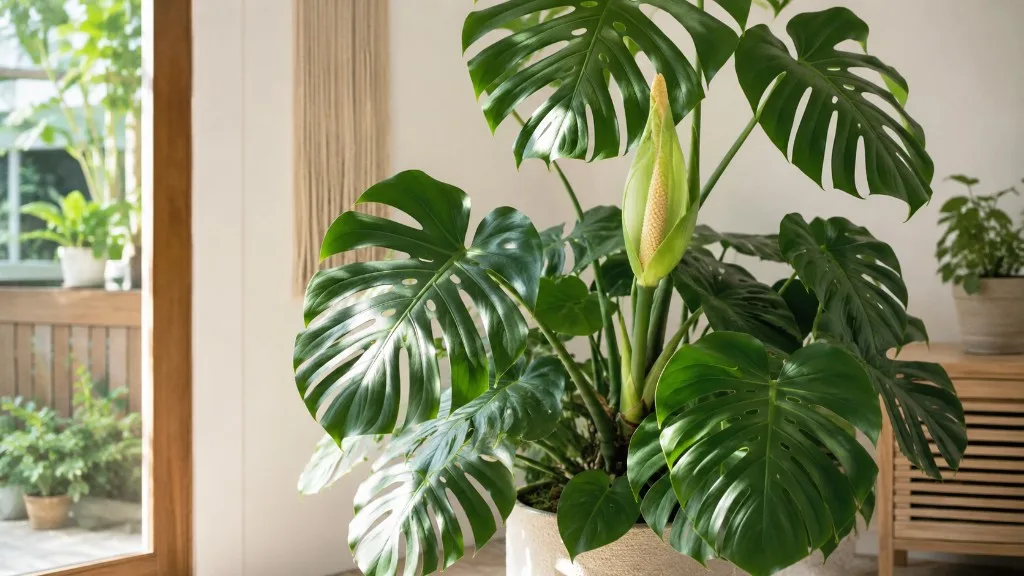
You bought a Monstera deliciosa because the leaves look architectural and the plant has a reputation for being forgiving. Both things can be true at once—and still leave you staring at a yellow leaf wondering what you did wrong. This guide is built around the four pillars beginners actually search for: light, water, soil, and problems. It is not a species encyclopedia, and it is not a one-page checklist. It is the middle path: enough depth to make good daily decisions without sending you through ten separate articles for basics.
If you want the fastest possible rules, use Monstera care 101. If you want propagation steps, repotting walkthroughs, and outdoor culture, use how to grow Monstera deliciosa. Stay here when you need a structured beginner reference that ties placement, watering, mix, and troubleshooting together on one page.
What This Guide Is (and What It Is Not)
This page assumes you already own the plant—or you are about to bring one home this week. The focus is practical culture indoors: where to put it, when to water, what to plant it in, and how to interpret the first symptoms that scare new owners. It does not replace the Monstera deliciosa plant profile for taxonomy and mature size, and it does not duplicate the first-week handoff guide that covers inspection and acclimation only.
What you will leave with: a placement rule you can test in your room, a watering method that works in winter and summer, a soil formula you can mix or buy toward, and a problem decoder that starts with soil moisture and light before you reach for scissors or fertilizer.
Know Your Plant Before You Change Anything
Monstera deliciosa is a tropical climbing aroid in the Araceae family, native from southern Mexico into Central America. In rainforest understory it starts on the ground, then climbs tree trunks using aerial roots, eventually producing large glossy leaves with splits and holes called fenestrations. Penn State Extension notes that juvenile leaves are small and mostly entire; mature leaves become large, perforated, and dramatically cut. Indoor plants commonly reach roughly 6–8 feet with support, though unsupported vines often sprawl and look sparse on one side.
That climbing habit matters for care. A Monstera is not a tabletop succulent and not a low-light pothos. It wants filtered brightness, a pot that drains, and eventually something to climb. Treat those as defaults, not upgrades.
Monstera deliciosa vs. Look-Alikes
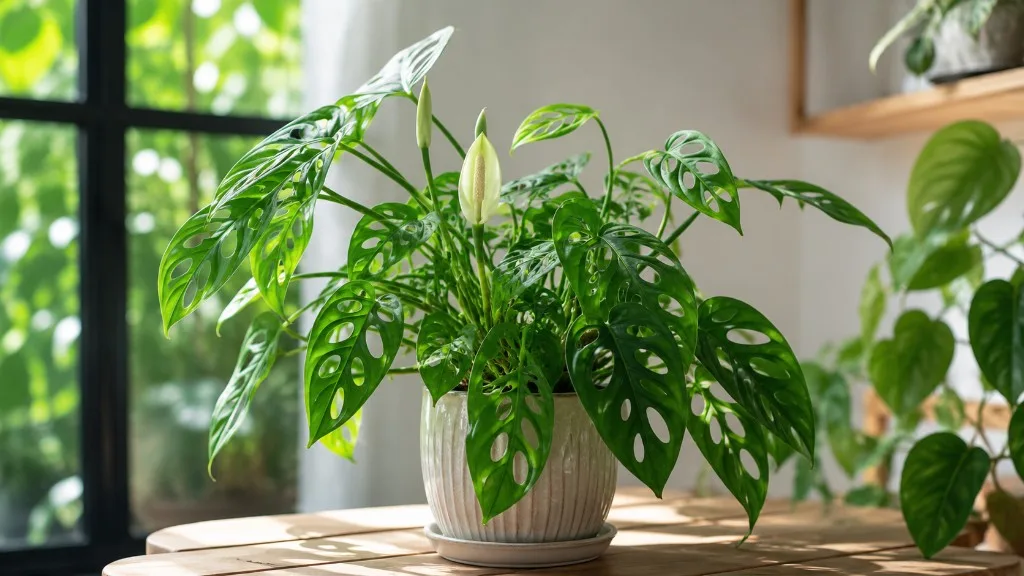
The nickname “split-leaf philodendron” is misleading—Monstera is not a philodendron. NC State Extension lists common names including Swiss cheese plant and hurricane plant, and points out confusion with Monstera adansonii (smaller leaves, more holes, denser vine) and Rhaphidophora tetrasperma (“mini Monstera,” different genus, faster growth, smaller mature size). If your plant was mislabeled at the shop, your timeline for leaf size and fenestration may not match what you expected.
What “Beginner-Friendly” Actually Means
Monstera is beginner-friendly when roots can breathe, leaves receive usable light, and water follows soil dryness—not when you ignore those three and hope tropical charisma carries the plant. Missouri Botanical Garden describes it as a coarse-textured vine suited to floor culture with support. The forgiving part is recovery from a missed watering or a week of dim light. The unforgiving part is weeks of wet soil, dark corners, or a decorative pot holding stagnant water.
Light: The Variable That Changes Everything Else
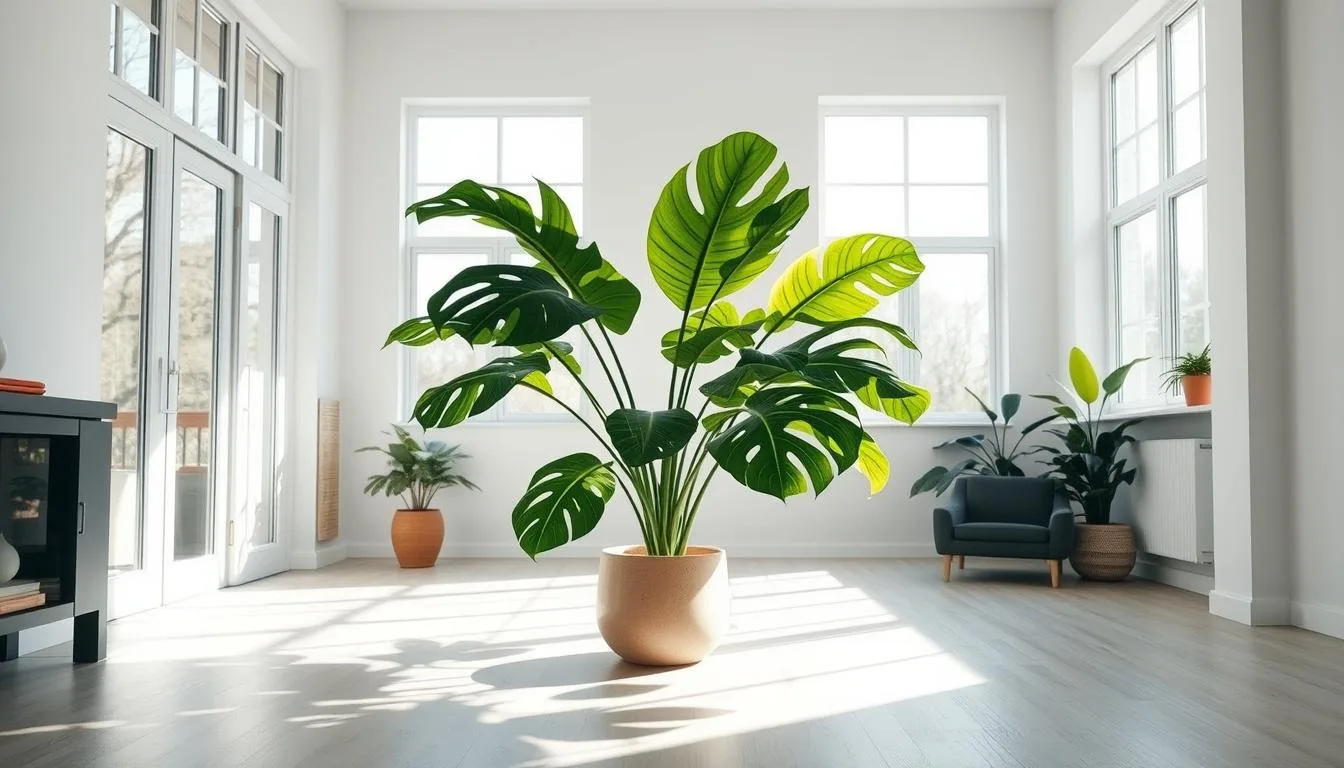
Light is not a decorative preference for Monstera—it sets the pace for watering, leaf size, fenestration, and how fast problems appear. NC State Extension recommends moderate brightness without direct sun. Penn State Extension advises a bright window with indirect light; the plant becomes leggy in lower light. RHS places Swiss cheese plants in bright filtered light, out of midday sun.
Bright Indirect Light in a Real Room
Bright indirect light means the plant sees a bright sky or window for much of the day without sunbeams sitting on the leaves for hours. Practical starting points:
- East window: Often ideal—gentle morning sun, bright afternoon without harsh exposure.
- South or west window: Pull the plant back several feet, use sheer curtains, or place it to the side of the glass so leaves are not baked through the pane in summer.
- North window or interior room: May work only if the space is genuinely bright; otherwise growth slows and fenestration stalls.
A Monstera that leans sharply toward one window is voting. Rotate the pot a quarter turn weekly so growth stays balanced, but treat leaning as a signal to evaluate whether the current spot is bright enough—not as something staking alone will fix.
If natural light is weak, a full-spectrum grow light running roughly twelve to fourteen hours can substitute. See grow lights complete guide for indoor plants when you need fixture specifics. For deeper placement nuance, Monstera light requirements goes further than this page needs to.
Signs Your Monstera Needs More or Less Light
Too little light shows small new leaves, long gaps between nodes (leggy stems), slow unfurling, and a plant that reaches toward the brightest point. Too much direct sun can bleach patches, scorch edges, or crisp spots—especially through glass in hot afternoon exposure. Move gradually when increasing light; a shop-shaded plant scorches fast if jumped to a south sill in July.
Light also changes how fast soil dries. A Monstera in a bright summer window may need water sooner than the same plant in winter or in a dim room—another reason calendar watering fails.
If you are unsure whether a spot is bright enough, try the shadow test on a sunny afternoon. Hold your hand between the window and the plant. A soft, diffused shadow with recognizable fingers usually means usable indirect light. A sharp, dark shadow with hard edges means the sun is too direct for long exposure. No shadow at all means the spot is probably too dim for strong growth, even if the room feels fine to you.
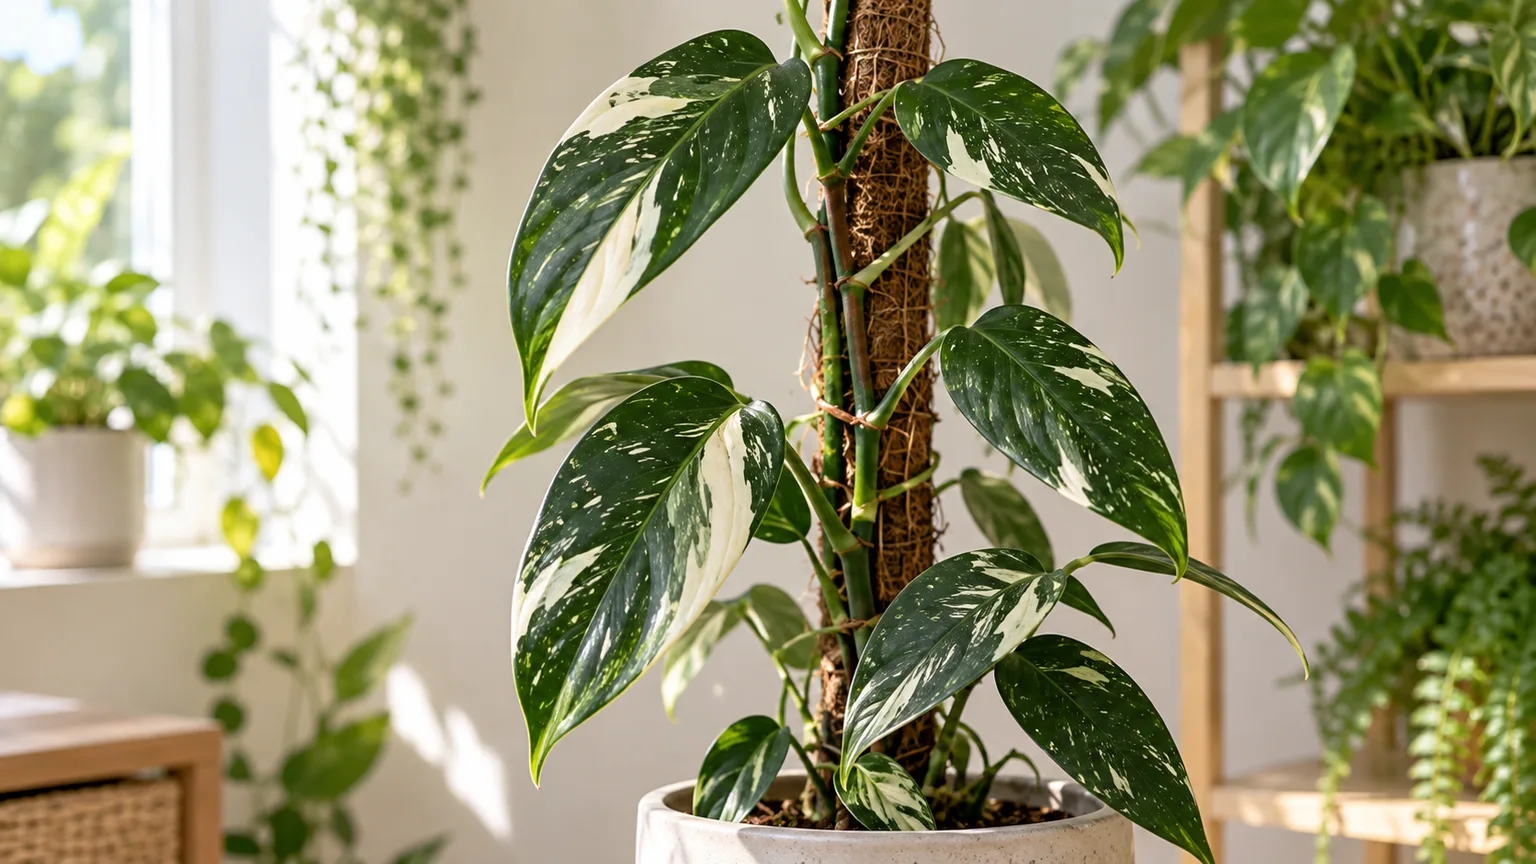
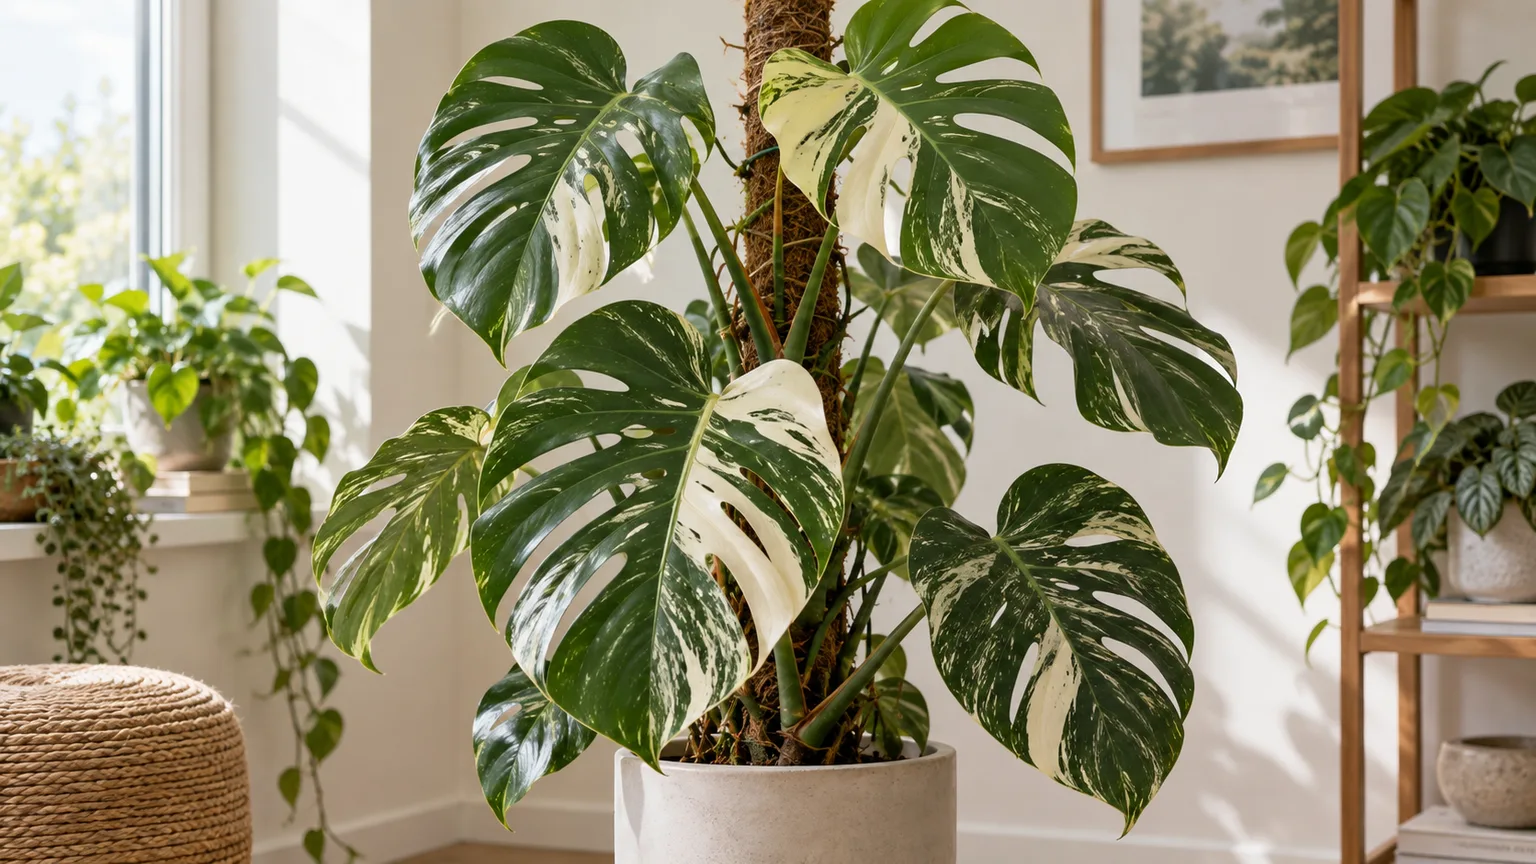
Variegated cultivars such as ‘Thai Constellation’ or ‘Albo’ often need more light than solid-green plants because the white tissue photosynthesizes less efficiently. Beginners sometimes burn variegated leaves by chasing brightness too fast, or stall them in dim corners—both mistakes are common. Start with the same filtered-bright baseline, then adjust based on new leaf color and firmness rather than social-media expectations.
Water: Read the Mix, Not the Calendar
Overwatering kills more beginner Monsteras than underwatering. Roots want a cycle of moisture followed by air, not a permanently saturated root ball. The fix is not “water less” in the abstract—it is check the mix, use a draining pot, and stop when the appropriate layer is dry.
Penn State Extension recommends watering thoroughly, then letting the top 1–2 inches of soil dry before watering again. RHS warns against leaving the pot standing in water. Bloomscape’s Monstera care guide echoes the houseplant norm: water until a little runs from the drainage hole, then discard excess from the saucer.
The Dryness Check That Works
Before every watering, do three quick checks:
- Finger or skewer: Push two to three inches into the mix—not just the dusty surface crust.
- Pot weight: Lift or tilt slightly; a pot that feels light for its size is usually drier than one that feels heavy and cool.
- Leaf feel: Firm leaves on dry soil suggest waiting may be right; limp leaves on wet soil suggest a different problem than thirst.
When it is time to water, soak slowly until a small amount drains from the hole, then empty the saucer within thirty minutes. Never let the pot sit in a cachepot full of runoff; a drainage hole cannot protect roots from standing water below.
Many homes land near a one-to-two-week check interval during active growth, but that is an outcome of your light, pot size, and mix—not a rule. Winter, oversized pots, and dim rooms stretch the gap. Treat “water weekly” as a reminder to check weekly, not as permission to pour automatically. Epic Gardening’s Monstera overview stresses the same principle: tropical houseplants need consistency in checking, not rigidity in scheduling.
Overwatering vs. Underwatering
| What you see | Soil usually feels | First move |
|---|---|---|
| Yellow lower leaves, soft base, gnats | Wet, cool, heavy | Stop watering; inspect roots; see root rot in houseplants |
| Drooping, curling, dry edges | Dry several inches down | Water thoroughly once; do not soak daily afterward |
| One yellow old leaf, firm new growth | Alternating normally | Often natural senescence—watch the next leaf |
| Sudden wilt after repot | Variable | Hold water slightly; stabilize light; avoid fertilizer |
Chronic overwatering and underwatering both droop. Soil moisture separates them. If you treat every droop as thirst, you can drown a plant that was already too wet.
Soil and Pots: Build a Root Zone That Breathes
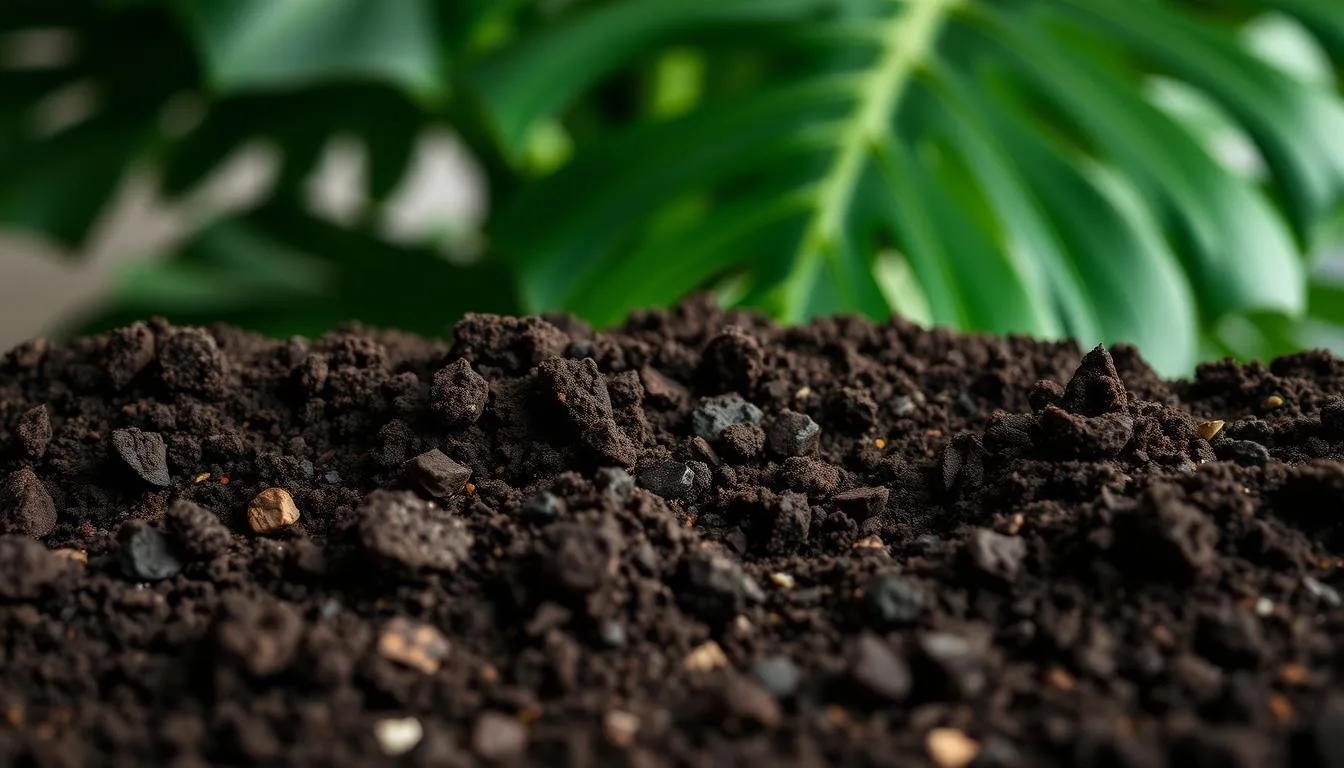
Monstera roots need oxygen between waterings. Heavy garden soil, dense peat that compacts, or a pot without drainage turns “weekly watering” into slow suffocation. Penn State Extension recommends a well-draining soilless mix rich in organic matter, neutral pH roughly 6.0–8.0, with charcoal, bark, or perlite added to a purchased blend. NC State Extension advises watering thoroughly, then letting the top quarter to third dry—easier to judge when the mix is airy.
A Simple Monstera Soil Mix
You can buy a quality indoor potting mix and improve it, or blend from scratch. A reliable starting formula:
- 3 parts quality indoor potting mix (peat-free or peat-based houseplant blend)
- 2 parts orchid bark or coarse coconut husk chips
- 1 part perlite or pumice
That ratio keeps moisture without staying waterlogged. For repotting detail and testing drainage before you commit, see how to do Monstera soil mix. Avoid straight garden soil, “moisture control” mixes that stay wet too long in dim rooms, and topping a dry root ball with fresh mix without addressing the core if water races through the pot in seconds.
Pot Size, Drainage, and Cachepots
Choose a pot with a real drainage hole. Terracotta and ceramic breathe more than glazed plastic; any material works if water can exit and you empty the saucer. When repotting, go up one practical size—not from a 6-inch nursery pot to a 12-inch decorator bowl because the plant “will grow into it.” Extra wet mix around a small root system dries slowly and hides rot.
Decorative cachepots are fine only when the inner nursery pot lifts out easily and you never let runoff sit in the outer shell. If you must use a pot without holes, treat it as a temporary display, not long-term culture.
When you bring a new Monstera home, resist repotting into a “better” mix on day one unless the current setup is clearly failing. A healthy nursery plant often adapts faster when you first learn how that pot dries in your room. After one to two weeks of stable care, repot if roots circle heavily, water races through in seconds, or the mix smells sour. Upsize modestly and use the amended blend above rather than garden soil or pure peat that compacts.
Humidity, Temperature, and Seasonal Rhythm
Monstera prefers warmth and moderate to high humidity. Penn State Extension lists roughly 60–85°F as comfortable, with cold drafts avoided, and humidity preferably above 50%. RHS notes misting can help in dry rooms but is not a substitute for proper watering and light.
Most homes sit between 40% and 60% humidity—often enough if light and watering are right. If edges crisp in winter while soil moisture is correct, consider a humidifier near the plant, grouping tropicals, or a pebble tray with the pot above the water line—not sitting in it. Misting briefly raises humidity at the leaf surface but does not change room averages much; see should you actually mist your plants before making mist your main strategy.
Growth slows in lower light and cooler rooms in winter. That means longer intervals between waterings, not the same pour every Sunday. Resume more frequent checks when days lengthen and new leaves appear. Fertilizer belongs in the same seasonal lane—see below.
Fertilizer and Support Basics
Fertilizer does not fix dim light or wet roots. Once placement and watering are stable, feed during active growth. Penn State Extension suggests balanced houseplant fertilizer every two weeks in the growing season and monthly in winter. RHS Monstera details recommend a balanced liquid feed monthly in spring and summer. Dilute to label strength or weaker; skip feeding on stressed, newly repotted, or visibly declining plants.
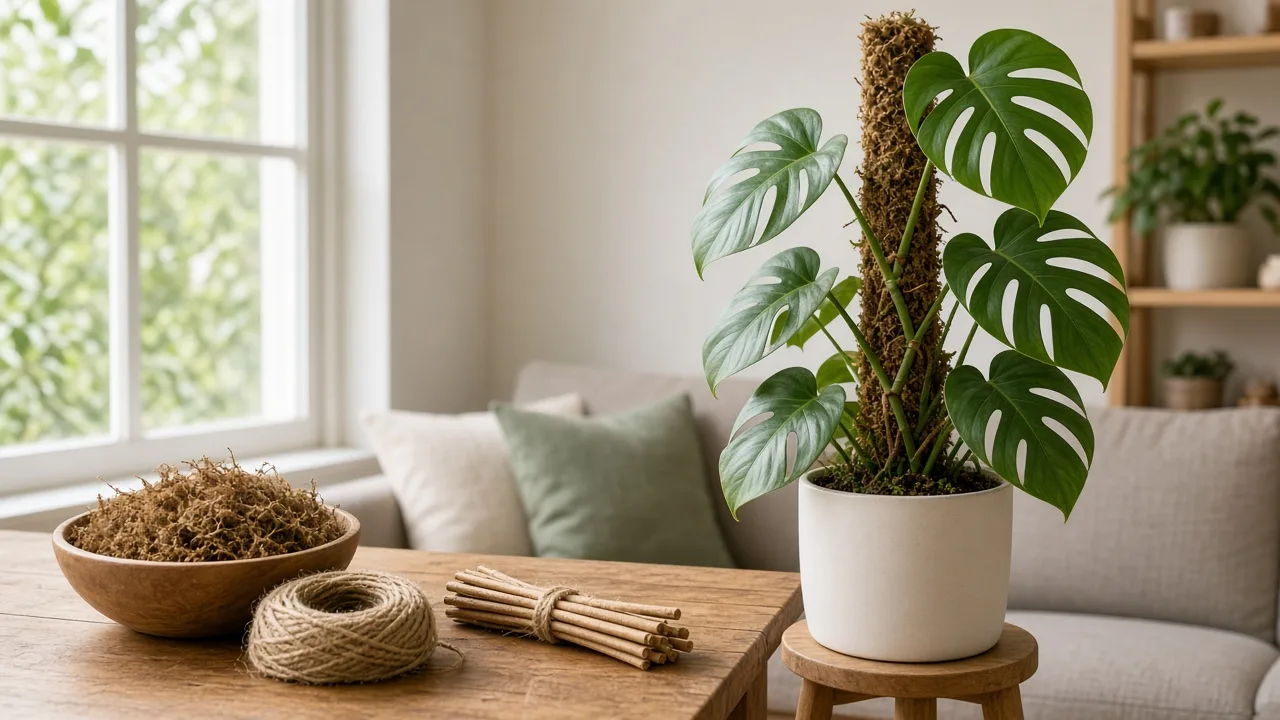
Support is part of culture, not décor. Missouri Botanical Garden notes indoor plants benefit from a pole or trellis because unsupported stems sprawl. A moss pole, coir pole, plank, or sturdy stake gives aerial roots something to grip. Add support when the stem leans or internodes stretch—not necessarily on day one for a tiny starter plant. Keep ties loose; attach the main stem, not leaf petioles. Moss pole vs. trellis compares options if you are choosing hardware.
Common Monstera Problems (and What to Do First)
Beginners often treat leaf symptoms as separate emergencies. Most trace back to light, water, or soil—sometimes pests riding on stressed tissue. Start with moisture and placement before pruning heavily or repotting twice in a month.
Yellow Leaves
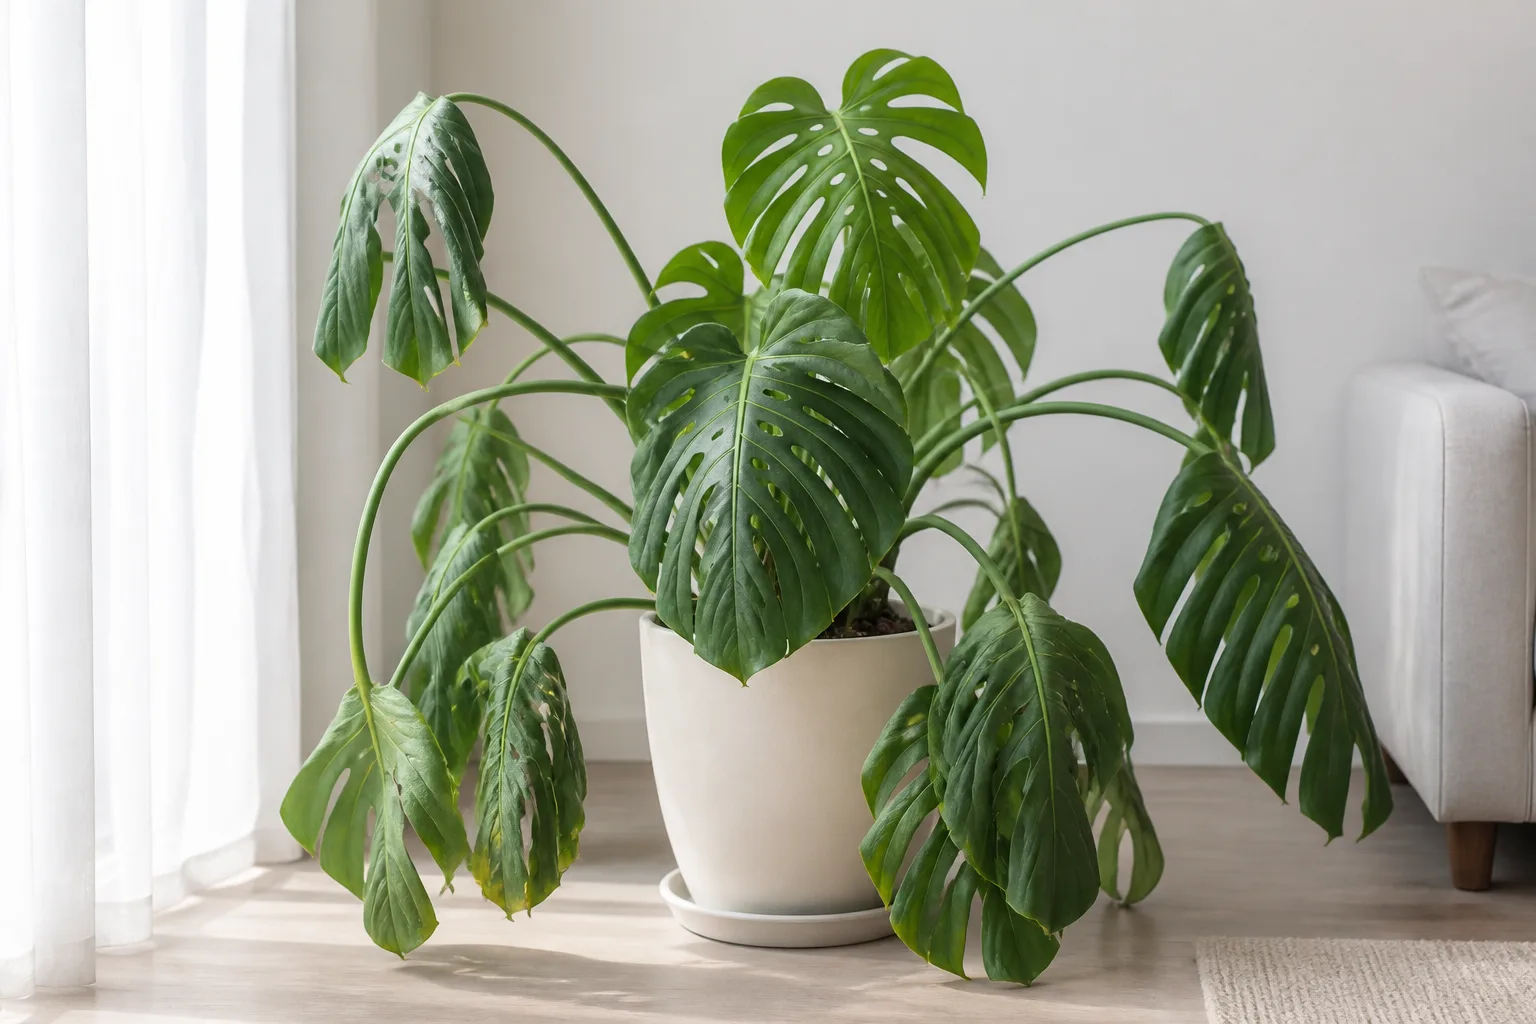
One yellow lower leaf on an otherwise firm plant is often normal aging—the plant sheds its oldest leaf while pushing new growth. Worry when multiple leaves yellow while the mix stays wet, or yellow spreads up the plant on soft tissue.
- Wet soil + yellow: Suspect overwatering or poor drainage. Pause watering, check roots, improve mix if mushy roots appear.
- Dry soil + yellow: Underwatering or uneven watering—soak once, then reset your dryness checks.
- New plant, one yellow leaf: Acclimation stress; stabilize light and watering for two weeks before repotting.
For a deeper yellow-leaf workflow, see why are my Monstera leaves turning yellow.
Black or dark brown spots with yellow halos on wet soil often point to fungal leaf issues tied to overwatering or poor airflow. Remove affected leaves with clean shears, improve drainage, and let the mix dry appropriately before the next soak. Spots that feel dry and powdery may be mildew—trim, increase airflow, and avoid misting late in the day when leaves stay wet overnight. Either way, fix water and air before spraying repeatedly.
Brown Tips and Crispy Edges
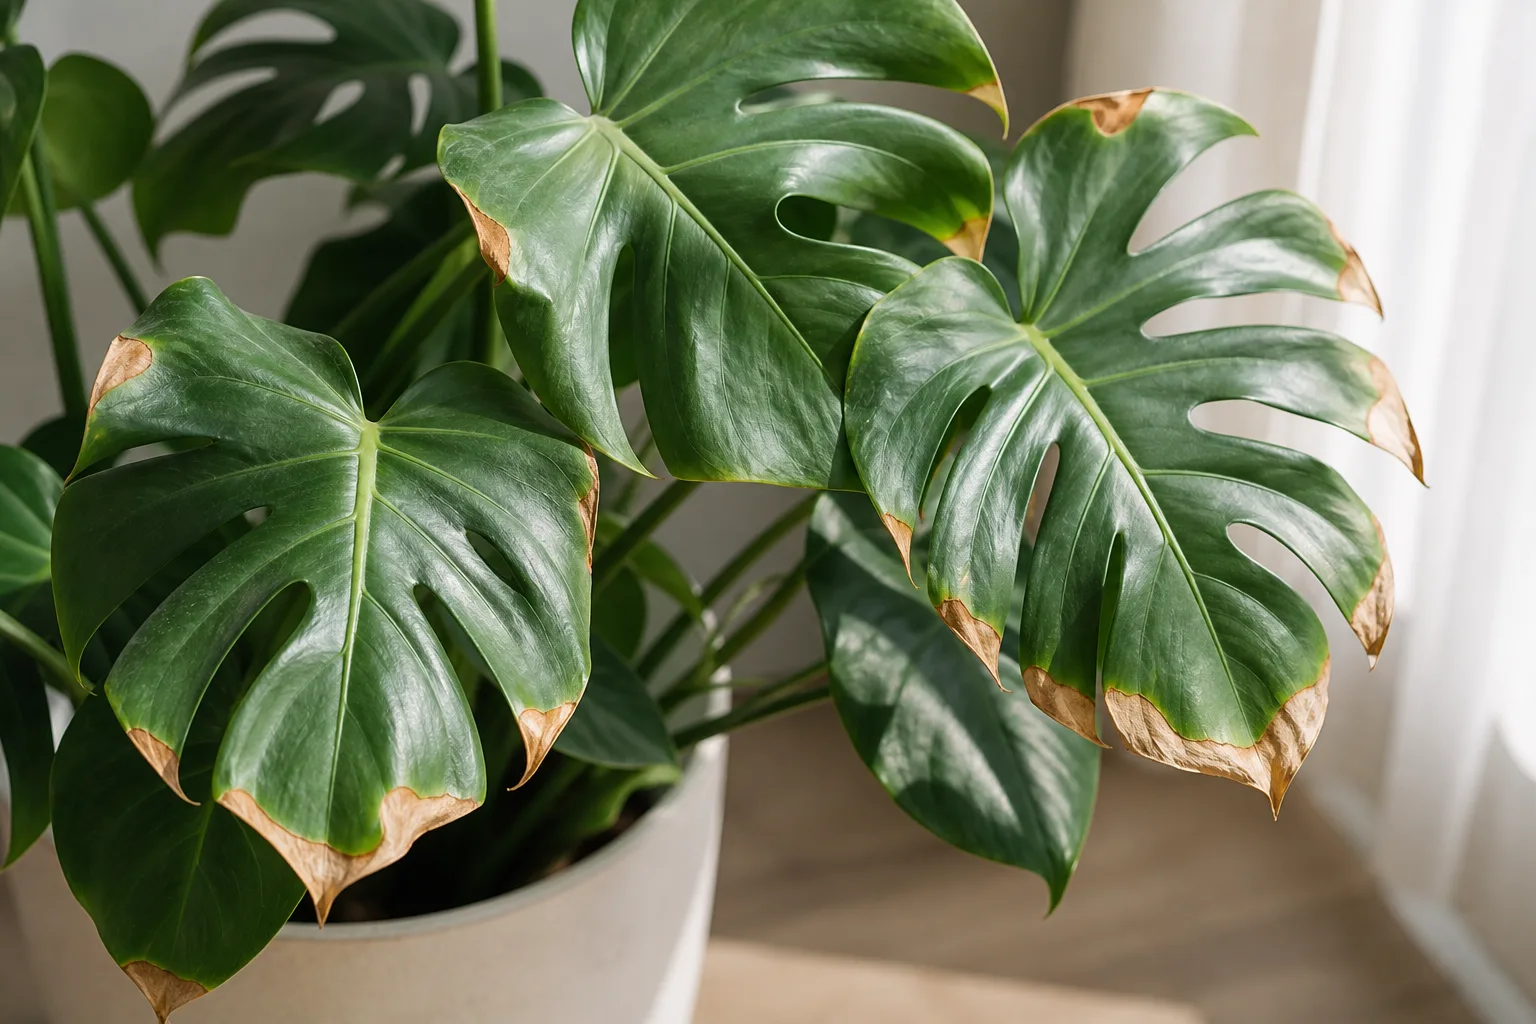
Dry brown tips often combine low humidity, inconsistent watering, or fertilizer burn—not a single fungus. If tips brown while soil cycles correctly, raise humidity modestly and confirm you are not fertilizing heavily on dry mix. If brown patches appear suddenly on sun-exposed leaves, suspect scorch and move the plant back from harsh glass.
Salt buildup from tap water or excess fertilizer can crisp edges over months. Occasional thorough watering that flushes the pot (with saucer emptied) helps in hard-water homes. See Monstera brown tips when tips persist after humidity and watering are corrected.
Drooping, Curling, and No Splits
Drooping on dry soil usually means thirst. Drooping on wet soil means investigate roots—not another drink. Curling can follow underwatering, low humidity, or heat stress from a vent. Fix the environmental cause before assuming pests.
No splits or holes on a young plant is normal. Fenestration needs maturity, adequate light, and often climbing support. RHS notes holey leaves typically appear once plants are a few years old. Judge the newest leaves after you improve light and support—existing leaves will not retroactively split. How to get Monstera leaves to split covers expectations without miracle products.
Pests Beginners Actually See
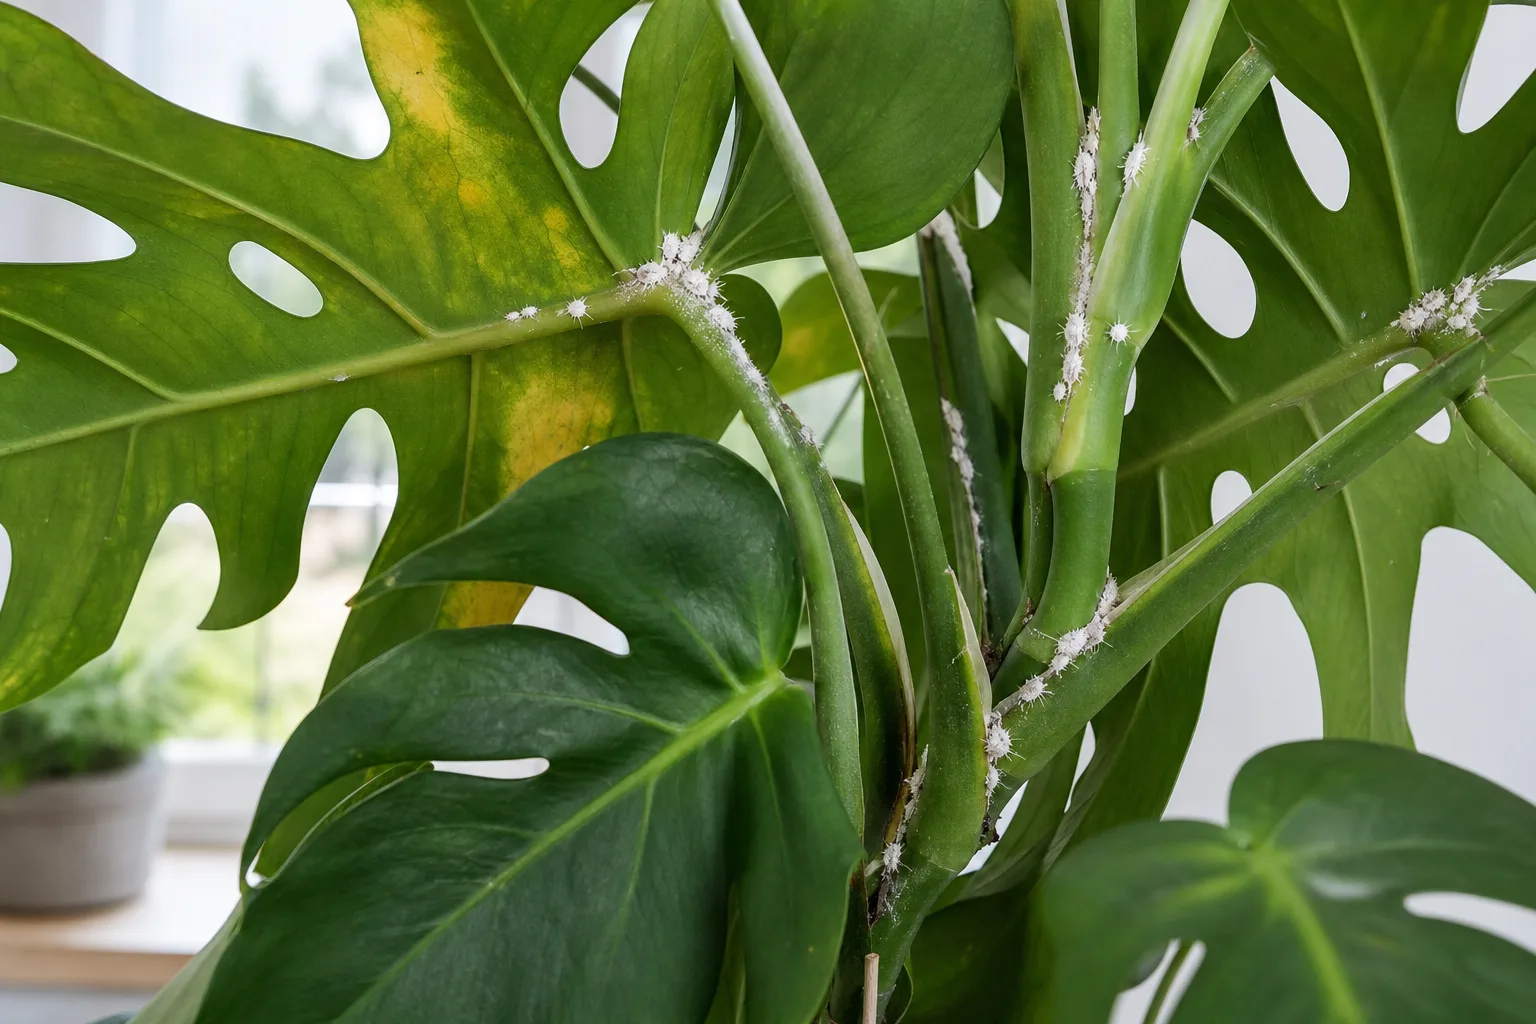
Monstera attracts the usual houseplant pests when stressed: mealybugs (white cottony clusters in leaf axils), spider mites (fine webbing, stippled leaves in dry air), thrips (silvery patches, tiny elongated insects), scale (bumps on stems), and fungus gnats (often a sign of wet soil surface). Penn State Extension recommends watching for scale, aphids, mealybugs, spider mites, thrips, and gnats, and correcting culture first.
Isolate new or infested plants. Wipe leaves, rinse pests off in the shower for mild cases, and use insecticidal soap or horticultural oil per label directions for persistent outbreaks. Gnats improve when the soil surface dries slightly between waterings. For species-specific pest pages, start with spider mites on houseplants and fungus gnats on houseplants.
A simple problem triage order saves beginners from spiraling: (1) check soil moisture with finger and pot weight, (2) confirm the plant is not in direct hot sun or a dark corner, (3) inspect leaf undersides and stems for pests, (4) only then repot, fertilize, or prune hard. Most “mystery” declines resolve at steps one or two. If multiple leaves collapse quickly on wet soil, skip to root inspection—waiting another week often makes recovery harder.
Pet Safety and Handling
ASPCA lists Monstera deliciosa as toxic to cats and dogs because of insoluble calcium oxalate crystals. Chewing can cause oral pain, drooling, vomiting, and difficulty swallowing. The plant is not toxic to touch, but sap can irritate skin and eyes—Penn State Extension recommends gloves for sensitive individuals.
Place the plant out of reach of known chewers, pick up fallen cuttings, and contact your veterinarian or animal poison control if ingestion occurs. Pet safety is a placement decision, not a footnote after problems start.
When to Go Deeper in Your Monstera Routine
This guide stops where specialized pages begin. Use these next steps when basics are stable:
- Repotting: When and how to repot Monstera
- Watering deep dive: Watering Monstera deliciosa
- Propagation: Monstera propagation guide—only after the mother plant is healthy
- Winter shifts: Winter Monstera care
- Pest and disease hub: Monstera pest and disease guide
Conclusion
Monstera deliciosa rewards beginners who treat it like a climbing tropical vine—not like a set-and-forget decoration. Put it in bright filtered light, water when the top layer of mix is dry, plant it in airy, draining soil, and read problems through soil moisture and light before you panic-prune. Yellow leaves, brown tips, and missing splits almost always make more sense once those four pillars are honest.
You do not need a complicated app or a rigid calendar. You need a consistent way to check the pot, a spot with real brightness, and patience while juvenile leaves mature. Get those right, and most “emergencies” never arrive. When they do, fix the root cause—usually water or light—before you stack repots, fertilizer, and mist on top of each other.