Monstera Care 101: Beginner Guide
Learn Monstera care 101: light, watering, soil, support, and fast troubleshooting for beginners—without guesswork or calendar habits.
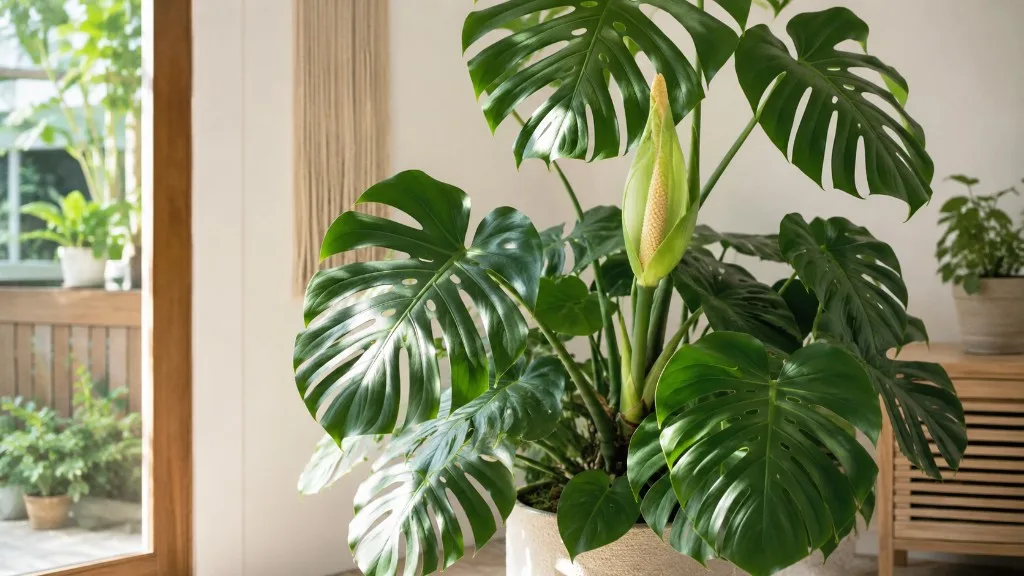
You do not need a complicated routine to keep Monstera deliciosa healthy. You need a few non-negotiable habits—bright filtered light, a pot that drains, watering based on soil dryness, and support as the vine grows—plus the discipline to check the plant before reacting to every yellow leaf. This page is the shortest reliable path from “I just bought a Monstera” to “I know what to do today.” For species background and cultivar detail, start with the Monstera deliciosa plant profile. For the full long-form grow guide, use how to grow Monstera deliciosa when you are ready to go deeper.
The Seven Rules That Matter Most
If you remember nothing else from Monstera care 101, remember these seven rules. They cover most beginner failures before they become expensive rescues.
- Bright indirect light — enough to support steady new leaves, not harsh midday sun on the glass.
- A pot with a real drainage hole — not a decorative outer pot holding water around the roots.
- Water when the top layer of mix is dry — not on a fixed weekly calendar.
- Empty the saucer after every watering so roots are not sitting in runoff.
- Add support once the stem starts to lean or reach sideways.
- Keep the plant away from cold drafts, heater blasts, and standing water.
- Treat pet safety as normal care — Monstera is toxic if chewed.
Penn State Extension and the RHS Swiss cheese plant guide agree on the core: filtered light, free drainage, and watering by soil condition rather than habit. Everything below explains how to apply those rules in a real home.
What Monstera Deliciosa Actually Is
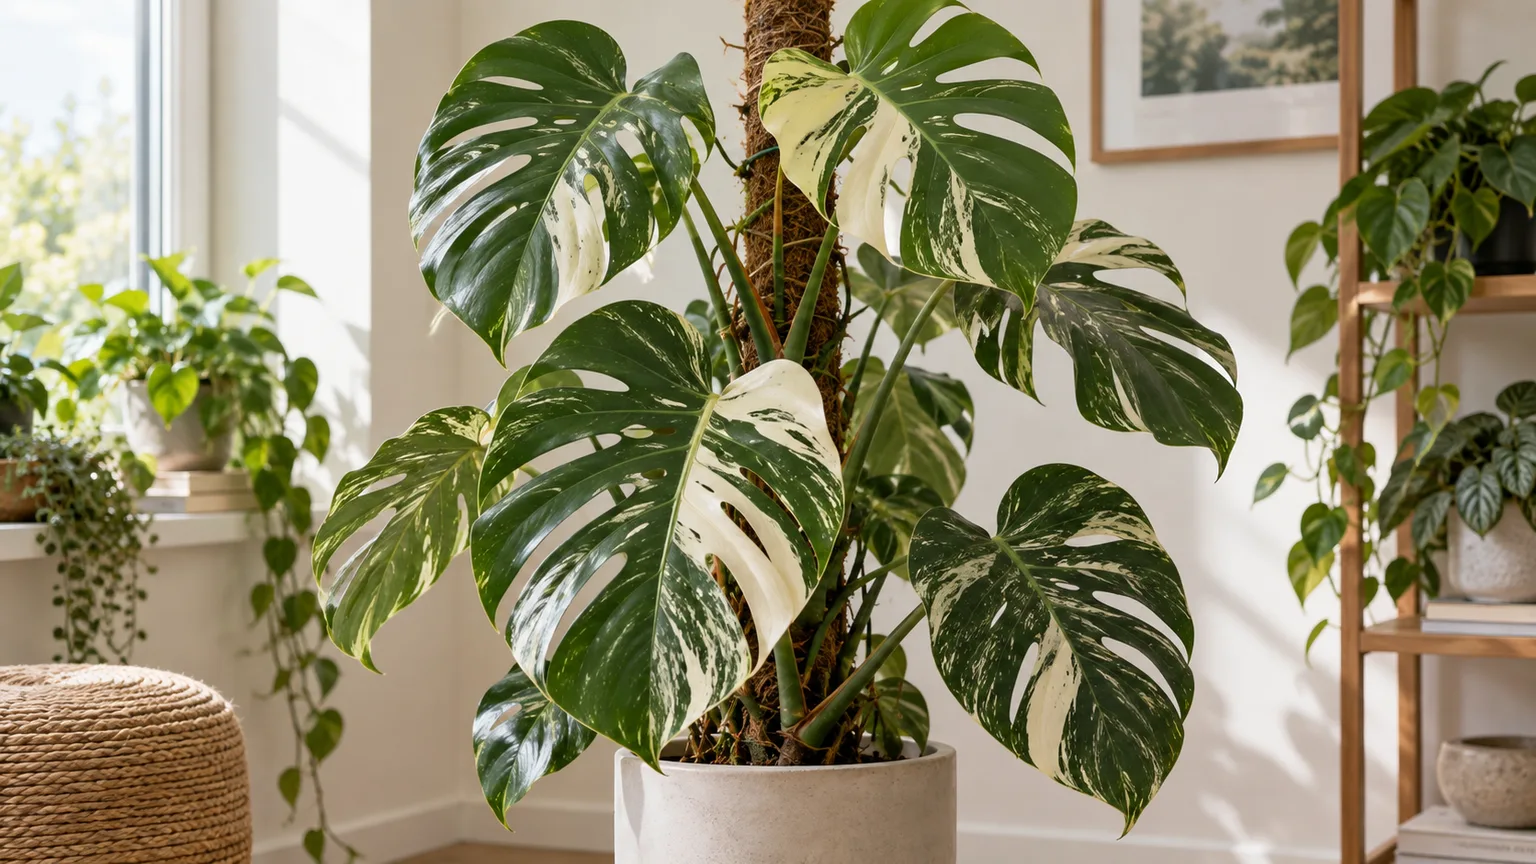
Monstera deliciosa is a tropical climbing aroid from Central America, not a true philodendron despite the old nickname “split-leaf philodendron.” In the wild it starts on the forest floor and climbs trees, using aerial roots for support and eventually developing large, glossy leaves with splits and holes called fenestrations. Indoors, a supported plant commonly reaches roughly 6–8 feet over time; without support it often sprawls, leans, or becomes sparse on one side.
Young plants frequently produce entire leaves for months or years before fenestrations appear. That is normal youth, not a care failure. Fenestration needs maturity, usable light, and often climbing support—RHS notes that holey leaves usually show up once plants are a few years old. Judge progress by the newest leaves, not by trying to change an older leaf that has already hardened.
Do not compare a six-inch nursery plant to a mature specimen on social media. Indoor growth is slower, leaves are smaller, and fenestration arrives on a timeline measured in seasons, not weeks. A healthy juvenile Monstera with firm green leaves and steady nodes is succeeding even when every leaf is still whole.
The Missouri Botanical Garden profile describes M. deliciosa as a coarse-textured vine that works well as a floor houseplant with support. That climbing habit is why moss poles, trellises, and stakes are not optional décor—they are part of basic care once the plant gains height. Penn State Extension adds that the species is often confused with philodendrons but belongs to the arum family alongside peace lilies and elephant ears—all sharing similar indoor culture needs around warmth, humidity, and filtered light.
Your First Week at Home
The first week sets the tone. Monstera is adaptable, but abrupt changes—repotting, heavy feeding, and a move from shop dim light to blazing sun—stack stress fast.
Unpack, Inspect, and Find a Spot
Bring the plant home protected from cold if outdoor temperatures are low. Remove sleeve wrappers so airflow can reach leaves and soil. Check leaf undersides and stems for sticky residue, webbing, or white cottony patches. Look at the drainage hole: roots circling tightly or emerging from the bottom suggest the plant may need repotting soon, but not necessarily today.
Place it a few feet from an east window, or in a bright room with filtered light from south or west exposure. NC State Extension lists moderate, dappled light as the target. Avoid setting it directly against hot glass or in a dim interior corner unless you plan to add a grow light.
Do Not Repot on Day One
New plants need time to acclimate. Repotting immediately after purchase often combines transplant shock with the shop’s unknown watering history. Wait two to four weeks unless the pot is clearly failing—roots rotting, sour smell, or soil that stays wet for weeks. When repotting becomes necessary, follow when and how to repot Monstera rather than upsizing “just because.”
During week one, water only if the top inch or two of mix feels dry. Do not fertilize. Do not prune heavily. Let the plant tell you what the previous environment was doing before you rewrite the routine.
If leaves droop slightly on day two after a dry ride home, give it stable light and one careful watering rather than moving it three times and soaking it daily. Acclimation droop usually resolves once temperature and moisture stabilize. If droop persists on wet soil after several days, shift from “settling in” to “inspect the roots” mode using the problem decoder below.
Light: Bright Indirect Is the Baseline
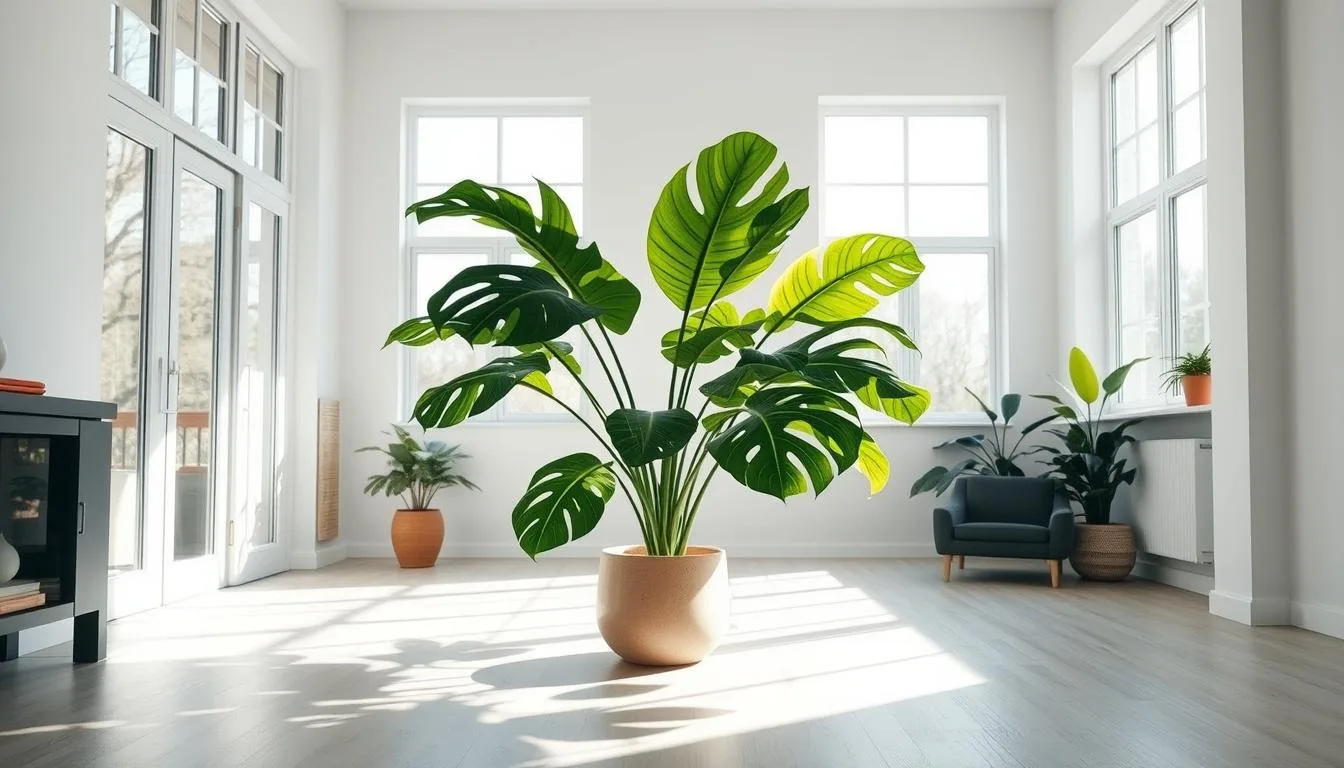
Monstera care 101 lives or dies on light. The plant tolerates lower light better than many tropicals, but tolerance is not thriving. Bright, indirect or filtered light for much of the day produces firmer stems, faster unfurling, and eventually larger leaves with better fenestration.
A practical starting placement is within a few feet of an unobstructed east window, or several feet back from a south or west window where sun does not strike leaves for hours. Sheer curtains help soften intense exposure. If the room is bright but the plant sits deep in the space, it may still be too dim—leaves reach toward the window and new growth arrives on long, thin stems.
How to Tell If Light Is Too Weak or Too Strong
Too little light shows up as small new leaves, long gaps between nodes, slow unfurling, and a plant that leans sharply one direction. Too much direct sun can bleach or scorch patches, especially through glass in summer. Move gradually: increase light in small steps over one to two weeks rather than jumping from a shop corner to a south-facing sill.
Light also changes how fast soil dries. A Monstera in a bright summer window may need water sooner than the same plant in winter or in a dim room—another reason calendar watering fails. Rotate the pot a quarter turn every week or two so new growth does not corkscrew toward one window. If you rely on artificial light, a full-spectrum fixture running roughly twelve to fourteen hours can substitute when a bright window is unavailable—see grow lights complete guide for indoor plants when you need hardware specifics.
For placement nuance beyond this checklist, see Monstera light requirements and Monstera light needs. If splits stall despite good care, Monstera not splitting leaves explains maturity and light together rather than treating fenestration as a fertilizer problem.
Watering: Check the Soil, Not the Calendar
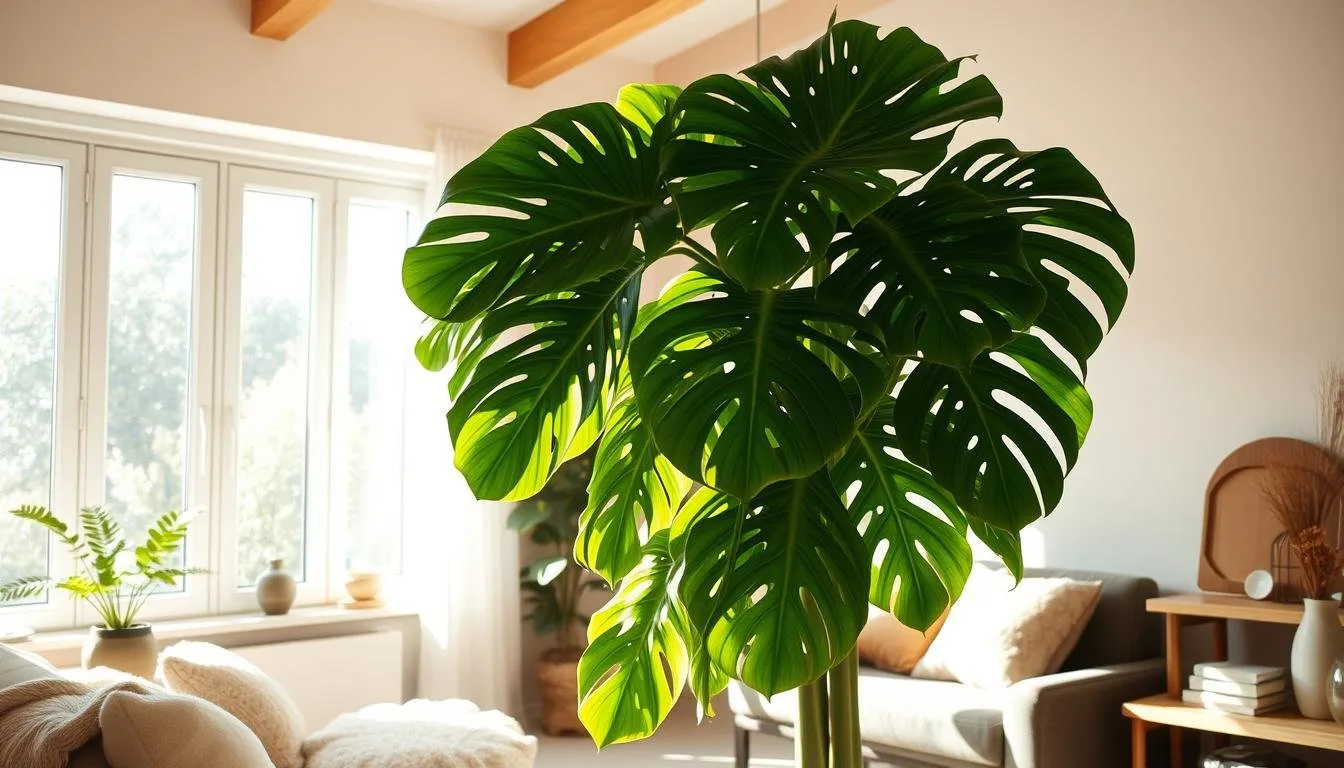
Overwatering kills more beginner Monsteras than underwatering. The roots want a cycle of moisture followed by air, not a permanently wet root ball. Use a pot with drainage, an airy mix, and a simple dryness check before every watering.
Penn State Extension recommends watering thoroughly, then letting the top 1–2 inches of soil dry before watering again. Bloomscape’s Monstera care guide makes the same point for houseplant culture: water until a little runs from the hole, then discard excess from the saucer.
The Finger Test and Weight Check
Push a finger or dry wooden skewer two to three inches into the mix—not just the surface crust. If that layer is dry and the pot feels noticeably lighter than it did right after watering, it is usually time to water. If the top feels dry but deeper mix is cool and wet, wait a few days.
When you water, soak slowly until a small amount drains out, then empty the saucer within thirty minutes. Never let the pot sit in a cachepot full of runoff; a drainage hole cannot protect roots from standing water below.
Many indoor Monsteras end up on a rough one-to-two-week rhythm during active growth, but that interval is an outcome of your home, not a rule. Winter, oversized pots, and dim rooms stretch the gap. Treat “water weekly” as a reminder to check weekly, not as permission to pour automatically.
What Overwatering Looks Like
Chronic overwatering shows yellow leaves on wet soil, soft stems at the base, a sour smell, fungus gnats, and leaves that droop despite moisture. Underwatering also droops—but on dry soil. The fix depends on which one you have. If several lower leaves yellow while the mix stays damp, stop watering, inspect roots, and read root rot in houseplants before adding more water “to perk it up.”
For a focused watering walkthrough, use watering Monstera deliciosa.
Soil and Pots: Drainage Comes First
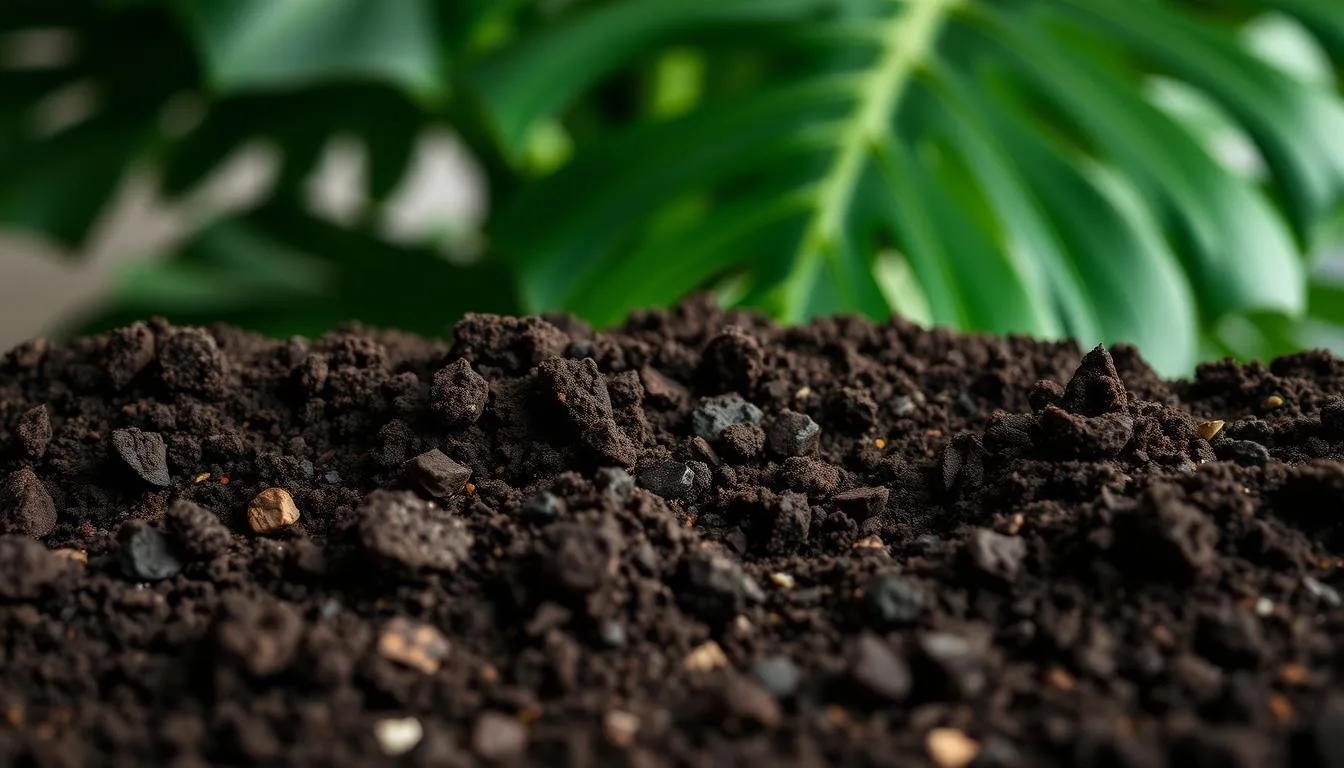
Monstera wants a loose, well-drained potting mix that holds some moisture without staying soggy. A quality indoor potting soil amended with perlite and orchid bark is a reliable beginner blend. Stacy Ling’s Monstera beginner notes describe opening up store mix with bark and perlite so water moves through instead of pooling—exactly the goal.
Choose a pot only slightly larger than the root ball when repotting. Oversized pots hold excess wet mix around small root systems and invite rot. Terra-cotta and glazed ceramic both work if they have holes; what matters is drainage and how fast the mix dries in your room.
A simple starting ratio many growers use is roughly three parts quality potting soil, two parts orchid bark, and one part perlite—adjust toward more bark in humid homes or more perlite if mix stays wet too long. You do not need exotic ingredients on day one; you need structure that drains in your actual room.
If you want measured ratios and repot photos, how to do Monstera soil mix goes step by step. For this 101 page, the principle is enough: if water sits on the surface or the pot stays heavy for weeks, improve porosity before buying another gadget. Decorative cachepots are fine visually only when the inner nursery pot lifts out easily and never holds standing water.
Temperature, Humidity, and Airflow
Aim for steady indoor warmth roughly between 65°F and 85°F, keeping the plant away from cold drafts, air-conditioner blasts, and heat vents. Brief dips happen in real homes; prolonged chill or hot dry airflow stresses leaves faster than many beginners expect.
Moderate humidity—often 40–60% in living spaces—is usually workable when light and watering are right. RHS recommends moderate humidity and warns that very dry air can brown leaf edges. A humidifier beats repeated misting for consistent results. Pebble trays add only a small local effect and only work when the pot sits above the waterline, not in it—see pebble trays for plants if you want that option.
Humidity cannot fix waterlogged soil. If the mix stays wet in a humid room, reduce watering frequency and improve airflow before chasing more moisture.
Seasonal shifts matter for beginners. Winter often means slower drying, lower light, and less fertilizer need—see winter Monstera care when heaters dry the air but growth stalls. Summer can mean faster drying and more frequent checks near bright windows. The seven rules stay the same; only the interval between soil checks changes.
Fertilizer for Beginners
You do not need fertilizer to keep a new Monstera alive in its first months. Fresh potting mix often carries enough nutrients for early growth. Once the plant pushes steady new leaves through spring and summer, a balanced houseplant fertilizer at half label strength every few weeks is a reasonable starting point. Pause or reduce feeding in low light and winter when growth slows.
More fertilizer does not force splits or holes. Excess salts can brown leaf tips and damage roots. Never feed a wilted, recently repotted, or clearly rotting plant—fix the root zone first. When you are ready for detail, fertilizing Monstera deliciosa covers timing and dilution.
Give It Something to Climb
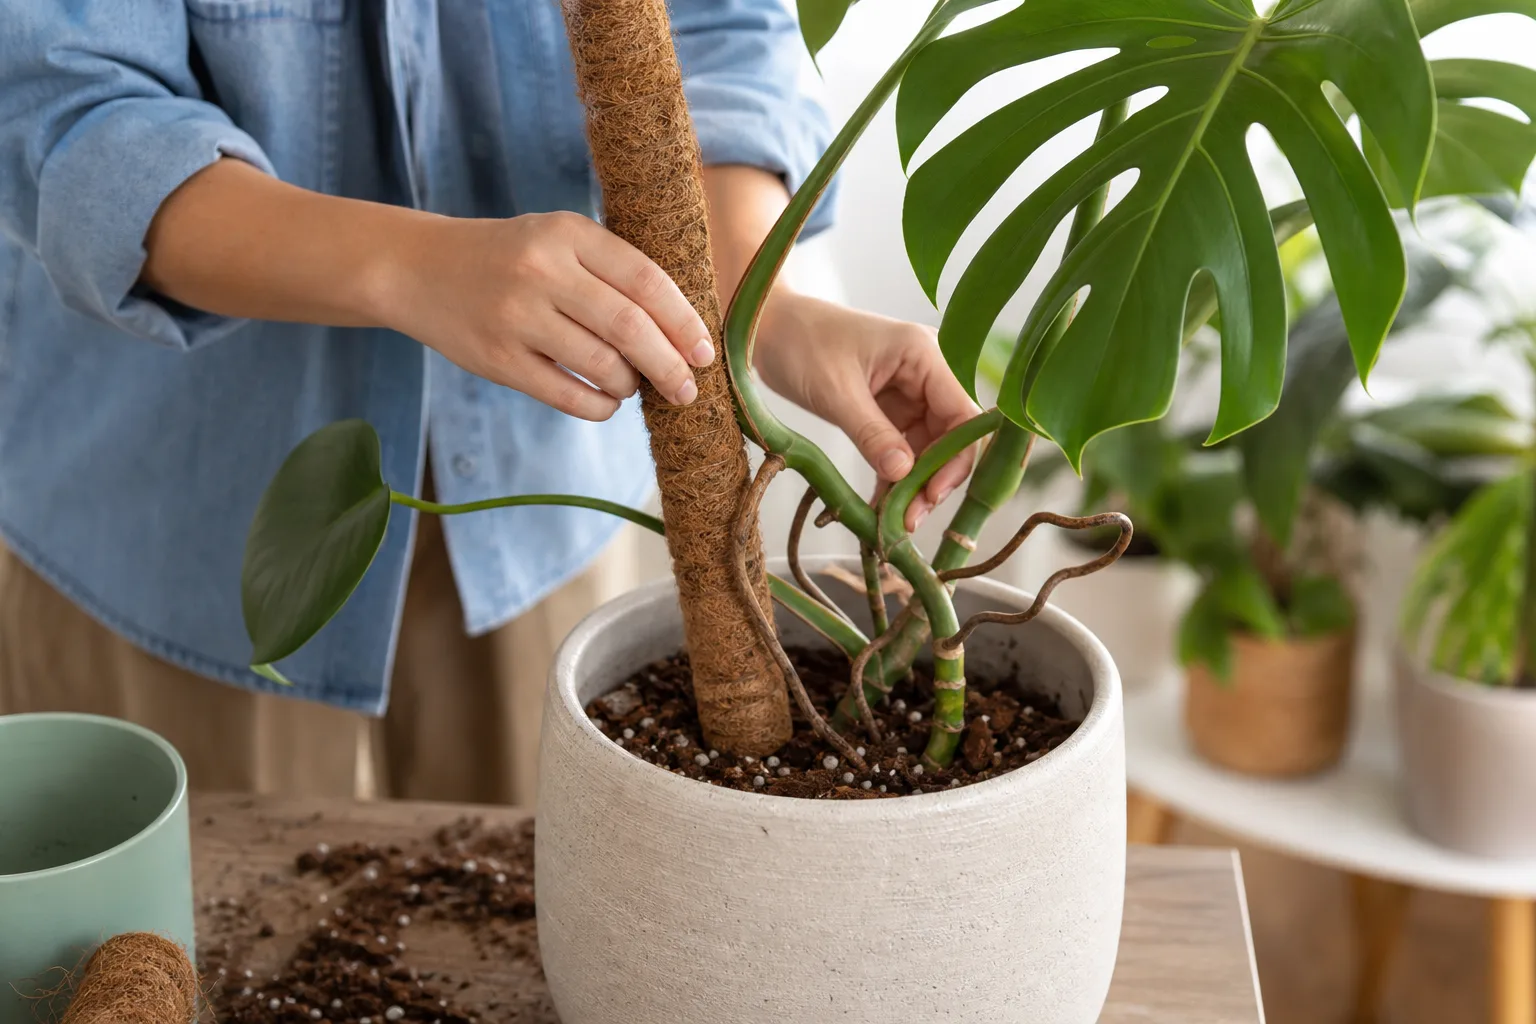
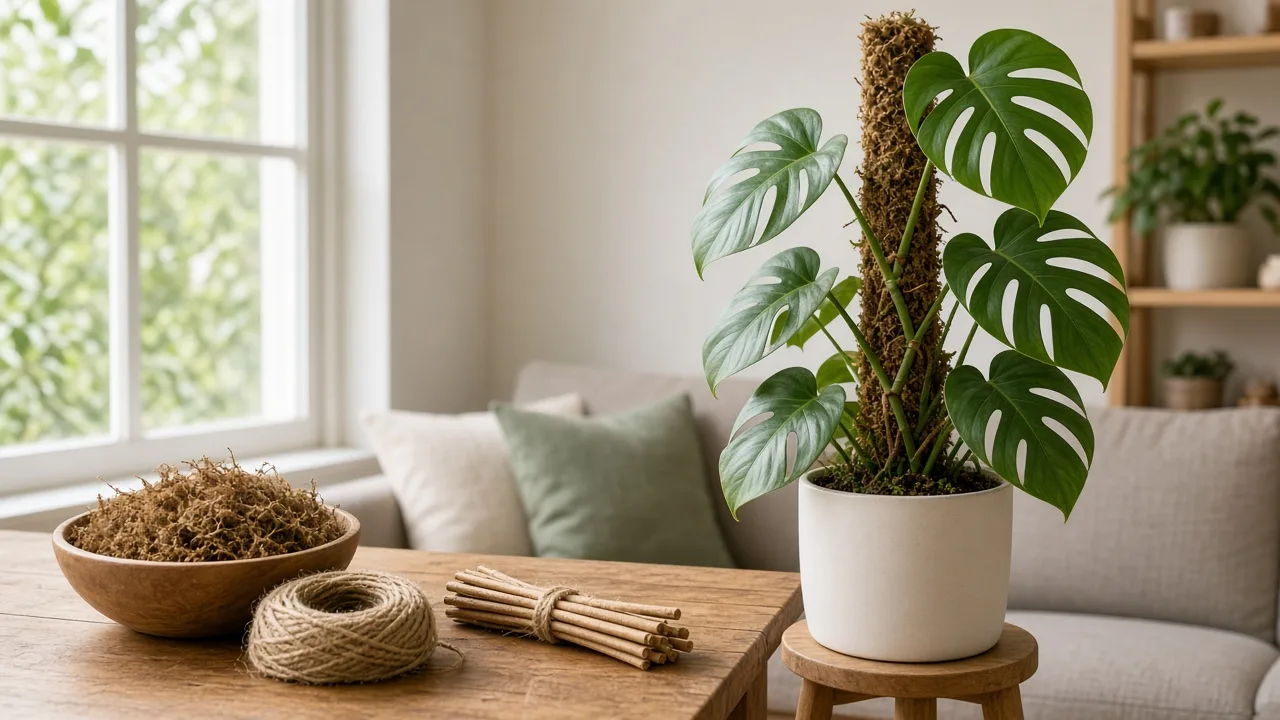
Monstera deliciosa is a vine. Left alone, it sprawls across floors and furniture, often putting weight on stems not built to sprawl forever. A moss pole, coir pole, trellis, or sturdy stake gives the plant a vertical path and encourages larger, more mature foliage over time.
Install support when the stem starts to lean or when aerial roots reach into empty air. Tie the stem loosely with soft plant ties—never tight wire. Aim roots toward damp moss or the support surface rather than cutting them off by default.
Aerial Roots Are Normal
Aerial roots emerging from nodes look unusual indoors but are ordinary for this species. In nature they anchor to bark and absorb moisture from the air. Indoors you can guide them into a pole, tuck them into the pot if there is room, or trim only if they block a walkway—and then use clean tools. For the full decision tree, read Monstera aerial roots. For pole choice, see moss pole vs trellis.
A Beginner Problem Decoder
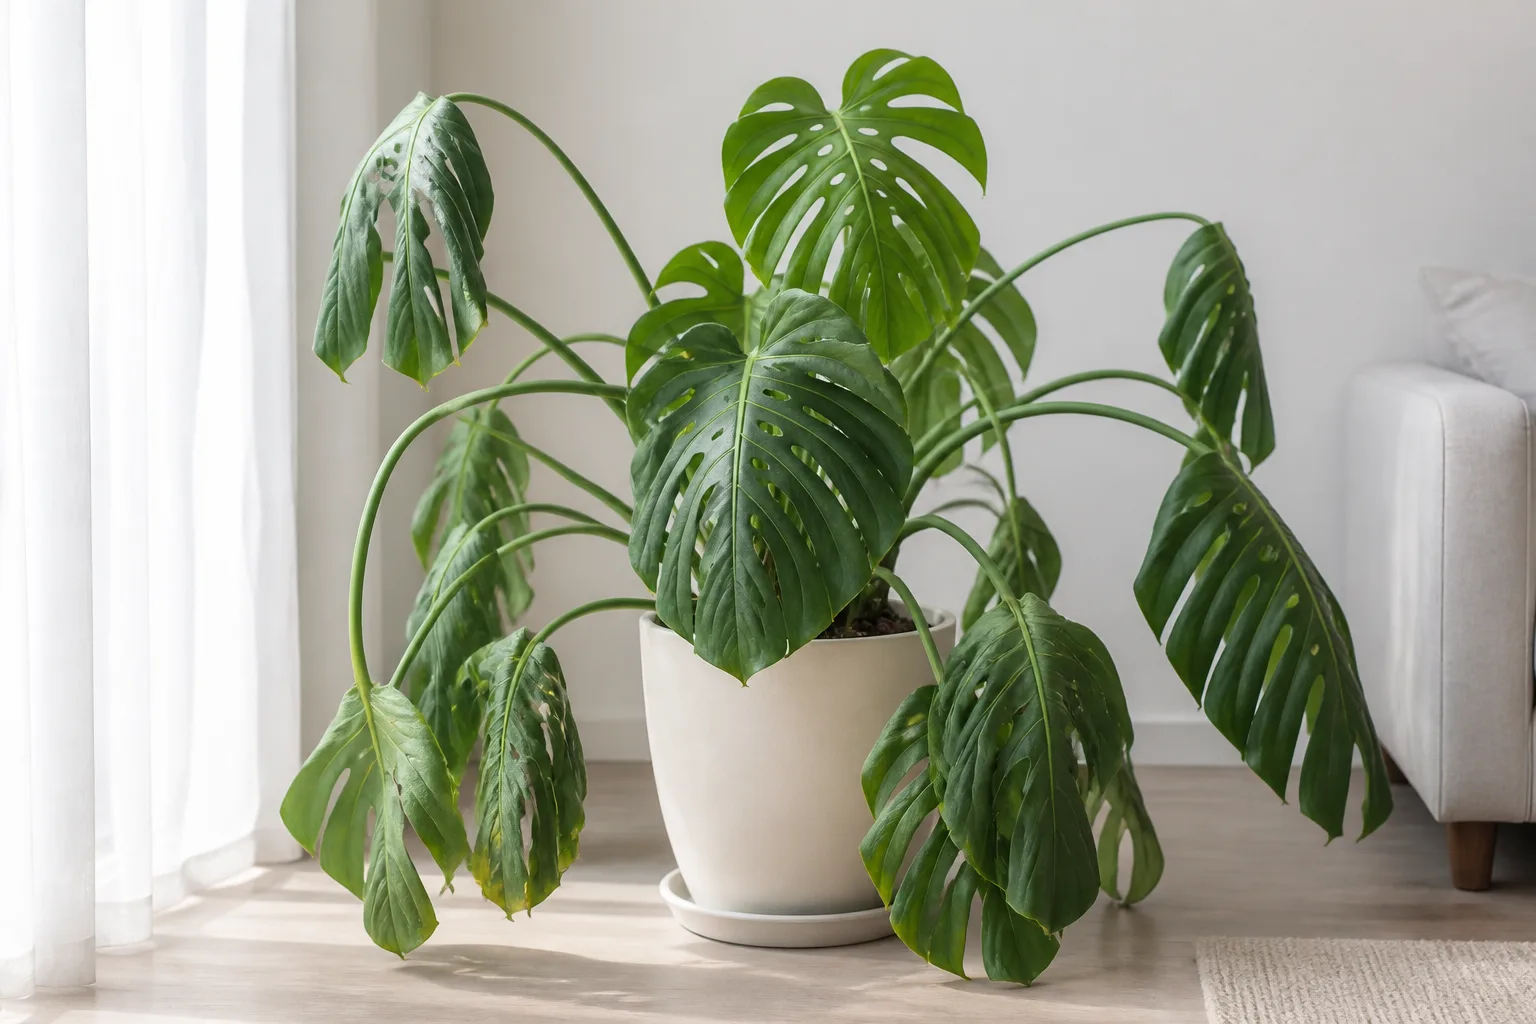
Symptoms overlap, so check soil moisture and light before changing five variables at once. Use this table as a first fork—not a final diagnosis.
| What you see | Likely first cause | First move |
|---|---|---|
| Yellow lower leaf + wet soil | overwatering / poor drainage | stop watering; check roots and drainage |
| Yellow leaf + very dry soil | underwatering | soak fully; adjust check schedule |
| Drooping + dry soil | thirst | water thoroughly; discard runoff |
| Drooping + wet soil | root stress / rot | unpot and inspect roots before more water |
| Small leaves, long stems | low light | move brighter gradually; add support |
| Crispy brown edges | dry air, salts, or uneven watering | verify soil moisture; review fertilizer and airflow |
| No splits on young plant | youth + light | wait; improve light and support |
| Webbing or sticky leaves | pests | isolate; rinse; inspect undersides |
Lower yellow leaves sometimes drop naturally as the plant grows. One or two older losses after a move can be normal acclimation. A wave of yellow on wet soil is different—act on the root zone, not on humidity alone.
When you troubleshoot, change one variable at a time. Moving the plant, repotting, fertilizing, and misting heavily in the same weekend makes it impossible to know what helped or hurt. Log what the soil felt like, what the newest leaf looked like, and what you changed. That habit turns vague anxiety into repeatable care.
Pests on Monstera usually arrive on stressed plants with poor airflow. Wipe dusty leaves occasionally so you actually see early webbing or scale. Isolation matters if you spot insects—treat the affected plant before assuming the whole collection is clean.
For deeper troubleshooting: why are my Monstera leaves turning yellow, Monstera brown tips, Monstera leaves turning brown, and Monstera pest and disease guide.
Pet and Human Safety
Monstera deliciosa contains insoluble calcium oxalate crystals. Chewing leaves or stems can irritate mouth, lips, and digestive tract in pets and people. ASPCA lists the Swiss cheese plant as toxic to cats and dogs. Touching intact foliage is not the main risk; ingestion is.
Penn State Extension also recommends gloves when handling the plant because sap can irritate sensitive skin. Keep plants off pet routes, pick up fallen leaves after pruning, and contact a veterinarian promptly if a pet eats material. For broader context, see houseplants toxic to cats and toxic plants for dogs.
Three Beginner Mistakes to Skip
Mistake 1: Watering on autopilot. “Every Sunday” ignores season, pot size, and light. Check the soil every time.
Mistake 2: Chasing splits with fertilizer or repotting. Fenestration follows maturity, light, and support—not bigger pots every month.
Mistake 3: Propagating a leaf with no node. A pretty leaf in water may root but will not become a new plant without a node and bud. When you are ready to try, use Monstera propagation guide and remember the node rule from day one.
Other common slips: leaving the plant in a wet cachepot, placing it in direct afternoon sun through glass after purchase, and cutting every aerial root for aesthetics. Each creates a new problem while fixing none.
When You Need a Deeper Guide
This Care 101 page is deliberately the checkpoint, not the encyclopedia. Stay here to confirm baseline habits. Open a narrower guide when one topic needs more depth:
- Monstera care guide for beginners — slightly longer walkthrough with overlapping basics
- Monstera deliciosa care guide for beginners — cultivar-aware beginner path
- How to get Monstera leaves to split — fenestration and maturity
- How to prune Monstera — size control and clean cuts
- Buying a Monstera plant — shop inspection before you pay
- Winter Monstera care — seasonal slowdown
- Clean Monstera leaves — dust, pests, and safe wiping
If you prefer one long reference after this checklist, how to grow Monstera deliciosa covers propagation, outdoor culture, and advanced troubleshooting in one place.
Conclusion
Monstera care 101 is not about memorizing a dozen products. It is about bright filtered light, drainage you can verify, watering when the upper mix is dry, support for a climbing vine, and checking symptoms before guessing. Master those habits and most beginner panic fades—yellow leaf, droop, and “why no holes yet” all become answerable questions instead of emergencies.
Use this page as your reset button whenever the plant or your routine drifts. Confirm the seven rules, run the problem decoder, then open a deeper Monstera guide only when one issue truly needs more than a baseline fix.