4 Natural Ways to Remove Invasive Plants
Hand-pull, mow, smother, or solarize invasive plants without store-bought herbicides. Learn which method fits your species, timing, disposal, and replanting plan.
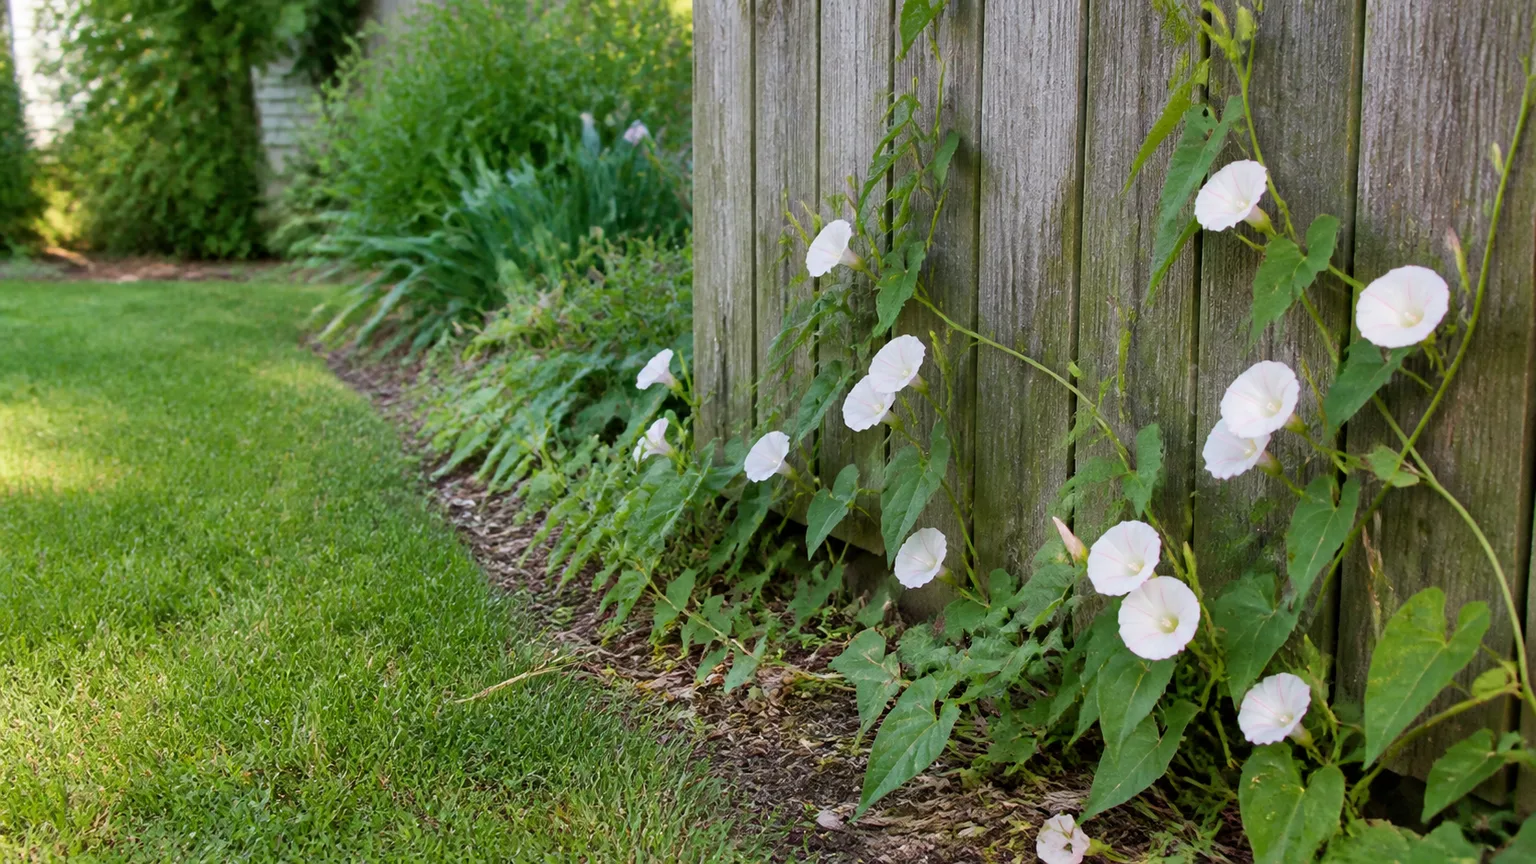
That patch of bush honeysuckle looked manageable last spring. By fall it had swallowed a fence line, shaded out native asters, and dropped berries the birds carried into your neighbor’s hedge. Removing invasive plants naturally is absolutely possible—but “natural” does not mean passive. Hand-pulling, mowing, smothering, and solarization are the four mechanical tools extension services reach for before herbicides, and each one works only when it matches how that specific plant spreads.
The failure mode is treating every invader like a dandelion. Pull a fragment-rooting vine once, compost the seedheads, or rototill a thicket of porcelain berry, and you may create more plants than you removed. The sections below walk through identification first, then the four natural removal methods, then disposal and replanting so the gap you open does not fill with the same problem—or a worse one.
Why Invasive Plants Need a Method, Not a Mood
Invasive plants succeed because they spread efficiently: early spring growth, heavy seed crops, wildlife dispersal, rhizomes that survive chopping, and roots that resprout from fragments. University of Maryland Extension notes that many species cannot be controlled completely in a single growing season; the realistic goal is stopping seed production and weakening the plant while you work toward replacement planting.
That timeline matters for your expectations and your back. Mechanical control is often the most physically demanding option and can disturb soil, which is why extension educators emphasize matching the tactic to the plant rather than defaulting to whatever tool is already in the shed. The USDA Climate Hubs stress early detection and rapid response for new infestations—small patches of hand-pullable seedlings are a different job than a decade-old shrub thicket.
What Makes Some Invaders Hard to Kill in One Season
Woody shrubs and vines store energy in roots and stems. Cutting once often triggers vigorous regrowth. Rhizomatous spreaders regenerate from any node left in soil. Heavy seed producers can repopulate a cleared bed from the seed bank even after the parent plant is gone. Fragment-rooting species multiply when stems are chopped and left on moist ground—a critical reason Maryland Grows warns that mowing or tilling the wrong plant can produce hundreds of new individuals (Maryland Grows).
If you are fighting a plant on that list, plan for multiple seasons and combine methods: cut, smother the regrowth, hand-pull seedlings, and never let flowers or berries mature while you work.
Identify the Plant Before You Touch a Tool
Positive identification is not bureaucracy—it prevents you from destroying a native look-alike and tells you whether your first instinct (mow it!) is safe. Use your county extension office, a Master Gardener plant clinic, or regional invasive-plant lists before committing to a removal plan. Smartphone ID apps can suggest names, but Maryland Grows recommends confirming with an expert because photo quality and geography limit app accuracy.
Our guides to invasive plants to avoid planting, worst invasive plants, and invasive plants that take over quickly help with common regional troublemakers, but always verify against your state list. Burning bush, bush honeysuckle, English ivy, and porcelain berry are frequent examples—not universal laws in every ZIP code.
Four Questions That Prevent Expensive Mistakes
Ask these before choosing hand-pulling, mowing, smothering, or solarization:
- Is it woody, herbaceous perennial, or annual? Annuals succumb faster to smothering; woody plants need repeated cutting or digging plus follow-up.
- How does it spread here? Seed, rhizome, stolon, or rooting fragments each change the tool you should reach for first.
- How long has it been established? New seedlings pull easily; old root crowns may need digging plus smothering of regrowth.
- Are seeds or berries present now? If yes, prioritize removal and bagging reproductive parts before any soil disturbance.
If you cannot answer question two, stop and identify. Mowing bindweed or mugwort because it “looks like a weed” is how fragment spreaders win.
Choose the Right Natural Method for Your Situation
None of the four methods is “best” in isolation. Hand-pulling wins on small, moist patches with shallow roots. Repeated mowing or cutting fits large woody infestations where you can revisit every few weeks. Smothering suits annuals and herbaceous patches you can cover for a full season. Solarization fits bare-bed prep in sunny months when you need heat penetration in the top soil layer.
Maryland Grows groups pulling, smothering, solarization, and repeated cutting under mechanical control—the first line before biological or chemical options. Natural removal in this article means those mechanical routes without synthetic herbicides, not “no work.”
Quick Decision Matrix
| Your situation | Start here | Commitment |
|---|---|---|
| Seedlings after rain, <50 plants | Hand-pull | Monthly scouting |
| Woody shrub thicket, open sun | Repeated mowing/cutting | Every 3–6 weeks all season, 2+ years |
| Annual or thin herbaceous patch | Smother with cardboard + mulch | 8–16 weeks minimum |
| Empty bed prep, hot sunny months | Solarize with clear plastic | 4–8 weeks in peak heat |
| Vine with rooting stems | Hand-pull + cut; avoid tilling | Cut seedheads first; smother regrowth |
| Large acreage | Mow + planned replanting | Multi-year, combine tactics |
When a patch is too big for pulling and too rooted for one summer of plastic, stack methods: cut in spring, smother regrowth through summer, pull survivors in fall, replant immediately.
Hand-Pulling and Digging When Roots Are Reachable
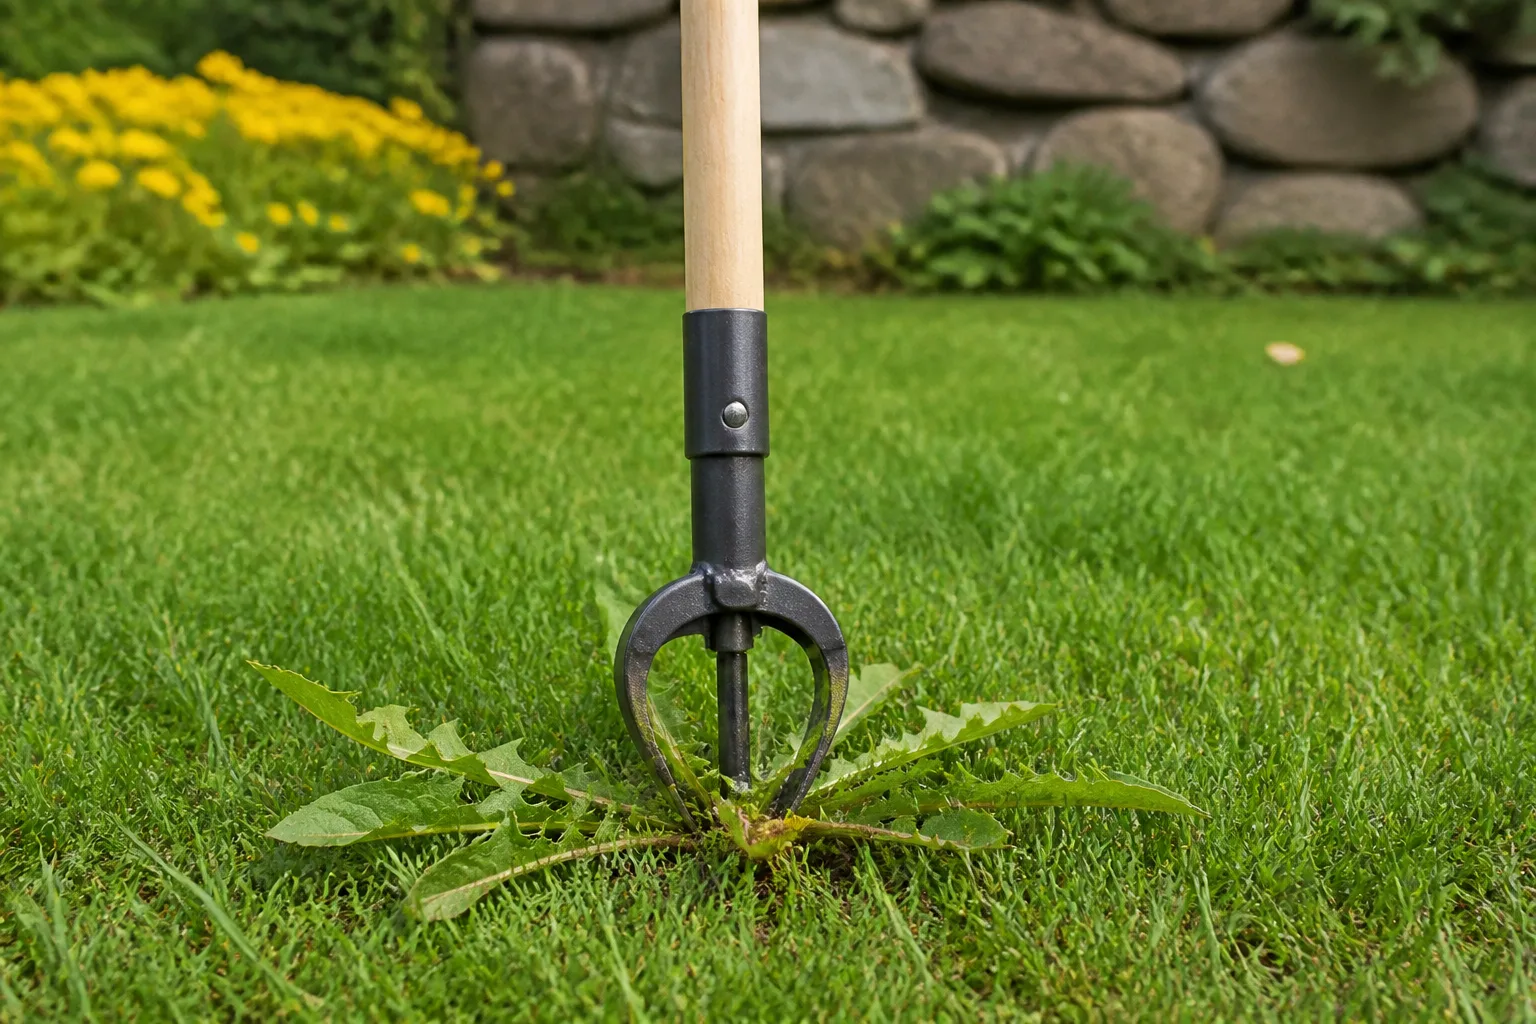
Hand-pulling—plain weeding with intent—is the most reliable natural invasive plant removal tactic when you can extract the entire root system. Maryland Grows lists pulling and digging first among mechanical options because removing the crown prevents immediate regrowth on many herbaceous invaders and young woody seedlings.
Timing beats brute force. Pull after a soaking rain when soil is loose, or water deeply the day before. Start early in the season—often late winter or early spring for cool-season weeds—before root mass and seed set build. For larger patches, work in from the edge so you are not walking over loosened soil and re-compacting roots you just freed.
Technique That Removes the Crown, Not Just the Top
Grasp stems low and pull slowly, keeping the root axis intact. If the stem breaks, dig with a hori-hori or fork rather than leaving a stump that resprouts. On taprooted biennials like garlic mustard, remove the S-shaped root bend; on shallow fibrous mats, slide a fork under the crown and lift the whole plate.
Check the hole: broken white root pieces mean regrowth. Pick them out. Bag flowering stems and seedheads separately rather than dragging them across clean beds. Appalachian Headwaters emphasizes removing the full root system on herbaceous invaders and digging deep enough on saplings that the root crown comes out—leftover roots on shrubs resprout vigorously.
For areas you revisit monthly, consistency matters more than one heroic weekend. Maryland Grows recommends checking monthly—or more often on large properties—and pulling before plants flower. A fifteen-minute walk beats a fifteen-hour rescue every September.
When Hand-Pulling Is the Wrong First Move
Do not hand-pull and leave stem fragments on wet soil for plants that root from nodes. Do not rototill or deep-dig unknown vines before identification. Do not compost seedheads, berries, or moist piles of rhizome-heavy material—the UConn invasive plant disposal guidelines warn that improper disposal creates new infestations.
Pulling is also the wrong sole strategy for mature woody stands. You can dig individual bush honeysuckle shrubs—and should on small lots—but a fence line of ten-year-old stems usually needs cutting plus smothering or repeated mowing of regrowth, with pulling reserved for seedlings that appear afterward.
Mowing and Repeated Cutting for Woody Spreaders
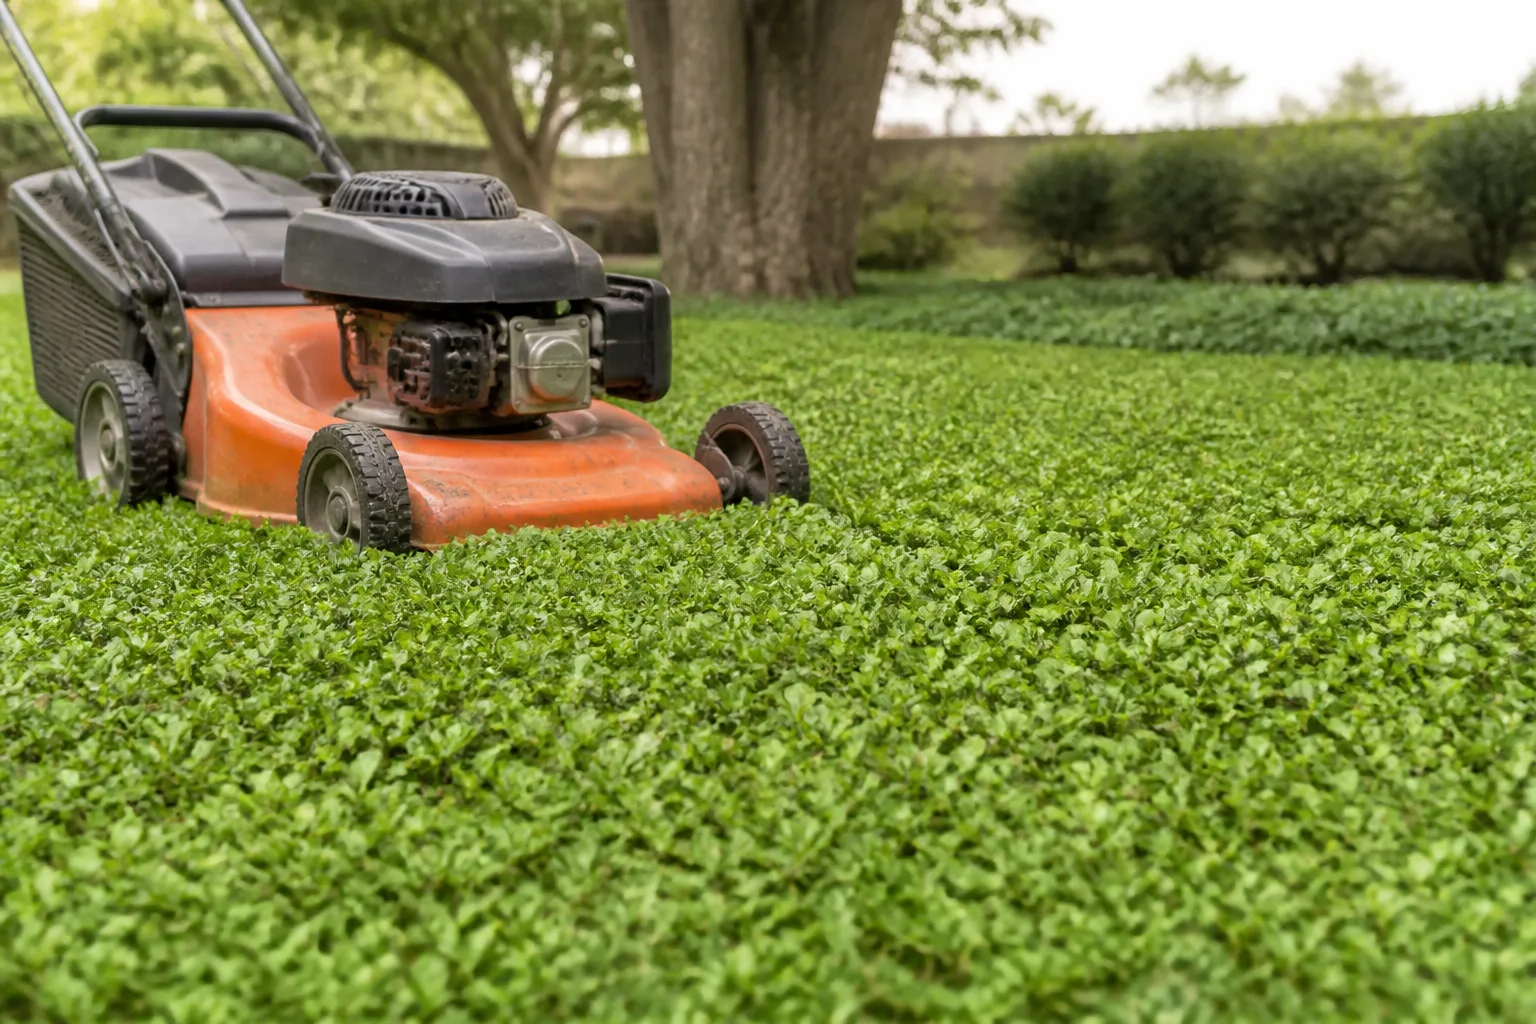
Mowing is not a one-and-done killer for woody invasives, but it is a legitimate non-chemical invasive plant control tool when you repeat it on schedule. Cutting removes photosynthetic tissue and depletes stored root energy if you prevent regrowth from replenishing it. Maryland Grows includes repeated cutting and mowing to weaken stored nutrients and strip flowering structures before seed set.
This method fits large sunny patches of bush honeysuckle, multiflora rose, young tree-of-heaven suckers, and other woody species you cannot realistically dig one by one. Use brush cutters or mowers set high enough to avoid hidden rocks, and wear eye protection—thorny rose can snap back hard.
A Cutting Schedule That Weakens Stored Energy
Cut when plants are actively growing and re-cut before new shoots leaf out fully again—often every three to six weeks through the growing season. Appalachian Headwaters suggests repeated cutting on four- to six-week intervals for invasive shrubs during the growing season to exhaust energy reserves. One haircut in July is landscaping; six timed cuts over two summers is control.
Remove cut material that carries seeds or berries from the site. If flowers are already present, bag clippings before mowing spreads fragments. After several cuts, exposed soil is vulnerable to erosion and reinvasion—spread native seed or mulch and plant competitive groundcover rather than leaving bare dirt. American Meadows notes that without follow-up planting, vigorous weeds reclaim prepared ground quickly (American Meadows seed-bed prep).
Mowing also pairs with native replanting: wildflower or native grass seed on sunny slopes, shade-tolerant sedges where appropriate, or a staged shrub row that blocks re-entry. See our pollinator yard tips for replacement ideas that reward the work instead of leaving a vacuum.
Smothering With Opaque Covers and Thick Mulch
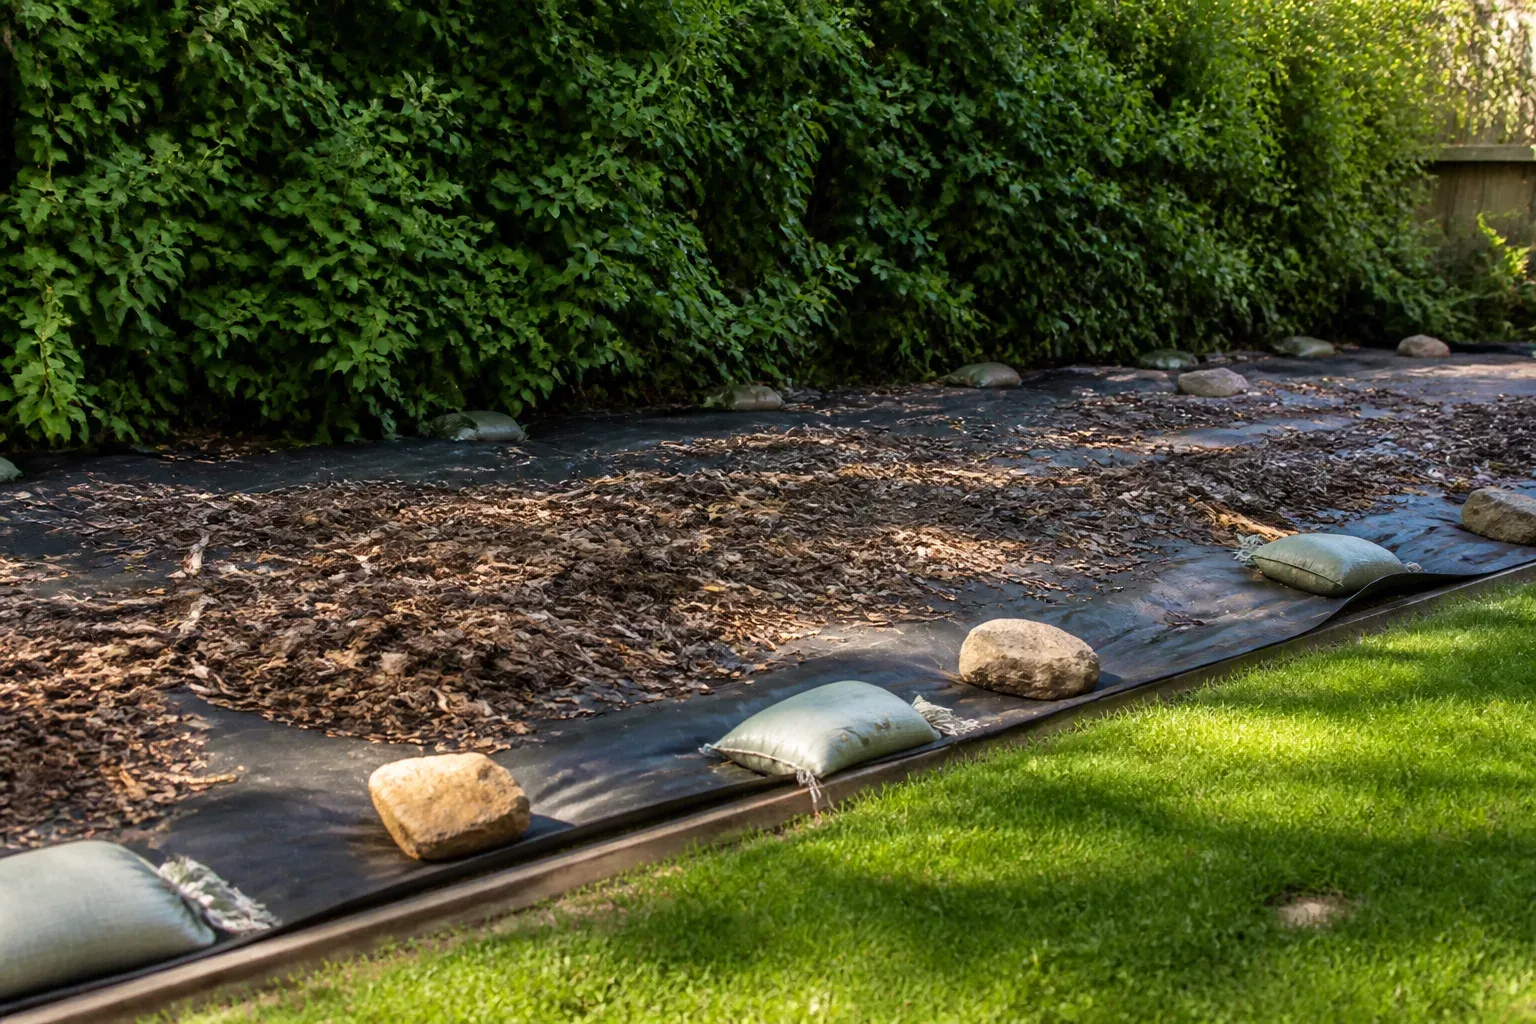
Smothering blocks light so plants cannot photosynthesize. Materials include opaque tarps, black plastic, cardboard layered with mulch, heavy landscape fabric topped with wood chips, or thick leaf mulch on smaller spots. Maryland Grows lists suffocation with landscape fabric, mulch, cardboard, or newspaper among mechanical controls.
Lay covers flat over mowed or trampled vegetation, overlap edges by at least 12 inches, and weigh seams with boards, rocks, or soil pins. Walk the perimeter monthly—escapes at the edge are how smothering fails. Smothering works best on annuals and shallow-rooted herbaceous plants that exhaust stored energy when denied light for a full season.
Plan eight weeks minimum in warm weather; many perennial weeds need a full growing season or two. Black plastic also sheds rain, which drought-sensitive invaders cannot tolerate—but deep-rooted perennials may survive off stored reserves and resume when uncovered. That is expected, not a reason to quit; it means you follow with pulling or another cover cycle.
Smothering vs Solarization: Different Plastics, Different Jobs
This confusion causes more failed beds than bad weather. Smothering uses opaque materials—black plastic, cardboard, thick mulch—to starve plants of light. Solarization uses clear or translucent plastic to trap solar heat and moisten the upper soil layer, cooking plants and reducing some weed seed viability.
American Meadows explains that clear plastic heats the soil for solarization, while black plastic blocks light for smothering and typically does not reach the same soil temperatures or affect buried seeds the same way. Weeds can sometimes grow weakly under clear film if heat is insufficient; black film prevents that photosynthesis but may leave a live seed bank.
| Method | Cover type | Primary kill mechanism | Seed bank impact | Typical duration |
|---|---|---|---|---|
| Smothering | Opaque tarp, cardboard + mulch | Light starvation | Limited | 8 weeks to 12+ months |
| Solarization | Clear/translucent plastic | Heat + moisture stress | Reduces viability in top layer | 4–8 weeks in peak summer |
Do not solarize your vegetable bed accidentally: remove spring frost tarps before a hot week cooks desirable plants—a real risk Maryland Grows flags for gardeners who reuse clear covers from winter protection.
Solarization: Heat-Treating Soil and Shallow Roots
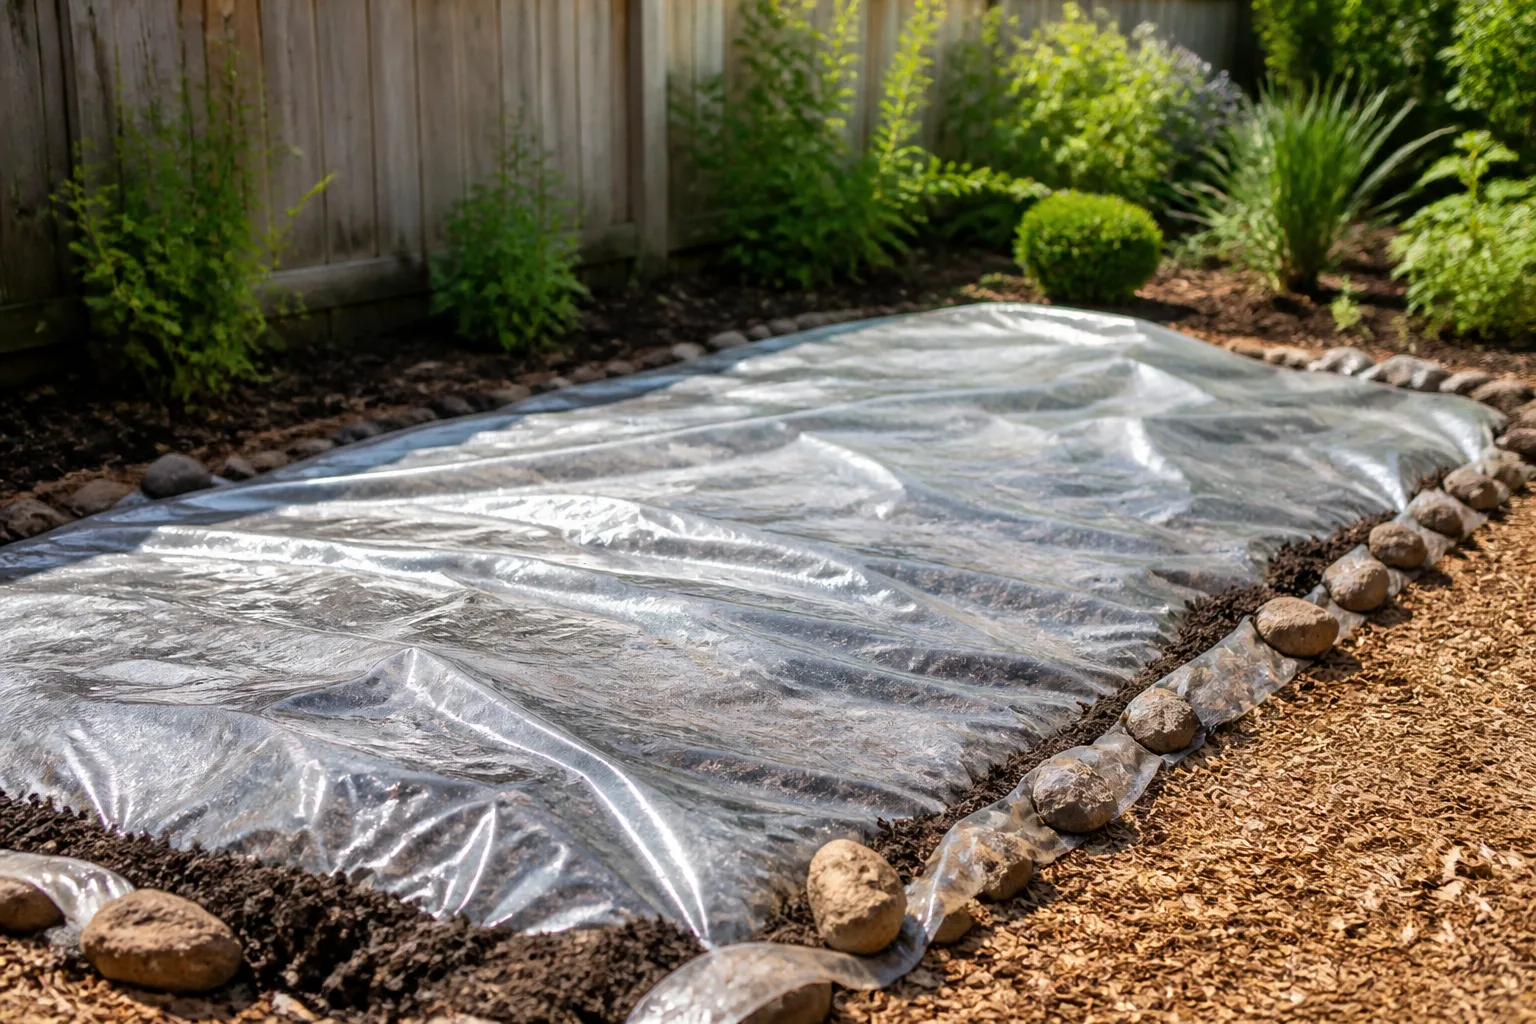
Solarization is the “oven” method: clear plastic over moist soil raises temperatures high enough to kill tender plants, some pathogens, and weed seeds in the upper profile. Ecologists often cite internal temperatures above 130°F under film during sunny periods; spring installation works because trapped heat can exceed ambient air by a wide margin even when days are merely warm (Maryland Grows).
Use 1–4 mil clear painter’s plastic or greenhouse film, not black. Irrigate or wait after rain so soil is moist before sealing—dry soil conducts heat poorly. Bury edges or weight them continuously; air leaks cool the bed and extend the timeline.
Setup, Timing, and Realistic Temperature Expectations
Install solarization in the warmest, sunniest window—typically mid to late spring through summer in most U.S. regions. American Meadows recommends leaving plastic in place about eight weeks during the hottest part of the year, longer in cool or cloudy climates. Four weeks may suffice in desert heat; six to eight is common in temperate zones.
Solarization treats the top few inches of soil. It will not cook mature woody roots deep below the surface. Use it to prepare a bed after cutting invasive tops, or on annual-heavy patches, then dig out surviving crowns when you uncover. Many beneficial soil organisms survive or recolonize quickly after treatment—American Meadows notes solarization can kill pathogens while allowing beneficial recovery faster than repeated deep tillage.
After removal, avoid planting immediately if soil is extremely hot; irrigate, test a small area, and plant native groundcover or vegetables once temperatures normalize. Pair solarized beds with mulch and dense planting so invaders cannot exploit bare soil.
Disposal Mistakes That Spread Invaders to New Beds
Removal is not finished when the plant hits the ground. Improper disposal recreates infestations along compost piles, fence lines, and yard-waste streams. Maryland Grows lists disposal as the last critical step: leftover material can start new patches if seeds, berries, or moist roots contact soil.
Follow these rules:
- Bag seedheads and berries before the rest of the plant moves. Do not compost reproductive parts.
- Solarize suspect clippings in black bags left in full sun for several weeks if you cannot burn legally—Maryland Grows describes cooking bagged debris until seeds lose viability.
- Check local yard-waste rules; some municipalities restrict invasive species in compost streams (UConn disposal guidelines).
- Do not dump pulled plants in woods, ditches, or “wild” edges— that is how invaders reach natural areas.
- Dry woody material without seeds can sometimes stay on-site in brush piles for wildlife if your extension office allows; otherwise chip and bag.
If you are unsure whether roots are dead, treat clippings as live. Persistence beats optimism with running bamboo, ivy, and honeysuckle—the same species covered in our running bamboo warning guide.
Replant, Mulch, and Monitor the Cleared Space
Clearing without a replant plan invites the same invasive—or a new one—to colonize disturbed soil. Maryland Grows advises deciding what replaces the problem species before you start: install natives, keep the area mulched, or sow competitive groundcover to prevent erosion and reinvasion.
Practical sequence:
- Week 0: Identify, cut seedheads, begin chosen removal method.
- Weeks 1–8+: Execute smother/solarize/mow schedule; pull edge escapes weekly.
- At uncover or late season: Soil test if converting to food beds; amend if needed.
- Plant immediately: Native shrubs, sedges, or wildflower mixes matched to sun and moisture—see extension native-plant lists for your state.
- Year 1–3: Monthly walk-through; pull seedlings before they seed; refresh mulch.
Our time-honored gardening practices to leave behind guide argues for selective—not blanket—chemical use; mechanical control plus replanting fits that same philosophy for most home beds. When a patch is hazardous, enormous, or seed-bank saturated, extension resources may recommend labeled herbicides as a follow-up tool. That is a separate decision, not a failure of the four natural methods above.
Conclusion
Removing invasive plants naturally comes down to four mechanical tools—hand-pulling, repeated mowing or cutting, smothering with opaque covers, and solarization with clear plastic—applied after proper identification and paired with careful disposal and replanting. Hand-pull when roots are reachable and seeds are not yet flying. Mow or cut woody spreaders on a disciplined schedule until energy reserves crash. Smother light-loving annuals and thin patches for at least eight weeks. Solarize sunny beds in peak heat when you need top-layer seed control.
None of these routes promises a sterile yard in one weekend. Invasive control is a multi-season commitment with monthly monitoring. Do the unglamorous parts—bag the berries, cover the edges, plant the replacement—and you remove invaders without broadcast chemicals while building habitat that stays yours. Skip disposal or replanting, and the same plants—or worse ones—will be back, naturally.



