11 Common Radish Growing Problems and How to Fix Them
Diagnose 11 radish growing problems, from leafy tops and tiny roots to cracking, bolting, pests, yellow leaves, and rot—with the first fix to try.
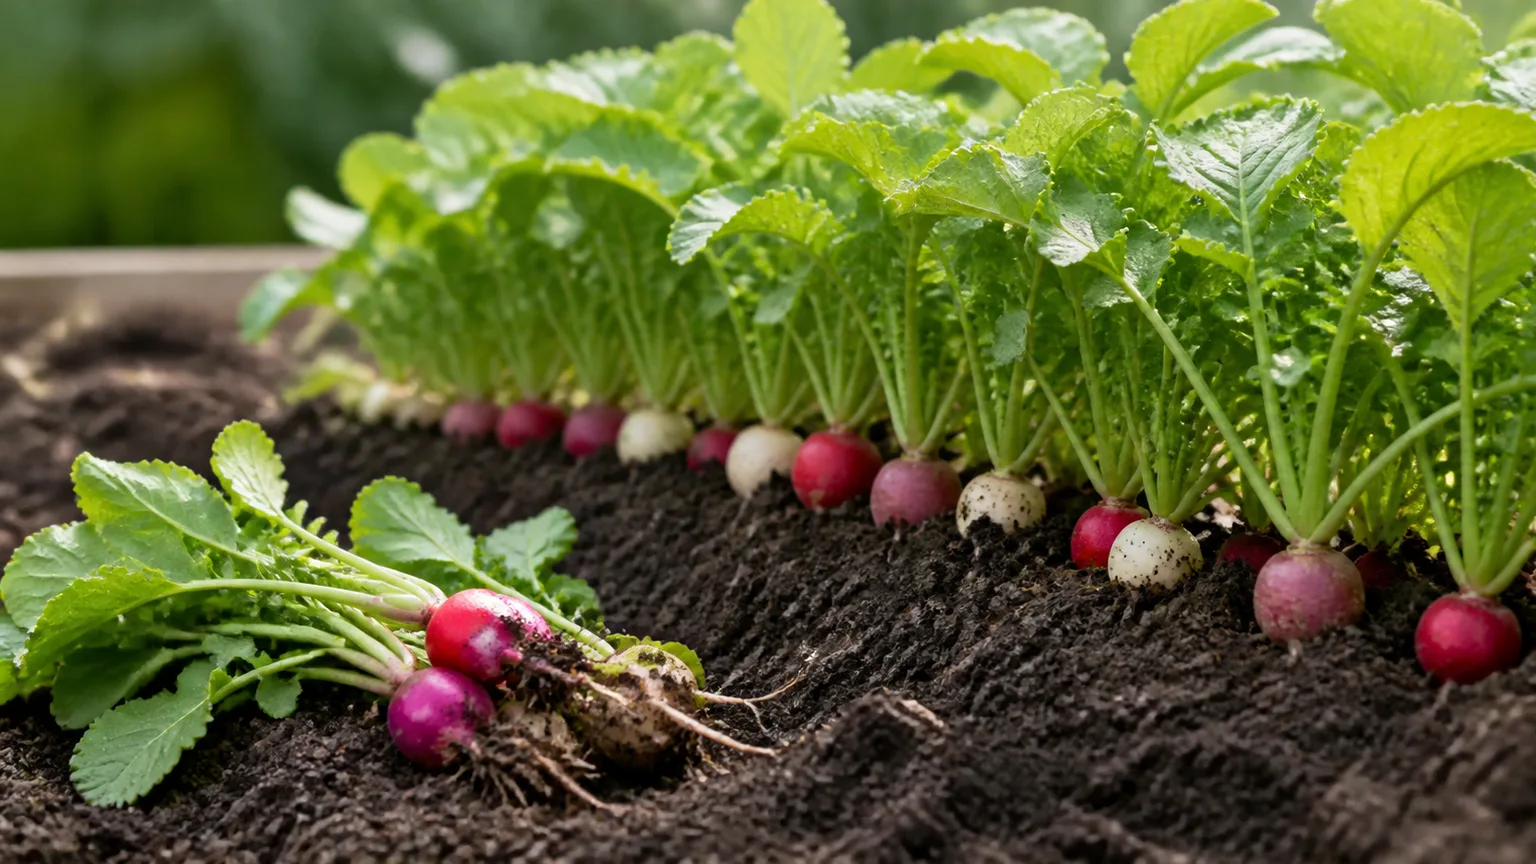
Radishes are fast, but “fast” is also why problems become obvious so quickly. A week of hot weather, crowded seedlings, dry soil, or a missed harvest can change a crisp root into a small, split, spicy, or hollow one before you have time to react.
The good news is that most radish failures are not mysterious diseases. They are usually a mismatch between temperature, root-room, soil texture, moisture, or harvest timing. Use the symptoms below as a triage guide: check the root and soil first, then inspect leaves and stems for pests or disease. That order keeps you from spraying when the real problem is a compacted bed or an overripe crop.
Start With the Fast Diagnosis: What Are You Seeing?
Before changing anything, pull one representative radish. Look at the root shape, the soil clinging to it, the leaf color, and whether there are tunnels or soft spots. Check the seed packet too: a small round salad radish, a long daikon, and a winter radish do not mature at the same size or speed.
Radishes are cool-season plants. UC IPM describes the best growing range as roughly 50–70°F, with bolting and deformed roots becoming common above 80°F; the RHS likewise recommends spring and late-summer sowings and warns against hot, dry weather for salad types. Those are useful guides, not a universal calendar: local weather, cultivar, soil, and container exposure still decide the outcome. UC IPM’s radish cultural guide and the RHS radish growing guide are good references for adjusting timing to your conditions. The UC IPM radish profile also lists flea beetles, cabbage maggots, cucumber beetles, and downy mildew among the problems worth recognizing.
A quick symptom-to-cause rule
Use this shortcut before you reach for fertilizer. Leaves without a swelling root usually point to heat, crowding, weak light, compact soil, or too much nitrogen. A root that is split, woody, bitter, or hollow usually had a slow or uneven growth run and was left too long. Leaf holes are more likely insects, while yellow patches, fuzzy undersides, or soft tissue deserve a closer disease and moisture check.
Then inspect the bed at root level. If the surface crusts after watering, the seedling roots may be struggling for oxygen and room. If the soil is dusty several inches down, growth has been interrupted by drought. If it is cold and saturated, do not add more water just because the leaves wilt; damaged roots can wilt in wet soil.
1. Radishes Grow Lots of Leaves but No Roots
This is the classic “all tops, no bulbs” problem. The most likely causes are hot weather, crowding, too little light, compact soil, or excess nitrogen—often more than one at once. A shady row may produce a handsome canopy but not enough energy for a useful storage root, while a heavily manured bed can push leaf growth without solving the root-zone problem.
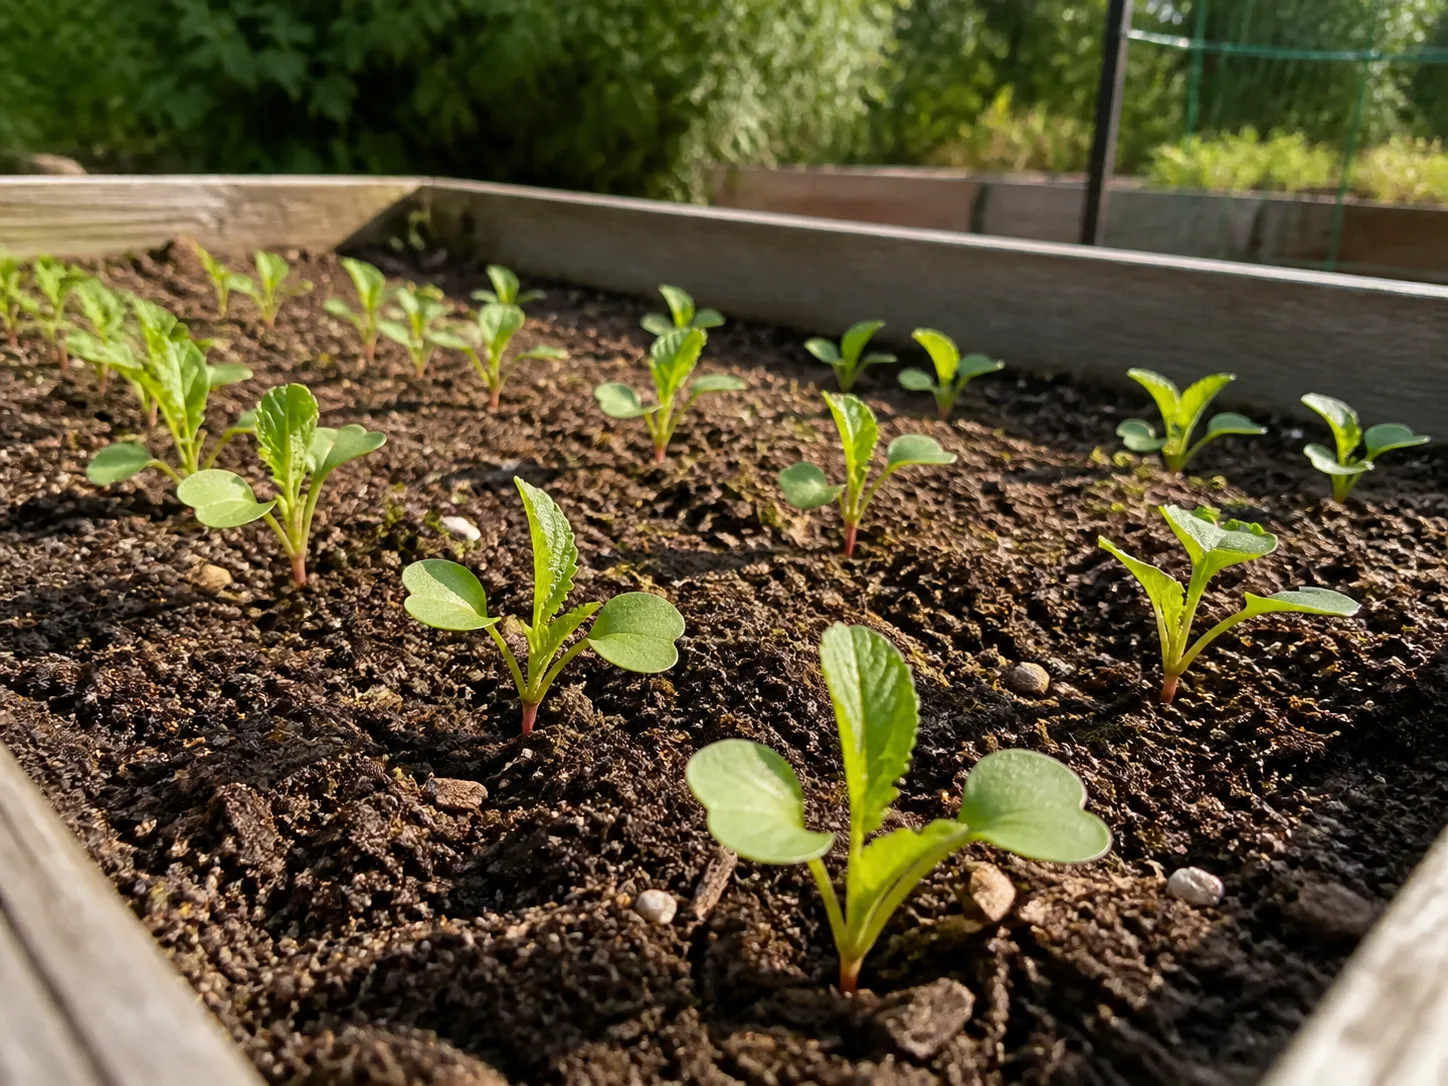
Start by thinning. For small salad radishes, leave roughly 1–2 inches between plants; for larger winter or oriental types, follow the packet because they may need several inches or more. Snip surplus seedlings at soil level rather than tugging them out beside a neighbor you want to keep. The RHS notes that dense leaf growth competes for room and can prevent the root from swelling.
Next, test the soil with your fingers. It should crumble rather than form a hard lump, and a thin root should be able to push down without meeting stones or a compacted layer. Gardening Know How’s practical radish guide likewise emphasizes loose, well-drained soil, consistent moisture, early thinning, and restraint with high-nitrogen fertilizer. If the weather is already hot, do not try to force a spring-type radish through midsummer by feeding it harder. Harvest what is edible, move the next sowing to a cooler window, or choose a heat-tolerant or edible-podded type.
2. Roots Stay Small, Long, or Skinny
Small roots are often a timing problem disguised as a nutrition problem. Radishes need a quick, uninterrupted run: enough light, enough root-room, loose soil, and moisture that does not swing from dry to soaked. If the root is long and skinny instead of rounded, the variety may naturally be cylindrical, or the plant may be trying to grow through crowded or compacted soil.
Pull one plant and examine the row. Seedlings that touch or overlap at the base need thinning. A hard crust, visible stones, or a narrow container can also restrict the swelling zone. Work compost into the bed before sowing, remove rocks, and loosen the top several inches without turning the whole bed into powder. In containers, use a loose potting mix and drainage holes; a shallow salad radish needs less depth than a daikon, but neither should sit in a waterlogged pot.
Light matters even when the plants look green. Aim for at least four to six hours of direct sun, with afternoon shade useful in a hot climate. If you improve spacing and soil but the next sowing is still tiny, compare its location with a brighter row before adding fertilizer.
3. Roots Split or Crack
Cracks usually mean the root experienced uneven moisture: it slowed during a dry spell, then expanded rapidly after heavy rain or a deep watering. Overmaturity can make the skin less forgiving too. A cracked radish is often edible if the flesh is firm and clean, but it will not store as well and may have a stronger flavor.
Fix the rhythm rather than flooding the bed. Check the root zone with your hand and water slowly when it begins to dry; count rainfall as part of the supply. A thin organic mulch can reduce evaporation in a raised bed or container, but keep it away from the stems and do not use a thick wet blanket around cool, crowded seedlings.
The RHS problem-solving guidance connects splitting with inconsistent moisture and recommends watering during dry spells. The practical limit is important: a mulch layer cannot compensate for a compacted bed that drains poorly. If water stays on the surface, improve the soil structure or raise the row before trying to water more often.
4. Radishes Taste Too Hot or Bitter
Radish heat is not always a sign that you chose a bad variety. Hot weather, drought, crowding, slow growth, and delayed harvest all concentrate the sharp flavor or give the root a harsher texture. Some cultivars are naturally pepperier, but even a mild salad type can become fiery when it spends too long in warm, dry soil.
Taste one root at the size shown on the packet. If it is mature, pull the rest of that sowing instead of waiting for larger roots. Keep the next crop growing steadily: sow in cool weather, thin early, maintain moisture, and provide light. In a hot region, a little afternoon shade can protect a summer sowing, but shade that lasts all day may trade heat stress for small roots.
Do not use high-nitrogen fertilizer as a flavor fix. It may create more leaves while leaving the conditions that produce pungency unchanged. The faster route to a milder crop is usually a better sowing date and a more consistent root-zone moisture level.
5. Roots Turn Woody, Pithy, or Hollow
Woody or spongy radishes have usually been left in the ground beyond their best eating stage, or they grew slowly under heat, drought, crowding, or weak light. A hollow center can also appear as a mature root continues to age. The calendar on the seed packet is a starting estimate, not permission to ignore the plant when its shoulders reach harvest size.
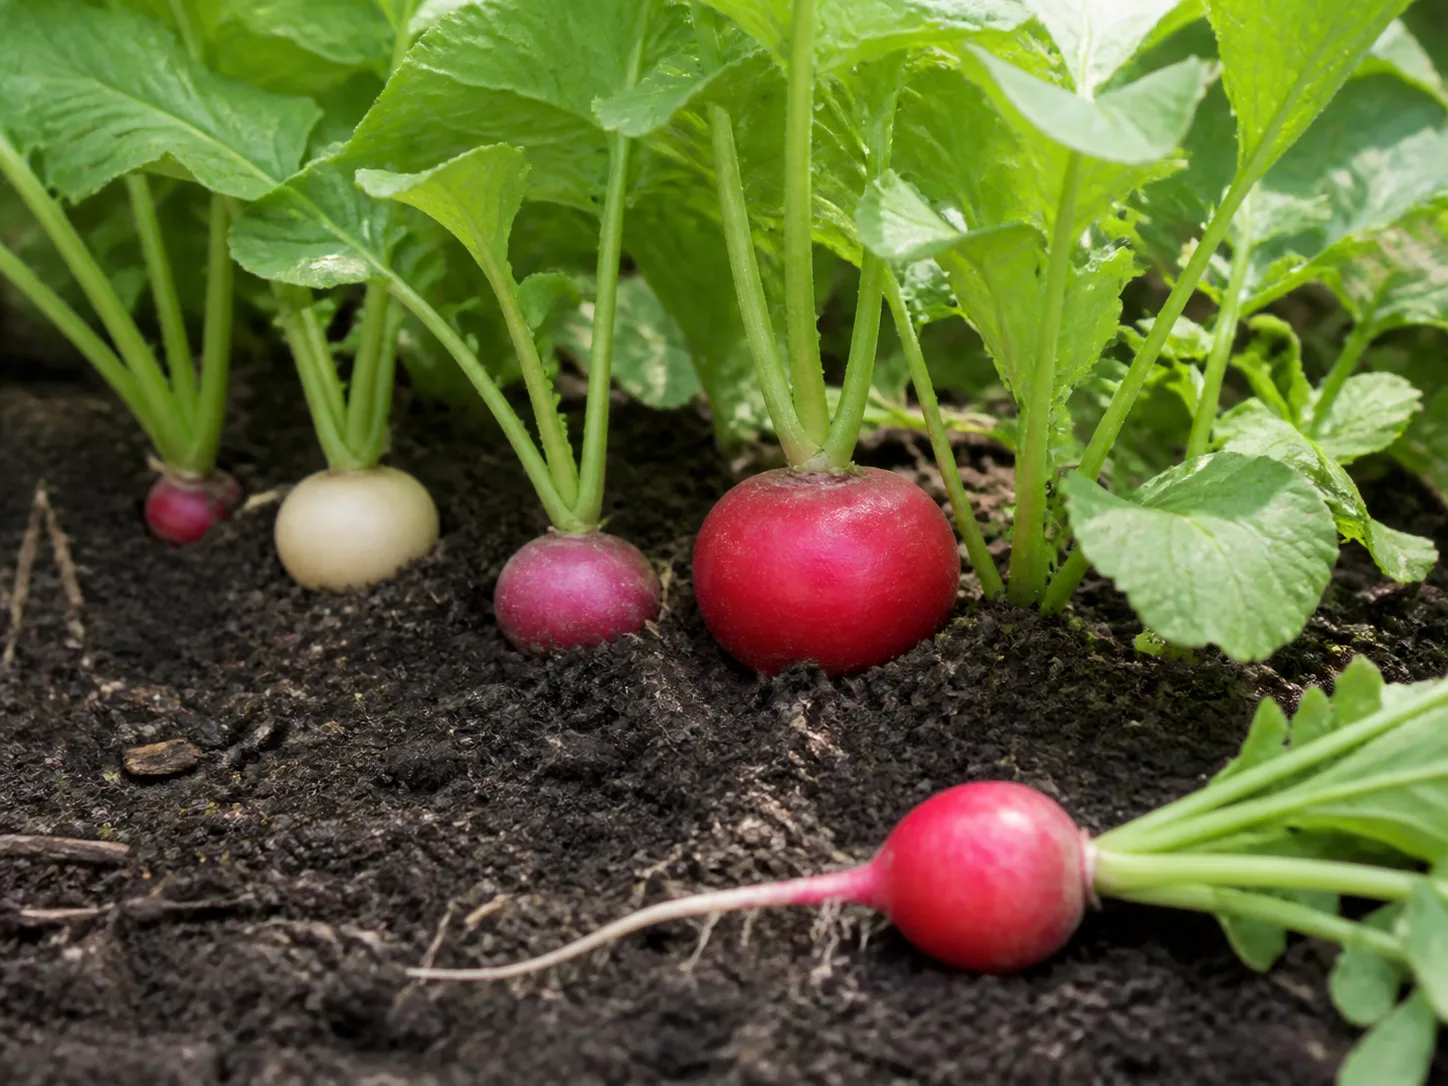
Pull a sample as soon as the shoulders look full. Salad radishes are often ready in about four to six weeks, but early spring growth can take longer, and larger winter or oriental types need more time. UC IPM advises harvesting at maturity because roots left in the ground may crack, toughen, become fibrous, and grow more pungent.
If the whole row is already woody, use the greens if they are clean and tender, compost the poor roots, and re-sow rather than waiting for a rescue. The exception is a winter radish bred for longer storage; judge it by the variety description, not by the behavior of a small spring radish.
6. Plants Bolt Before the Root Forms
Bolting means the plant switches from building a storage root to making a flower stalk and seed. It is a normal life-cycle response, accelerated by heat, long days, drought stress, or a cold-to-warm swing. Once the stalk is clearly rising, the root usually will not return to its former salad quality.
You can still harvest the young leaves if they are clean, or leave an edible-podded variety to make tender seed pods. For ordinary salad radishes, pull the crop when the root is usable and sow again in a cooler window. The next planting should go in early enough in spring or after summer temperatures begin to fall; succession sowing small batches every week or two gives you a better chance of harvesting before one weather shift ruins the entire crop.
Bolting is not fixed by cutting off the flower stalk and adding water. Regular moisture reduces stress, but it cannot turn a heat-triggered reproductive decision back into a reliable root. If your garden has a short cool season, choose quick cultivars and treat harvest timing as part of planting, not as the final step.
7. Roots Are Forked, Lumpy, or Misshapen
Forks and lumps usually begin below the soil line. Rocks, clods, compacted layers, uneven soil texture, overcrowding, and root injury force the growing root around obstacles. Nematodes and other pathogens can also distort roots, but inspect the bed and the pattern of damage before assuming a disease.
Prepare a fine, stone-free seedbed for short radishes and a deeper, looser bed for daikon or other long types. Do not sow a long-rooted variety into a shallow container just because the leaves fit. If only a few roots are crooked around one rock or clod, soil preparation is the likely answer; if many plants are swollen, scarred, or declining in the same bed, rotate the crop and investigate a brassica disease with local extension help.
Avoid repeated digging around growing roots. Radishes are direct-sown, quick crops; the best time to correct their soil is before planting. A light compost amendment can improve structure, but fresh manure or a very rich pocket can create new moisture and nitrogen problems.
8. Leaves Have Tiny Shot Holes
Pinprick holes that make the leaves look as though they were peppered with a tiny shotgun are the signature of flea beetles. The adult beetles are tiny, jump when disturbed, and feed on the leaves; young seedlings are the most vulnerable. UC IPM notes that damage is often cosmetic after the early seedling stage, but a heavily damaged seedling may lose too much leaf area to establish.
Check the undersides and tap a leaf over a sheet of paper. Do not confuse a few holes with a nutrient deficiency, and do not assume every chewing insect needs an immediate spray. Cover new rows with a floating row cover soon after sowing, seal the edges, and remove weeds and crop debris where beetles can shelter. UC IPM’s flea beetle guidance also lists white sticky traps for monitoring and says insecticides are often unnecessary or ineffective when populations are high; any pesticide used on an edible crop must match the label and local rules.
If the plant is vigorous and the holes are not increasing, leave the row under observation. If seedlings are stunted, protect the next sowing earlier and rotate brassica crops rather than planting another radish in the same debris-filled bed.
9. Roots Have Tunnels, Holes, or Rot
Root damage needs a closer look because “something ate my radish” can describe several different problems. Clean tunnels or pale maggots in the root or nearby soil suggest cabbage maggot, the larva of a small fly that lays eggs near the stem. UC IPM says the larvae tunnel into cole-crop roots and that young plants are most susceptible; tunnels also give pathogens an entry point.
Remove badly infested plants and dispose of them rather than leaving them in the bed. For the next sowing, use insect-proof fabric or a protective cover with edges secured to the soil, clear brassica weeds and debris, and avoid overfertilizing with manure. UC IPM’s cabbage maggot guidance emphasizes prevention because once maggots are inside the root, pesticide control is not reliable.
If the root has no tunnels but is chewed from the outside, inspect for slugs, snails, or cutworms at night and around the soil surface. If the damage is soft, wet, and foul-smelling, suspect rot instead of a chewing pest. Pull the plant, check neighboring roots, and correct drainage before replanting.
10. Leaves Turn Yellow or Have Spotted Patches
One older yellow leaf is not a diagnosis. Whole plants can pale after overwatering, root damage, poor fertility, low light, or normal aging, while irregular yellow patches that turn brown point more toward a leaf disease or environmental stress. UC IPM’s environmental-disorder guidance lists heat, soil moisture, fertility, drought, excess water, poor soil, and low light among the causes of vegetable discoloration and poor development.
Start with the root zone and the pattern. If the soil is saturated, stop adding water and improve drainage. If the leaves are pale but growth is steady and the bed is genuinely poor, a soil test is more useful than guessing with a strong fertilizer. UC IPM’s environmental-disorder guidance lists heat, drought, excess water, poor soil, low light, and fertility problems as possible causes of vegetable discoloration and poor development. Keep nitrogen modest; rich soil can produce more leaves without better roots.
Look under spotted leaves in cool, wet weather. Downy mildew can begin as irregular yellow patches and produce white, downy growth on leaf undersides; UC IPM’s downy mildew guidance recommends airflow, allowing foliage to dry, avoiding prolonged leaf wetness, and removing infected debris. Do not treat every yellow leaf as mildew, and do not compost visibly diseased plant material if it can spread the problem in your system.
11. Seedlings Collapse or Plants Rot
A seedling that falls at the soil line, or a mature plant with soft roots and a sour, wet bed, is dealing with a root-zone problem until proven otherwise. Frequent irrigation, heavy soil, rain pooling, a blocked container hole, or dense planting can deprive roots of oxygen. The yellow leaves that appear before collapse are a clue, but the soil condition is the better starting point.
Lift one plant gently. Healthy roots should be firm enough to hold their shape; brown, slimy, or foul-smelling tissue has already lost function. Remove collapsed plants, thin the row so air can move, and let the surface dry slightly between waterings while keeping the remaining roots from becoming bone dry. In a container, empty trapped water and confirm that the drainage hole is open; do not place a pot inside a full saucer.
For a new sowing, use a fine but free-draining medium, water gently enough not to crust the surface, and choose a sunny location away from lawn sprinklers. A short crop is not a reason to keep diseased roots in the ground. Sanitation and better drainage give the next batch a much better chance than trying to revive tissue that has turned soft.
The Radish Reset: A 10-Minute Prevention Checklist
Most problems above shrink when you control the crop’s short growing window. Before sowing the next row, run this checklist:
- Time the crop for cool growth. Sow salad radishes in a mild spring or late-summer window, and use winter or oriental types when you need a longer cool-season crop.
- Prepare the root zone. Loosen compacted soil, remove stones and clods, and use finished compost to improve structure rather than piling on fresh manure.
- Sow thinly or thin promptly. Give each plant the space its mature root needs; do not wait until the leaves form a solid mat.
- Keep moisture even. Check the soil with your hand, count rainfall, and water slowly when the root zone begins to dry. Avoid both drought-and-deluge cycles and permanently soggy soil.
- Give enough light. Four to six hours is a useful minimum, with more light in cool weather and some afternoon protection in extreme heat.
- Watch the leaves twice a week. Tiny holes, yellow patches, wilting, and a flower stalk are easier to manage when noticed on seedlings than after the root is mature.
- Harvest by size and feel. Pull a sample at the packet’s mature size, then harvest the row before roots become woody, pithy, cracked, or overly spicy.
When to Replant Instead of Rescue
Rescue is worthwhile when the crop is still young, the roots are firm, and the cause is correctable: thin crowded seedlings, add a light mulch during a dry spell, install a row cover, or move your next sowing into cooler weather. Do not spend weeks trying to reverse a root that is already rotten, a salad radish that has bolted and turned woody, or a row whose roots are heavily tunneled.
Replanting is not failure; it is the advantage of a fast crop. Clear the residue, change the timing or bed conditions that caused the problem, and sow a small test row before committing all your seed. One well-timed row can teach you more about your garden than a large sowing made in the wrong week.
Conclusion
Radish problems become manageable when you read them as timing and root-zone clues. Leaves without roots usually call for cooler conditions, more room, better light, or less nitrogen; cracks and bitterness point to uneven growth; holes, tunnels, spots, and soft tissue require a pest or disease check rather than a generic fertilizer fix.
For the next crop, prepare loose soil, thin early, keep moisture steady, inspect often, and harvest on time. If the current row has crossed the point of recovery, pull it, correct the cause, and sow again while the weather still suits the variety.



