What Makes a Backyard Look Bad? 5 Designer Fixes
Five backyard mistakes designers spot instantly—from mismatched furniture to bare beds—and the weekend fixes that make outdoor spaces feel intentional.
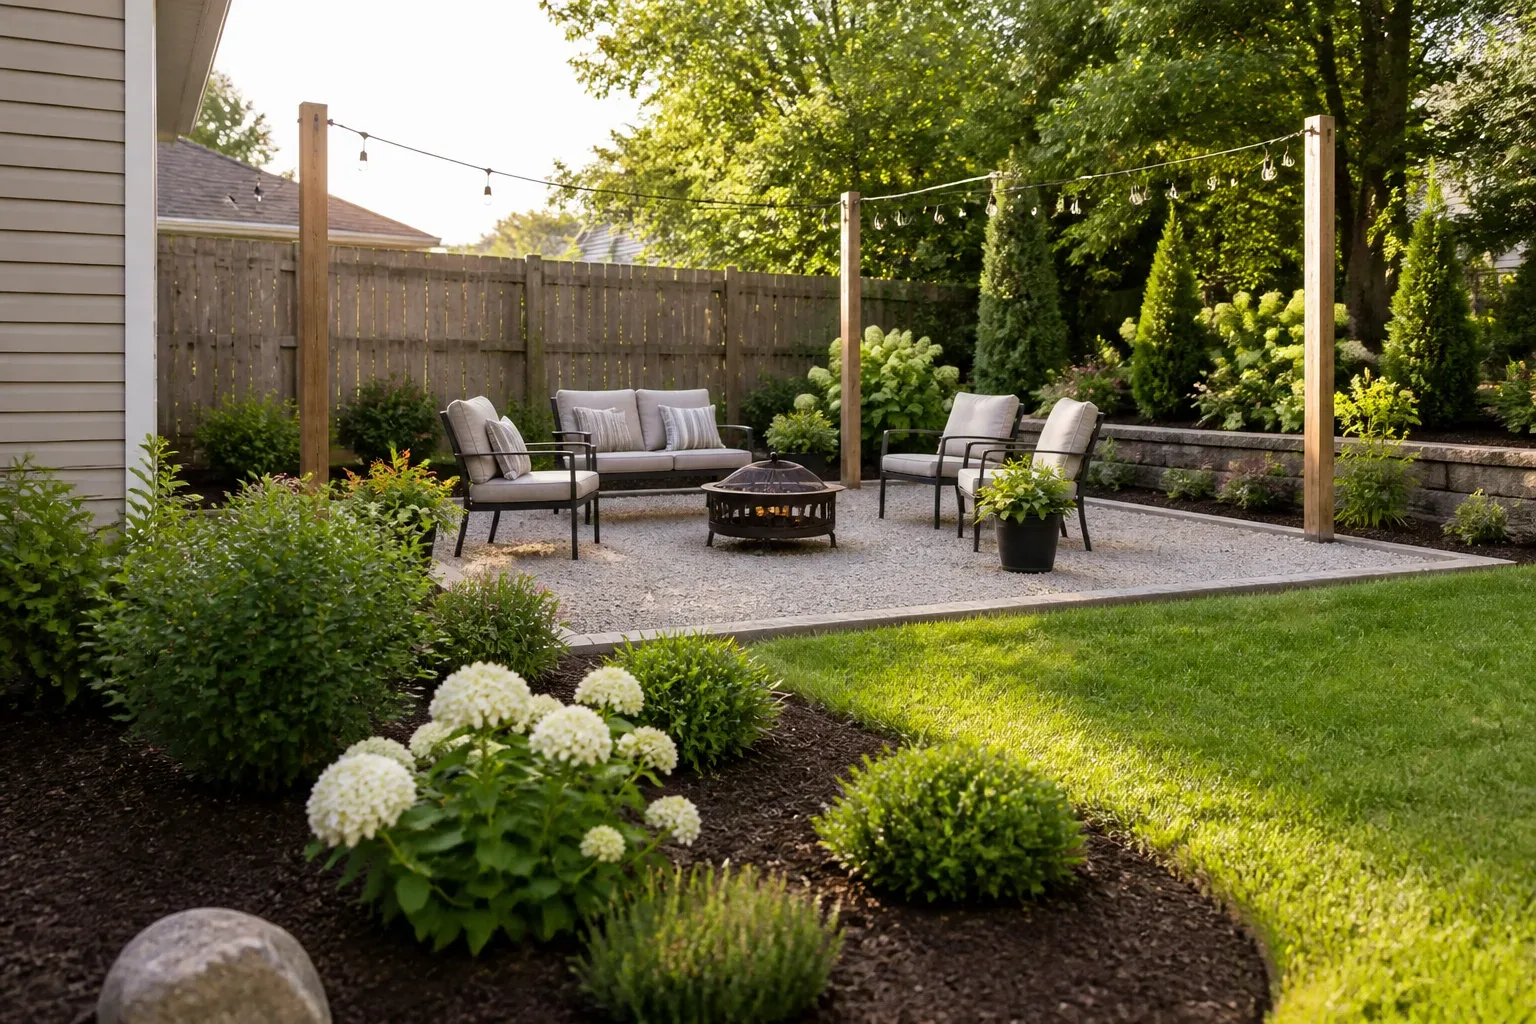
A backyard rarely looks bad because you skipped one trendy fire pit. It looks bad because nothing relates to anything else—mismatched chairs by a bare bed, one harsh porch bulb at night, gray cushions that read as “temporary,” and plants that never got a plan. Interior designers treat outdoor space as rooms with weather, not a lawn you dump overflow furniture onto. The five mistakes below are the ones they flag first because they are visible from the kitchen window and cheap to fix if you tackle them in the right order.
What Makes a Backyard Look Designed Instead of Dumped
Intentional backyards share a pattern you can spot before you know plant names. Circulation is obvious: there is a path from the door to the grill, the seating faces something worth looking at, and feet do not cut through planting beds. Materials repeat: the same metal finish, cushion color, or gravel tone shows up at least twice so the eye reads cohesion instead of a yard sale. Structure comes before color: evergreens, fences, or pergola lines frame the space; flowers and pillows are the accent layer. Maintenance matches real life: the planting plan survives the hottest week you will actually have, not the week you fantasize about.
UF/IFAS landscape planning guidance puts the yard in the same design conversation as your home—complement the architecture, note sun and shade microclimates, and plan how water drains before you shop (UF/IFAS ten planning tips for design). The University of Wisconsin Extension makes the same practical point: landscape success depends on how the space will be used, maintained, and experienced from inside the house (University of Wisconsin Horticulture). A designed backyard is not more expensive; it is more sequenced.
Four Qualities Designers Look for First
When a designer walks into a backyard job, they scan four layers before discussing pillows. Hydrology: does water pool against the house or sit in the lawn? Circulation: can two people carry plates to a table without crossing mud? Furnishing: is there a defined seat zone with stable furniture? Planting: do beds have height layers—groundcover, mid shrubs, vertical anchors—or one flat line of struggling perennials? Skip a layer and no amount of string lights will save the photo.
Why the Backyard Should Read as an Extension of Your House
Your exterior materials already set a palette: brick warmth, painted siding, stone lintels, dark gutters. Outdoor choices that echo those lines—rectilinear planters on a modern facade, softer curves near a cottage porch—make the transition from kitchen to patio feel continuous. UF/IFAS explicitly recommends starting themes from home architecture rather than from a random Pinterest board (UF/IFAS ten planning tips for design). That does not mean matching paint chips on cushions. It means not placing wrought-iron filigree seating against a stark contemporary wall unless you are deliberately contrasting—and then doing it boldly, not accidentally.
Run a 10-Minute Backyard Audit Before You Shop
Before you buy another lantern, walk the lot with a phone camera and a notepad. Designers charge for this clarity; you can steal the method in ten minutes.
Stand at the back door and photograph what guests see first. Is the eye drawn to a dead shrub, a leaning chair, or a beautiful view? Walk the path you use daily to the grill, shed, or kids’ zone. Note every place you step on grass because there is no paving. Stand where you sit (or would sit) at 8 p.m. and look up. One bare bulb? Total darkness beyond six feet? Scan bed edges. Mulch volcanoes around trunks, bare soil, and weeds crossing into lawn read as neglect faster than a faded cushion.
Three Signals That Scream “Afterthought”
- Furniture that does not face a focal point—chairs angled toward a fence instead of a fire pit, view, or table.
- Lighting with no layers—a single overhead source and black void beyond the porch.
- Planting with no vertical anchor—everything the same knee height, with gaps between immature shrubs.
Epic Gardening’s landscaping mistake roundup echoes what pros see on site: impulse plant buys without a plan, ignoring scale, and skipping hardscape edges produce yards that look worse after the first season, not better (Epic Gardening).
Sketch Zones on Paper Before You Open a Browser Tab
Divide the yard into cook, dine, sit, play, path, and utility zones like rooms on a floor plan. Draw arrows for how people move between them. UF/IFAS recommends creating linked spaces and openings that encourage exploration rather than one empty lawn (UF/IFAS ten planning tips for design). A sketch exposes problems shopping cannot fix—like putting a dining table in the lowest spot where rain collects.
Mistake 1: Using the Backyard as a Catch-All Storage Lot
The fastest way to make a patio look cheap is to treat it as indoor overflow: hand-me-down lawn chairs, mismatched end tables from three houses, kids’ toys permanently docked by the door, and a hose coiled where a side table should be. Designers call this the afterthought yard—the place things land because there is no plan, not because they belong.
The fix is not a full custom build. It is deciding what belongs outdoors and giving each category a home. Cooking tools near the grill. Cushions in a bin that closes. Toys in a deck box at the play zone edge. Everything else goes back inside or to the shed. Visual clutter reads as poor design even when every item is expensive.
Define Outdoor “Rooms” the Way You Define Indoor Rooms
Give each zone one job. A lounge with stable seating and a side table. A dining zone with level footing and light over the table. A utility strip along the fence for compost, bins, and hose bib—screened if possible. You do not need walls; rug-scale hardscape or gravel defines edges well enough. Our budget-friendly backyard makeover ideas guide walks through phased zone upgrades when you are building on a weekend budget.
Link Zones With Paths People Will Actually Use
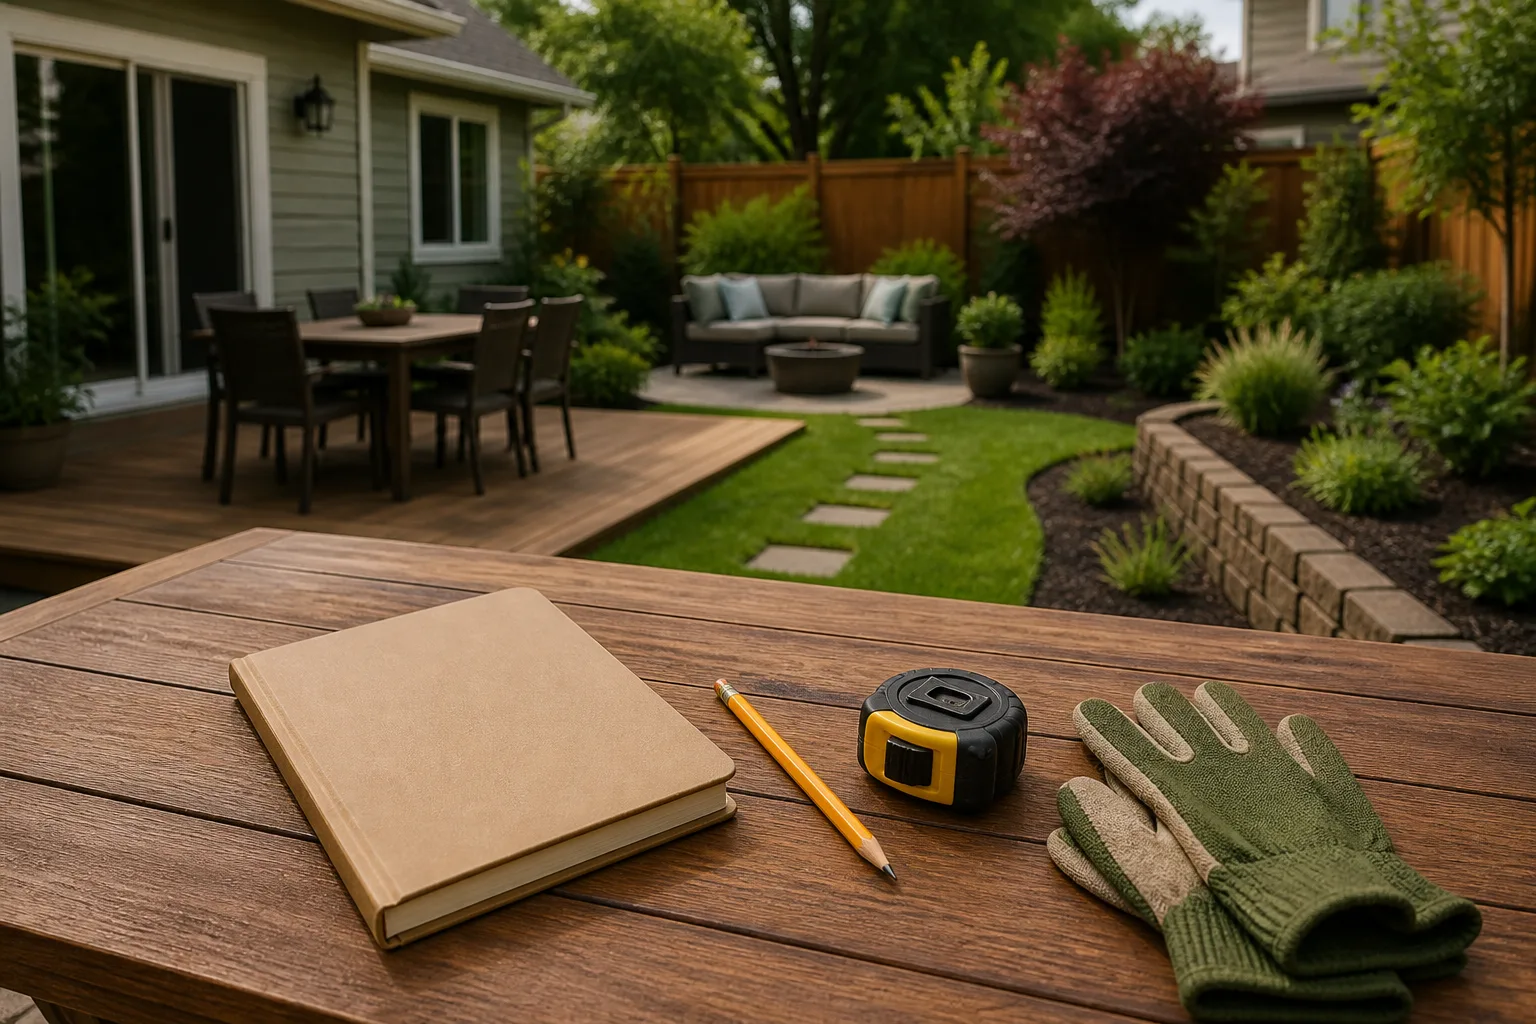
A path is a promise: this is where feet go. Without it, guests trample new mulch and you resent the planting you just installed. Use gravel, pavers, or mowed grass strips between zones—but make the route from kitchen door to primary seat the clearest line in the yard. UW Extension stresses access and movement as core design inputs (University of Wisconsin Horticulture). If you must choose between a new chair and a defined walk, choose the walk first.
Mistake 2: Defaulting to Gray Neutrals and Mismatched Pieces
Gray outdoor cushions are the safe choice that reads as temporary. Designers see yards full of cement-tone pillows—not because gray is wrong, but because every piece is a different gray, with unrelated stripes, faded sun-bleached panels, and indoor throws that mildew. The space looks like a holding area, not a room.
Color outdoors is not indoor color. UV, rain, and red clay on shoes change the equation. You need fewer colors, repeated more often, on materials that can be washed or replaced cheaply.
Build an Outdoor Color Palette That Survives Sun, Rain, and Muddy Shoes
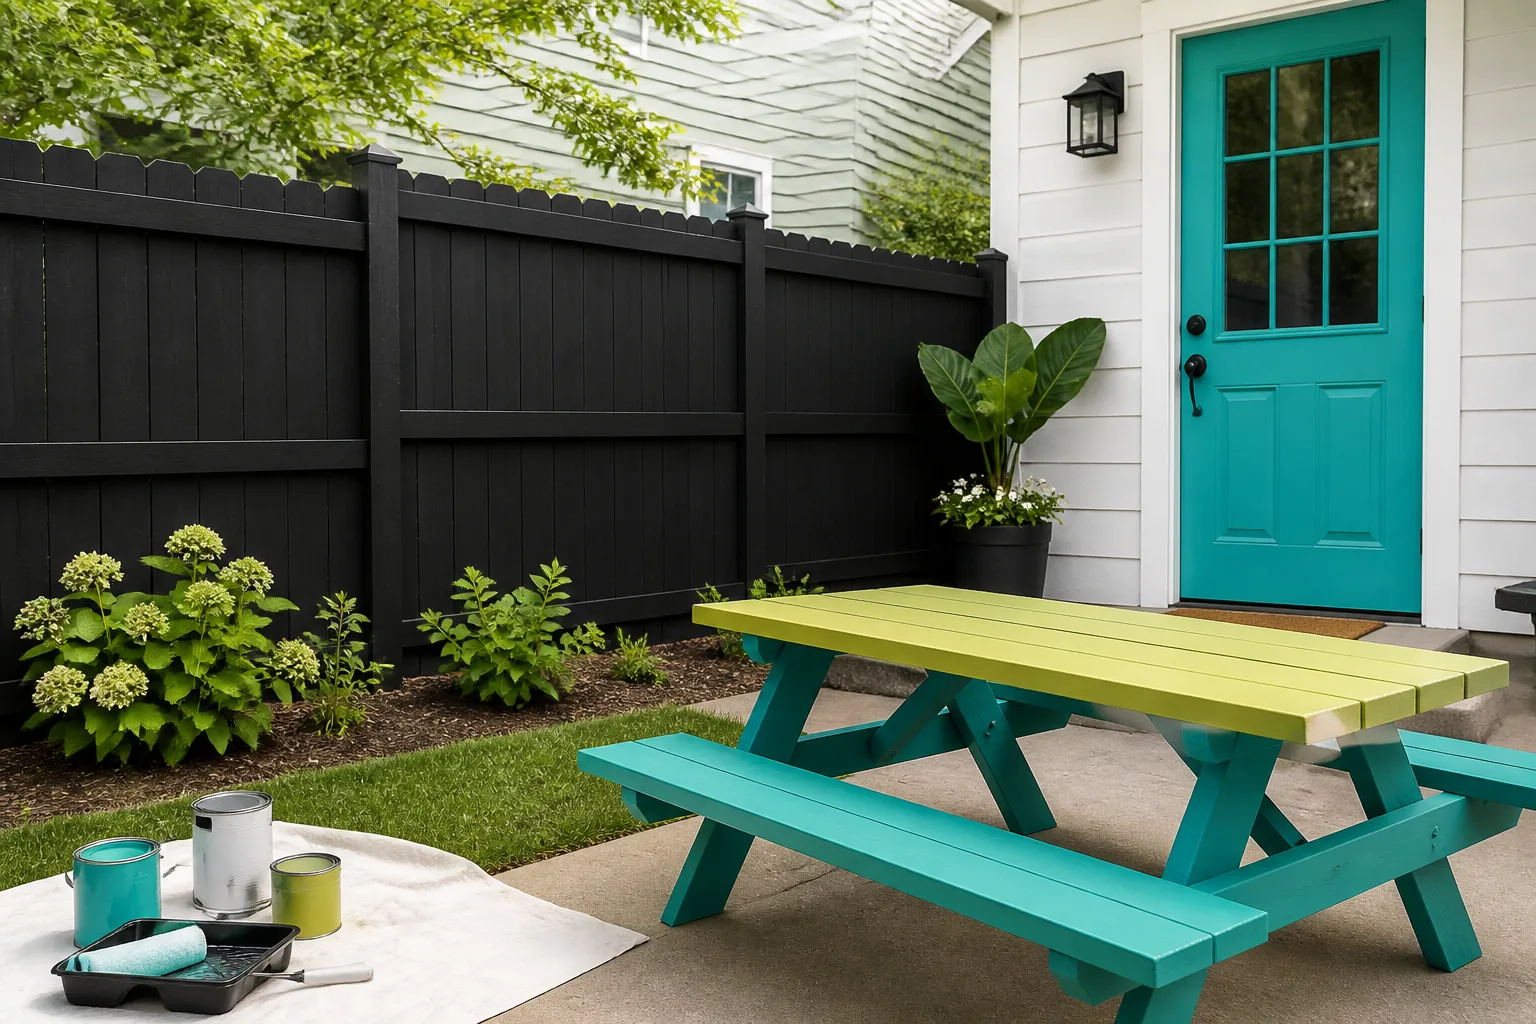
Pick three colors max for textiles and accessories: a base (tan, charcoal, or deep green), an accent (terracotta, navy, or citron), and a neutral hardscape (gravel, wood, or stone you already have). Run the accent on at least three objects—two cushions and a planter, or pillows, a lantern, and a door mat—so the eye registers repetition.
Pull inspiration from what is already fixed: brick, siding, roof, and dominant planting. UF/IFAS suggests themes can be as simple as consistent shapes or as complex as a relaxation garden—but they must be unified (UF/IFAS ten planning tips for design). Lighter colors show dirt faster; saturated colors fade. Medium tones with pattern hide wear best for families.
Repeat One Element So Thrifted Pieces Still Look Intentional
You do not need a matching furniture set. You need one repeated visual hook: same pillow color on every chair, same planter material flanking the steps, or one metal finish on lantern, table, and fire screen. Designers thrift successfully when they edit ruthlessly and repeat deliberately—exactly the approach in our backyard decor thrift guide cluster. Three related chairs beat five unique ones.
Mistake 3: Relying on a Single Overhead Light
One bright porch fixture does two bad things: it flattens the seating area with glare and it drops everything beyond into darkness. Indoors you would never light a living room with a single ceiling bulb and no lamps. Outdoors, the same rule applies—guests cannot see steps, paths look smaller, and the yard feels smaller and less safe.
Layered outdoor lighting is not luxury; it is depth. Ambient light sets overall mood. Task light covers cooking and dining. Accent light highlights paths, plants, or architecture. Missing layers make even expensive furniture look like a showroom after closing.
Layer Outdoor Lighting: Ambient, Task, and Accent
Ambient: string lights, softly spaced across a pergola or fence line, or dimmable wall sconces on the house—enough to see faces at a table without squinting. Task: a pendant or directional fixture over the grill and dining surface; brightness matters where you cut and serve food. Accent: low path lights, uplights on a tree trunk, or lanterns on steps—guiding movement and drawing the eye through the yard.
Keep color temperature consistent across layers; mixing icy LED with warm incandescent reads sloppy. Aim light down along paths to reduce glare into neighbors’ windows—a common reason municipalities restrict uplighting. For path placement patterns, see our backyard lighting ideas guide.

Fixture Types That Upgrade a Patio Without Electrician Drama
Solar path lights are fine for accent along a walk if you accept dim output and seasonal battery fade. Plug-in string lights and battery lanterns upgrade ambient layers in one evening. Hard-wired fixtures pay off when you entertain weekly and need reliable task light. Candles and flameless lanterns add accent at table height—designers use them because they pull sightlines down to the seating plane where people actually look.
Mistake 4: Buying Furniture That Fades in One Season
Cheap outdoor furniture fails in predictable ways: paint flakes on steel, webbing sags, cushions bleach to a different color than the back panel, and wicker unravels after one wet winter left uncovered. The yard then looks worse than before you “furnished” it—because broken pieces signal neglect louder than empty concrete.
Spending more upfront is not the whole answer. Buying the right material for your climate and storage reality is. A $900 set you cover and store wins over a $300 set that rusts in place.
Performance Fabrics, Metals, and Realistic Replacement Timelines
Solution-dyed acrylic and olefin performance fabrics (marketed under names like Sunbrella-class textiles) resist UV and mildew better than printed cotton or cheap polyester—worth the cushion upgrade even if the frame is older. Powder-coated aluminum handles rain without rust; teak and cedar need oil but age gracefully; bare steel needs vigilance or it stains patio stone with rust rings.
Epic Gardening’s mistake list flags buying cute decor before functional seating—wobbly tables and fading chairs undermine everything else (Epic Gardening). Expect 2–5 years on budget steel with cover and shade; 10+ years on quality aluminum or hardwood with basic care. Plan cushion replacement every 3–5 seasons in full sun even with performance fabric.
When Repair Beats Replacement—and When It Wastes Money
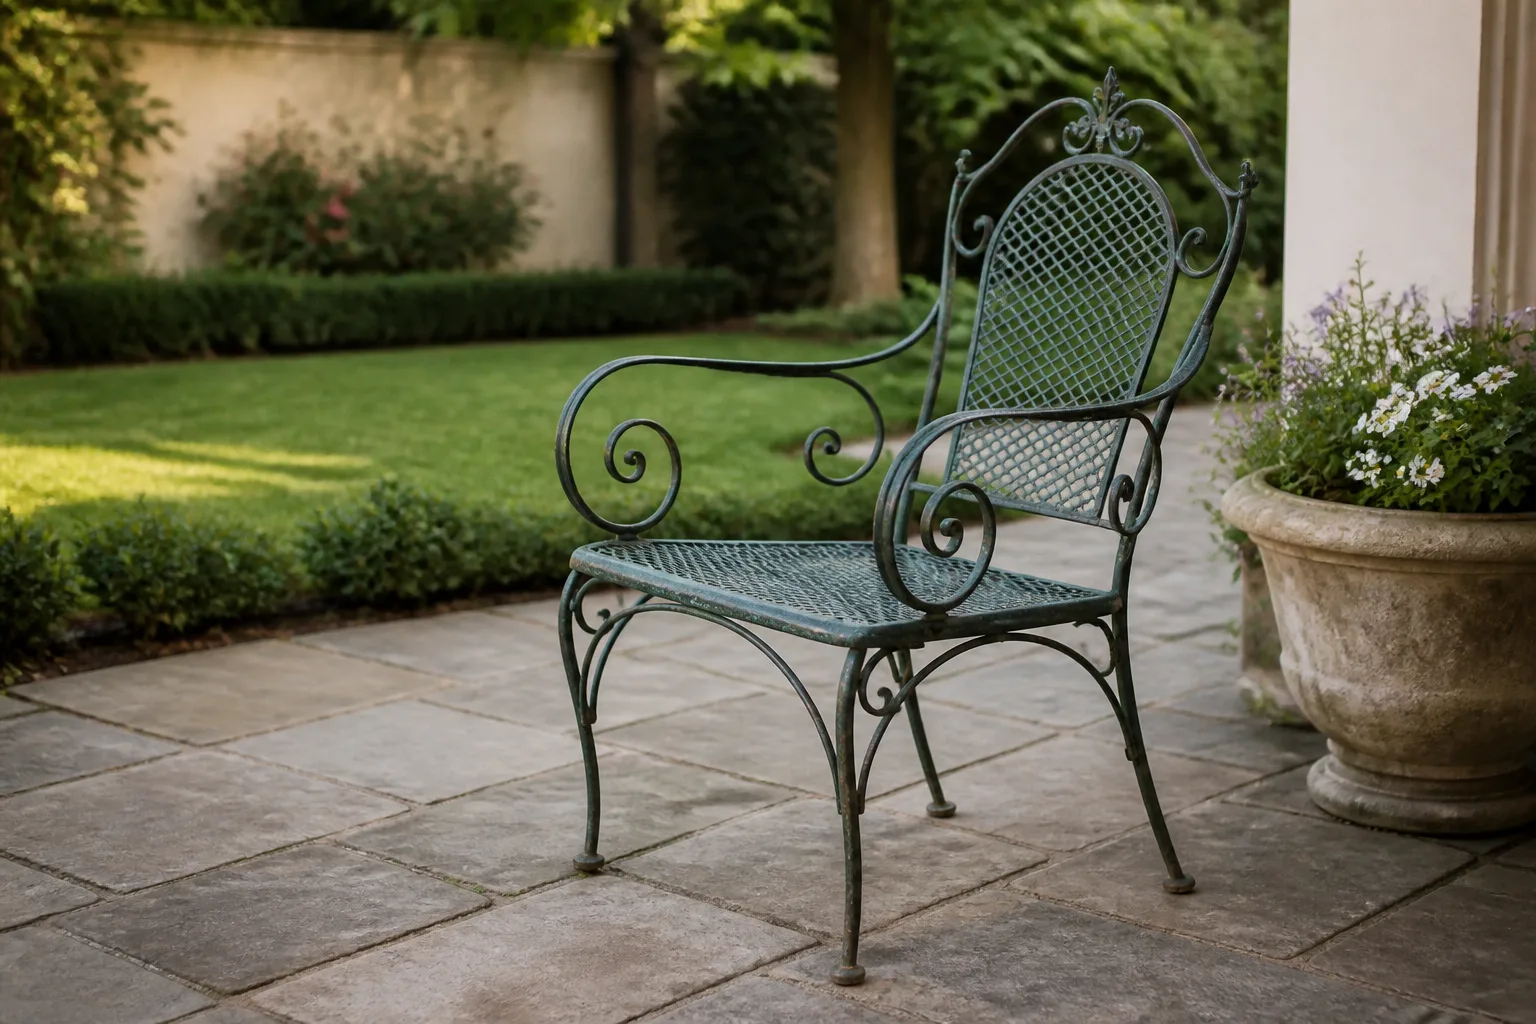
Repair sanded and repainted steel, tightened loose bolts, and swapped cushion covers when frames are solid. Replace when rust is structural, welds crack, or rockers flex. Powder-coat touch-up on a $40 chair is smart; powder-coat on a frame that already wobbles is theater. Store or cover every porous material in snow climates; “outdoor” does not mean “winterproof” without help.
Mistake 5: Planting Without Structure or a Seasonal Plan
Bare beds and scraggly one-off plants are the landscaping version of mismatched pillows. A single row of small shrubs spaced too far apart looks empty all year; a jungle of random perennials with no evergreen backbone looks messy in winter. Designers want bones first, blush second.
Landscape structure is vertical layering: ground plane (mulch, gravel, groundcover), mid layer (shrubs and ornamental grasses), overhead (trees, pergola, arch). UF/IFAS recommends thinking through visual planes before plant shopping (UF/IFAS ten planning tips for design). Without that stack, flowers feel like decorations taped to a blank wall.
Evergreen Anchors, Seasonal Filler, and Elevated Containers
Place evergreen anchors first—boxwood, inkberry, juniper, or regional equivalents sized for your USDA hardiness zone—at corners, gate posts, and behind seating to frame views. Fill seasonal color with perennials and annuals in front, not scattered as lone soldiers. Elevated planters near the door give instant polish when beds are still young; choose substantial pots, not undersized plastic that tips in wind.
Match plants to microclimate: full sun, part shade, and wet spots are different jobs. Epic Gardening stresses planting for conditions instead of forcing sun lovers into shade—and leaving room for mature width (Epic Gardening). A three-foot shrub planted with six feet of spacing looks scraggly for years.
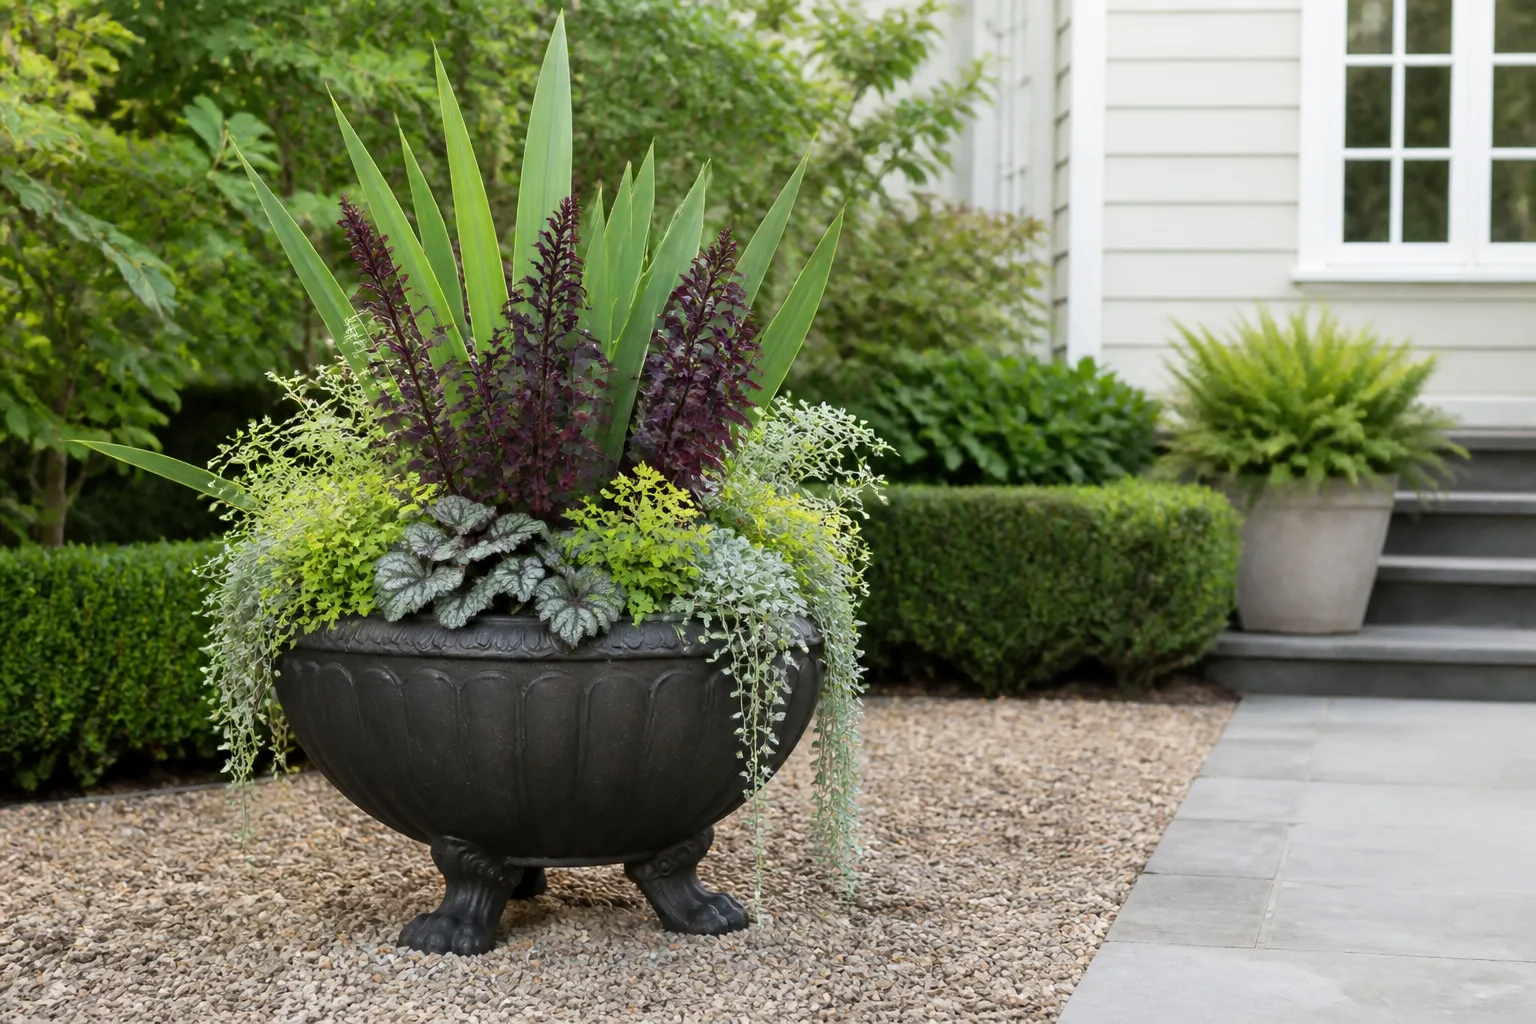
Mature Size Planning So Beds Don’t Look Scraggly Next Year
Read the mature height and spread on every label. UF/IFAS warns that mature size assumes ideal conditions; your site may push plants larger or smaller (UF/IFAS ten planning tips for design). Plant slightly denser in youth if you will edit—but do not stack trees under eaves you will prune forever. Fresh mulch pulled back from trunks and crisp bed edges buy polish while shrubs fill in. For broader planting layout patterns, our raised garden bed layouts guide covers spacing logic that applies to ornamental beds too.
The Weekend Fix Sequence Designers Actually Recommend
Order matters. Day one—clarity: audit, sketch zones, haul broken furniture and dead sticks, edge beds, and define a walk path with gravel or temporary stepping stones. Day two—structure: install path lights or string ambient layer, set seating facing a focal point, add two anchor planters or evergreen shrubs at entry points. Day three—color and comfort: unified cushion covers, one accent color repeated three times, mulch refresh, and task light over the table if you cook out.
Do not start with annual flowers in July if drainage is broken—you will water mud. Do not buy a sectional before you know it fits the sun pattern at 6 p.m. When you want case studies of transformations that followed sequence—not impulse—browse our before-and-after backyard makeovers for real lot constraints.
What to Prioritize When Your Budget Is Tight
If you have $100, spend on edges: bed edging, mulch, weed removal, and three matching pillows—not one statement lantern. $300–$500 adds gravel path, plug-in string lights, cushion fabric upgrades, and two evergreen shrubs. $1,000+ buys quality seating frames, hard-wired task light, and enough plants to repeat structure on both sides of the yard.
National Association of Realtors remodeling data consistently shows high owner satisfaction for patios and landscape upgrades—but treat value as a side effect of daily use, not the primary goal (NAR outdoor features report). A tighter budget used in the right order beats a scattered splurge. When utility eyesores dominate—AC units, bins, hoses—pair planting fixes with our hide common yard eyesores strategies so structure and screening work together.
Conclusion
Backyards look bad when circulation, light, materials, and planting do not agree. Designers are not asking for a magazine shoot—they are asking for the same intention you bring to a living room: a place to sit that faces something worth seeing, light that works at night, furniture that survives weather, and plants with structure behind the color. Run the ten-minute audit, fix zones and paths before decor, layer light, invest in frames and fabrics that last, and plant evergreen bones before annual impulse buys. That sequence turns the five common mistakes into a short upgrade list you can finish in a weekend—and still looks better next year when the shrubs grow in.



