How to Deadhead Mums for Longer-Lasting Blooms
Deadheading mums keeps displays tidy and can extend flowering. See the right cut point, weekly routine, pinching cutoff, and frost-season limits.
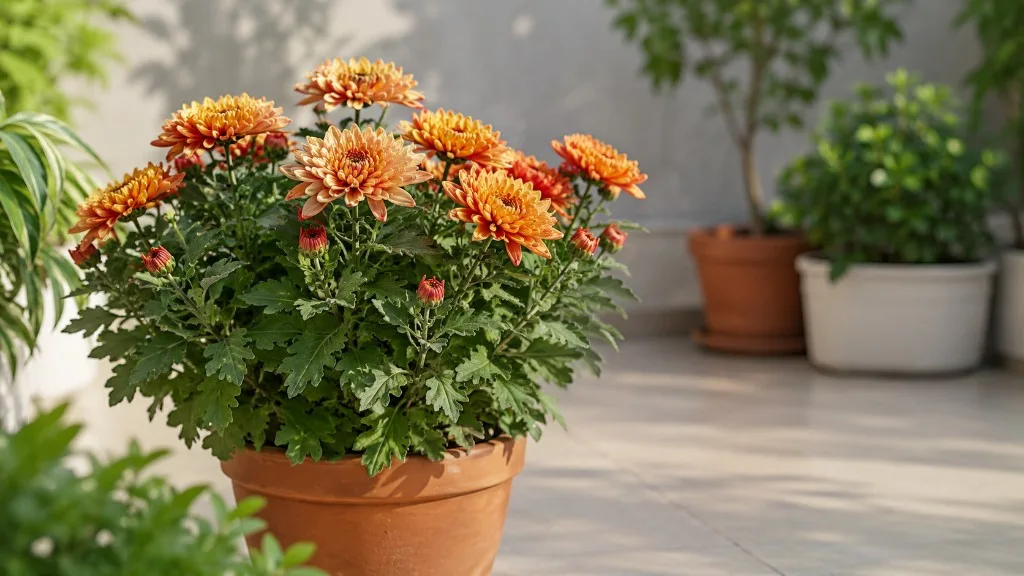
The best way to deadhead mums is to remove each flower that is clearly fading, then follow its stem down and cut just above a healthy leaf node or side shoot. That small, selective cut keeps old heads from dominating the plant’s appearance while leaving unopened buds and green foliage in place.
Deadheading can help a mum hold its color longer, but it is not a reset button. Mums set their flower buds before the main autumn show, and day length, temperature, cultivar, water, light, and frost determine how long those buds can open. If your plant is healthy and still carrying green buds, regular deadheading can help you enjoy the full bloom window—sometimes into late November in a mild, protected garden—but no cut can make a frost-sensitive display last forever.
The short answer: deadhead faded flowers, not future buds
Look for flowers with petals that have wilted, curled, faded, or dropped, especially when their centers are turning dull or brown. A mum often has fresh flowers, tight buds, and finished heads on the same plant, so the goal is not to make every flower look identical. The goal is to remove the finished ones without sacrificing the next wave.
When a head is ready, trace its individual stem downward. If the stem joins a leafy branch, cut above the first healthy leaf pair, node, or side shoot below the flower. Hide the cut inside the plant’s foliage when possible; this keeps the cushion-shaped plant looking full instead of leaving bare pegs sticking above the canopy.
If one flower on a branched stem is finished but nearby buds are still tight, remove only that flower and a short piece of its stem. If the entire branch has finished, take the branch back to a healthy fork. Never shear the whole mum during its flowering season simply because several heads have faded; that removes future flowers along with the old ones.
What deadheading changes—and what it cannot
A spent flower is a reproductive structure. Left in place, it can continue toward seed production, while the plant’s remaining buds and foliage are still supporting the display. Removing that finished head can redirect the plant’s attention toward existing flowers and buds, reduce the visual burden of brown material, and expose small buds hidden inside dense growth.
That benefit has a useful limit. Deadheading does not create a new set of mum buds after the plant has finished its natural flowering cycle. Epic Gardening’s horticulture guidance makes the distinction clearly: removing aged flowers can support continued flowering and root development, but clipping a faded head does not itself produce new buds. Epic Gardening
The most accurate promise is therefore “longer-lasting color,” not “endless rebloom.” On a plant with many unopened buds, deadheading may help the display progress cleanly from one flush to the next. On a plant with no buds left, yellowing leaves, damaged roots, or a frost-damaged canopy, more snipping will not restore flowers.
Why frost and day length still set the finish line
Mums are short-day plants: their flowering response is connected to longer nights and shorter days, which is why the main show arrives in late summer and fall. Growers also schedule many nursery plants so they are already close to peak when they reach garden centers. Once those buds are set, the plant still needs enough light, moisture, and mild weather to carry them to opening.
Frost is the hard practical limit for most outdoor displays. A light frost may discolor petals or flatten a few heads while sheltered buds continue opening, but a hard freeze can collapse flowers and foliage regardless of how carefully you deadheaded. The date printed on a calendar is less useful than your local forecast, the plant’s cultivar, and whether the mum sits against a warm wall, on an exposed porch, or in an open bed.
Know which mum you bought before planning for next year
“Mum” covers more than one kind of plant in the retail trade. NC State Extension describes hardy garden perennials, compact cushion types bred for pot culture, and florist or exhibition forms with different habits and expectations. It also notes that garden mums are often sold in fall but may not reliably return in every region, especially when planted late or exposed to difficult winter conditions. NC State Extension
For the current season, all of these plants can benefit from the same careful deadheading method. For next year, however, the label and growing situation matter more than the color of the flowers. A hardy garden mum planted early enough in a well-drained bed has a better chance of establishing roots than a tightly root-bound florist mum placed outdoors just before the ground freezes.
Treat a supermarket or nursery pot as a seasonal display first, not as proof that the plant is a winter-hardy perennial. You can plant it in the ground if there is enough time for root establishment and the cultivar is suited to your climate, but planting a fully blooming pot in late fall is a gamble. The plant has spent much of its energy flowering, and cold may arrive before the roots occupy the surrounding soil.
For a garden mum already established in the bed, deadheading supports the current show while good light, drainage, and moisture support the plant behind it. If your goal is simply a beautiful porch display, focus on protecting the pot from rapid drying, waterlogging, and an early hard freeze rather than forcing a long-term perennial plan.
The best time to deadhead mums
Start when the first meaningful group of flowers begins to fade, not when every bloom is brown and crispy. A few weathered petals are not an emergency; give the flower a moment if it still looks fresh enough to support pollinators and the overall display. Once the head is clearly past its best and the center is dull or drying, it is a good candidate.
Use flower stage and frequency as your trigger
During peak bloom, check a small container every few days and a large garden clump at least once a week. Hot, windy conditions can dry a pot quickly, while cool rainy weather can turn old heads into soft, brown debris. Frequent light passes make it easier to see the difference between a finished flower and a tight bud, and they prevent one large, frustrating cleanup later.
The correct frequency is proportional to the display. On a small pot with a dozen visible heads, removing two faded flowers can make a noticeable difference. On a mature bed planting with hundreds of heads, do not chase perfection; remove the most obviously spent or damaged flowers, then return in a few days.
If the flowers fade unusually fast, pause before increasing the pruning. Check whether the root ball is dry, whether the container drains freely, and whether the plant is receiving several hours of direct light. A mum under a dark porch may have enough water but not enough light, while a plant sitting in a saucer of water may have roots that cannot function normally.
How to deadhead mums without cutting new buds
Deadheading is easiest when you work from the outside of the plant inward. Stand the pot on a table or kneel beside the bed so you can see the stem junctions instead of blindly reaching into the cushion. Hold the finished head gently, move the surrounding leaves aside, and identify the stem that actually carries it.
Find the cut point on the stem
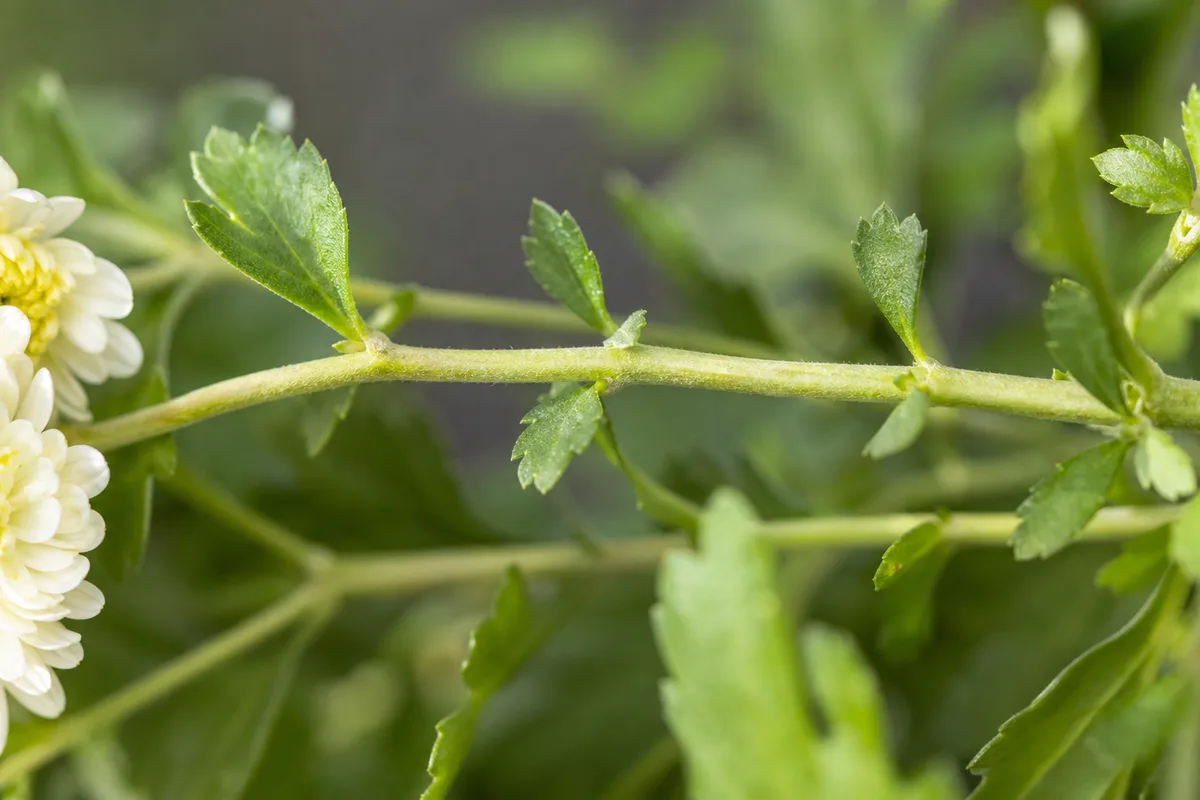
Use this sequence for each spent flower:
- Confirm that the head is faded, wilted, rain-rotted, or brown—not simply a green bud that has not opened yet.
- Follow its stem down through the foliage until you reach a healthy leaf pair, visible node, or side shoot.
- Cut just above that point, leaving the node and its nearby growth intact.
- If the whole flowering branch is finished, follow it to the next healthy fork and remove that branch above the fork.
- Look again for hidden buds before moving to the next cut.
The node is the useful landmark because it is where leaves and new side growth attach. Cutting immediately above it leaves less bare stem and gives the plant a natural place to conceal the wound. Avoid cutting flush against the node or scraping the stem, and avoid taking a long section of green stem when a short cut would do.
Choose fingers or clean snips
Soft, thin stems can sometimes be pinched between your fingertips, particularly on a small potted mum. Pinching is quick, but it can crush the stem or pull neighboring buds if you grab too hard. Use sharp bypass snips when the plant is dense, the stems are fibrous, or you need to make a precise cut below the foliage line.
Clean the blades before you start and again if you move from a plant with suspicious spots, mold, or rotting tissue to a healthy one. BHG recommends sharp snips, sanitation, and cutting the spent flower and its stem below the visible foliage rather than leaving a pointed stub. BHG
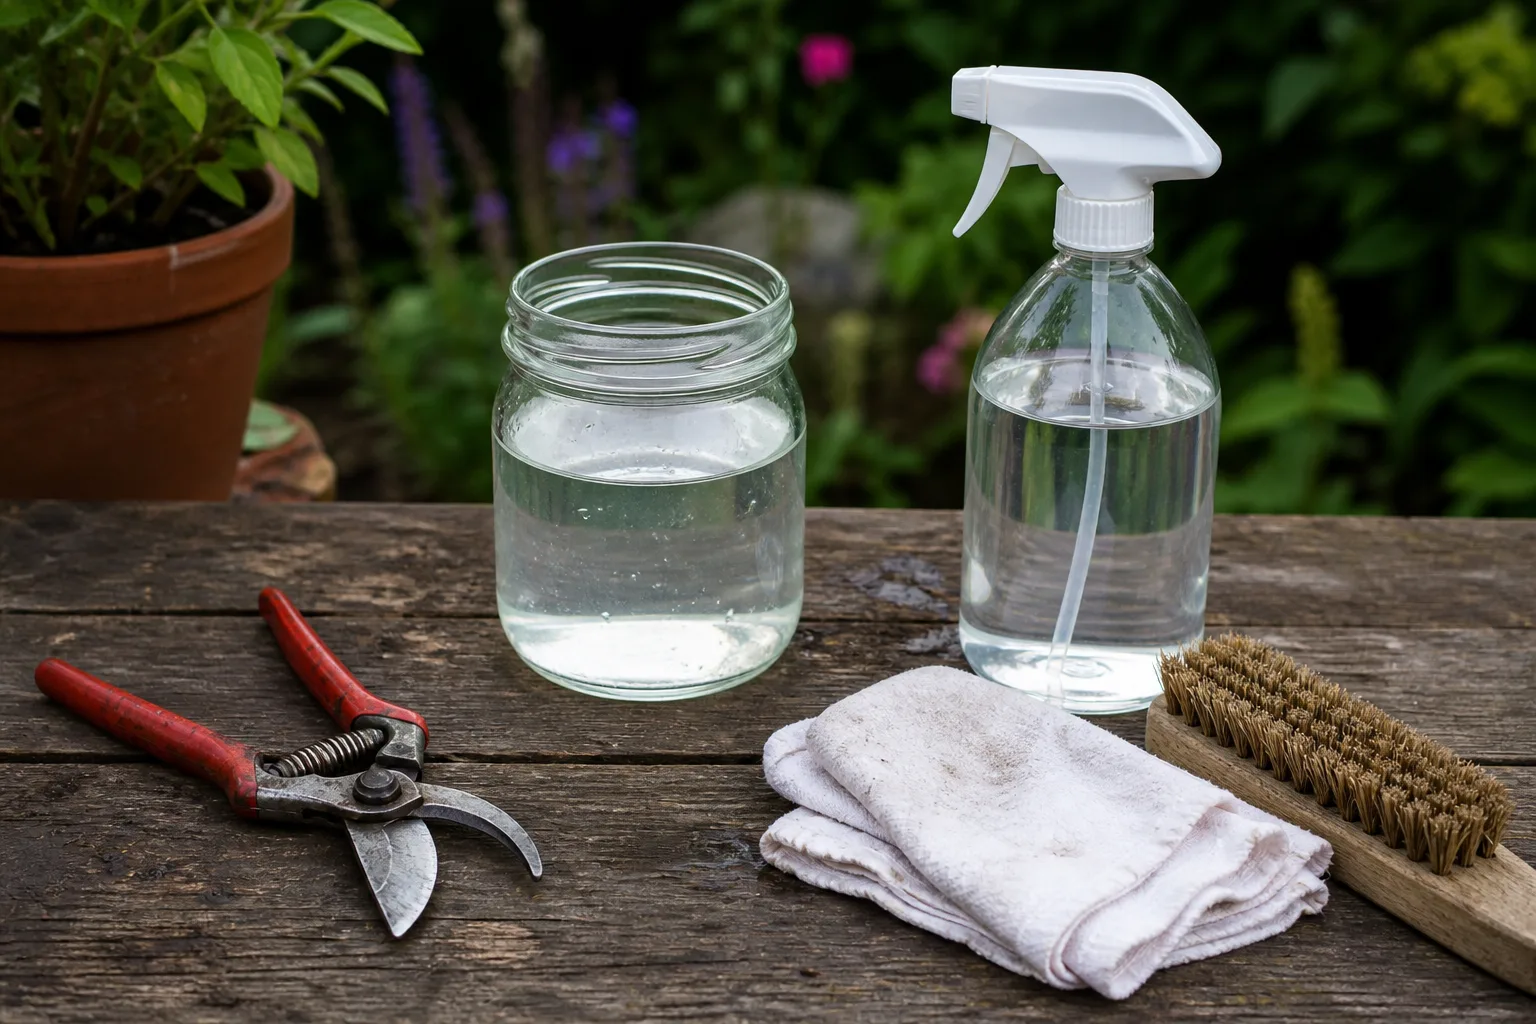
Choose a dry period when possible. A dry cut is easier to inspect, and removing wet flower debris reduces the amount of decaying material trapped in the center of a dense plant. Put healthy spent flowers in the compost only if your compost system heats adequately and the material shows no signs of disease; place visibly diseased debris in household waste according to your local rules.
Potted mums and garden mums need different follow-up care
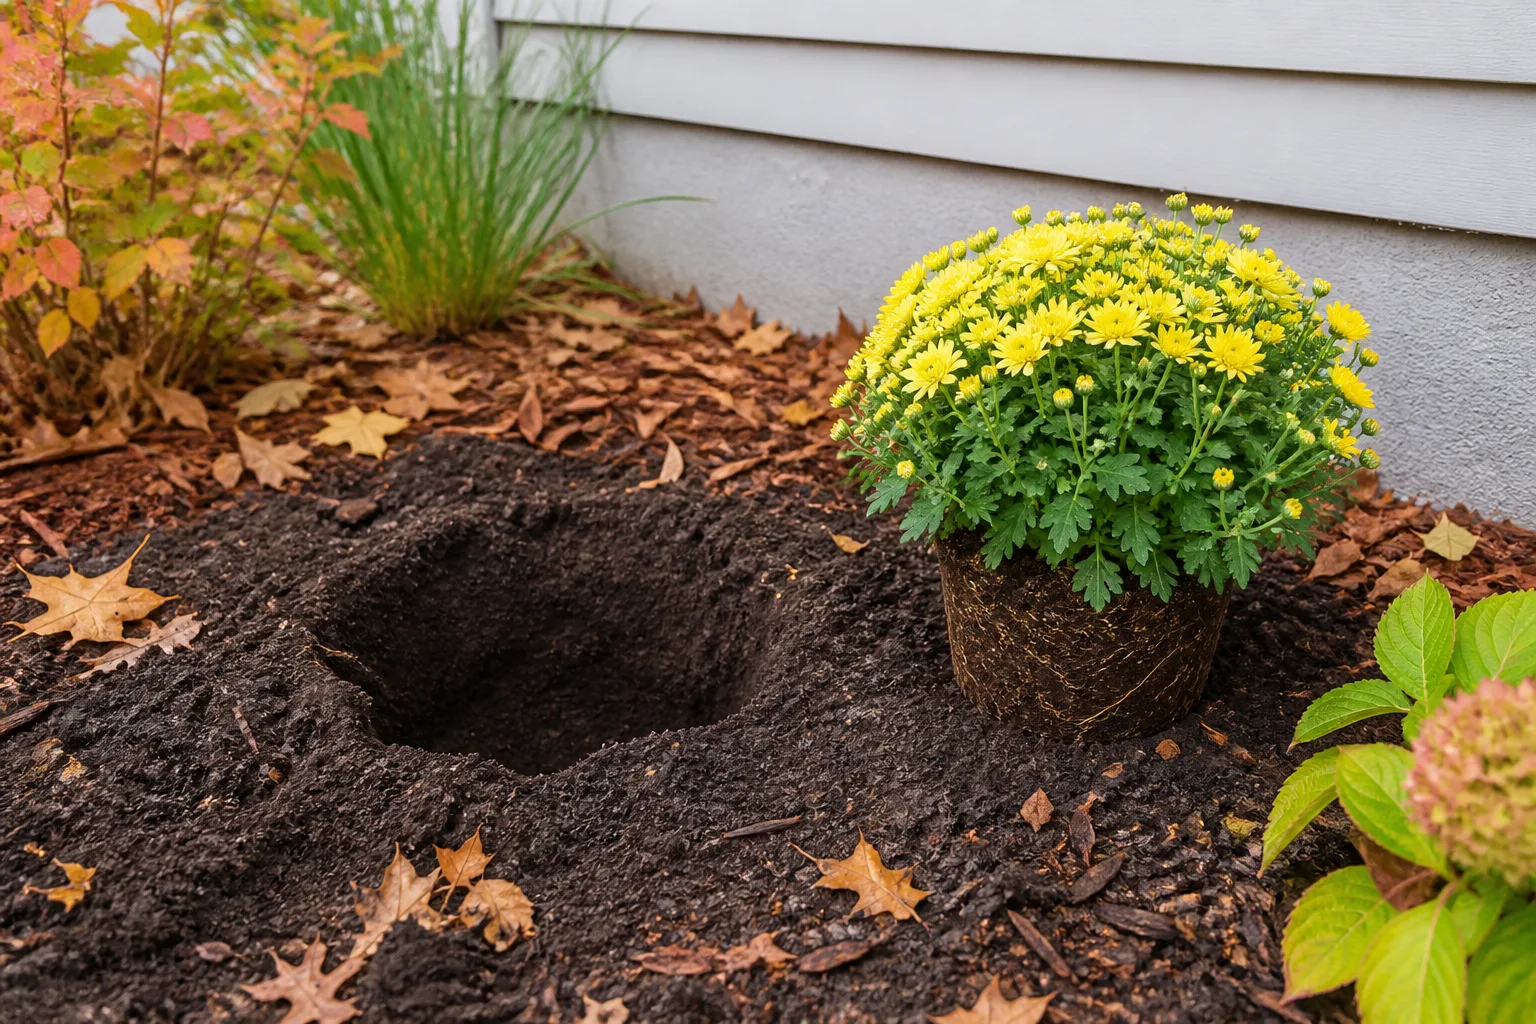
Potted mums dry from the edges inward, and a crowded root ball may need water more often than the same plant in the ground. Check the mix with a finger rather than watering on a fixed schedule. If the surface is dry and the pot feels unusually light, water slowly until excess drains from the bottom, then empty a decorative cover pot or saucer.
Do not keep a container mum permanently wet in the name of preserving flowers. Roots need both moisture and air, and a pot without a functioning drainage hole can decline even while the foliage looks full. Deadheading will not compensate for a root ball that alternates between bone-dry and saturated.
An in-ground mum benefits from a deep drink during dry spells and a well-drained bed that does not stay puddled after rain. Penn State Extension recommends regular checking after planting, deep rather than shallow watering for established perennials, and using mulch to conserve moisture and moderate the soil surface. Its general perennial guidance also cautions that excess fertilizer can produce soft growth and fewer flowers. Penn State Extension
For a pot you want to preserve, decide before the first hard freeze whether the plant is worth overwintering under cover. A cool, sheltered garage, basement, or cold frame can protect the root ball in climates where an exposed pot would freeze solid. Keep the mix barely moist rather than actively growing and water occasionally so the roots do not become completely dry.
Deadheading is not the same as pinching back
Deadheading happens after flowering begins and removes finished flowers. Pinching happens before the flower buds set and removes soft growing tips so the plant branches and forms a fuller mound. Confusing the two is one of the easiest ways to cut off the very tips that would have carried autumn flowers.
Spring pinching builds the plant before it buds
For a hardy mum growing as a perennial, begin pinching new shoots in spring after the plant is actively growing. When stems are several inches tall, remove the soft tip above a leaf pair, then repeat as new growth extends. This encourages branching, distributes flowers across more stems, and can help prevent a tall, open plant from flopping.
Stop pinching before the plant enters its main bud-setting period. The exact cutoff varies with cultivar and local conditions, but late June to early or mid-July is a useful starting window for many garden mums. Epic Gardening advises stopping around mid-July so the developing buds have time to mature; Penn State’s seasonal perennial guidance likewise pairs summer deadheading with a mid-July cutoff for pinching mums. Epic Gardening Penn State Extension
Once the plant is in bloom, switch from shaping to selective deadheading. Do not pinch the whole plant again to make it look even. The fuller shape you want was built earlier; the autumn job is to remove finished heads while protecting the remaining structure.
Care that supports a longer mum display
Deadheading works best as part of a simple care system. A plant cannot keep opening buds if its roots are repeatedly drying, its bed is shaded, or its foliage is crowded and wet. Start with the conditions you can observe before reaching for fertilizer or making more cuts.
Light, water, drainage, and feeding work as a system
Give mums the brightest practical outdoor position available, ideally with several hours of direct sun and enough room for air to move around the foliage. NC State lists full sun and good drainage as core cultural conditions for chrysanthemums, while noting that some shade can be tolerated in warmer southern regions. More shade may keep petals cooler, but too little light commonly produces weaker growth and a less convincing flower display.
Water deeply when the root zone is drying, then let excess drain. Container plants may need more frequent checks than bed plants, especially on a sunny porch surrounded by reflective walls. Avoid wetting the flowers every time you water, and water at the soil line when possible so old petals and dense foliage do not stay damp for long periods.
Do not use a high-nitrogen rescue feeding after the plant has already begun its autumn show. A soil test is the better basis for correcting a nutrient shortage, and a modest, appropriate fertilizer program belongs earlier in the season. Overfeeding late can encourage soft foliage or salt buildup without extending a frost-limited bloom window.
Deadheading also gives you a reason to scout. Look under leaves for aphids, inspect for fine stippling or webbing, and look for leaf spots or gray, rotting flower tissue. The University of Minnesota Extension’s chrysanthemum diagnostic guide groups common problems by visible symptoms such as spotted leaves, wilting, distorted growth, and holes, a useful reminder that the symptom pattern matters more than a generic “feed it” response. University of Minnesota Extension
If you see a spreading white coating, rust-colored pustules, or rapidly collapsing tissue, isolate the problem in your maintenance routine: remove affected material with clean tools, improve airflow, and identify the disease before applying anything. Chrysanthemum white rust is a serious regulated plant disease, so a confirmed or strongly suspected case deserves local extension or plant-health guidance rather than casual composting. USDA APHIS
Mistakes that shorten the display—and problems deadheading cannot fix
The most common deadheading mistake is cutting by color alone. A pale green or partially colored mum bud may look insignificant beside an open flower, but it is future color. Check the center and trace the stem before every cut.
Another mistake is removing only the petals or flower head while leaving a long, bare stalk above the foliage. That does not harm the plant by itself, but it makes a rounded mum look spiky and leaves a conspicuous stub. Follow the stem to the next node or fork instead.
Avoid hard pruning after the plant is already carrying lots of buds. A “tidy” shearing pass may remove an entire late flush, especially on a compact pot where most of the plant’s flowering tips are close together. If the plant is too dense to inspect, make several small passes over a week instead of one large cut.
Do not assume every fading mum needs fertilizer, more water, or a stronger pesticide. Fading can be normal aging, heat stress, drought, root rot, insufficient light, pests, disease, or the approach of frost. If the leaves are healthy and the plant has no buds left, the natural bloom window may simply be ending.
Finally, do not cut a hardy mum to the ground immediately after the first frost just because the flowers look finished. A post-frost cleanup can wait in most gardens, and the standing stems can provide a little crown protection through winter. The exception is obviously diseased or collapsed material that is creating a wet, contaminated mass around the plant.
What to do after the final frost
Once frost has blackened most of the foliage and flowers, deadheading is no longer the job that matters. Let the plant enter dormancy, keep the crown from sitting in saturated soil, and add a light layer of mulch where winter exposure or freeze-thaw heaving is a concern. Newly planted or marginally hardy mums need more protection than established plants in a suitable climate.
Leaving stems through winter has practical advantages: they mark the crown’s location, provide some insulation, and allow you to delay the cleanup until new growth begins. Cut old stems back in late winter or early spring before fresh shoots expand, taking care not to damage the crown. If you prefer a tidier winter bed and the plant is established and healthy, cutting back after dormancy is also reasonable.
For a fall container that will not survive exposed winter temperatures, move it to a cool sheltered place before a hard freeze. Check the soil occasionally, but do not treat a dormant plant like an indoor houseplant. In spring, assess whether it has living shoots and a healthy root system, then plant or repot it as growth resumes.
Conclusion
Deadheading mums can keep a good plant looking fresh and flowering through more of its natural fall window, but the technique succeeds because it is selective. Remove clearly spent heads, follow each stem to a healthy node or fork, and leave unopened buds, green leaves, and the plant’s overall structure intact.
The longer-lasting display comes from several decisions working together: enough light, consistent moisture without waterlogging, clean cuts, early-season pinching that stopped before bud set, and realistic expectations about cultivar and frost. If you make those decisions in that order, a few minutes of deadheading can help your mums carry their autumn color well into late fall—and give you a healthier plant to evaluate when spring returns.



