Summer Garden Pests: Identify and Control 7 Threats
Identify seven summer garden pests by their damage, then use IPM, barriers, scouting, and targeted controls to protect vegetables, flowers, and shrubs.
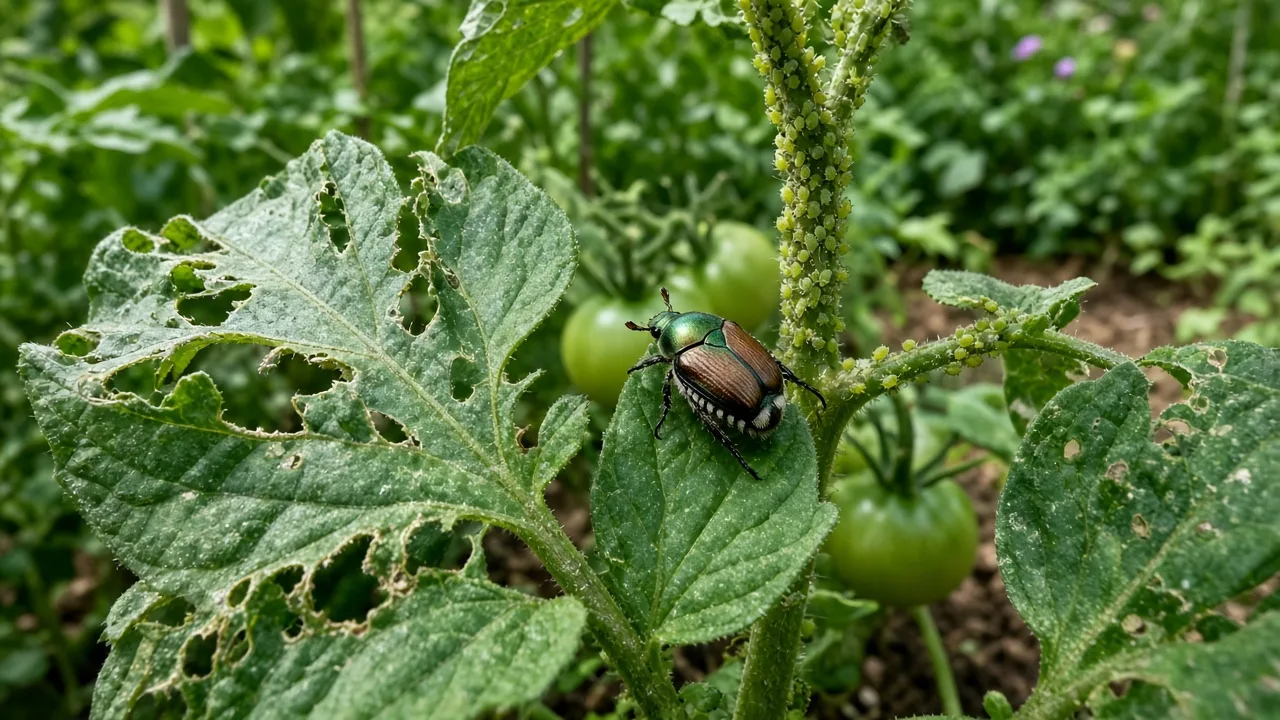
The fastest way to lose a garden battle is to treat the wrong suspect. A ragged hole, a curled leaf, a silvery trail, and a plant pulled from the soil can all look like “pest damage,” but they point to very different creatures and very different fixes.
Use this guide as a field plan for the seven summer garden pests that cause the most frustrating mix of chewed leaves, weakened growth, missing seedlings, and browsed plants: slugs and snails, caterpillars, aphids, spider mites, groundhogs, raccoons, and deer. The goal is not to sterilize the garden. It is to confirm the problem, protect the plants that matter, and use the least disruptive control that actually fits.
Start with the clue, not the spray
Summer damage is easiest to diagnose while it is fresh. Walk the garden in daylight, then make a second pass at dusk or after dark if leaves are disappearing overnight. Photograph one whole plant and one close-up of the newest damage before you touch anything; that small record helps you compare progress and gives an Extension office something useful if the diagnosis stays uncertain.
Make a five-minute evidence sweep
Check the underside of several leaves, the newest shoots, the soil line, the underside of pots, and the spaces under mulch or boards. Look for slime, frass, webbing, honeydew, shed skins, egg clusters, tracks, droppings, clipped stems, and disturbed soil. A hand lens makes aphids, mites, and tiny eggs much easier to see, but you can still collect strong clues with a flashlight and your phone camera.
Note three things: where the damage is concentrated, when it appears, and whether the plant is still growing. Fresh damage limited to soft new leaves needs faster attention than old holes on mature foliage. A few holes on a vigorous plant may be cosmetic, while a seedling losing its only true leaves can cross the line into a real crop problem within days.
Read the damage pattern before choosing a control
| What you see | More likely suspects | Best confirming clue | First response |
|---|---|---|---|
| Irregular holes low on the plant, often with a shiny trail | Slugs or snails | Inspect after dark or after rain | Remove hiding places, hand-pick, and protect the crop with a barrier |
| Ragged bites, missing leaf edges, frass, or webbing | Caterpillars or other chewing larvae | Turn over leaves and inspect stems | Remove larvae and eggs; use a target-specific, labeled control if needed |
| Clusters on tender shoots, curling leaves, sticky surfaces | Aphids | Look for pear-shaped insects, cast skins, ants, or sooty mold | Wash off, reduce excess nitrogen, and conserve predators |
| Fine pale speckles, bronzing, leaf drop, or delicate webbing | Spider mites | Tap the leaf over white paper and inspect the underside | Rinse foliage, correct water stress, and reassess nearby plants |
| Large low bites, clipped stems, a broad den opening | Groundhogs or other mammals | Daytime sightings, tracks, and a large soil mound | Build a buried, well-secured exclusion fence |
| Nighttime digging, overturned mulch, missing corn or fruit | Raccoons | Cone-shaped holes, paw prints, or pulled sod | Remove food attractants and use a sturdy barrier |
| Jagged browsing, stripped shoots, hoofprints | Deer | Feeding height and dawn or dusk activity | Use tall, maintained exclusion around priority plants |
This is a sorting tool, not a diagnosis by table alone. Wildlife can eat holes, insects can coexist with disease, and a slug trail can dry before you see it. When clues conflict, prioritize direct evidence—a live pest, fresh frass, a new web, a track, or a burrow—over the general appearance of one leaf.
Why IPM beats a blanket spray
Integrated Pest Management, or IPM, is a decision process rather than a product. Penn State Extension’s garden IPM guidance frames the sequence as observing, identifying and diagnosing, selecting an appropriate control, and observing the result. It also makes an important distinction: IPM does not mean total eradication, and a gardener can set an acceptable level of damage based on the crop, the plant’s age, and the value of the harvest or display.
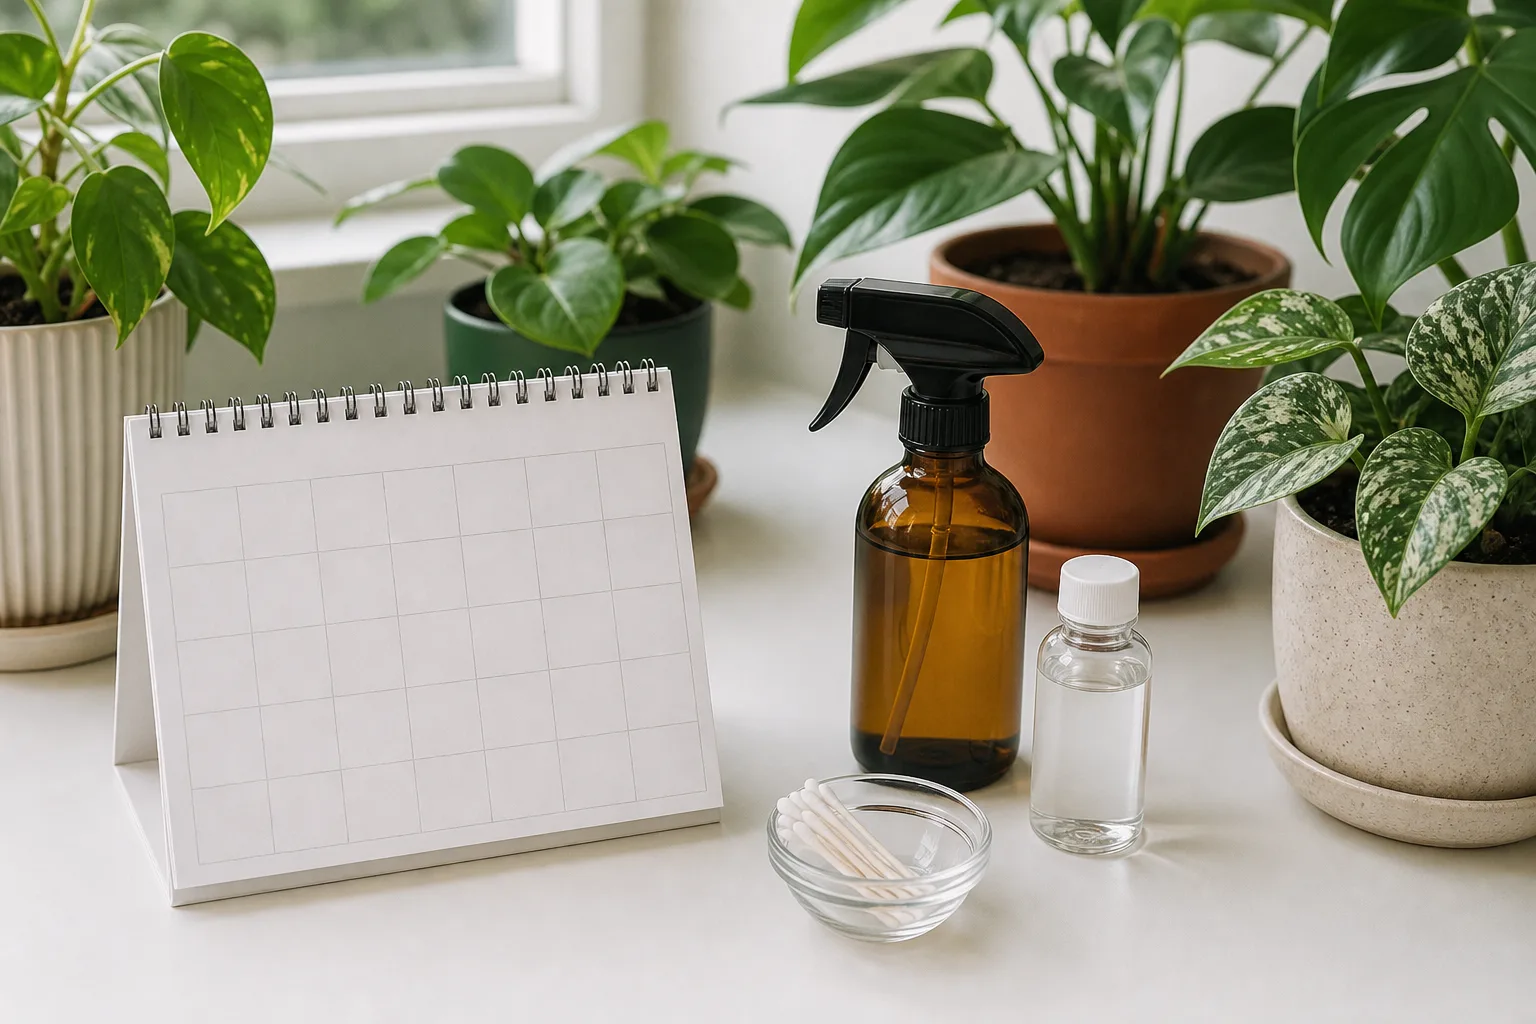
That distinction matters in summer because broad-spectrum control can remove predators along with pests. A garden with lady beetles, lacewings, predatory mites, ground beetles, birds, and parasitoid wasps may look less tidy for a few days while those allies build pressure on the problem population. If the plant is not losing vigor and the harvest is safe, monitoring may be the most effective action.
Use this four-part rule for every pest below:
- Observe: Record fresh damage, location, timing, and plant response.
- Identify: Find the pest or stack several clues before treating.
- Choose: Start with sanitation, hand removal, water, a barrier, or habitat change when it fits.
- Recheck: Look for new damage on a defined schedule and change course only when the evidence says to.
1. Slugs and snails
Slugs and snails are most troublesome where summer nights are damp, the soil stays shaded, and tender plants sit close to the ground. They can damage seedlings, leafy greens, flowers, and low-growing ornamentals, often making a healthy bed look ravaged between sunset and breakfast.
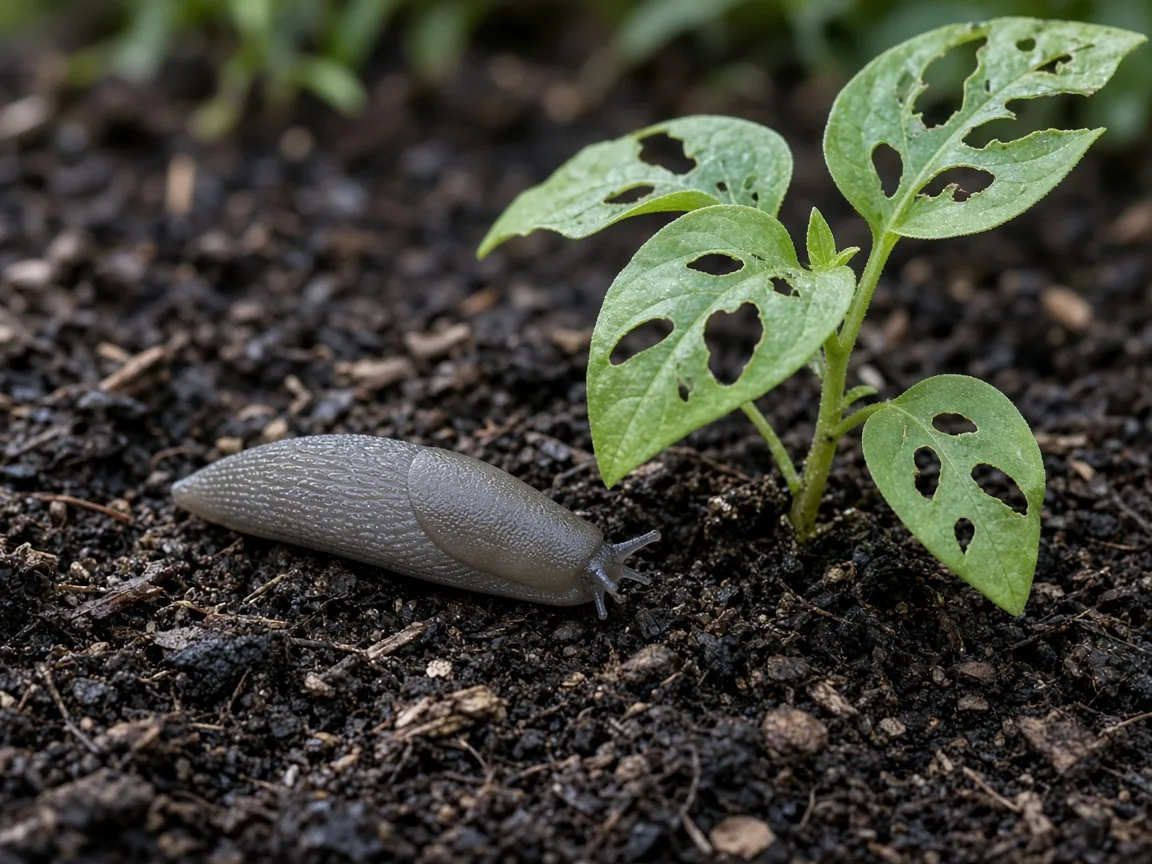
Confirm the overnight, moisture-loving culprit
Look for irregular holes with relatively smooth edges and a silvery mucus trail on leaves, paths, pot rims, or soil. Go out with a flashlight after dusk or before sunrise, especially after rain or irrigation. Penn State Extension notes that slugs are ordinarily nocturnal, but they can also feed on cloudy, damp days; during hot, dry weather they hide under boards, stones, vegetation, and other cool cover. (Penn State Extension’s slug identification and control guide)
The location of the damage helps. Slugs usually start with leaves near the soil, seedlings, or fruit that rests on damp mulch, but they can climb stems and containers. Snails may leave the same style of damage, so you do not need to identify the exact mollusk species before taking the first physical steps.
Reduce slug damage with shelter removal and barriers
Start around the plant. Remove loose boards, discarded pots, thick weed mats, and dead leaves that create daytime refuges. Thin mulch that is pressed against stems, improve drainage where soil stays waterlogged, and water early when your schedule allows so the surface is not freshly wet at the start of the feeding period.
Hand-pick during several evening checks rather than expecting one round to end the problem. A damp board or piece of folded cardboard can work as a simple monitoring shelter; lift it in the morning, remove the slugs you find, and move the trap periodically so it does not become permanent cover. A shallow beer trap can indicate activity, but it needs frequent emptying and may catch non-target organisms, so treat it as one tool rather than a complete control plan.
For seedlings and high-value greens, use a cloche, fine mesh, raised container, or a carefully installed copper strip as a physical barrier. The barrier must connect to the soil without gaps and should be checked after rain. A fence or ring that traps slugs inside the protected area only turns the defense into a buffet.
Do not scatter salt around plants. It can injure roots, foliage, soil organisms, and soil structure while failing to remove the cool shelter that keeps the population returning. Also be skeptical of any “natural” pellet or powder that is not labeled for the crop and setting; read the active ingredient and non-target cautions before using it.
2. Caterpillars
Caterpillars can turn a leafy plant into a lacework of veins surprisingly quickly. Some start at the leaf margin, others chew holes through the middle, and a few hide so well that the first clue is a pile of dark droppings beneath a leaf.
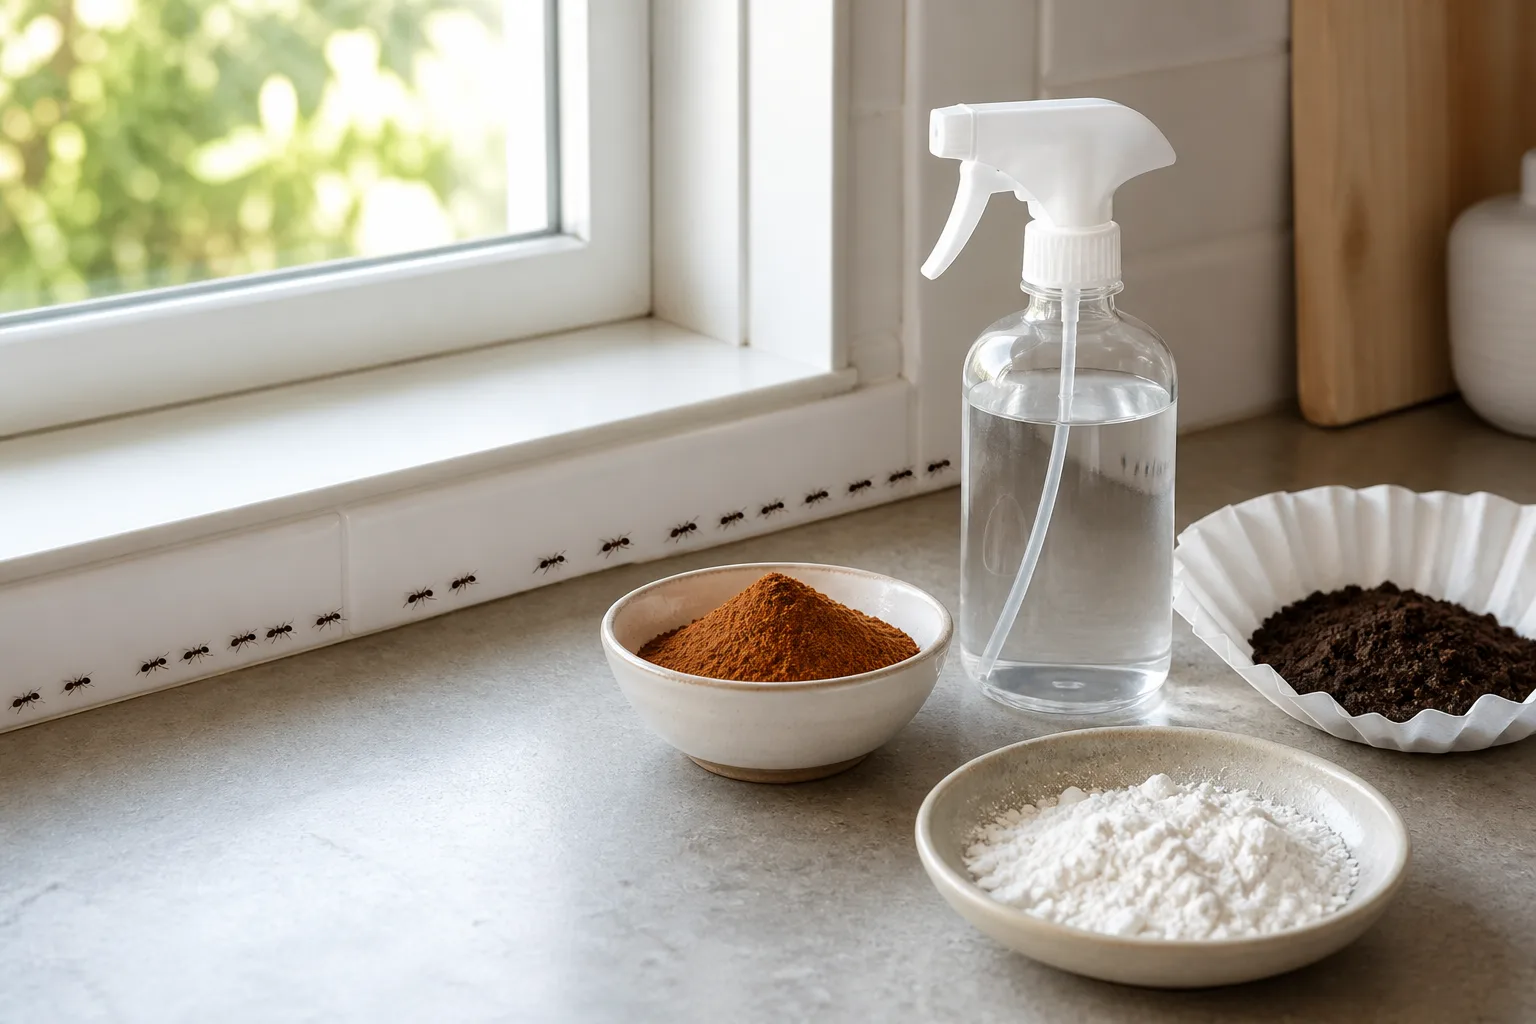
Inspect the underside of leaves, the center of new growth, stems, and nearby stems for eggs, webbing, shed skins, and frass. Check at more than one time of day because color-matched larvae may hide during daylight. Do not assume every smooth green larva is the same pest: sawfly larvae can resemble caterpillars but are not controlled by every caterpillar product.
Protect leaves without removing every helpful insect
If you find only a few larvae, hand removal is often the cleanest answer. Wear gloves if needed, drop the pests into a container of soapy water, and return to the plant in two or three days because eggs may hatch after the first inspection. On a tough ornamental, a strong but not damaging stream of water can dislodge small larvae; avoid blasting fragile seedlings or leaving wet foliage overnight.
For vegetable beds, install a lightweight row cover early and secure it at the soil line. A cover works best before moths or butterflies lay eggs, and it must be removed or opened once the crop needs pollination. The fabric also has to be lifted periodically so you do not create a warm, protected space where a pest already inside can feed undisturbed.
If hand-picking and exclusion are not enough, choose a product for the confirmed target and the specific crop. Bacillus thuringiensis var. kurstaki and var. aizawai are strains used against caterpillars of moths and butterflies, but Bt is not a universal bug killer; the National Pesticide Information Center’s Bt fact sheet explains that strains affect particular insect groups and that young larvae are most susceptible. Follow the product label, avoid spraying open flowers, and do not treat a sawfly or beetle simply because it is chewing.
Resist the urge to remove every caterpillar from a pollinator or wildlife garden. The useful threshold is the point where feeding threatens plant recovery, the crop, or a valued display—not the presence of one larva. Preserving habitat for birds and parasitoid wasps can reduce future pressure, but it is a long-term strategy, not an instant rescue for a seedling being stripped today.
3. Aphids
Aphids are small, soft-bodied sap feeders that gather on tender shoots, leaf undersides, flower buds, and stems. They can be green, black, yellow, pink, gray, or covered with a waxy coating, so color is a weak identification clue. Clustering and feeding evidence are more useful.
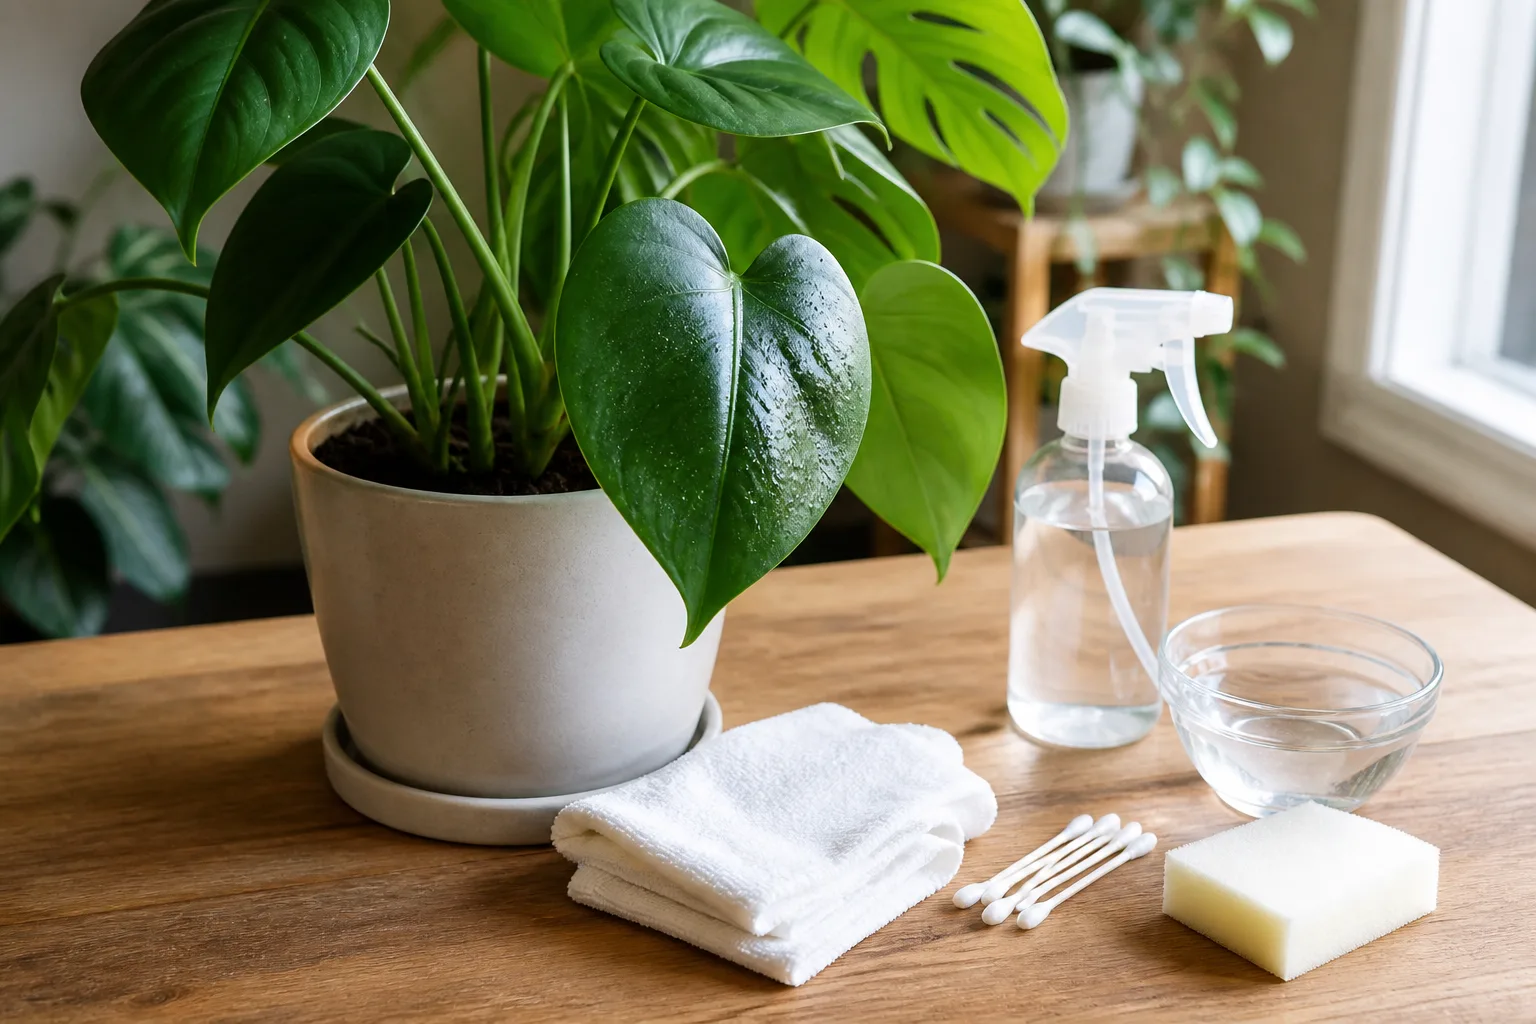
Aphid feeding can curl and distort new growth, stunt a young plant, and reduce vigor. Look for sticky honeydew on leaves below the colony, black sooty mold growing on that residue, cast skins, and ants traveling up the stem. Utah State University Extension’s vegetable aphid guidance notes that aphids can feed on buds, leaves, flowers, stems, and fruit, and that high populations or virus transmission are more concerning than a few isolated insects.
Break the honeydew-and-ant cycle
Start by checking the whole plant and its weeds, not just the most visible cluster. Pinch off a heavily infested growing tip if the plant has plenty of other growth, or wash colonies from sturdy foliage with a firm spray of water. Repeat every few days while new aphids appear; a single rinse removes insects but does not prevent winged adults or newly hatched nymphs from recolonizing.
Avoid pushing soft, succulent growth with excessive nitrogen fertilizer. That does not mean starving the plant—use the crop’s normal fertility plan—but an unnecessary high-nitrogen flush can make tender tissue more attractive and support faster aphid reproduction. Remove weeds and volunteer plants that host aphids, and inspect new transplants before placing them in the bed.
Watch ants as well as aphids. Ants may protect aphid colonies because they collect honeydew, so reducing the aphids alone can provide only temporary relief. Correct the aphid population first and use a physical or bait-based ant strategy only when it is appropriate for the site and does not expose children, pets, pollinators, or edible crops to an unlabeled product.
Lady beetles, lacewings, syrphid larvae, predatory midges, damsel bugs, and parasitoid wasps are valuable allies. Avoid spraying a flowering plant just because you see one aphid beside a predator. If a colony is expanding rapidly and water is not enough, an insecticidal soap or horticultural oil can work by contact, but USU Extension emphasizes that thorough coverage and the correct label for the intended plant are essential. Test sensitive plants first, never assume dish detergent is an equivalent product, and keep sprays off open blooms.
4. Spider mites
Spider mites are not insects; they are tiny arachnids that thrive when summer is hot, dusty, and dry. They pierce leaf cells and suck out contents, leaving fine pale stippling that can merge into yellowing or bronze foliage. In a severe infestation, leaves drop and delicate webbing becomes visible around leaf undersides, stems, or growing tips.
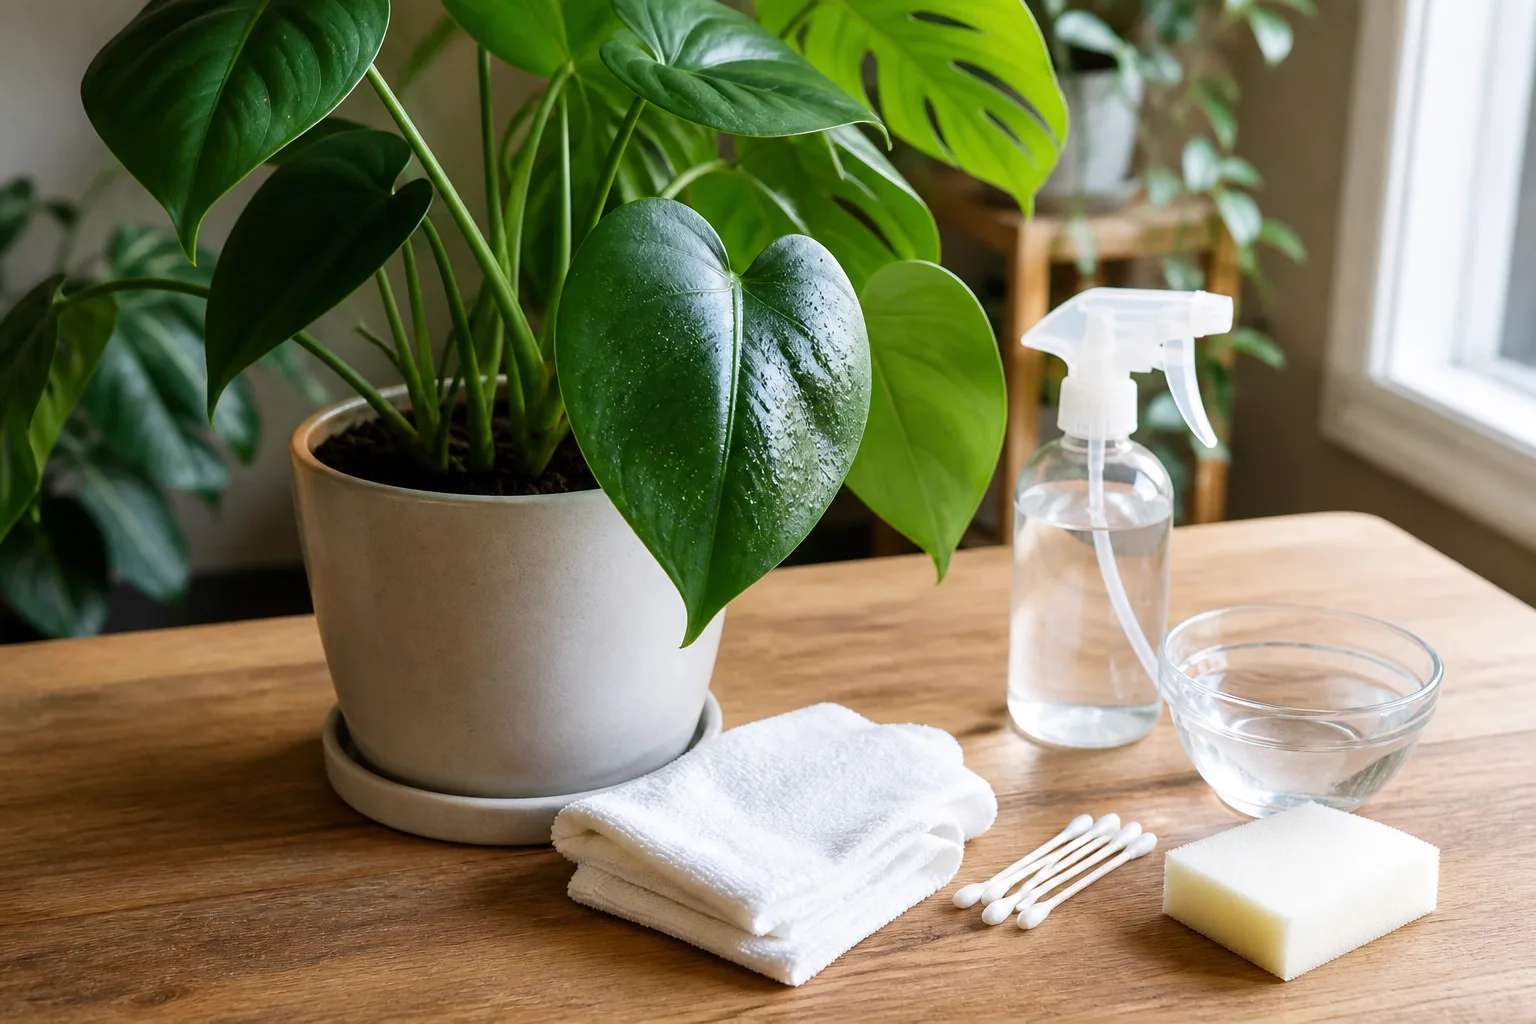
Confirm mites before treating stressed foliage
Use a hand lens if you have one, or tap a suspect leaf over white paper and watch for tiny moving specks. Inspect the underside first, then check nearby plants because mites can spread before the original plant looks badly damaged. Fine Gardening’s summer pest guidance describes heat and dry spells as conditions that favor spider mites and recommends looking for stippling, bronzing, webbing, and early spread to neighboring hosts.
Do not confuse mite stippling with nutrient deficiency, sunscald, or dust. A white-paper tap test, fine webbing, and matching damage on several leaves make the diagnosis stronger. If the plant is drought-stressed, correct watering first, but do not expect one deep watering to repair cells that are already dead.
Begin with a forceful rinse of both leaf surfaces, especially the undersides, every few days. Hose pressure should be strong enough to dislodge mites but not so strong that it tears foliage or erodes soil. Move containers away from dusty walls and heat-reflecting surfaces, and group irrigation by the plant’s real water needs rather than keeping the bed constantly wet.
If mites remain active after repeated rinsing, use a labeled insecticidal soap, horticultural oil, or miticide only when the plant and weather fit the label. Contact materials need coverage and may need repeat applications because eggs and protected mites escape the first pass. Fine Gardening cautions against applying oils or soaps in high heat and recommends testing a small area first; plant sensitivity varies widely.
Do not reach for a broad-spectrum insecticide as a first move. It can kill predatory mites and insects that help suppress spider mites, while repeated use can select for harder-to-control populations. Give the plant a week of scheduled checks, mark two or three leaves to compare, and judge success by the absence of fresh stippling—not by whether old yellow patches turn green again.
5. Groundhogs and woodchucks
Groundhogs are large herbivorous rodents with a talent for turning a vegetable bed into a feeding route. They may take beans, broccoli, carrot tops, leafy greens, grasses, and bark, and they can also create a safety problem with a broad burrow and a large mound of excavated soil.
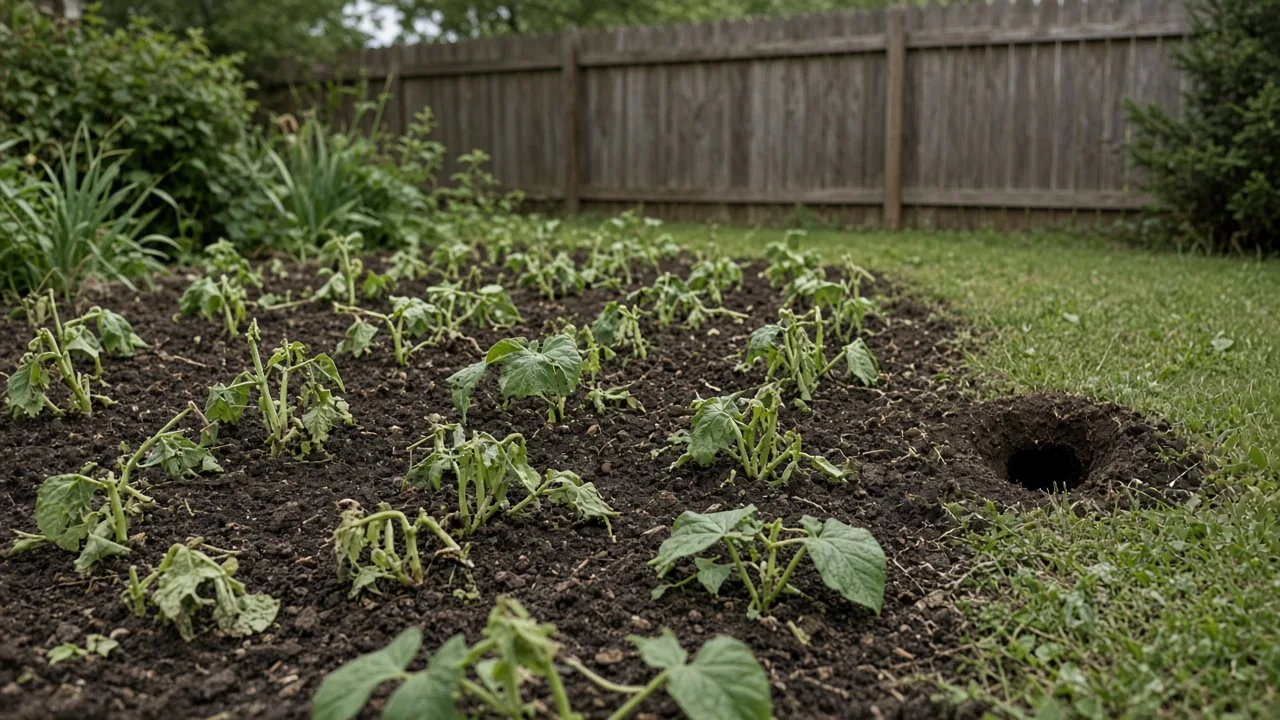
Look for low, bluntly clipped or torn stems, repeated daytime feeding, and a den entrance roughly 10 to 12 inches across with a conspicuous soil mound. Clemson Extension’s guide to holes in lawns uses the season, location, and size of an excavation as key identification clues and notes that groundhogs visit vegetable gardens during daylight. A missing plant with no insect evidence and a nearby large burrow deserves a wildlife diagnosis, not an insecticide.
Exclusion is the dependable long-term answer for a small garden. North Carolina Cooperative Extension’s wildlife handbook recommends a fence made from welded wire, woven wire, or similar material that is about 3 to 4 feet tall, angled outward at the top to discourage climbing, and buried roughly 12 to 14 inches to prevent digging. An outward underground apron can be more effective than simply pushing the fence deeper.
Inspect the perimeter for gaps, soft soil, and places where plants or stored materials create a bridge. Close the garden gate every time, and repair a tunnel only after you are sure the animal is out; sealing an occupied burrow can create a welfare problem and may force an animal into a new, less predictable exit. Predator scents and scare devices are inconsistent, and the wildlife handbook finds no research basis for several popular odor claims.
6. Raccoons
Raccoons combine crop loss with messy excavation. They may eat sweet corn, fruit, melons, and vegetables, but they also dig for grubs and other invertebrates, pull up newly planted crops, overturn mulch, and peel back loose sod. Their nighttime activity means the damage can seem to appear all at once.
Check for cone-shaped holes, paw prints, pulled turf, and a feeding route that leads toward water, garbage, pet food, or a bird feeder. Clemson Extension reports that nighttime skunk and raccoon digging often leaves holes about 3 to 4 inches across, although the disturbed area can be wider. The clue is the combination of timing and disturbance, not the hole size alone.
Remove the invitation before building a complicated defense. Feed pets indoors, secure garbage lids, clean spilled birdseed, and pause bird feeding temporarily if it is drawing animals to the crop area. Do not remove every dead tree or brush feature without considering the habitat value of that material; change the food and access points closest to the garden first.
For a small bed, use a rigid wire barrier with the lower edge secured against digging. The NC State wildlife handbook describes a 2-inch mesh wire fence with an electrified strand as one option around gardens, with the fence buried and extended outward at the base to deter burrowing. Exact designs, electrical equipment, and local rules vary, so use species-appropriate hardware and keep children, pets, and wildlife safety in mind.
Avoid scattering poison or using an improvised trap beside an edible bed. Raccoons can carry disease, and trapping, relocation, and release rules vary by location. If an animal is cornered, entering a structure, acting unusually, or repeatedly defeating exclusion, call a licensed wildlife professional or local wildlife authority rather than escalating to a dangerous home remedy.
7. Deer
Deer can erase a flower border or vegetable row without leaving the kind of small clues that point to an insect. They browse shoots, buds, leaves, shrubs, and young trees, often concentrating along woodland edges and returning to the same easy meal at dawn, dusk, or night.
Deer lack upper incisors, so they tear vegetation rather than making a clean cut. Look for jagged, ragged ends, a consistent feeding height, hoofprints, and stripped branches. North Carolina Cooperative Extension’s wildlife guidance notes that deer damage varies with deer pressure and the availability of other food, and that young, tender plants are especially vulnerable.
Physical exclusion is more reliable than trying to make every plant smell unappealing. A deer fence must be tall, taut, and maintained; a sagging section or open gate turns an expensive boundary into a shortcut. For a small priority bed, a fully enclosed cage or netting can protect the crop, but keep the mesh visible and tensioned so animals do not become entangled.
Repellents can be a short-term supplement when applied before deer establish a feeding routine, but rain, appetite, new growth, and nearby food all change the result. Rotate products only according to their labels, and never assume a repellent is safe for vegetables because it is sold as “natural.” The NC State handbook specifically warns against using mothballs outdoors; they are dangerous, and using a pesticide in a way that conflicts with its label is unlawful.
Choose resistant plants as a design aid, not an immunity promise. Hungry deer may browse plants they normally avoid, so put the most tempting hostas, beans, roses, and young fruit trees behind the strongest barrier. If you are protecting only a few prized plants, prioritize those rather than trying to fence an entire property without a plan for gates, maintenance, and snow or storm damage.
What to do in the next 48 hours
When damage is active, use a short sequence instead of changing products every day. Today, photograph the damage, inspect the plant at the time the suspect is active, remove visible insects or slugs, and cover seedlings or valuable crops with the best-fitting barrier. If the culprit is wildlife, remove food attractants and repair the first access gap before you spend money on repellents.
Tomorrow, recheck the same plant and one nearby plant. Compare new damage to the original photograph, wash aphids or mites from foliage when appropriate, and inspect the underside of covers for trapped pests. If the crop is flowering, open or remove exclusion fabric as needed for pollination; if it is an edible crop, record any product name and application date so harvest timing remains clear.
On day two, decide whether the first response worked. No new holes, fewer live pests, and stable new growth mean you can continue monitoring. Fresh damage means the diagnosis, barrier, or timing needs revision. A spray that kills the visible adults but leaves eggs, larvae, mites, or a wildlife entry point untouched is not a failed garden—it is an incomplete control plan.
When damage is severe, a plant is collapsing, a tree is girdled, a protected species may be involved, or a wild animal is aggressive or inside a building, get professional help. A local Extension diagnostic service can identify insects and disease from clear photos or samples, while wildlife agencies and licensed operators can explain humane and legal options. Large-scale pesticide use, trapping, relocation, and treatment near water or edible crops deserve location-specific advice.
Prevent the next summer outbreak
Build prevention around the conditions that created this outbreak. Keep new plants under observation before mixing them into the bed, remove diseased debris, clean pruners between suspect plants, and keep weeds from becoming alternate hosts. The RHS guidance on preventing pest and disease problems emphasizes the value of right-plant-right-place decisions, monitoring, garden hygiene, physical barriers, airflow, and careful watering.
Use crop rotation where it helps break a host-and-pest cycle, stagger specialist crops instead of putting every host in one uninterrupted block, and install row covers before the vulnerable stage rather than after damage begins. A diverse garden can make it harder for specialist pests to move from one identical host to the next, but diversity is not a substitute for a barrier around a deer-prone vegetable bed.
Make scouting a routine rather than a crisis. Walk twice a week in mild pressure and more often when seedlings are establishing, heat is stressing plants, or a nearby pest has just appeared. Keep a simple note of the plant, pest clue, weather, action, and result; next summer, that record will tell you whether a problem is truly recurring and when your first inspection should begin.
Finally, be cautious with homemade sprays. The RHS advice on managing pests and diseases without chemicals warns that untested mixtures containing household soaps or essential oils can scorch plants and affect non-target organisms. “Natural” describes an origin, not a guarantee of safety, selectivity, or effectiveness.
Conclusion
The seven summer garden pests in this guide do not leave the same signature. Slime and overnight holes suggest slugs; frass and missing leaf tissue suggest caterpillars; honeydew and curled shoots suggest aphids; stippling and fine webbing suggest spider mites; burrows and low feeding point toward groundhogs; night digging and overturned soil point toward raccoons; and jagged browsing with hoofprints points toward deer.
Start with proof, then protect the most vulnerable plants with the simplest control that fits: hand removal, water, sanitation, row cover, a buried fence, or a maintained wildlife barrier. Reserve labeled sprays for confirmed problems, protect beneficial organisms and pollinators, and reassess fresh damage within 48 hours. That combination of observation, targeted action, and follow-up is what keeps a summer pest from becoming the story of your whole garden.



