Growing Tomatoes: A Complete Seed-to-Harvest Guide
A practical tomato-growing guide covering variety choice, seed starting, planting, watering, pruning, pests, disease, and harvest timing.
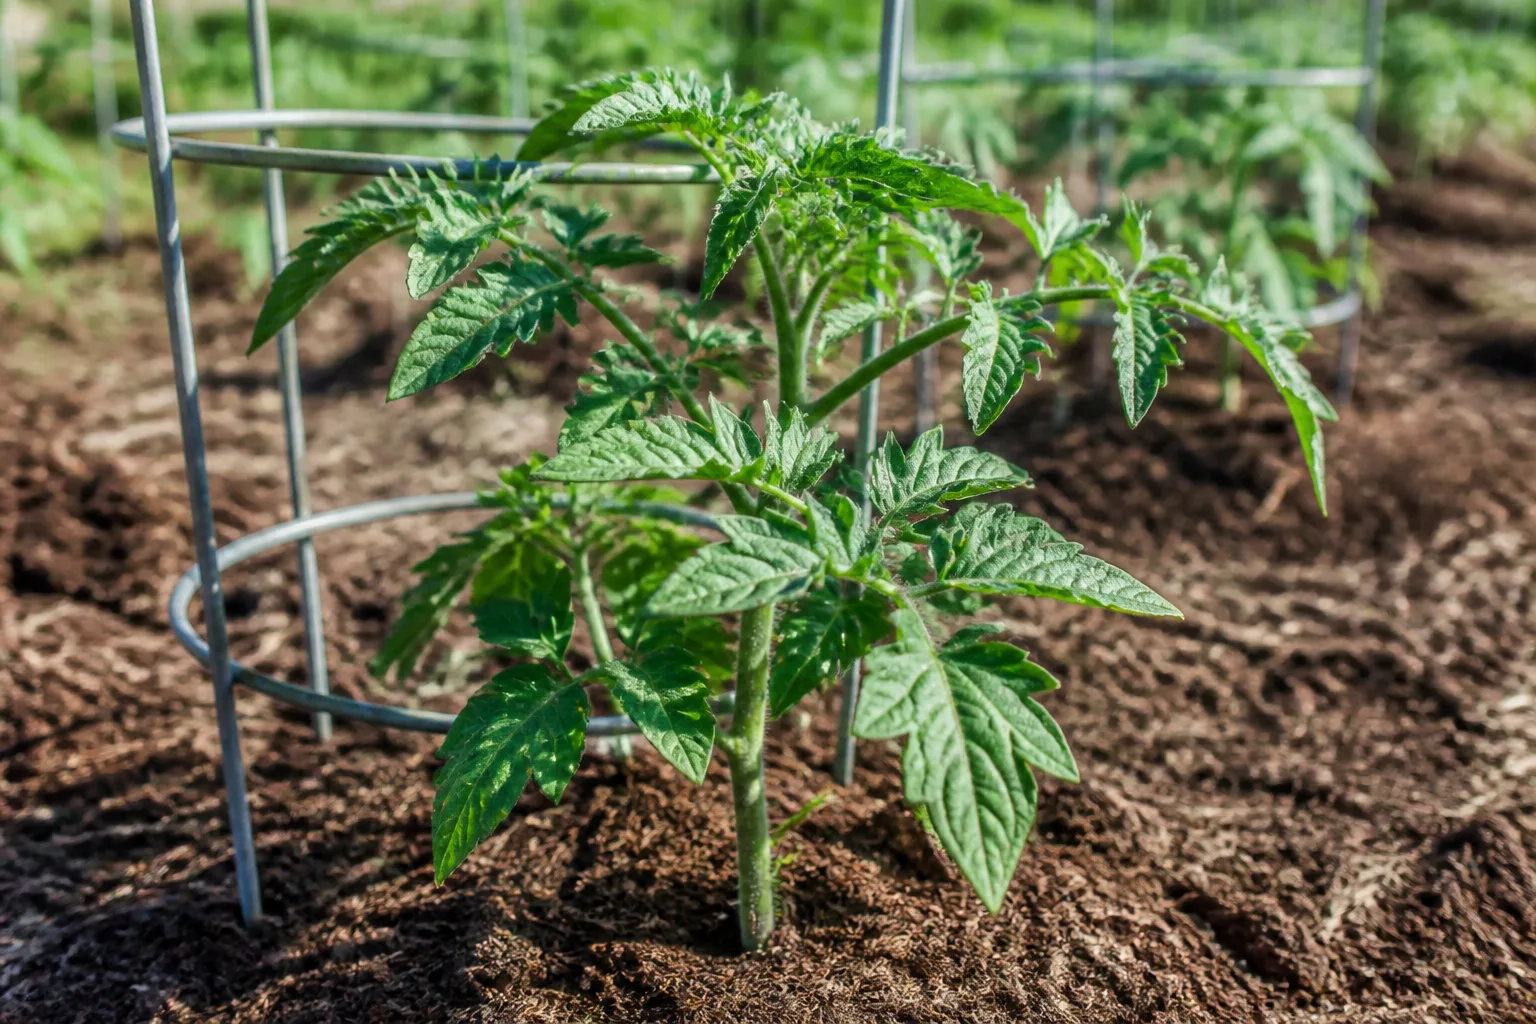
Tomatoes reward a little planning more than heroic rescue work. Start with a variety suited to your climate and cooking plans, give seedlings strong light, wait for genuinely warm soil, and keep water and support consistent. Those four choices prevent most of the problems that make tomato growing feel mysterious.
This guide takes you from seed packet to final harvest. It also explains where rules need flexibility: a tomato in a hot, humid garden does not need the same routine as one in a short-season container, and a determinate paste tomato should not be pruned like a sprawling indeterminate heirloom.
Choose a Tomato That Fits Your Season and Space
Read the days-to-maturity number as an estimate from transplanting, not from sowing. In a cool or short season, choose an early cultivar and buy yourself time with healthy transplants or indoor seed starting. In a long warm season, you can prioritize flavor, size, disease resistance, or unusual color.
Determinate and indeterminate growth habits
Determinate tomatoes grow into a shorter, more compact plant and set much of their crop over a relatively concentrated period. They suit containers, small beds, and gardeners who want a large harvest for sauce or preserving. Indeterminate tomatoes keep producing new stems and flower clusters until cold, so they need a taller, stronger support and regular harvesting.
The label is not a ranking of quality. Choose determinate when space and support are limiting; choose indeterminate when you want a long trickle of slicers or cherry tomatoes. Dwarf and patio cultivars can be useful compromises, but confirm the mature size rather than trusting a name such as “bush.”
Start Seeds Indoors Without Leggy Seedlings
Sow tomato seeds about six to eight weeks before your local transplanting window, adjusting for your climate and the cultivar’s speed. Use a clean seed-starting mix in a container with drainage. Moisten the mix before sowing, place seeds roughly one-quarter inch deep, and keep the surface evenly damp rather than saturated.
Warmth speeds germination, but light becomes the priority as soon as seedlings emerge. Put the tray under a grow light close enough to keep plants compact, or in the brightest window you have while watching for stretching. A seedling that leans dramatically toward glass is telling you it needs more light, not more fertilizer.
When the first true leaves appear, move crowded seedlings into individual pots. Handle them by a leaf, not the delicate stem. Keep air moving gently around the plants and allow the mix to approach dry on the surface before watering again. Constantly wet conditions encourage damping-off and weak roots.
Harden Off and Plant at the Right Time
Indoor-grown seedlings need a gradual transition. Over about a week, place them outdoors in bright shade for a short period, lengthening the time and adding gentle morning sun each day. Bring them in when wind, cold, or intense afternoon sun would be a shock. Hardening off is acclimation, not a single afternoon outside.
Plant after the danger of frost has passed and the soil has warmed. Tomatoes stop growing well in cold ground, and a cold night can permanently set back a lush-looking transplant. If an unexpected cold snap is possible, protect plants with a proper cover that does not rest on the leaves, and remove it when temperatures rise.
Tomatoes can produce roots along buried stems, so a leggy transplant may be planted deeper than it was in its pot, with leaves removed from the buried section. Do not bury the root ball in a waterlogged hole or cover the growing tip. Deep planting helps a stretched plant only when the soil drains well and the weather is warm enough for roots to work.
Build the Root Zone Before You Plant
Choose a site with at least six to eight hours of direct sun and good air movement. Avoid planting tomatoes where tomatoes, peppers, eggplants, or potatoes recently grew if soil-borne disease is a recurring problem. Crop rotation is not magic, but it reduces the chance that the next crop starts in a concentrated reservoir of pathogens.
Work finished compost into poor soil, but do not fill a planting hole with a rich pocket that roots never leave. The whole bed should drain reliably and hold enough moisture for steady growth. A soil test is more useful than guessing with amendments; excess nitrogen can produce an impressive leaf canopy with disappointing fruit.
Set plants with their support in place or immediately beside them. Adding a cage or stake after roots and stems are established can damage the root system and turn a simple chore into a recovery project.
Give Tomatoes Sun, Airflow, and Reliable Support
Support is part of tomato care, not decoration. A cage should be tall and strong enough for the mature plant, especially for indeterminate varieties. A trellis, stake, or string system works when it is installed early and tied with soft material that will not girdle expanding stems.
Keep foliage off the soil. It is not necessary to make the bed bare, but a layer of clean organic mulch after the soil warms helps reduce splashing, slows evaporation, and keeps fruit cleaner. Leave a small gap around the stem so mulch does not stay pressed against it.
Space plants according to their mature habit and the support system. Crowding may look efficient in spring and become a wall of wet leaves in summer. Airflow is especially valuable where warm nights, rain, and humidity favor foliar disease.
Water Deeply and Consistently
Water at the soil line and aim for a thorough soak that reaches the root zone. The correct interval depends on rainfall, soil, temperature, wind, plant size, and container volume. Check the soil with a finger or trowel instead of watering by calendar alone.
The goal is steady moisture, not permanently wet soil. Large swings between drought and heavy watering contribute to cracking and can worsen blossom end rot by interrupting calcium movement into developing fruit. Mulch and drip irrigation make consistency easier, but neither excuses poor drainage.
Morning is a practical time to water because leaves that get splashed have time to dry. If a plant wilts in hot afternoon sun but recovers by evening and the soil is moist, heat stress may be the explanation; watering more can create root problems. If the soil is dry several inches down, water slowly and deeply.
Feed for Fruit Without Overfeeding Foliage
Tomatoes need nutrients for leaves, roots, flowers, and fruit, but more fertilizer is not automatically more tomatoes. Follow a soil test and the product label. A balanced approach early in the season and a fertilizer appropriate for fruiting crops later can work, while repeated high-nitrogen applications may delay flowering and create soft, dense foliage.
Do not use fertilizer to solve every pale leaf. Older leaves can yellow from age or shading; whole-plant yellowing can reflect root stress, cold soil, drought, or overwatering. Diagnose the pattern and the growing conditions first.
Prune With a Purpose
Pruning is optional for many tomatoes and useful when it improves access, airflow, or support. Remove leaves touching the soil and damaged foliage promptly. With indeterminate plants, you can remove a few suckers—the shoots that emerge between a leaf and the main stem—if you are training to one or two leaders.
Do not strip a plant bare. Leaves manufacture the energy that supports fruit, and aggressive pruning exposes fruit to sunscald and leaves the plant with less capacity to recover from stress. Determinate tomatoes generally need less pruning because removing too many stems can reduce the main harvest.
Use clean hands or tools when moving from a diseased plant to a healthy one. Pruning in dry weather and removing infected material from the garden is safer than spreading wet disease through a row.
Grow Tomatoes in Containers
Containers are productive when the root volume, support, sun, and watering plan match the plant. Use a large pot with drainage holes; a compact cultivar may manage in a smaller container, while a vigorous indeterminate tomato needs substantially more room and a robust cage.
Use a quality potting mix rather than heavy garden soil, which can compact in a pot. Put the container where it will receive direct sun and where you can check it daily during hot weather. Small containers can dry rapidly, and a plant that looked fine yesterday may be wilted today.
A saucer can protect a surface, but do not leave the pot standing in deep runoff. Empty excess water and make sure drainage holes are not blocked. Container plants also exhaust nutrients faster, so use a labeled fertilizer at the recommended rate rather than feeding every time the leaves look pale.
Diagnose Yellow Leaves, Cracks, and Blossom End Rot
Start with location and pattern. Yellowing of the oldest lower leaves may be normal aging, especially when the canopy is dense. Yellowing across newer leaves, sudden wilt, or browning that advances rapidly deserves closer inspection of roots, moisture, stems, and nearby plants.
Cracked fruit usually points to uneven water availability or a rapid change in growth conditions. Remove badly split fruit, mulch the root zone, and make watering more even. Cracks that repeatedly affect only one cultivar may also reflect its fruit shape or thin skin.
Blossom end rot appears as a dark, sunken patch at the bottom of developing fruit. It is associated with inconsistent calcium delivery, usually because roots cannot take up water steadily—not simply because the soil lacks calcium. Keep moisture more even, avoid root damage, and do not add calcium blindly without testing the soil.
Sunscald looks like a pale, papery patch on exposed fruit. It is more likely when pruning or disease removes too much leaf cover. Improve support and keep enough healthy foliage to shade fruit during the hottest part of the day.
Prevent and Manage Pests and Disease
Inspect plants weekly, including leaf undersides and stems. Hand-pick large caterpillars, wash small soft-bodied insects from foliage with a firm spray of water, and protect young plants from animals with a barrier. Encourage beneficial insects by avoiding unnecessary broad-spectrum sprays.
Disease prevention is mostly cultural: rotate crops, give plants space, water the soil rather than the foliage, remove infected leaves, clean supports, and avoid working among wet plants. A spot, curl, or yellow leaf is not enough to name a disease confidently. Photograph the whole plant and the close symptom, then use a local extension diagnostic service when the problem is spreading.
If you use a pesticide, identify the pest first and read the current label for the crop, rate, protective equipment, harvest interval, and pollinator precautions. “Natural” does not mean harmless to beneficial insects, people, or plants. Never increase a concentration because a lighter one seemed slow.
Know When Tomatoes Are Ready to Harvest
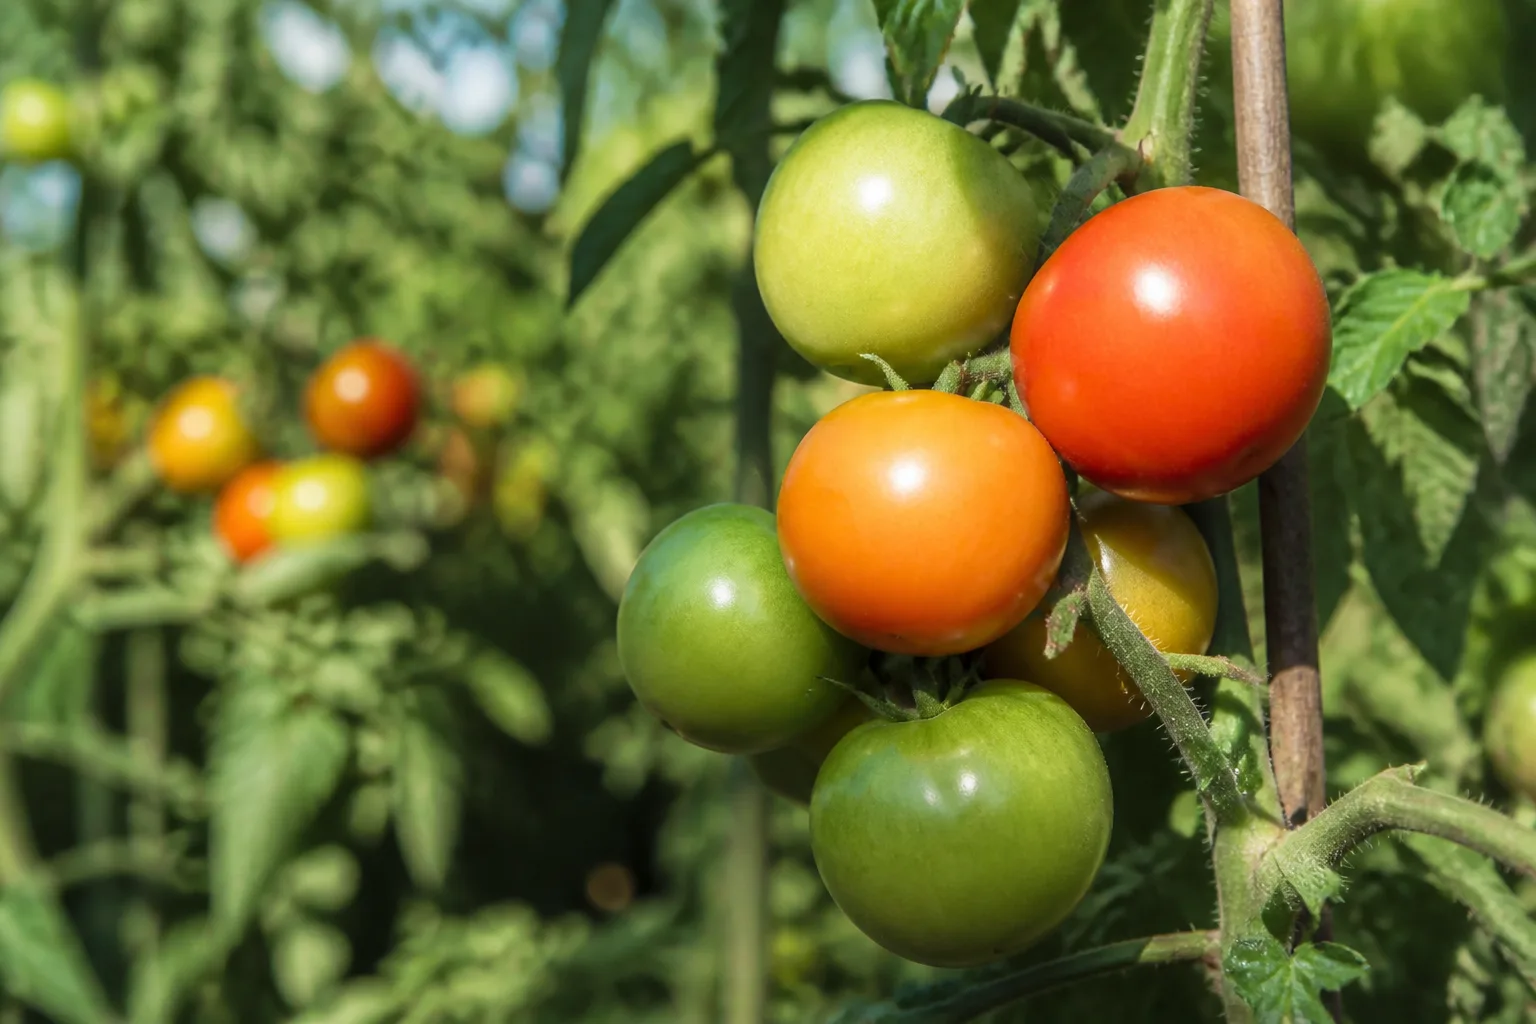
Harvest depends on how you plan to use the fruit. A fully colored tomato with a slight give is ready for immediate eating. For fewer losses from birds, cracking, or sudden heat, pick many varieties when they have reached mature color development and are just beginning to soften, then finish ripening indoors at room temperature.
Do not refrigerate ripe tomatoes unless you must; cold dulls texture and flavor. Keep them out of direct sun, stem side up or down according to your preference, and use damaged fruit first. Pick regularly so ripe fruit does not become a magnet for pests or split after rain.
Green tomatoes can ripen indoors if they are mature enough. Sort out bruised or diseased fruit, wrap sound fruit loosely in paper or place it in a shallow box, and check often. A cool, stable room slows ripening; a warmer room speeds it up.
Ripen Green Tomatoes and Save Seed
Saving seed is easiest from an open-pollinated or heirloom variety when you want plants similar to the parent. Hybrids can grow, but the next generation may not reproduce the same traits. Choose fruit from a vigorous, healthy plant rather than the first fruit that happens to be ripe.
Scoop seeds and their gel into a labeled container, add a little water, and let the mixture ferment for several days until the gel breaks down and bubbles or a surface film appears. Rinse away the residue, discard floating debris, and dry the clean seeds completely on a nonstick surface. Store them in a cool, dry, dark place with the variety and year on the label.
The most important seed-saving precaution is disease selection. Do not save seed from a plant with suspicious systemic symptoms, and remember that seed saving cannot replace crop rotation, clean tools, and good sanitation.
Conclusion: Make Next Season Easier
Tomato success is a chain: a suitable variety, strong light, gradual hardening off, warm soil, a healthy root zone, early support, consistent moisture, restrained feeding, and timely harvest. When a plant struggles, inspect that chain before reaching for a spray or amendment.
Keep a short record of the cultivar, planting date, weather, watering challenges, harvest window, and problems. That note turns this season into useful evidence. Next year, you can choose an earlier variety, a larger container, better airflow, or a stronger support because you know exactly what your garden asked for.



