6 Seed-Starting Tips to Ignore (and What to Do Instead)
Avoid six common seed-starting mistakes. Learn when to use seed mix, grow lights, direct sowing, cold stratification, correct sowing dates, and right-sized cells.
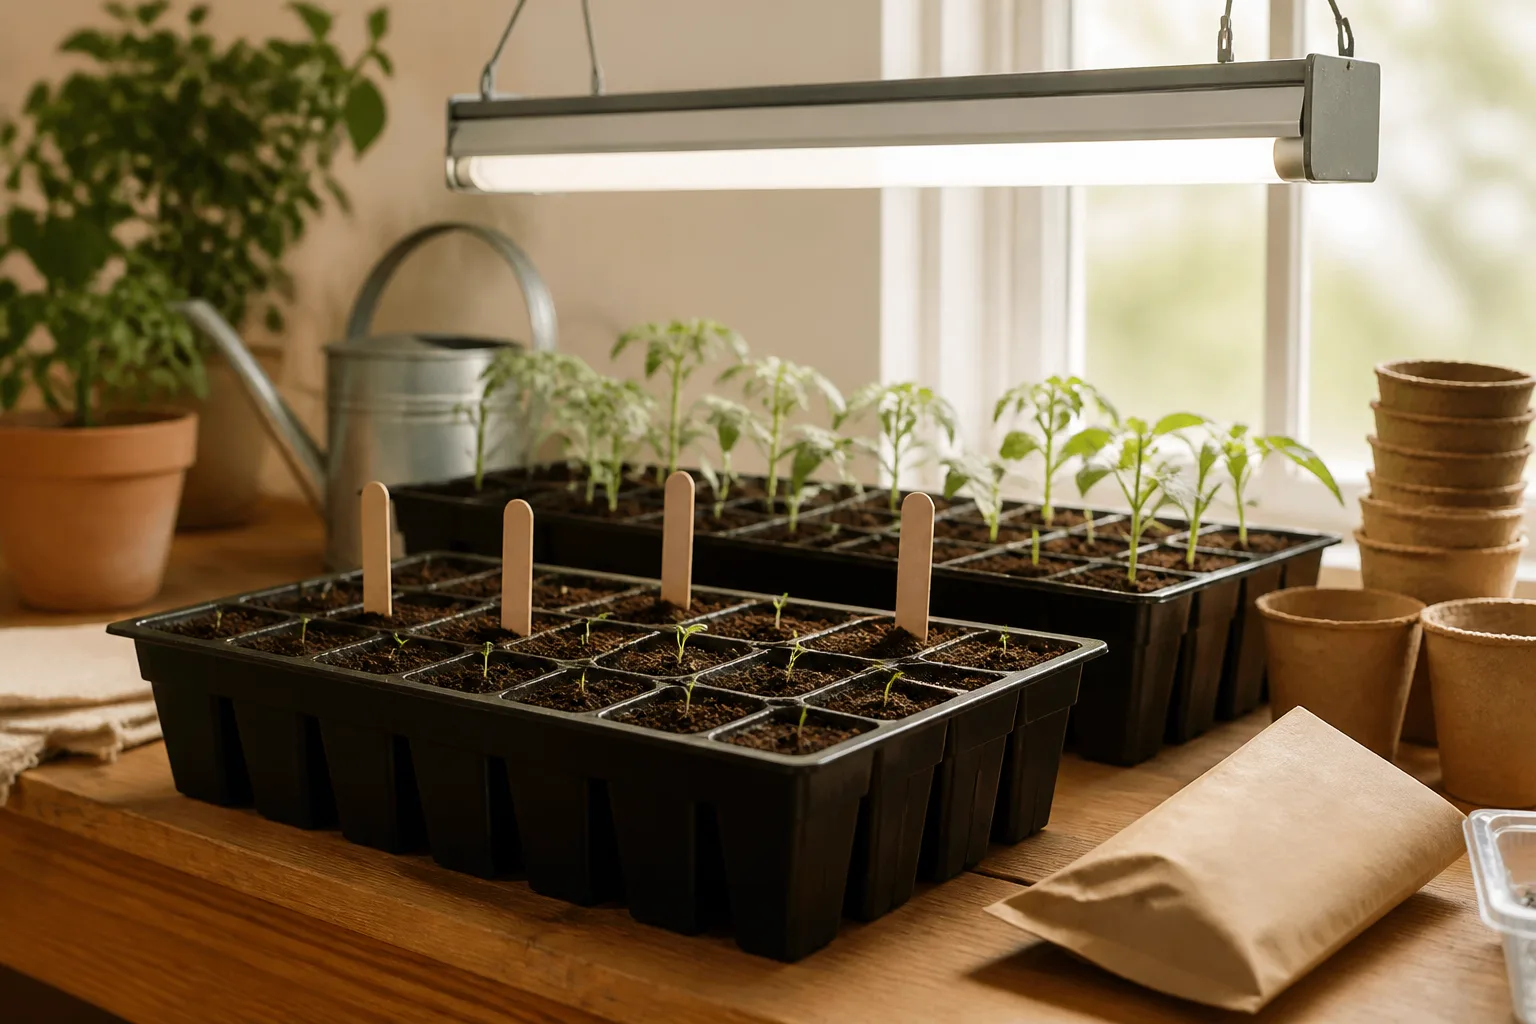
Seed-starting advice often turns a useful tool into a universal rule: always use this mix, always start indoors, always refrigerate the seeds. The trouble is that seeds do not all need the same route from dormancy to a healthy transplant, and the best shortcut for one crop can waste another packet.
The dependable rule is simpler: match the seed’s needs to the conditions you can provide, then plan backward from where and when the plant will grow. Here are six common tips that fail when applied to every seed, plus the practical replacement for each.
The quick rule: start seeds for the next step, not the earliest date
Before you sow, answer three questions: Does this crop transplant well? What conditions trigger germination? When can the young plant safely move to its final growing place? A seed packet usually gives the depth, light or darkness cue, expected germination window, and whether to sow indoors or outdoors; use those details as the starting plan rather than following a universal recipe.
The six tips below share a pattern: they treat equipment or timing as the goal. A sterile mix, grow light, refrigerator, or large container can all be useful, but each helps only when it solves a specific problem. The aim is not to make every seed follow the same process; it is to avoid adding a transfer, delay, or moisture problem that the crop does not need.
1. Filling seed trays with garden soil
Garden soil belongs in a garden bed. In a small indoor cell, it can settle into a dense, uneven mass that stays wet around a tiny root system, drains poorly, and limits the oxygen a germinating seed needs. Outdoor soil can also carry weed seeds or disease organisms, making it harder to keep a tray clean and to tell whether a weak seedling failed because of the seed or the growing medium.
That does not mean garden soil is inherently poisonous or that every homemade mix is doomed. It means a scoop from a flower bed is an unpredictable medium for a shallow tray. A finer, lightweight seed-starting mix gives small seeds close contact with the medium while retaining enough air spaces and moisture for germination; University of Georgia Extension recommends a sterile, soilless medium for this reason and warns that ordinary garden soil is heavy and can hold too much water.
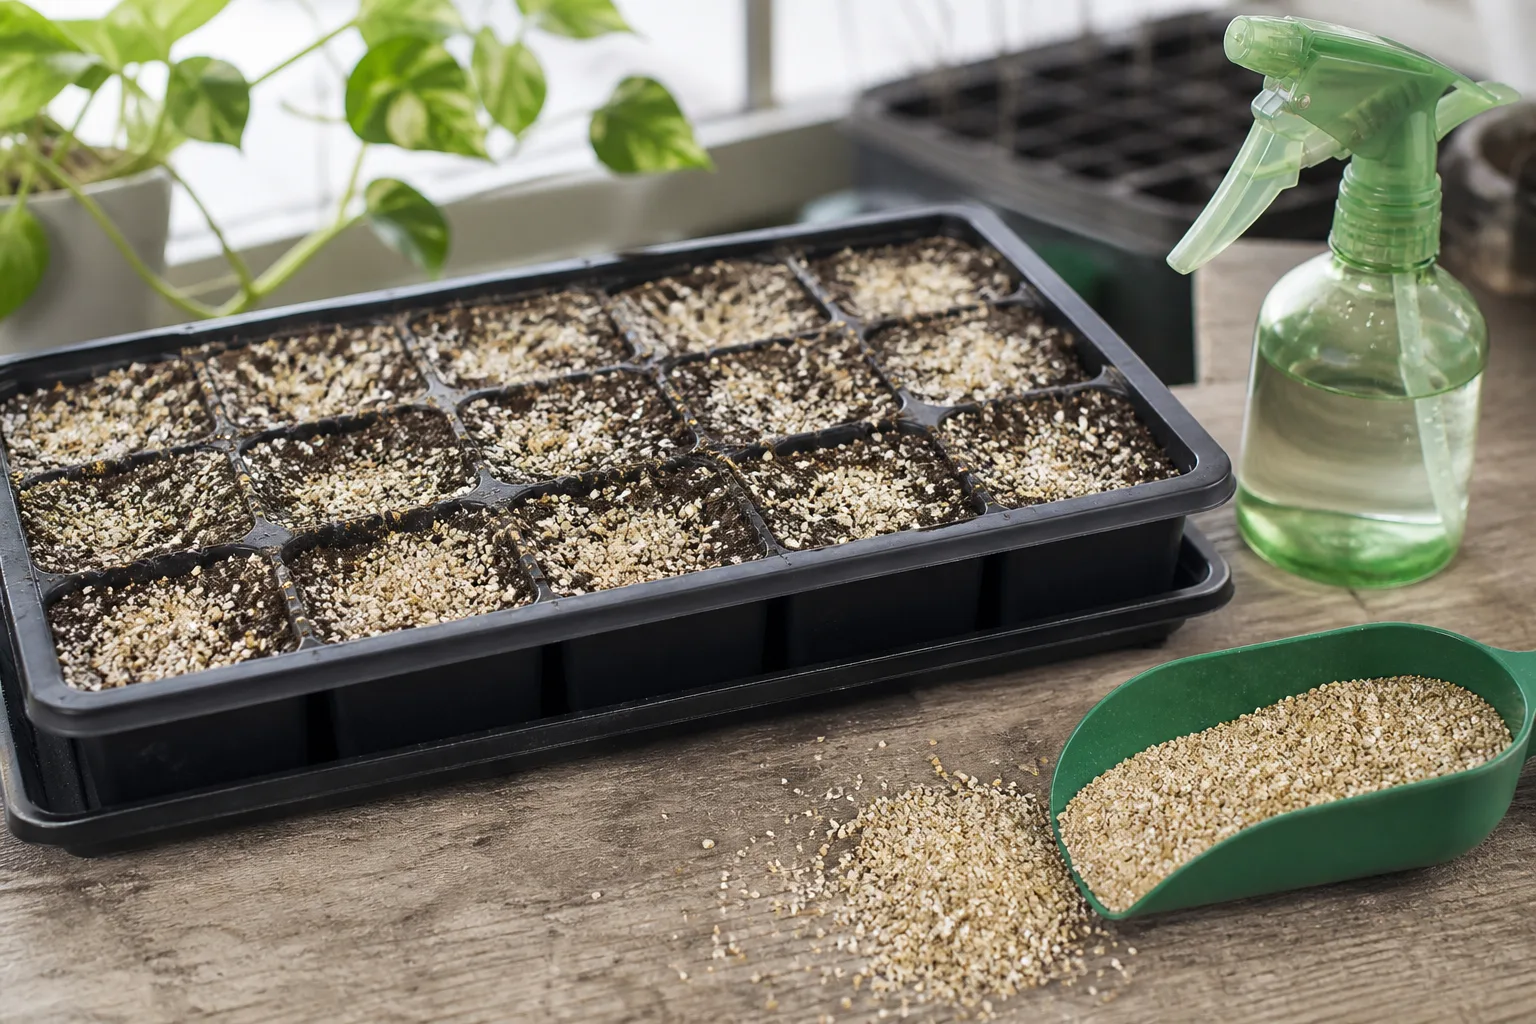
For a first attempt, use a labeled seed-starting mix or a clean, tested recipe from an extension source. Do not assume that any bag marked “potting soil” is interchangeable: some potting mixes contain coarser materials, compost, or fertilizer intended for established plants, while seedlings need a fine texture and careful moisture management. A simple commercial mix is often less work than sterilizing and adjusting garden soil at home.
If cost is the reason you reached for the garden bed, reuse clean trays and buy mix in an amount you can use, or blend clean horticultural ingredients using a reliable recipe. Wash reused containers before sowing, make sure every cell drains, and do not pack the medium down until it becomes hard. Press it just enough to remove large air pockets, then pre-moisten so the seed stays in place when watered.
There is a useful distinction here: direct-sown seeds grow in garden soil because that is their destination, and some experienced gardeners do raise transplants in a prepared outdoor seedbed. The risk rises when you put heavy, untreated bed soil into a small container indoors, where drainage, sanitation, and watering are harder to manage. For most home seed trays, start with a clean, purpose-made medium; once seedlings are established, move them into a suitable potting mix when they need more room.
2. Assuming a sunny windowsill is enough
A bright window can help, but “sunny” is not a measurement of the light reaching a seedling. Winter days are short, glass filters and reflects some light, and the sun arrives from one direction; seedlings may lean toward it and stretch before a gardener notices. Long, thin stems and wide gaps between leaves are clues that the plant is reaching for more light, not signs that it needs a larger pot or extra fertilizer.
Seeds and seedlings also have different light needs. Some seeds germinate best when left uncovered at the surface, while others need darkness or a light covering; after emergence, most young seedlings need strong light promptly. Georgia Extension describes this distinction and recommends close supplemental lighting for seedlings when natural light is insufficient. A tray that germinates successfully on a warm counter can become weak if it stays there after green shoots appear.
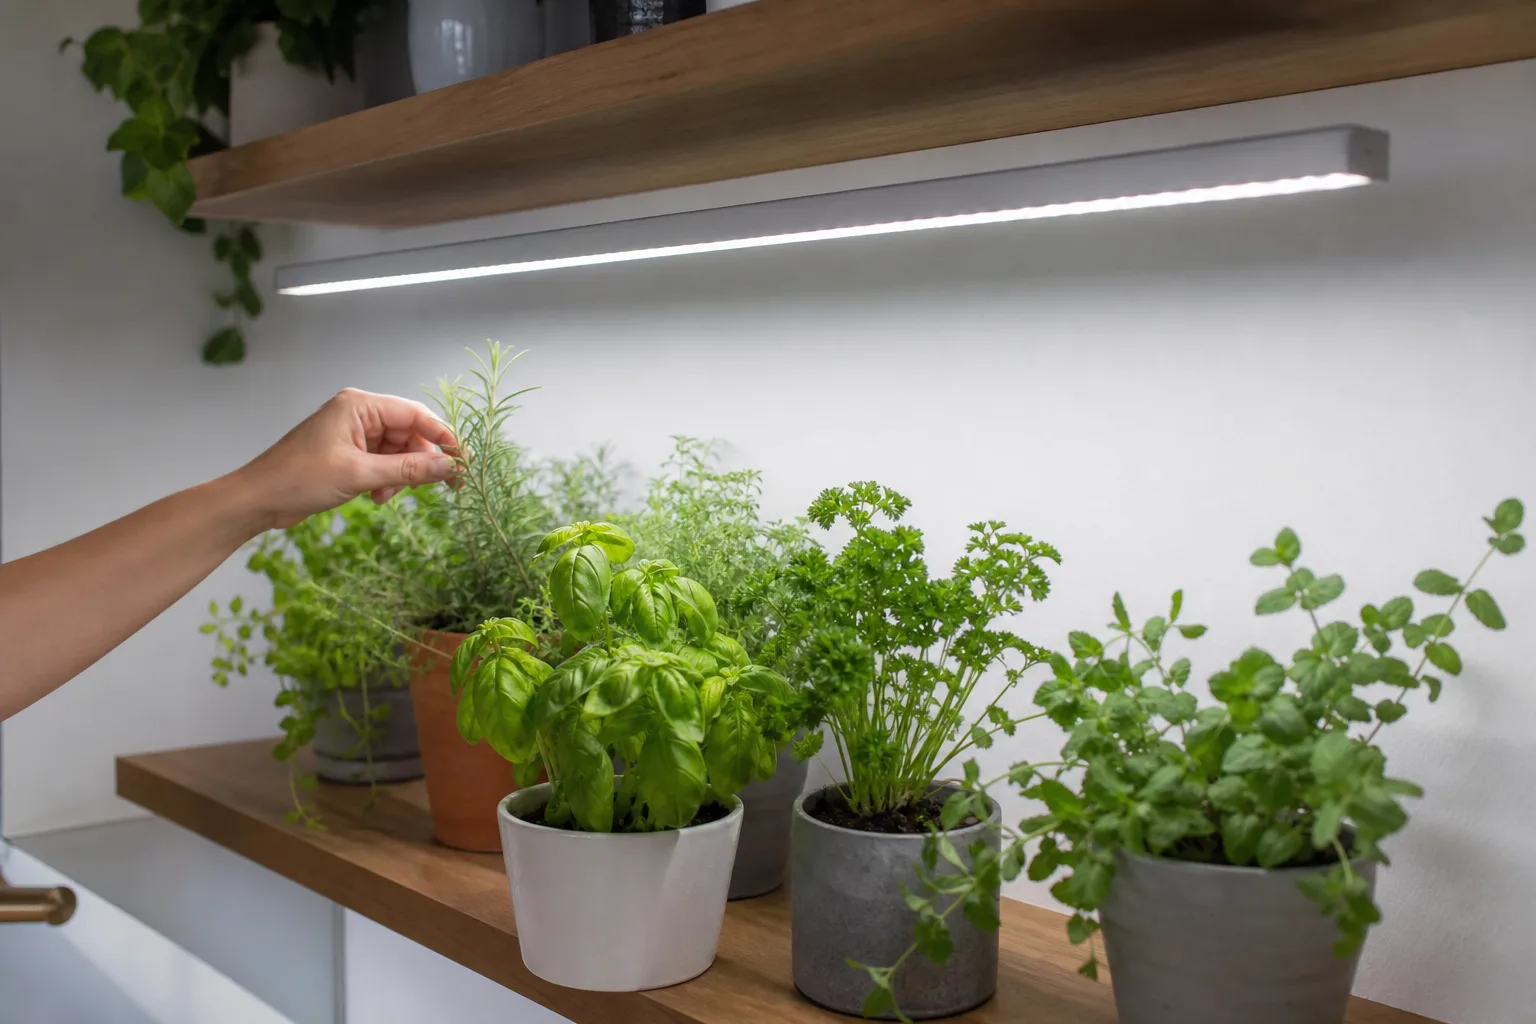
For a reliable indoor setup, place seedlings where the light is bright and even, and use a timer if you add a grow light so the plants receive a consistent day and night cycle. Keep the fixture at the distance its manufacturer recommends; light strength varies, so one distance does not fit every lamp. Raise the light as the plants grow, and keep the seedlings close enough that they do not stretch toward it. Savvy Gardening’s seed-starting setup guide also stresses checking light quality over relying on a room’s general brightness.
Cold windows and hot radiators create a separate problem. A sill can have strong light but still expose cells to chilly glass at night or sharp heat shifts during the day. Use a thermometer at tray level if temperature is uncertain, move the tray away from drafts, and rotate it if light comes from one side; consistent conditions matter more than the window’s reputation.
When a window can work
A window may be enough for a small batch if it gets several hours of direct sun, the seedlings remain compact, and the room stays within the crop’s temperature range. Check the plants daily during the first week after emergence: if stems lengthen quickly, bend toward the glass, or fall over, improve the light immediately rather than waiting for the seedlings to “toughen up.” Colorado State University Extension notes that even a sunny window may need supplemental lighting to produce vigorous plants.
You can turn the tray a quarter-turn each day to reduce one-sided leaning, but rotation cannot make a dim window brighter. If you have no fixture, sow fewer plants, start when days are longer, or choose crops that can be direct-sown outdoors when conditions are right. That is often a better use of seed than trying to keep a large tray alive on a marginal sill. Colorado State University Extension likewise notes that seedlings may need supplemental light even in a sunny window.
3. Starting every seed indoors
Indoor sowing buys time for slow or warmth-loving crops, but it also adds a transplant step. Some plants grow quickly where they will mature, while others develop roots that are easily disturbed or do not recover well after being moved. University of Georgia Extension lists beans, corn, pumpkin, carrots, and beets among crops that are often better direct-sown; Epic Gardening likewise emphasizes checking the packet because a crop’s season length and transplant tolerance change the decision.
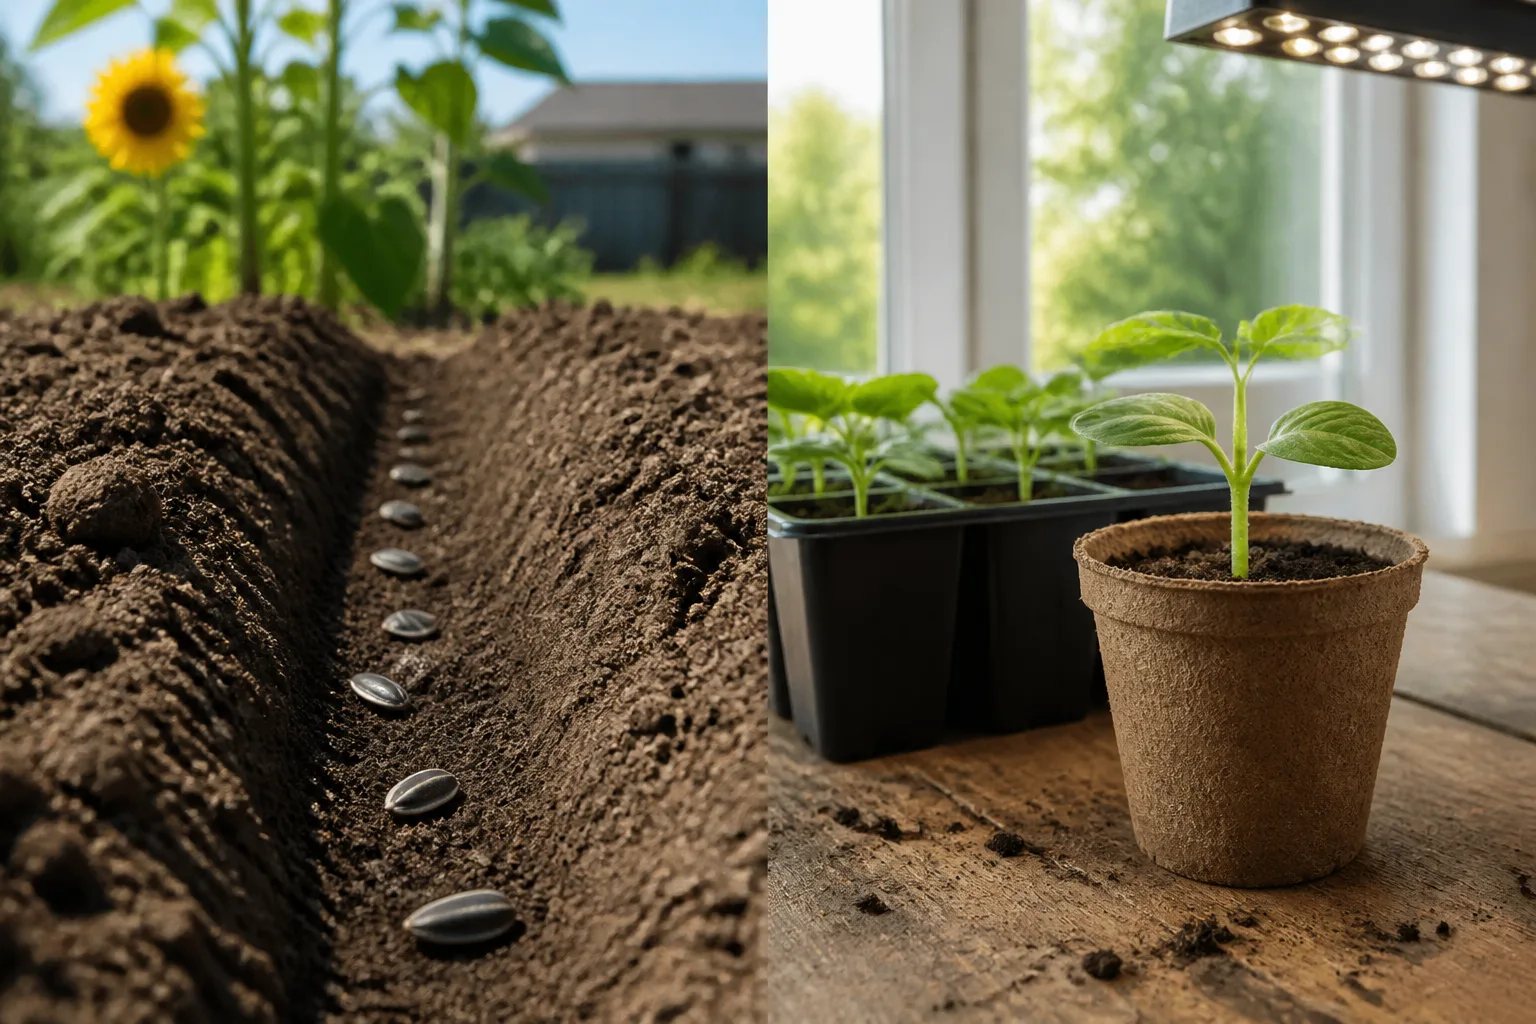
Use this as a first-pass guide, not a rigid rule for every cultivar or climate:
| Crop or group | Usually the simpler starting method | Why the choice can change |
|---|---|---|
| Carrots, parsnips, and many other root crops | Direct sow | Moving a young root can bend or fork it; some short-rooted varieties tolerate transplanting better than others. |
| Peas, beans, and corn | Direct sow once soil is suitable | They grow quickly, and transplanting often adds labor without a useful head start. |
| Tomatoes, peppers, and other long-season warm crops | Start indoors in a short season | Indoor time can extend the productive season, but only if strong light and warmth are available. |
| Cucumbers, squash, and melons | Direct sow in a long, warm season; start briefly indoors in a short one | They grow fast and can become root-bound if left too long in a small cell. |
| Flowers and herbs | Follow the packet | Some transplant readily; others need light to germinate, dislike root disturbance, or grow fast enough outdoors. |
The practical decision is whether the crop needs the head start more than it needs uninterrupted root growth. If the garden soil is warm enough, the seed germinates quickly, and the plant resents root disturbance, direct sowing removes unnecessary handling. If the crop needs weeks of warmth before your outdoor season begins, an indoor start can be worthwhile—provided you have light, space, and a transplant date in mind.
Direct-sown does not mean “scatter seeds and forget them.” Prepare a fine seedbed, use the packet’s sowing depth, keep the seed zone evenly moist until emergence, and protect the area from heavy rain or animals where needed. Tiny surface-sown seeds may need a gentle watering method so they are not washed into clumps; larger seeds can go deeper if their instructions call for it.
Indoor starts also have a cost that is easy to overlook: each tray occupies light and bench space, needs regular checks, and must be hardened off before outdoor planting. If you cannot provide that routine, waiting to sow outdoors is not giving up—it may be the route that produces sturdier plants with less intervention. For a crop-by-crop comparison, see our guide to starting seeds indoors or outdoors.
4. Refrigerating every seed on a wet paper towel
Cold stratification is a real treatment, but it is not a general germination trick. Some temperate plants have dormancy that is relieved by a period of moist chilling; the required temperature and duration depend on the species. Washington State University Extension describes stratification as a seed-specific treatment and notes that seeds of many temperate trees, including apples and pears, need moist chilling, while the conditions vary by seed.
Putting any seed in a wet paper towel in the refrigerator does not automatically make it germinate sooner. Many common vegetable and flower seeds need warmth and steady moisture, not a cold rest; chilling them can delay germination or keep them from sprouting during the time you expect. Use the packet or a species-specific propagation reference to confirm whether stratification is required, how long it lasts, and whether the seed needs another preparation step as well.
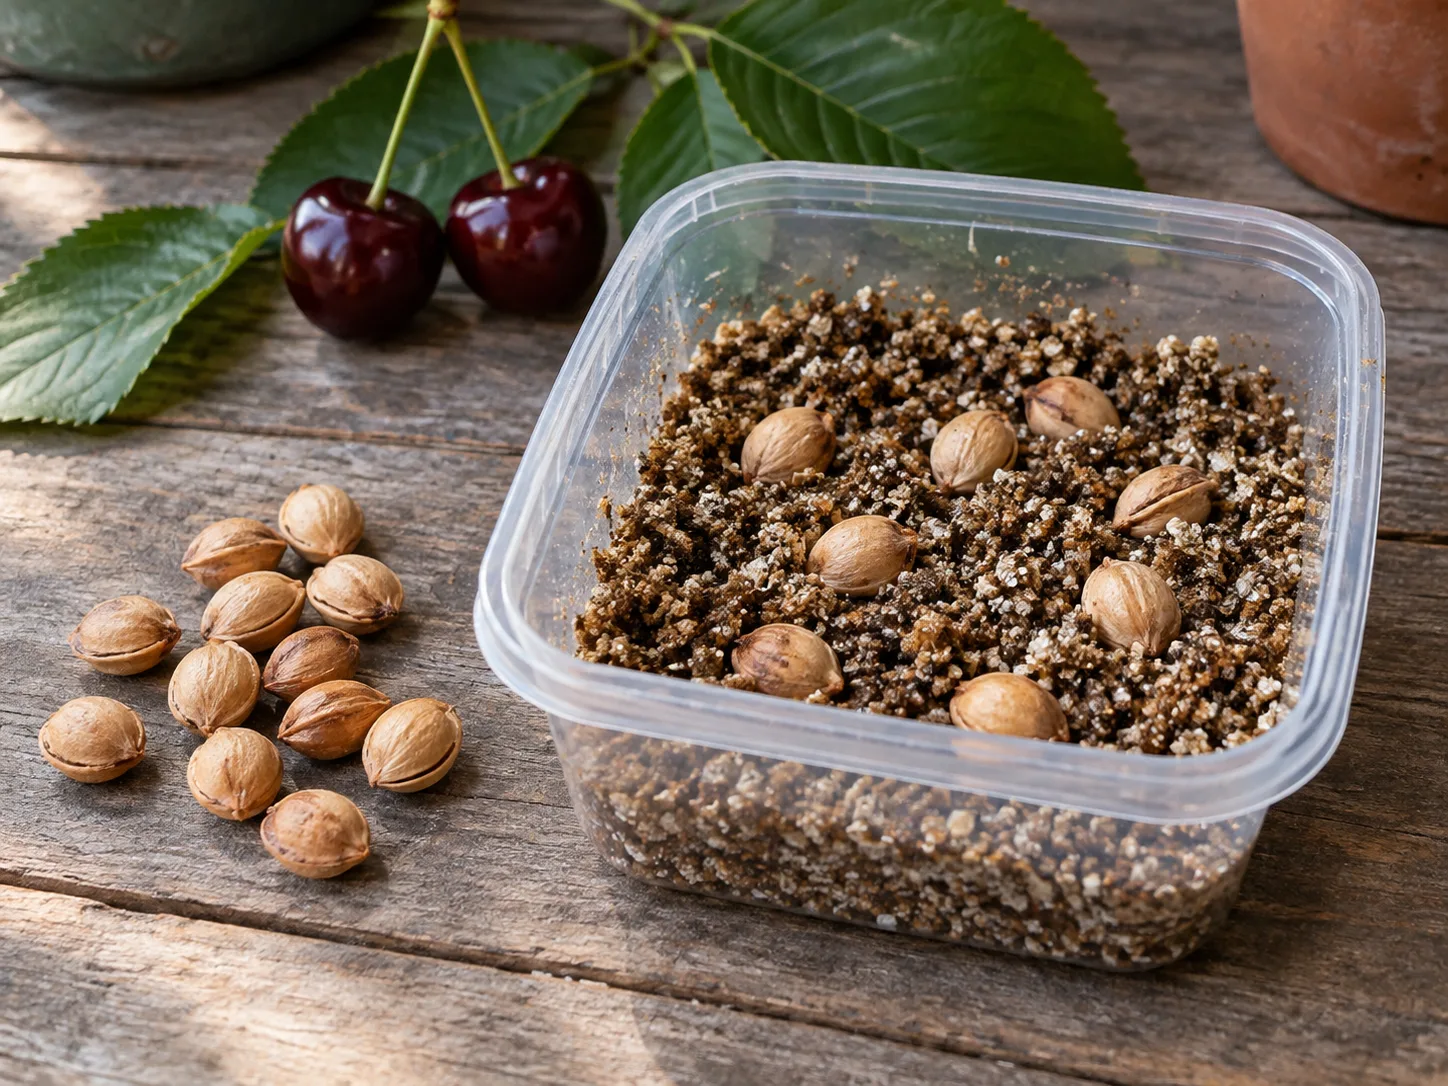
Stratification and paper-towel germination are related only because both may use a moist paper towel. Stratification is the controlled cold period that breaks dormancy. Pre-germinating seeds on a warm, damp towel is a different technique: it lets you see which seeds sprout before planting, but it creates a tiny root that must be moved without breaking or drying it.
That transfer is manageable for some larger seeds, but it adds risk for tiny seeds and fragile new roots. WSU Extension cautions that pre-germinated seeds have tender radicles that are easily damaged, so handle them carefully. If a species is sensitive to root disturbance or is normally surface-sown, sowing it directly into its final seed-starting medium can remove a needless transfer.
When a paper towel is useful
A paper towel is useful for a germination test when you want to estimate whether an older packet is still viable. Savvy Gardening’s paper-towel guide also describes pre-germinating seeds before moving them into cells, which can save space and prevent empty cells; that method is a choice, not a universal requirement. If you try it, keep the towel damp rather than dripping, check it regularly, and move a seed as soon as its root begins to emerge instead of waiting for a long, tangled root.
For cold stratification, use a clean, barely moist medium and follow the crop’s specific timing and temperature directions. Label the bag or container with the species and start date, inspect for drying or mold, and keep it from freezing unless the species instructions specifically call for outdoor winter conditions. When the required chill period ends, sow promptly at the recommended depth and temperature; do not leave the seeds in the refrigerator indefinitely because “more cold” sounds safer.
5. Starting seeds as early as possible
Earlier sowing only helps if the seedling will have somewhere suitable to grow after it emerges. When a transplant-ready plant has to wait weeks for the garden to warm, it keeps growing indoors: roots fill the cell, leaves crowd neighboring plants, and the seedling may become tall or stressed if light and space are limited. Colorado State Extension specifically warns that starting too early can produce spindly, crowded plants with insufficient light.
Count backward from the date you expect to transplant, not forward from the first quiet weekend in winter. Read the packet for the recommended indoor growing period, mark the safe outdoor planting date for your crop, then allow time to harden seedlings off. UGA Extension gives six to eight weeks before transplant as a general range for many annuals, while crops vary; Epic Gardening’s indoor-starting guide also discusses a broader four-to-twelve-week span, reflecting those crop differences.
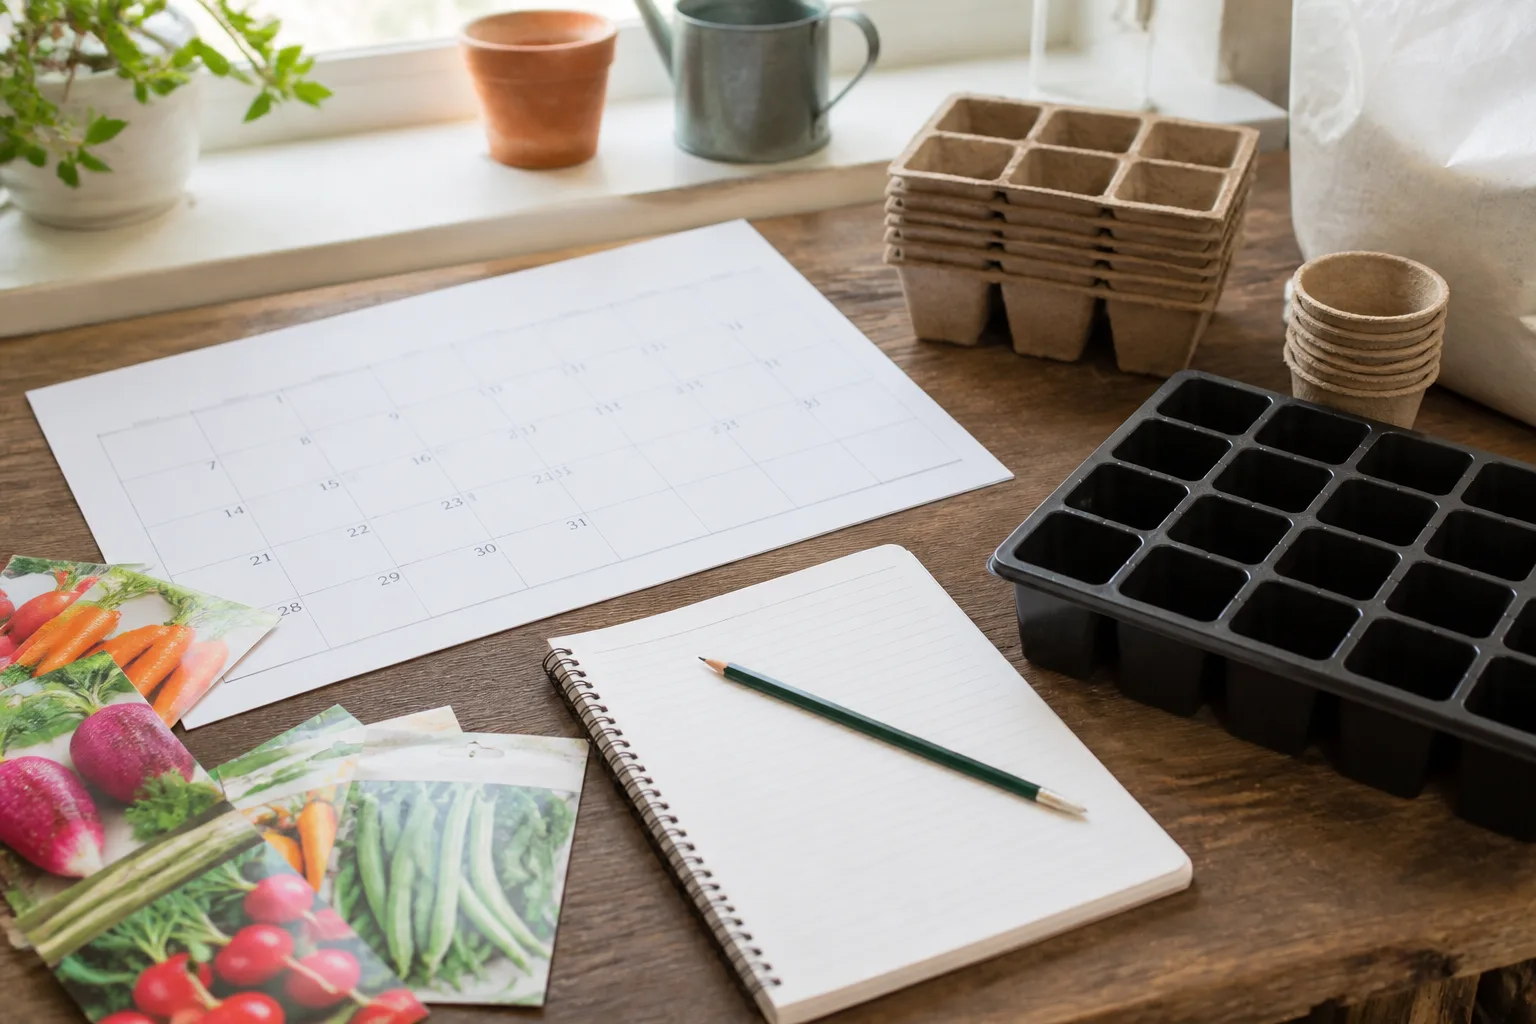
The average last frost date is a planning reference, not a promise that frost cannot happen again. Cool-season crops may go outside earlier than tender tomatoes or peppers, and a packet’s transplant temperature can matter as much as the calendar. If your local spring warms unevenly, use local extension guidance and watch soil and night temperatures instead of applying one date to every tray.
Here is a useful backward-planning sequence:
- Choose the crop and variety, then check whether it should be direct-sown or transplanted.
- Find the outdoor planting window using the packet and local climate guidance.
- Count back the crop’s recommended indoor growing time to find the sowing date.
- Reserve about one to two weeks for gradual hardening off, adjusting to your climate and the seedling’s condition.
- Check that the seedling will have enough light and container space for that entire interval.
If you already sowed too early, do not deliberately starve the plants of light or water to slow them down. Keep them in the brightest suitable conditions, thin crowding, and pot up only when roots have filled the current cell or the plant needs more room. If safe outdoor conditions are still far away, a larger temporary pot may buy time, but the next season’s fix is to sow closer to the planned transplant date; Colorado State Extension similarly warns that early sowing can leave seedlings crowded and light-starved.
6. Buying the biggest pots for stronger seedlings
A large pot does not make a seedling strong by itself. Strength comes from a healthy root system, suitable light, adequate air in the medium, and a crop that is growing at the right pace. An oversized container can make moisture harder to judge because it holds more wet medium than a small seedling’s roots can use; if the mix stays saturated, the extra volume becomes a liability rather than an advantage.
The opposite extreme is not a solution either. Tiny cells dry quickly, give fast-growing seedlings little root room, and may force repeated potting-up before planting outdoors. Georgia Extension recommends containers with drainage and enough depth for root development, and notes that individual cells can reduce root damage and transplant shock. The useful target is sufficient room for the planned time in the tray, not the largest pot available.
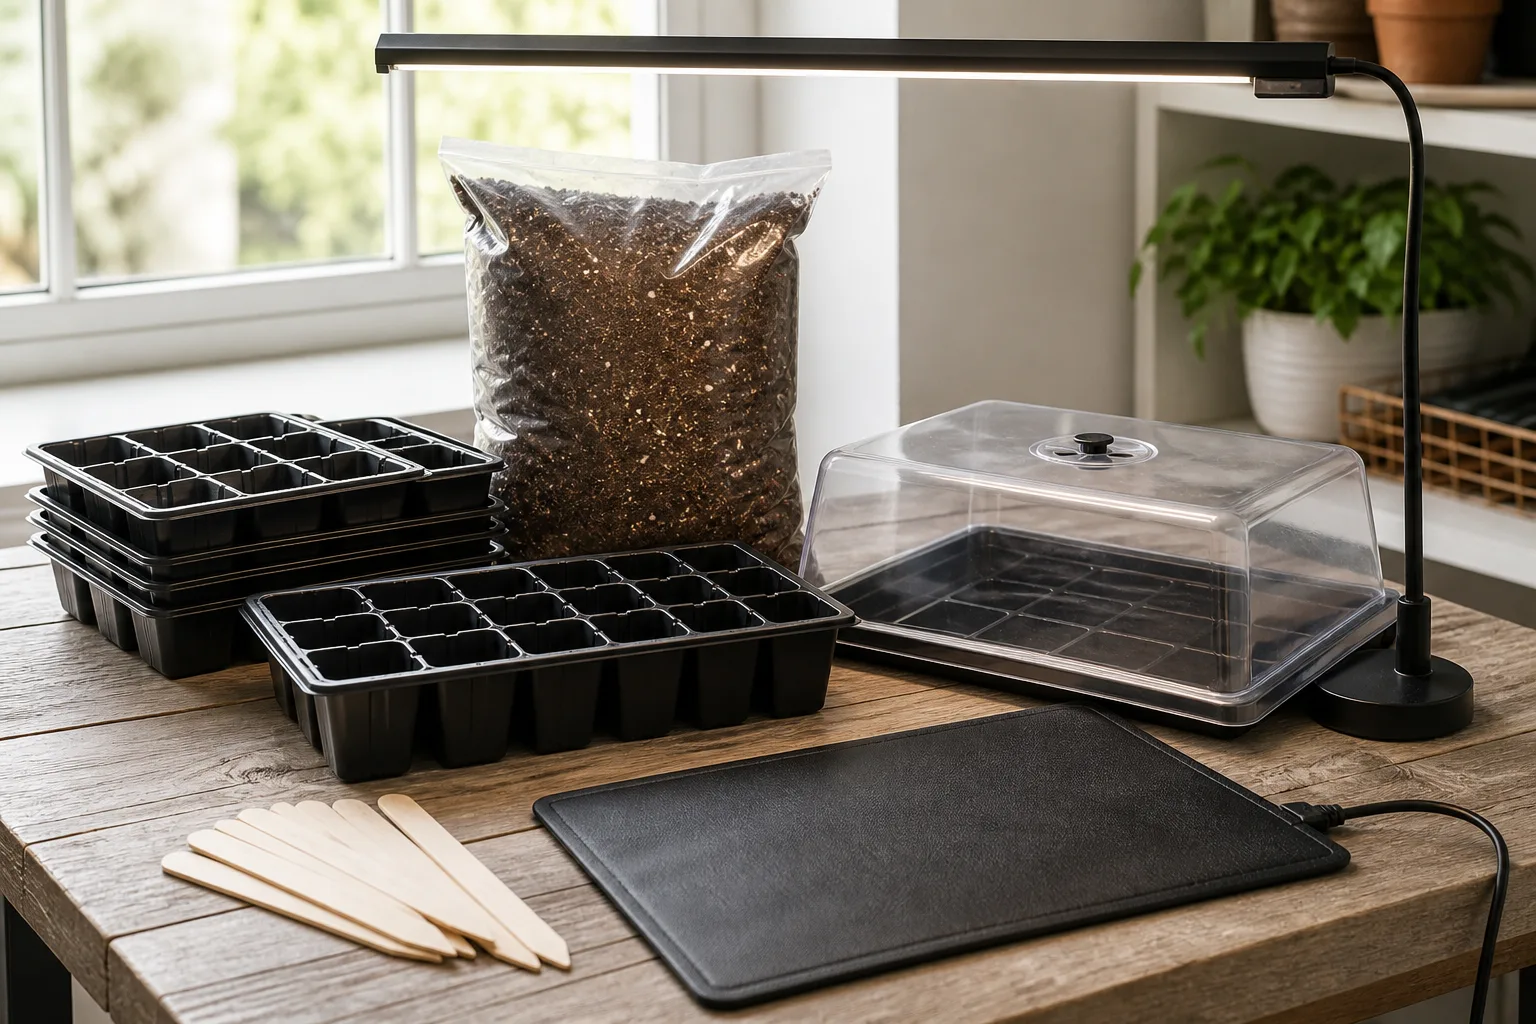
Small cells are convenient when you will transplant soon or start many seeds in a compact area. Larger cells or deeper pots make sense for a crop with a longer indoor period, larger seeds, or roots that need more depth before planting. If a plant is expected to remain indoors for several weeks beyond its ideal cell size, plan to pot it up once into a container that drains rather than sowing it into an unnecessarily large pot from day one.
Container material matters less than clean surfaces, drainage holes, adequate depth, and a medium that you can water consistently. Reused food containers can work if they are clean and you add drainage, but a sealed cup or tray with no outlet can waterlog even a good mix. Check the tray after watering and empty standing water; roots need moisture, but they also need oxygen.
A dependable seed-starting routine
You do not need a greenhouse full of equipment to avoid these mistakes. A clean tray with drainage, appropriate medium, readable labels, a watering method that does not dislodge seed, and enough light after emergence cover the basics. Add a heat mat only when the crop’s germination temperature calls for it, and remove humidity covers once seedlings emerge so the enclosed space does not remain overly damp.
Read the packet as a crop-specific plan
Use the packet to find four details before opening it: sowing depth, light or darkness during germination, time to transplant or direct-sow, and days to expected germination. If the packet is vague, consult an extension guide or a trusted grower’s species-specific directions. Do not infer that a seed needs refrigeration, soaking, a heat mat, or surface sowing just because a different seed benefited from that treatment.
Check packet age and storage too. Old or poorly stored seed may germinate slowly or unevenly even when your technique is sound. If the seeds are valuable or the packet is old, test a small sample before filling every cell; a simple germination test can save a tray and help you adjust how many seeds you sow.
Match the container to the time plants will spend in it
Estimate how long each crop will stay indoors, then choose a cell that supports that period without leaving a large volume of wet mix around a tiny root system. Sow two or three seeds per cell only when the packet or seed size makes that practical, and thin by snipping unwanted seedlings at the surface rather than pulling them through the roots of the one you want to keep. Label the crop and variety as soon as you sow; cotyledons often look too similar to identify later.
Plan the next move before roots reach the cell wall. Some seedlings can go from a small cell straight to the garden; others need a larger pot before transplant day. When you pot up, lift the seedling by its leaves or root ball rather than pinching its stem, keep the roots as intact as practical, and water gently so the medium settles around them.
Give germinating seed and growing seedlings different conditions
During germination, the goal is steady moisture and the temperature range the seed needs. Keep the medium damp rather than waterlogged, and follow the packet on light: some seeds need exposure at the surface while others germinate better covered. Most seeds germinate across a range of conditions, so a room-temperature shelf can be adequate; warm-season crops may benefit from warmer media, while cool-season crops do not all need bottom heat.
As soon as shoots emerge, move the tray into strong light and remove its humidity dome. Keep air moving gently, water before the cells dry through, and allow excess water to drain. The UGA guide to starting plants from seed explains how water, oxygen, light, and temperature affect germination; its recommendations also distinguish the warm, humid germination stage from the bright conditions seedlings need after emergence.
Before planting outside, acclimate indoor-grown seedlings gradually to sun, wind, and lower humidity. Begin with a protected, shaded period and increase exposure over several days, pausing if the weather turns harsh or the leaves wilt. The right container and sowing date cannot replace this transition: a strong indoor seedling can still scorch or collapse if moved abruptly into full outdoor conditions.
If a batch struggles, diagnose the stage first
If nothing has emerged, check the seed packet before changing everything at once. Confirm that the seed is still viable, the sowing depth is right, the medium has not dried or remained saturated, and the tray has the needed temperature and light conditions; old seed, cold media, deep sowing, and excess water can all look like “bad seed.” Wait through the packet’s expected germination window before discarding a slow crop, but inspect a spare seed if the tray smells sour or stays wet.
If seedlings emerge tall, pale, or leaning, increase usable light, bring the fixture to its recommended distance, reduce crowding, and rotate a window-grown tray. If stems thin at the soil line and collapse, isolate affected cells, improve air movement, remove excess moisture, and clean reused equipment before sowing again; those symptoms can be consistent with damping-off, but correcting only one condition may not solve a contaminated tray.
If a seedling stops growing after potting up, look for disturbed roots, a wet root zone, or a sudden change in light, temperature, and humidity. Keep the plant in stable conditions while it recovers rather than adding fertilizer to a stressed root system. For the next round, sow at the right time, use an individual cell for crops that dislike root disturbance, and move the seedling while its roots are healthy rather than waiting until they form a dense mat.
Conclusion
Seed-starting shortcuts fail when gardeners apply them without checking what the crop needs. Use clean, fine-textured medium in indoor trays; treat windowsill light as something to verify; direct-sow plants that do not benefit from transplanting; stratify only seeds that require it; count back from a realistic planting date; and choose a container that matches the time the seedling will spend in it.
The packet, local conditions, and the seedling itself provide better instructions than any universal rule. Once you match those three, seed starting becomes a small sequence of manageable decisions rather than a collection of equipment, treatments, and calendar guesses.