Capsicum Repotting: From Seedling to Final Pot
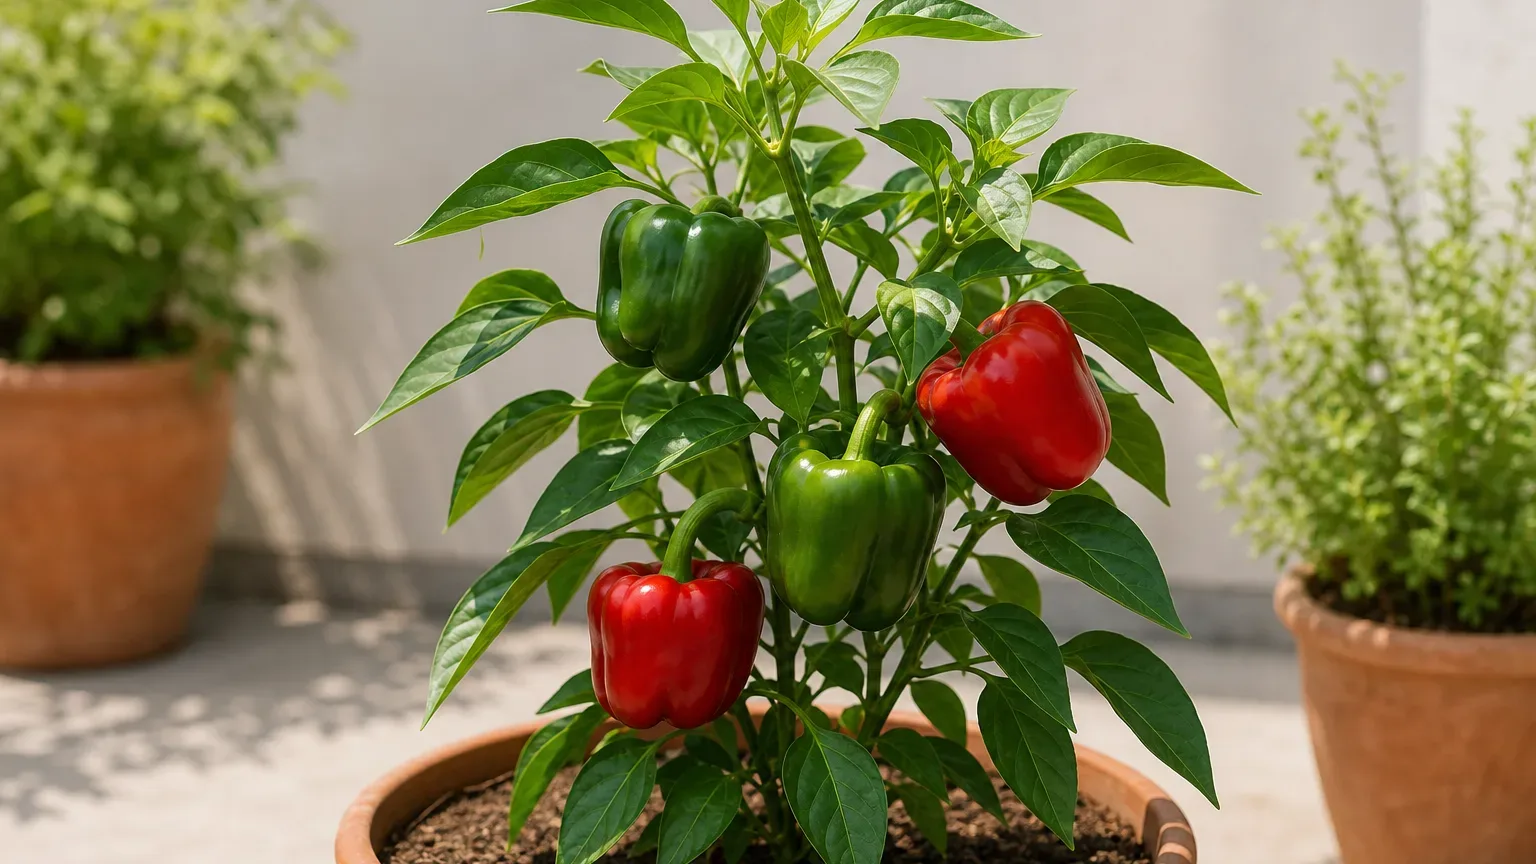
Capsicum Repotting: From Seedling to Final Pot
Capsicum Repotting: From Seedling to Final Pot
Capsicum repotting is best treated as a short crop-establishment sequence. A sweet bell pepper or Shimla Mirch seedling may move from a seed cell into a small nursery pot, then into one final container or garden bed after hardening. It is not normally shifted through progressively larger decorative pots for years like a foliage houseplant.
That distinction matters because Capsicum annuum is a warm-season crop with roots that dislike both prolonged saturation and unnecessary disturbance. The aim is to give a young plant enough root room, acclimatise it to outdoor conditions, and make the final move before flowering and fruit load complicate the job. This page covers sweet, blocky bell cultivars; a label that says only Capsicum annuum can also describe hot chillies with different plant sizes.
Repotting capsicum means three different moves
Potting up moves a crowded seedling from a plug or seed tray into a small individual pot. Hardening off gradually exposes an indoor-raised seedling to outdoor sun, wind, and temperature changes. Final transplanting puts the hardened plant into its crop container or bed. University of Maryland Extension defines hardening as gradual exposure that prepares soft seedlings for outdoor conditions.
Most capsicum plants need no further routine repotting after the final move. Choose the destination carefully, because shifting a flowering or fruiting bell pepper creates avoidable root disturbance and makes a top-heavy plant awkward to handle.
When a capsicum seedling needs potting up
Pot up when roots hold the starter mix together but have not formed a dense mat around the cell. Other useful triggers are leaves overlapping neighbouring seedlings, the plug drying much faster than it did a week earlier, or growth pausing despite adequate light and moisture; UC Agriculture and Natural Resources describes potting up once pepper seedlings begin outgrowing their trays. A seedling that has only just emerged does not benefit from a large pot; excess wet mix around a tiny root system is harder to manage.
Move one seedling into an individual 8–10 cm nursery pot if outdoor planting is still several weeks away. Handle it by a leaf rather than pinching the stem, retain the small root ball, and settle it into moist—not saturated—seed-starting or potting mix. Return it to bright light promptly so it does not stretch.
Pot up before roots become a tight coil
A few pale roots visible at the drainage holes mean “move soon,” not “tear the root ball apart.” If roots have started circling, tease only the outermost loops free. Aggressive combing removes fine feeder roots and gains little on a young pepper.
Do not use leaf count as the only test. A compact cultivar under strong light can have a short, sturdy canopy while its roots fill the cell; a leggy seedling may look tall while still having a weak root system. Check both the plant and the plug.
The best time for the final transplant
Transplant after the seedling is sturdy, hardened, and outdoor conditions are reliably warm. University of Minnesota Extension recommends waiting until night temperatures remain above 50°F (10°C), reflecting peppers’ sensitivity to cold. Warm soil and mild nights produce a cleaner start than an early move into a cold, wet root zone.
In India, use weather rather than a nationwide calendar. In a cool winter region, wait until nights moderate; in a very hot lowland climate, establish plants before severe pre-monsoon heat; in heavy monsoon areas, avoid putting a small transplant into a container that cannot drain through repeated rain. Late afternoon is a useful transplant time because the plant gets a cooler night before its first full day outdoors.
Harden seedlings before an outdoor move
Begin about a week before the final transplant, extending the process if the seedling was raised in a protected, low-light room. Start with one or two hours in bright shade, sheltered from strong wind. Over successive days, lengthen outdoor time and introduce gentle morning sun; bring the plant back under cover if leaves bleach, fold, or wilt severely.
Reduce pampering, not basic care. Keep the root ball evenly moist, but do not leave the nursery pot standing in water. Do not harden by allowing repeated collapse from drought. The purpose is gradual adjustment to light, air movement, and temperature—not forced dehydration.
Choose the final container by cultivar
The cultivar label should drive the decision. A compact patio bell can crop in less space than a tall, vigorous blocky-fruited cultivar, but both need enough mix to buffer roots against balcony heat and rapid drying. Maryland Extension specifies a five-gallon minimum for peppers in containers, while Penn State Extension notes peppers can thrive in a 14-inch pot.
Use those figures as minimum dimensions, not a promise that every cultivar performs identically. For one compact plant, roughly 15–20 litres can work with attentive watering. For a full-size bell cultivar, a 20–30 litre container gives a more forgiving moisture reserve and room for support. North Carolina A&T Cooperative Extension recommends containers of at least five gallons and notes that compact varieties suit containers while larger ones require more support.
| Cultivar habit | Practical final container | Support plan |
|---|---|---|
| Compact or patio sweet pepper | 15–20 L, about 30–35 cm wide | Short stake or small cage if fruit load bends branches |
| Standard blocky bell pepper | 20–30 L, about 35 cm or wider | Stake or cage installed at transplant |
| Vigorous or tall cultivar | 30 L or larger where space permits | Firm cage or multiple stakes |
Pot dimensions, drainage, and material
Choose a pot at least as deep as it is wide, with several unobstructed drainage holes. Waterlogged media restricts oxygen at the roots, so the pot must release excess water freely. Do not add a gravel “drainage layer”; use a draining mix throughout the root volume and keep the holes clear.
Light-coloured plastic buffers moisture and is easier to move, while terracotta dries faster and can demand extra checks in hot wind. Dark plastic can overheat roots, while porous clay needs more frequent watering. Whichever material you choose, one bell pepper per pot makes moisture, feeding, and support easier to control.
Prepare a fertile, free-draining mix
Use fresh container mix that holds moisture without becoming dense: quality potting mix or coir-based media blended with mature compost and perlite, pumice, or another coarse aeration component. Avoid filling a container with straight garden soil; Illinois Extension recommends the right potting mix for container-grown vegetables rather than treating a pot like an in-ground bed.
Pre-moisten the mix so it is evenly damp and crumbly. Fill the pot, test that water exits freely, and leave enough headspace for watering. For more detail on texture and pH, use the Capsicum soil guide rather than changing mix ingredients during every later watering decision.
How to transplant capsicum step by step
Water the seedling a few hours before moving it so the root ball is hydrated but not dripping. Fill the destination around a planting hole matching the root ball, then slide the seedling out while supporting the mix. If the roots are only lightly visible, leave them intact; loosen just the outside of a tightly circling ball.
Set the plant in place, backfill, and press gently enough to remove large air gaps without compacting the whole pot. Water once until excess drains from the holes. This settles mix around roots and also proves that the container drains before it is moved to its permanent position.
Keep the original stem depth
Plant capsicum at approximately the same depth it occupied in the nursery pot. Unlike a leggy tomato, a pepper should not automatically have a long section of stem buried. If the seedling is stretched, improve light and add a slim temporary support instead of hiding a weak stem under wet mix.
Keep compost and mulch slightly away from the stem collar. A buried or continuously damp base is harder to inspect and can remain wet after the surface appears dry.
Install support while roots are small
Add the stake or cage during the final transplant, before roots spread through the container. Oregon State Extension advises support for taller pepper plants using stakes, a trellis, or a cage. A short stake is often enough for compact cultivars; a broad bell pepper carrying several heavy fruits benefits from a cage or two-stake system.
Place supports near the pot wall rather than driving them through the centre of the root ball. Tie the main stem loosely with a soft figure-eight loop and leave room for thickening. Support should steady the plant, not immobilise every branch.
First-week care after transplanting
Keep the mix evenly moist during establishment, checking below the surface rather than watering on a fixed clock. The first thorough watering may last longer in a large final pot because much of the mix is not yet rooted. Follow the Capsicum watering guide and do not interpret every afternoon droop as an instruction to soak already-wet soil.
Give bright light, but use temporary midday shade for a day or two if the move coincides with intense heat. A well-hardened seedling can return to normal sun sooner than one moved abruptly from indoors. Hold strong liquid feeding until the plant resumes growth; the Capsicum fertilizer guide covers feeding after establishment.
Diagnose wilt and transplant stress
Mild droop during the first warm afternoon can be a temporary mismatch between leaf water loss and disturbed root uptake. Check again in the cooler evening. Recovery overnight, a firm stem, and moist but airy mix support watchful waiting.
Persistent wilt demands a root-zone check. Dry mix needs a thorough watering; saturated mix needs drainage and time, not another drink. Bleached patches after an outdoor move point toward inadequate hardening, while a dark, soft stem base or sour-smelling mix warrants inspection. Avoid stacking remedies—shade, heavy watering, fertiliser, and another repot—on the same day.
When not to repot capsicum
Do not repot solely because a few roots reach a drainage hole, if the plant is already in an adequately sized final container and growth remains strong. Do not move a heat-stressed, waterlogged, pest-heavy, or newly purchased plant until you understand the main problem. Repotting does not cure insufficient Capsicum light or an unsuitable watering routine.
Delay a non-urgent move during flowering or while branches carry fruit. If drainage has failed or roots are rotting, intervention may be necessary, but otherwise stabilise the crop and schedule the move after harvest—or replace the plant at the next sowing cycle.
Repotting an older fruiting plant
Sweet bell peppers are perennial by biology in frost-free conditions but are commonly grown as annual crops. Keeping one through another season is possible where warmth and light remain adequate, yet a larger pot does not automatically restore yield. Assess stem health, pests, root condition, cultivar value, and available space before investing in an older plant.
If the root ball is healthy and the plant is worth retaining, move it only one practical size up, preserve most roots, prune no more than necessary, and re-establish support. If roots are badly congested, the canopy is pest-ridden, or production has declined, starting a fresh plant through the Capsicum propagation guide is often the cleaner use of the container.
When to use this page vs other Capsicum guides
Use this page for seedling pot-up, hardening, final-pot sizing, transplant technique, and support installation. Use the Capsicum overview to confirm the sweet bell-pepper identity and whole-plant requirements, the soil guide to build the mix, and the watering guide when the plant is established but moisture remains difficult to judge.
If you are starting from seed rather than moving an existing seedling, begin with Capsicum propagation. If the plant is already fruiting and needs canopy management rather than root room, use Capsicum pruning.
Related Capsicum guides
- Capsicum overview — identity, season, and complete care context.
- Capsicum light — sun exposure before and after hardening.
- Capsicum watering — moisture checks in the final container.
- Capsicum soil — mix structure, drainage, and pH.
- Capsicum fertilizer — feeding after roots resume growth.
- Capsicum propagation — raising the next seedling crop.
- Capsicum pruning — managing shoots and loaded branches.
Conclusion
For capsicum, the safest repotting plan is simple: pot up a crowded seedling only when needed, harden it gradually, then move it once into a warm, well-drained final home. Use at least a five-gallon or roughly 14-inch container as a baseline, giving vigorous bell cultivars more room, and install their stake or cage before roots spread.
Preserve the root ball, keep the original stem depth, water once to settle the mix, and judge the first week by both foliage and root-zone moisture. Most productive plants will not need another routine move. Matching the final pot and support to the cultivar prevents more trouble than repeatedly correcting an undersized container later.