Capsicum Propagation from Seed: Step-by-Step Guide
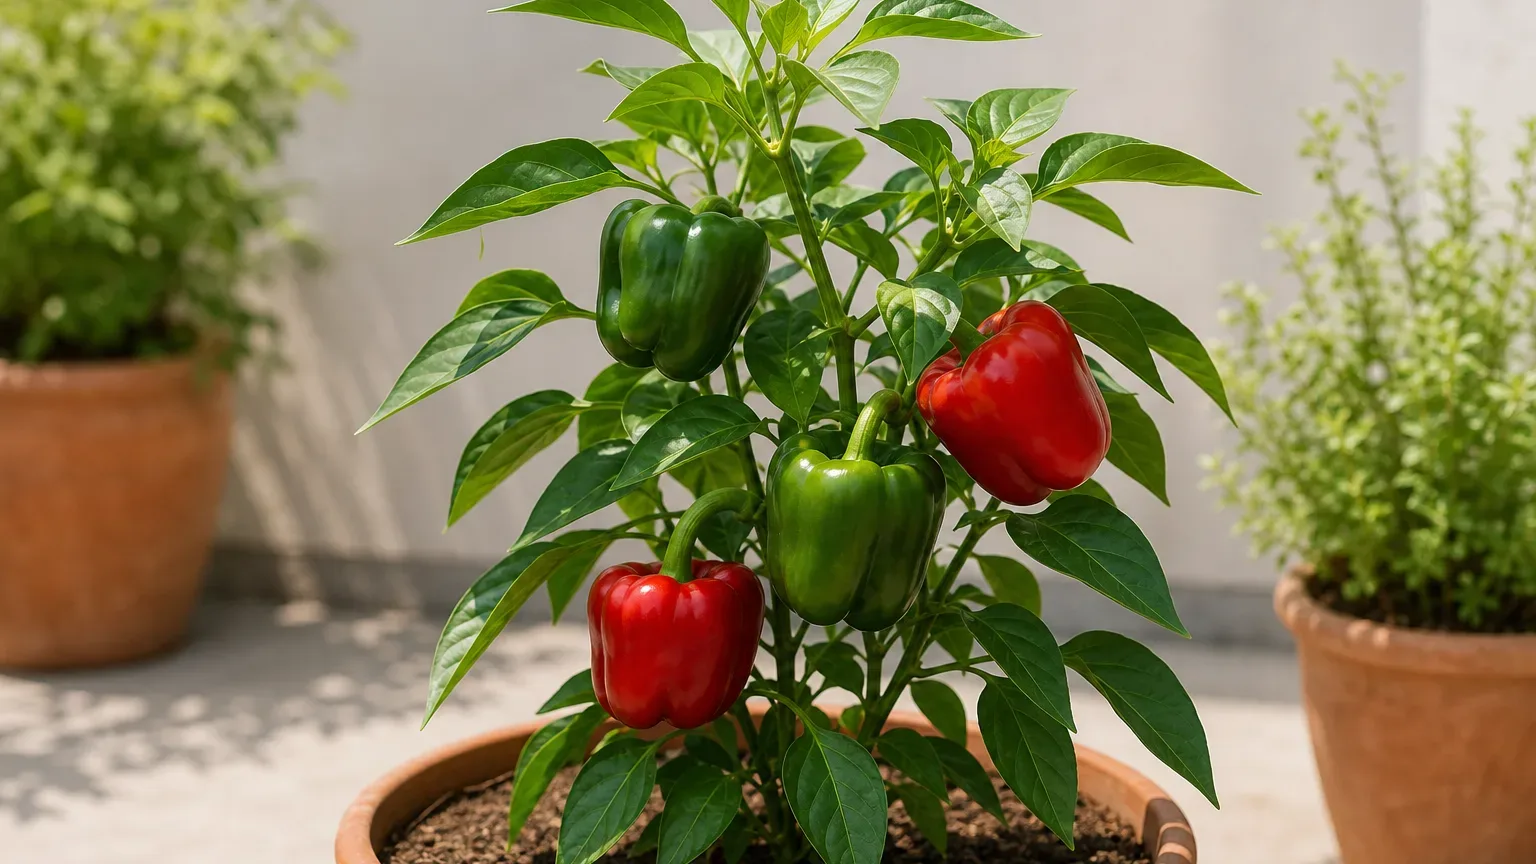
Capsicum Propagation from Seed: Step-by-Step Guide
Capsicum Propagation from Seed: Step-by-Step Guide
Sweet capsicum, bell pepper, and Shimla Mirch are usually raised from seed. The process is not difficult, but Capsicum annuum needs more warmth and more time at the seedling stage than many quick vegetables. A cold windowsill, wet tray, or rushed transplant can undo an otherwise sound sowing.
This guide covers sweet, blocky bell-pepper cultivars rather than assuming every seed labelled Capsicum annuum will produce the same fruit. Start by checking the packet for “sweet,” “bell,” “blocky,” or a named sweet-pepper cultivar, then build the sowing date around the warm conditions in which the final plant will grow.
Quick answer: sow seed rather than rooting a cutting
For a normal home crop, sow fresh capsicum seed in clean, free-draining seed-starting mix about 6–10 mm deep. Keep the mix evenly moist and warm—roughly 25–29°C is a practical target—then give the seedlings strong light as soon as they emerge. Pepper seed has an optimum germination temperature around 29°C in Penn State Extension’s vegetable table, while cooler conditions make emergence slower and less even.
Move seedlings on only after they have true leaves and a root plug that holds together. The final garden or balcony transplant should be stocky, well rooted, hardened to outdoor conditions, and planted only when the root zone and nights are reliably warm.
Why seed is the best propagation method for capsicum
Seed is the standard method because it produces a fresh crop efficiently and offers the widest choice of bell-pepper cultivars. Cuttings can sometimes root under controlled conditions, but they preserve an existing plant rather than providing the clean, predictable start most food gardeners want. They also carry any pests or disease already present on the parent.
Commercial and home growers commonly use transplants because peppers need a long warm period. Utah State University Extension recommends allowing 8–10 weeks to produce a pepper transplant, so sowing in advance is more reliable than waiting to direct-sow into a final bed.
Choose seed that matches the crop you want
The species name alone is not enough. Capsicum annuum includes sweet bells as well as many pungent chillies, and fruit shape, mature colour, plant size, and heat level depend on the cultivar. Buy seed from a packet that identifies the intended type and check its stated days to maturity against the length of your mild-to-warm growing window.
Fresh, properly stored seed usually gives the most even tray. If an older packet is questionable, place a counted sample in a moist paper towel for a simple germination test before committing tray space; Penn State describes counting germinated seed after 5–10 days, although cool pepper seed may need longer than that to reveal its full potential.
Hybrid seed-saving limits
An F1 hybrid pepper can produce viable seed, but its offspring are not expected to reproduce the parent plant uniformly. Hybrid seed is made by crossing selected parents; the next generation reshuffles those traits, so fruit size, shape, colour, yield, or sweetness may differ. Illinois Extension explains this open-pollinated versus hybrid distinction.
For repeatable seed saving, begin with an open-pollinated sweet-pepper cultivar and prevent unintended crossing with nearby flowering peppers. Seed from a supermarket bell pepper is an experiment, not a dependable copy: the fruit may have come from a hybrid, may have crossed before harvest, or may have been picked before the seed matured fully.
When to sow capsicum in India and warm climates
Use the expected transplant weather, not a single India-wide month. Sow roughly 8–10 weeks before a period with mild-to-warm nights, warm soil, useful sun, and no prolonged waterlogging. In a cool-winter region this may mean a late-winter indoor start for spring planting; in a hot lowland climate, it may mean timing seedlings for the gentler post-monsoon or winter crop window.
Avoid planning the vulnerable seedling phase for an unventilated peak-summer room or the wettest part of a humid monsoon unless you can manage temperature, light, and airflow. Peppers are tender warm-season plants, and Colorado State University Extension notes that they do not grow well in cool soil. Warmth helps; stagnant, saturated heat does not.
What you need before sowing
Use a clean cell tray or small pots with drainage holes, fresh seed-starting mix, labels, a fine-spout watering bottle, and a bright propagation area. A thermostatically controlled heat mat is useful where the mix stays cool, but measure the mix rather than assuming the dial or room temperature equals root-zone temperature.
Do not start valuable seed in heavy garden soil or an old, dirty tray. Fine seed-starting mix gives the small roots both moisture and air, while clean containers reduce exposure to persistent seedling pathogens. Keep a light source ready before sowing; emergence can happen quickly once the mix is warm.
How to sow capsicum seeds
- Moisten the seed-starting mix so it is evenly damp but not dripping.
- Fill the cells lightly and level them without compressing the mix hard.
- Sow one seed per cell, or two if the seed is old, about 6–10 mm deep.
- Cover with mix, press gently for seed-to-mix contact, and label the cultivar and date.
- Water carefully, let excess drain, and place the tray in a warm location.
- Use a clear cover only to slow drying; vent it and remove it promptly as seedlings emerge.
Check moisture daily with a fingertip or by lifting the tray. The aim is a consistently damp seed zone with air spaces still present, not a tray that sits in water. Seeds need moisture, temperature, and oxygen together; Penn State warns that overwatered or compacted media can deprive germinating seed of aeration.
Warmth controls germination speed
Capsicum seed is often slow because the mix is cooler than the gardener thinks. A root-zone target of 25–29°C gives sweet pepper seed a useful warm range without pushing it toward the upper limit. Penn State reports that peppers can germinate in about 8 days at 30°C but take more than 13 days at about 14°C, illustrating why a cold tray emerges unevenly.
Do not respond to slow emergence by repeatedly watering. Check the actual mix temperature, keep the seed zone damp, and wait according to the packet’s range. Once most seedlings are up, remove a humidity cover and grow them somewhat cooler—roughly 18–24°C—with good light and airflow rather than holding soft seedlings in germination-level heat.
Care after seedlings emerge
Move emerged seedlings immediately into strong light. On a balcony, introduce gentle morning sun gradually; indoors, position a suitable grow light close enough to prevent stretching without heating the leaves. Seedlings deprived of light become long, pale, and fragile even when germination itself was successful.
Water the mix thoroughly, then allow the surface to lose its wet sheen before watering again. Do not leave the tray standing in runoff. Gentle air movement helps stems strengthen and the surface dry, but a strong fan that wilts tiny seedlings is excessive.
The first rounded leaves are cotyledons, or seed leaves. Wait for the pointed, recognisably pepper-like true leaves before judging the plant’s normal form. If seedling leaves look pale after true growth begins, first check roots, moisture, temperature, and light rather than feeding a newly emerged tray heavily.
Thin or move seedlings without damaging roots
If two seedlings emerge in one small cell, the lowest-risk choice is to snip the weaker one at mix level. Pulling it can disturb the roots of the plant you intend to keep. If both seedlings are valuable, separate them when the first true leaves are opening and while roots are still easy to tease apart.
Hold seedlings by a leaf, not the stem, and support the root plug from below. Pot each one into fresh mix at approximately its original depth; unlike tomatoes, peppers should not automatically be buried deeply to correct legginess. Water once to settle the mix, then return the plant to bright but temporarily gentle light.
The right stage to transplant capsicum seedlings
Age is only a guide. A final-planting seedling should be stocky, dark green, and rooted through its plug without being tightly root-bound. Utah State describes strong pepper transplants as 5–8 inches tall with 6–9 mature leaves and a well-developed root system, and notes that plants already carrying flowers or fruit establish more slowly.
For an earlier move from a sowing cell to a small nursery pot, wait until the first one or two sets of true leaves are open and the plug can be lifted intact. For the final outdoor move, look for several mature true leaves, roots that hold the plug together, no active disease, and warm destination soil. This distinction prevents tiny seedlings from being put straight into a large wet pot.
Harden seedlings before the final move
Indoor leaves are not prepared for sudden midday sun, drying wind, or large temperature swings. Over about a week, place seedlings outdoors first in sheltered bright shade, then add gentle morning sun and longer exposure. Bring them back under cover if nights are unusually cool or heavy rain would saturate the cells.
Reduce watering frequency slightly as the plants acclimate, but never harden them by allowing severe wilt. Penn State describes hardening as gradual exposure to outdoor temperature shifts, air movement, reduced watering, and full light, and notes that 5–7 days outside can improve field performance.
Transplant into a pot or garden bed
Water the seedling a few hours before planting so the plug is moist but not collapsing. Make a hole the same depth as the root plug, slide the plant out without pulling its stem, and set it at approximately the nursery depth. Backfill gently, water the root zone, and add a stake or small cage now if the cultivar will carry large bell fruit.
Choose a final container with drainage holes and enough volume that the mix will not swing from saturated to dry within hours. In a bed, wait for warm soil and avoid a low spot that remains waterlogged. Keep the transplant out of harsh afternoon exposure for the first day or two if hardening was incomplete, then restore the full sun the crop needs.
For the next week, judge water at root-plug depth rather than following a daily schedule. A brief midday droop in strong heat can recover by evening, but continuing collapse, a loose dry plug, or a dark stem base calls for investigation. The Capsicum repotting guide covers final-container choice, while the Capsicum watering guide explains how to balance moisture after establishment.
Prevent damping-off
Damping-off may rot seed before emergence or pinch and collapse a young stem at the mix line. It is associated with several soilborne organisms, including Pythium, Rhizoctonia, Fusarium, and Phytophthora. A thin, brown or black stem base and seedlings that suddenly topple are classic warning signs documented for pepper-family seedlings by Utah State University Extension.
Prevention is more reliable than trying to rescue a collapsed seedling. Use fresh sterile mix and clean trays, avoid crowding, provide airflow, drain runoff, and do not keep the mix continuously saturated. Penn State’s current damping-off guidance identifies excess moisture, high humidity, poor drainage, and overcrowded seedbeds as favourable conditions.
Remove a collapsed seedling and a small amount of surrounding mix rather than waiting for it to recover. Then reduce excess moisture and improve air movement for the remaining plants. Do not apply a household fungicide or improvised disinfectant to edible seedlings; any crop-protection product must be specifically labelled for the crop, disease, and intended use.
Capsicum propagation problems and first actions
| Symptom | Likely cause | First action |
|---|---|---|
| No emergence after the expected window | Cold mix, old seed, or seed kept too wet or dry | Measure mix temperature and test remaining seed |
| Long, leaning stems | Light is too weak or too far away | Increase light gradually and rotate the tray |
| Seed coat stuck on leaves | Shallow sowing or the cover dried during emergence | Moisten it gently; do not pull hard |
| Seedlings fall at the soil line | Damping-off | Remove affected plants and correct wet, stagnant conditions |
| Purple or stalled seedlings | Cold roots or general stress | Warm the root zone and check drainage before feeding |
| Wilt after transplanting | Root disturbance, dry plug, or abrupt sun exposure | Shade briefly, water the plug, and protect from wind |
If the mix is warm but nothing emerges, do not dig through every cell each day. Disturbing swollen seed damages the radicle. Run a separate germination test and resow once the evidence points to poor viability rather than simply slow, cool germination.
When to use this page vs other Capsicum guides
Use this page from seed selection through the first settled week after transplanting. For decisions about the mature crop, start with the Capsicum overview, then use the light guide to choose a productive position and the soil guide to prepare a fertile but freely draining root zone.
Propagation problems often look like general care problems after transplanting. If a plant wilts because its small plug is drying inside a larger pot, use the watering guide. If growth remains pale after roots are established and environmental problems are corrected, the fertilizer guide is the better next step.
Related Capsicum guides
- Capsicum care overview — confirm sweet bell identity and see the complete growing cycle.
- Capsicum light requirements — move seedlings from protected light to productive direct sun.
- Capsicum watering — manage small root plugs and larger containers without saturation.
- Capsicum soil — choose the final bed or container mix after seed-starting mix.
- Capsicum repotting — select the final pot and minimise root disturbance.
- Capsicum fertilizer — begin feeding established plants without forcing weak growth.
Conclusion
Reliable capsicum propagation is a sequence: choose the correct sweet-pepper seed, sow into clean airy mix, hold the root zone near 25–29°C, provide strong light immediately after emergence, and transplant only when leaves and roots show readiness. Warmth speeds germination, but warmth combined with saturated mix and stagnant air raises the risk of damping-off.
Treat saved hybrid seed as an experiment, not a faithful copy of the fruit it came from. For a predictable crop, use labelled seed; for seed saving, choose an open-pollinated cultivar and control crossing. A stocky, hardened transplant with 6–9 mature leaves is a far better starting point than an older seedling already stressed by flowers, a tight root ball, or a cold final pot.