How to Grow Green Chilli from Seed
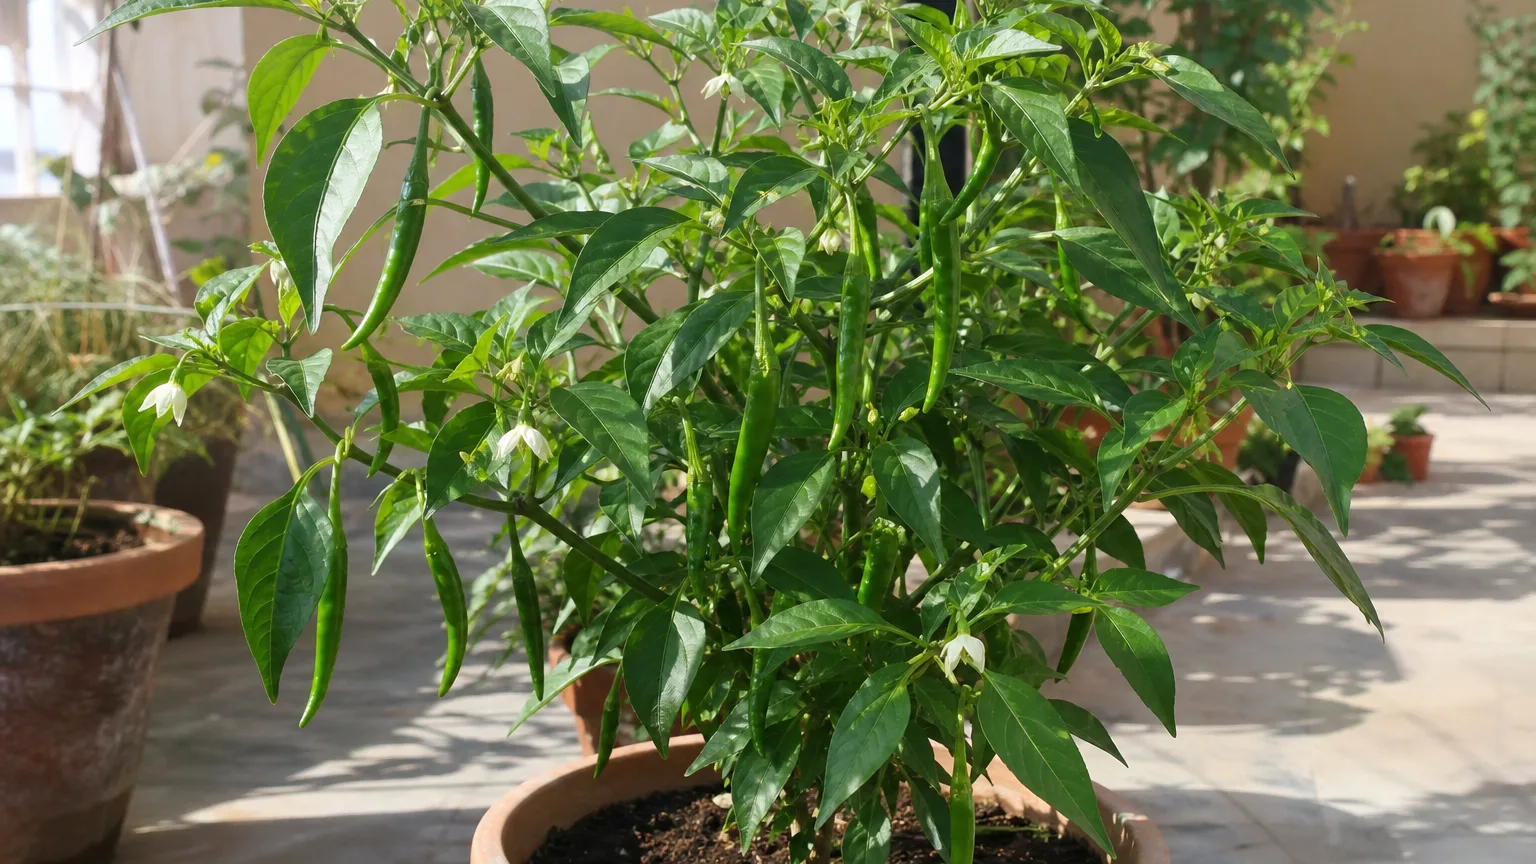
How to Grow Green Chilli from Seed
How to Grow Green Chilli from Seed
Green chilli is most reliably propagated from seed. The job is not difficult, but Capsicum annuum seed responds poorly to a cold, saturated tray, and its young roots do not benefit from repeated rough moves. Start with named seed, steady warmth, clean media, and a clear plan for where each seedling will grow after its true leaves appear.
Saved seed adds a separate question: it may germinate yet fail to reproduce the chilli you expected. A hot-fruited green chilli, a sweet capsicum, and many ornamental peppers can all belong to the variable species Capsicum annuum; NC State Extension lists chilli, bell, cayenne, and paprika forms within cultivated peppers. Cultivar identity therefore matters from the first seed packet to the final fruit.
Seed is the best propagation method
Seed is the practical default when you want several plants, a disease-free restart, or a specific named cultivar. It also lets you match the plant to your space: a compact balcony chilli, a vigorous long-fruited Indian type, and a mild green pepper may need different support and harvest expectations even when all are C. annuum.
Green chilli can sometimes continue as a short-lived perennial in frost-free warmth, but keeping an old plant is not the same as propagation. Starting fresh seed is usually simpler than trying to preserve an ageing, pest-carrying plant through an unsuitable season. Use the Green Chilli overview to confirm that the cultivar and mature habit fit your balcony, terrace, or bed before raising a full tray.
Before sowing, identify the chilli you want
Read the packet for the cultivar name, F1 or open-pollinated status, sowing depth, and any region-specific timing. “Green chilli” describes a harvest stage and culinary use, not one genetically uniform variety; many chillies turn red or another colour if left to botanical maturity.
Fresh commercial seed is the most predictable choice when fruit heat, shape, maturity time, or disease resistance matters. Seed taken from an unlabelled market chilli can be a worthwhile experiment, but it cannot promise the same plant, especially when the fruit came from a hybrid crop.
Choose named seed rather than a vague kitchen chilli
Choose seed sold as a hot-fruited cultivar rather than assuming every packet marked Capsicum annuum will be pungent. The botanical species contains an unusually broad crop range, so a scientifically correct label can still be too vague for a grower who wants a particular green chilli.
Check the packing date and storage instructions, and sow a small test batch if the seed is old. Do not compensate for doubtful viability by keeping the mix wetter; excess water reduces root-zone air and raises disease risk without repairing dead seed.
Know what saved seed can reproduce
For seed saving, allow a selected fruit to reach full botanical ripeness rather than collecting seed from the normal immature green harvest. Penn State notes that vegetables ready to eat are not always mature enough for seed saving; with chilli, that means waiting for the fruit to reach its cultivar’s final ripe colour and for the seed inside to finish developing.
Seed from a stable open-pollinated cultivar has the best chance of resembling its parent when unwanted crossing is prevented. Seed from an F1 hybrid may germinate, but Penn State explains that hybrid traits generally do not remain uniform in the next generation and saved hybrid seed may disappoint. Treat F1 offspring as an experiment, not a dependable copy of the original plant.
Cross-pollination creates another limit. Peppers can self-pollinate, but pollen from another compatible C. annuum cultivar may contribute to seed when insects move between flowers; the fruit growing now still looks like its mother plant, while variation appears in the next generation. If true-to-type seed matters, grow one open-pollinated cultivar, isolate or bag selected flowers, label them before opening, and save seed only from those protected fruits.
Time sowing for warmth, light, and manageable rain
Work backwards from a period when established seedlings can receive strong sun and warm nights. In frost-prone areas, sow under protection before the final cold period but delay outdoor planting until conditions settle. In tropical and subtropical India, avoid raising delicate trays where peak monsoon rain keeps media saturated or where extreme pre-monsoon heat dries tiny cells several times a day.
The calendar therefore changes by elevation and local season. A protected nursery can make germination possible during rain, but it cannot make a dark, waterlogged final site suitable; check the Green Chilli light guide and Green Chilli soil guide before choosing the sowing window.
Sow green chilli seed step by step
- Fill clean cells or small pots with fresh, fine seed-starting mix and moisten it evenly.
- Sow one or two seeds per cell, about 6 mm deep unless the packet specifies otherwise.
- Cover lightly, label the cultivar and date, and water gently so seed does not wash into a corner.
- Hold the tray in steady warmth and check moisture daily without automatically watering.
- As soon as shoots appear, uncover them and provide strong light and ventilation.
Commercial pepper guidance from Johnny’s recommends sowing about 6 mm deep and keeping the root zone warm. Individual cells make later handling easier because each seedling moves with a small root ball rather than having intertwined roots pulled apart.
Use clean containers and an airy seed mix
Use trays with open drainage holes and wash reused containers before filling them. A seed-starting medium should hold enough water for a tiny seed while retaining pore space for oxygen; Penn State describes transplant media as balancing water holding with aeration. Dense garden soil in a shallow tray usually holds too much water, compacts around emerging roots, and may introduce pathogens.
Moisten the medium before sowing so dry particles do not float after the seed is placed. The correct texture feels evenly damp and crumbly, not glossy, dripping, or muddy when squeezed.
Sow shallowly and moisten without saturating
Cover seed lightly and firm the surface only enough to make contact. Water with a fine rose or from below, then let excess drain; repeated forceful watering can bury some seeds deeply while leaving others exposed.
A clear cover can reduce evaporation until emergence, but it is not permission to seal a wet tray indefinitely. Open it daily, wipe heavy condensation if necessary, and remove it once shoots appear. Use the Green Chilli watering guide after potting on, when larger roots and faster drying need a different moisture check.
Warmth matters more than extra water
Authoritative recommendations vary because pepper seed can germinate across a range, while commercial growers often use warmer media for speed and uniformity. The RHS gives 18–21°C for pepper germination, while Johnny’s recommends maintaining soil at 27–32°C where possible and warns that cooler soil slows germination.
For a home tray, aim for stable warmth rather than chasing the highest number. A thermostatic heat mat can help in a cool room, but measure the mix rather than the room and avoid placing a covered tray in harsh direct sun, where temperature can spike. If a tray is slow, check warmth and seed age before adding water to already damp media.
Care for seedlings immediately after emergence
The first pair of smooth leaves are cotyledons, or seed leaves. They feed the new shoot briefly but are not the true leaves used to judge development. Once seedlings emerge, their priorities change from warm, humid germination to strong light, air movement, and controlled moisture.
Water when the surface is beginning to lose its dark wet colour while the root zone remains slightly moist. Bottom watering can keep stems drier, but drain the tray promptly; leaving cells standing in water recreates the saturated conditions that favour seedling disease.
Add strong light and airflow
Move emerged seedlings into bright light immediately so stems stay short and sturdy. Increase direct sun gradually: a shoot raised under a lid or indoors can scorch and wilt if placed straight into strong midday sun, even though a mature green chilli needs full sun.
Space seedlings so leaves are not pressed together, and ventilate protected trays. Strong light reduces legginess, while airflow helps leaf and stem surfaces dry. Rotate a window tray if plants lean, or use a suitable grow light when all stems stretch in one direction.
Pot on after true leaves appear
Move seedlings into individual small pots when the first true leaves have opened and the plant is large enough to handle without gripping its stem. The RHS advises moving pepper seedlings when they have two true leaves, while Johnny’s commercial guidance moves them when the first true leaves appear. In practice, use stage and root-ball cohesion rather than age alone.
Hold a seedling by a leaf, support the root ball, and set it at roughly the same depth it grew before. Potting into an enormous final container too early makes moisture control harder; move up in sensible steps, then use the Green Chilli repotting guide for the final container and root-sensitive handling.
Harden off and make the final transplant
Before outdoor planting, expose seedlings gradually to brighter sun, moving air, and wider temperature changes over about one to two weeks. The RHS recommends hardening tender transplants for two weeks and notes that cell-raised plants suffer less shock when their roots remain undisturbed.
Transplant when the seedling has several healthy true leaves, a root ball that holds together, and settled warm conditions ahead—not merely because a fixed number of days has passed. Water the seedling and destination beforehand, move it during a mild part of the day, keep the original soil level, and water once to settle the root zone. Delay feeding until active new growth shows establishment, then follow the Green Chilli fertilizer guide.
Prevent damping-off before it starts
Damping-off may rot seed before emergence or pinch a young stem near soil level so the seedling collapses. Penn State identifies excessive moisture, overcrowding, and unsuitable media temperatures among the conditions favouring damping-off. Once a chilli seedling has a dark, constricted base and has fallen, watering or fertilising it will not restore the damaged stem.
Prevention is more reliable than rescue: use clean pots, fresh soilless medium, moderate watering, drainage, spacing, and ventilation. Utah State specifically lists pepper seedlings among affected hosts and advises disinfected containers, sterile mix, and avoiding excessive irrigation. Remove collapsed seedlings with nearby contaminated mix, isolate the tray, clean equipment, and restart if losses continue.
Troubleshoot slow or weak propagation
Nothing emerges: confirm the seed is viable, the mix is warm, and the sowing depth is shallow before changing anything. A cold tray may simply be slow; a warm tray that smells sour or remains glossy-wet needs drainage and air, not another drink.
Seedlings grow tall and pale: increase light as soon as they emerge and reduce crowding. Do not bury a severely weak chilli stem as deeply as you might bury a tomato; move it carefully at the true-leaf stage and correct the light source so new growth develops sturdily.
Leaves stall after potting on: look for a cold root zone, damaged roots, an oversized wet pot, or an abrupt jump into strong sun. Keep conditions stable and avoid fertiliser until the seedling resumes growth. If established plants later need shaping rather than propagation, use the Green Chilli pruning guide.
Saved seed produces unexpected fruit: this is usually a genetics or labelling issue, not a propagation failure. F1 segregation, pollen from another compatible pepper, or an unlabelled market fruit can all produce healthy plants that differ in heat, shape, colour, or habit.
When to use this page vs other Green Chilli guides
Use this propagation page for seed choice, sowing, germination warmth, early seedling care, potting on, hardening, damping-off prevention, and saved-seed limits. Use the Green Chilli overview for whole-plant expectations and cultivar context, then switch to the topic page that matches the established plant’s current need.
Once roots fill the seedling pot and new growth is active, propagation conditions are no longer the goal. Mature plants need stronger sun, a larger root zone, regular nutrition, and moisture management suited to flowering and fruiting rather than a humid nursery.
Related Green Chilli guides
- Green Chilli light — move seedlings toward the direct sun mature plants require.
- Green Chilli watering — adjust moisture checks as roots fill larger containers.
- Green Chilli soil — prepare the fertile, freely draining final root zone.
- Green Chilli repotting — choose pot steps and reduce transplant stress.
- Green Chilli fertilizer — begin feeding after seedlings establish.
- Green Chilli pruning — shape established plants rather than tiny seedlings.
Conclusion
For dependable green chilli propagation, begin with named seed, clean airy medium, shallow sowing, and stable warmth. Move emerged seedlings into strong light, pot them on when true leaves appear, preserve the root ball, and harden them gradually before the final move.
Keep seed saving expectations separate from germination success. Open-pollinated seed protected from crossing offers the best chance of repeating a cultivar; F1 or accidentally crossed seed may grow vigorously but produce a different chilli. That honest distinction, together with disciplined moisture and sanitation, prevents the two biggest nursery disappointments: collapsed seedlings and healthy plants that do not match the fruit you meant to reproduce.