Green Chilli Soil Guide for Pots and Garden Beds
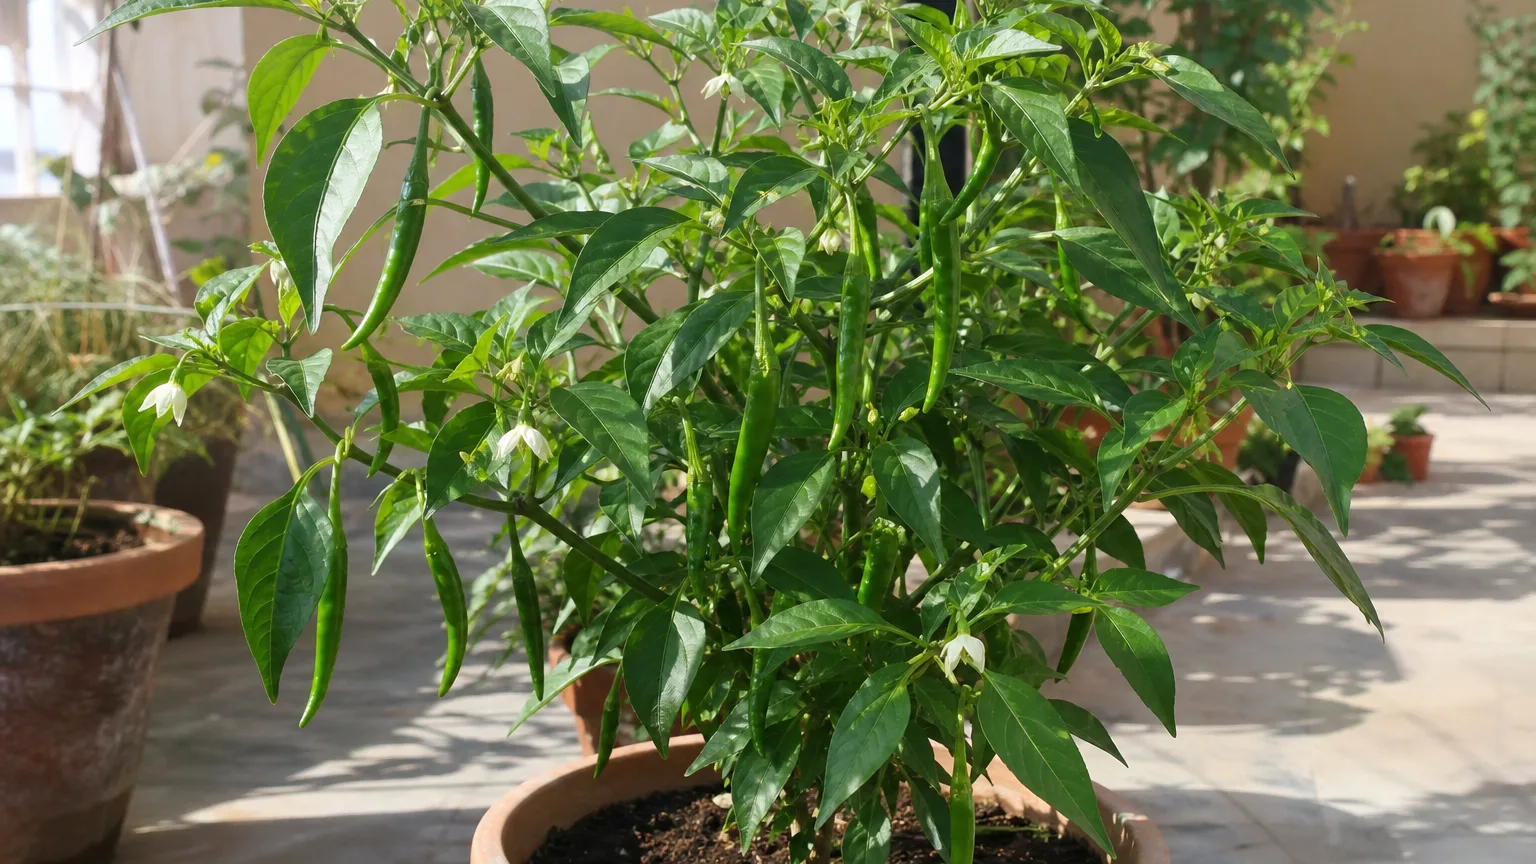
Green Chilli Soil Guide for Pots and Garden Beds
Green Chilli Soil Guide for Pots and Garden Beds
Green Chilli needs a root zone that holds enough moisture to support flowering and fruit growth without staying saturated after rain or irrigation. That balance matters more than any branded “vegetable soil.” In a container, use a light potting medium with durable pore space; in a bed, improve the native soil and raise the planting area if water lingers.
This guide covers hot-fruited Capsicum annuum harvested green, commonly called Hari Mirch. The same broad soil principles apply to many sweet peppers, but cultivar size and crop load affect how quickly a pot dries. Start by watching what water does in your actual soil rather than copying a recipe without testing it.
Quick answer: the best soil for Green Chilli
The best Green Chilli soil is fertile, organically enriched, moisture-retentive and freely draining, usually mildly acidic to near neutral. Penn State reports that field peppers perform best in well-drained soil with good water-holding capacity at pH 5.8–6.6. For a home container, a practical target is roughly pH 6.0–7.0; test before trying to correct a number.
For one potted plant, start with about 50% quality potting mix, 25% mature compost and 25% aeration material such as perlite, pumice or coarse composted bark. Treat those percentages as a starting point, not chemistry: increase the coarse fraction if your mix drains slowly in humid weather, or slightly increase moisture-retentive material if a sun-baked terrace pot becomes dry within hours.
Why chilli roots need both moisture and air
Green Chilli produces best when roots can take up water steadily, yet root pores must refill with air after watering. NC State describes hot Capsicum annuum as preferring moist, well-drained, rich soil. “Moist” does not mean keeping a pot permanently heavy or leaving it in a saucer of runoff.
Drainage is a system, not one ingredient. The mix, container depth, drainage holes, compacted root ball, saucer and frequency of rain all affect it. Before planting, saturate the prepared mix: water should spread through the root zone and begin leaving the base promptly, while the medium should still feel slightly springy rather than collapsing into mud.
That same balance connects directly with Green Chilli watering. A perfect mix can still fail under repeated automatic watering, while a coarse mix may leave the plant thirsty if no one checks it during hot wind and heavy fruiting.
Green Chilli soil pH
Aim for mildly acidic soil, with about pH 6.0–6.8 as a useful home-growing range. Penn State’s narrower commercial range of 5.8–6.6 is a sound reference, while the RHS species profile accepts acid to neutral conditions. The exact optimum is less important than avoiding an extreme that restricts nutrient availability.
Do not add lime, wood ash, sulphur or acidifying products by guesswork. Test bed soil through a reputable laboratory where possible, especially if plants repeatedly show nutrient-like symptoms despite measured feeding. For containers, begin with a labelled, buffered potting mix and replace or refresh old medium instead of repeatedly adding amendments to chase pH.
Hard irrigation water and repeated fertilizer can gradually alter container chemistry and leave soluble salts. A pale crust on the surface or pot rim, burned leaf edges and growth that remains weak in moist soil justify checking water quality, feeding history and root condition before adding another dose. Use the Green Chilli fertilizer guide for feeding decisions rather than treating every pale leaf as a pH problem.
Soil for Green Chilli in containers
Do not fill a chilli pot with unamended garden soil. Mineral soil that behaves well in an open bed can settle into a dense container mass with too little air, and its weight makes drainage problems harder to correct. RHS recommends peat-free multi-purpose compost for container chillies and describes mixes based on materials such as loam, composted bark, coir and sand.
Use a container with at least one unobstructed drainage hole. A layer of stones at the bottom does not repair a dense mix; it only reduces usable rooting volume. Put mesh over an oversized hole if mix escapes, then fill with one consistent, porous medium and leave headspace so you can water thoroughly.
A practical DIY chilli potting mix
Combine:
- 2 parts quality potting mix for structure and moisture distribution
- 1 part mature, screened compost for organic matter and modest nutrient contribution
- 1 part perlite, pumice or coarse composted bark for durable air space
Missouri Botanical Garden likewise places hot peppers in moist, organically rich, fertile, well-drained soils. Use only finished compost that smells earthy and has cooled; partly decomposed kitchen waste can shrink, heat, attract flies and create uneven nutrient conditions in a pot.
Cocopeat can be one component, but cocopeat alone is not a complete chilli soil. It can hold a large volume of water, has little stable fertility of its own and may stay too wet in a large shaded pot during monsoon. Pair it with compost and coarse aeration material, then manage nutrition separately.
How to choose and adjust a store-bought mix
Choose a fresh vegetable or multi-purpose potting mix that feels fibrous or crumbly rather than fine and sludge-like. Wet a small sample in a nursery pot. If water ponds for minutes and the handful squeezes into a sticky lump, blend in coarse aeration material; if water shoots around a hard, shrunken block, pre-moisten slowly and add a little quality compost.
Avoid repeatedly reusing old chilli mix without inspection. Remove roots, check for sour odour, pests, salt crust and poor structure. Reuse is safest only when the previous plant was healthy and the medium still drains well; otherwise, replacing it is cheaper than carrying a root-zone problem into a new crop.
Preparing garden beds for Green Chilli
In open ground, preserve the advantages of mineral soil instead of trying to turn the bed into potting mix. Loosen compaction, incorporate mature organic matter into the rooting area and shape the surface so intense rain leaves the plot. Utah State specifically advises a raised bed where drainage is poor.
RHS recommends well-drained, fertile, moisture-retentive ground and adding garden compost or well-rotted manure where soil is poor or heavy. Add organic matter across the bed rather than placing a rich pocket directly beneath one transplant; roots should move into a reasonably uniform zone. Keep fresh manure away from planting because its salts and nitrogen release are difficult to predict.
Improving heavy clay and poorly drained ground
Do not “fix” clay by adding a small amount of sand; an ill-proportioned clay-sand blend can become denser. Add mature compost over time, avoid working clay while it is sticky and raise the chilli row or bed above the surrounding grade. A raised mound is useful only if runoff has somewhere to go, so clear blocked edges and outlets before monsoon.
Check the site after a strong shower. If water stands around the planting hole for hours, choose a raised bed or container rather than gambling on a chilli transplant. Penn State links pepper disease management with good water infiltration and crop rotation, which makes drainage a disease-prevention decision as well as a watering convenience.
Improving sandy or fast-drying ground
Sandy soil may drain freely but lose water and nutrients too quickly for a fruiting chilli. Work in mature compost, mulch the surface after the soil is warm and established, and water deeply enough to wet the active root zone. Utah State notes that organic and plastic mulches can conserve moisture and suppress weeds.
Do not compensate for rapid drainage with shallow watering several times a day. That keeps roots near the surface and can wash nutrients below them. Improve water-holding capacity gradually and use the soil-feel checks in the Green Chilli watering guide.
Fertility starts in the soil, not the fertilizer bottle
Green Chilli needs fertile soil, but “rich” does not mean filling half the pot with manure or feeding at every watering. Compost improves structure and contributes nutrients, while a labelled fertilizer supplies a more predictable analysis. University of Minnesota recommends deciding fertilizer from a soil test, especially in beds where past amendments may already have raised nutrient levels.
Excess nitrogen can build a large canopy while delaying fruit set and maturity; Utah State explicitly warns against over-fertilizing peppers. Begin with moderate fertility, wait for active establishment after transplanting, and match later feeding to plant stage, container volume and the product label.
Do not use soil amendments as emergency treatment for every flower drop or yellow leaf. Check direct sun, moisture, drainage, root space and weather first. If the root zone is healthy but growth remains weak, move to the Green Chilli fertilizer guide for a stage-based feeding plan.
Monsoon soil management in India
Monsoon changes the soil problem from “how do I stop this pot drying?” to “how do I restore air after repeated rain?” Before the wet period, clear drainage holes, remove saucers, lift pots on stable feet and move containers away from roof runoff. Keep the plant in useful light and airflow; a dark sheltered corner may reduce rain but also slows evaporation and growth.
Do not repot a healthy chilli merely because rain is forecast. First protect it from repeated direct downpours and let the upper mix begin to aerate. If the pot remains heavy for days, smells sour or the plant wilts despite wet soil, slide out the root ball only when necessary and follow the least disruptive steps in the Green Chilli repotting guide.
For beds, create raised rows before transplanting rather than mounding soil against an established stem. Keep mulch thin or temporarily pull it back if the surface remains continuously wet. Avoid walking on saturated soil because each footstep compresses pores that roots need for oxygen.
Rotate chillies away from other nightshades
Do not repeatedly plant Green Chilli in the same small bed after chilli, capsicum, tomato, brinjal or potato. These crops share the Solanaceae family and can share soilborne disease problems. Missouri Botanical Garden advises avoiding sites where peppers, tomatoes or eggplants grew previously because carryover pathogens can infect new plants.
Move the chilli to a different bed and grow unrelated crops in between; a longer break is better where a confirmed soilborne disease occurred. Rotation cannot clean contaminated potting mix in a container. Discard suspect medium responsibly, wash the pot and begin with fresh mix rather than planting another nightshade into the same root zone.
Warning signs the soil is wrong
Judge symptoms together. Yellow lower leaves can result from wet roots, low nitrogen, normal ageing or several diseases, so the leaf colour alone is not a diagnosis. Check how long the soil stays wet, whether water enters evenly, the smell of the root zone and recent feeding before changing the mix.
Wet, compacted or oxygen-poor soil
Warning signs include a pot that stays heavy for many days, water ponding on top, continued wilt while the mix is wet, slow growth and a sour smell. Stop automatic watering, empty standing runoff and improve rain protection. If roots are dark and soft rather than pale and firm, the problem has progressed beyond a simple watering delay.
Do not add fertilizer to a saturated root ball. Nutrients do not correct a lack of oxygen, and extra salts can further stress damaged roots. Correct drainage first, then reassess new growth rather than expecting old yellow leaves to turn green.
Mix that dries too fast or repels water
A root-bound chilli may wilt soon after watering because little functioning mix remains. Old peat- or coir-based media can also shrink from the pot wall, causing water to run down the gap without wetting the centre. Soak a mildly dry root ball slowly in several passes; if the problem returns every day, inspect root crowding and use the Green Chilli repotting guide.
For exposed beds, add compost over time and use surface mulch to slow evaporation. Keep mulch away from direct stem contact and confirm that water reaches below it. A dry surface beneath decorative mulch shows that a brief sprinkle never reached the roots.
When to use this page vs other Green Chilli guides
Use this page when choosing a potting mix, testing drainage, correcting clay or sandy ground, managing monsoon saturation, checking pH or planning crop rotation. Use Green Chilli watering when the mix is suitable but you need to decide when and how deeply to irrigate.
Use Green Chilli fertilizer for product type, timing and overfeeding signs. Open Green Chilli repotting when roots fill the pot or the medium has structurally failed, and use Green Chilli propagation for seed-starting media and seedling aftercare.
Related Green Chilli guides
- Green Chilli overview — the complete growing system and hot-cultivar boundary.
- Green Chilli light — direct sun, acclimation and balcony placement.
- Green Chilli watering — moisture checks for pots and beds.
- Green Chilli fertilizer — feeding established plants without excess foliage.
- Green Chilli repotting — root checks, pot size and post-move care.
- Green Chilli propagation — starting plants in clean seedling media.
Conclusion
Good Green Chilli soil does two jobs at once: it stores enough water and nutrients for a fruiting crop, then releases surplus water so roots can breathe. Use a porous potting mix in containers, improve native ground with mature organic matter, and raise beds where drainage is unreliable.
Keep pH mildly acidic to near neutral, base fertility changes on evidence and rotate chillies away from other nightshades. In Indian monsoon weather, protect the root zone from repeated saturation before reaching for fertilizer or drastic repotting. The first useful test is simple: water the soil and watch how evenly it wets, how promptly it drains and how long it stays heavy.