Neem Repotting Guide: When, Pot Size & Steps
Neem Repotting Guide: When, Pot Size & Steps
Neem Repotting Guide: When, Pot Size & Steps
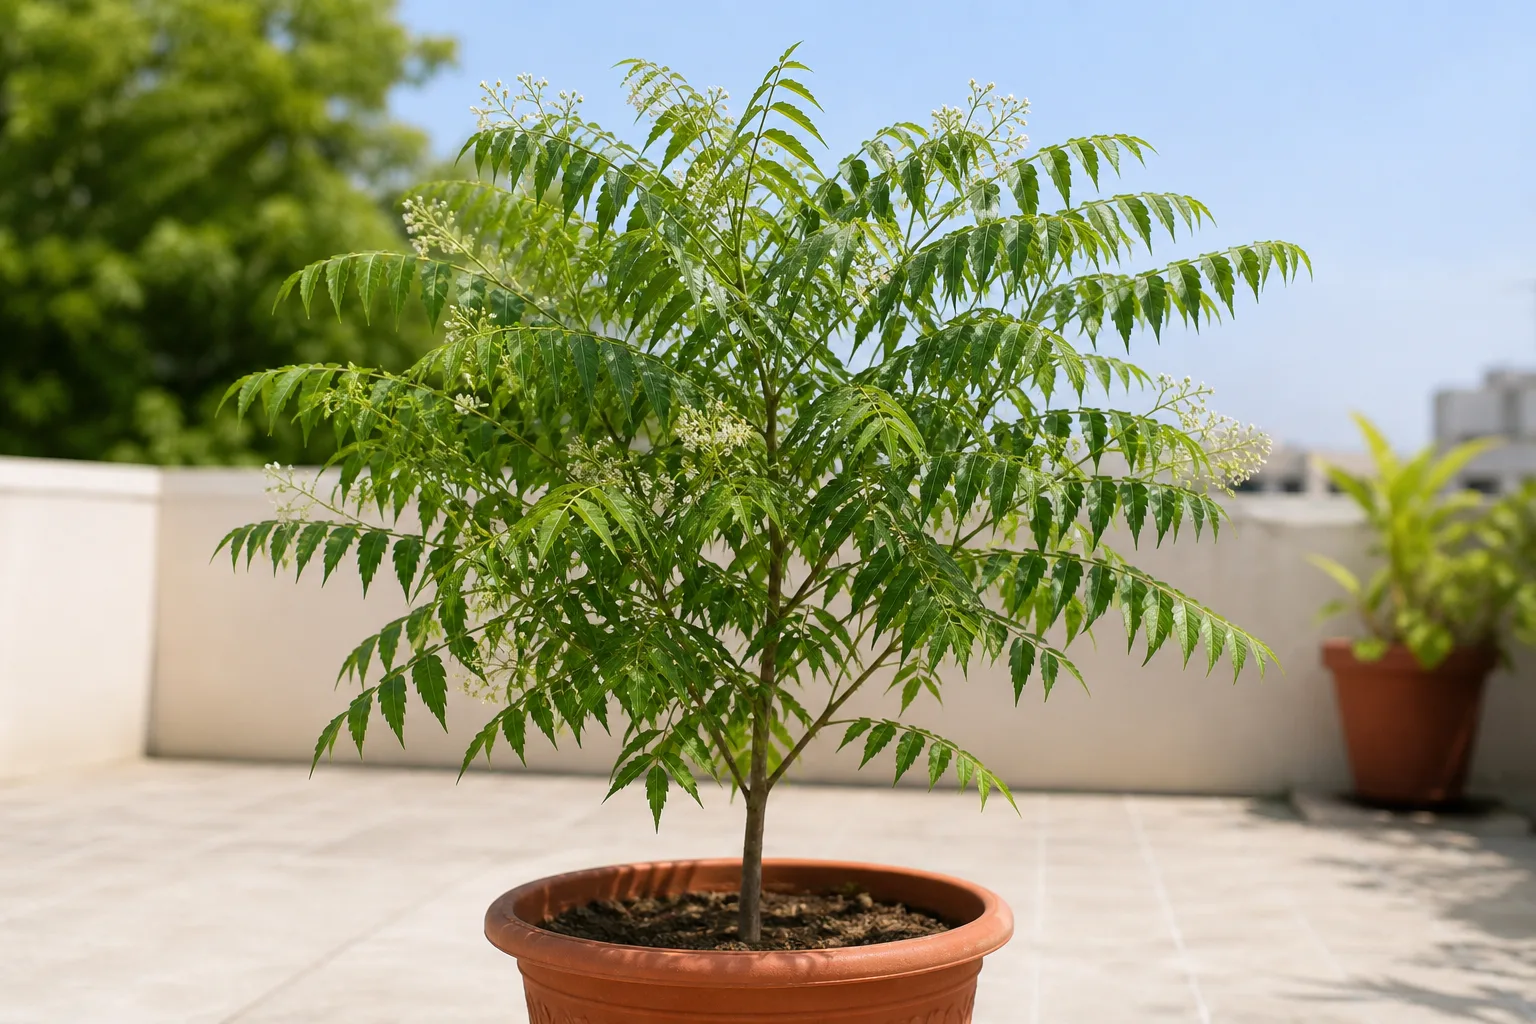
Neem repotting is less about giving Azadirachta indica a bigger home and more about protecting a drought-smart root system from wet, airless soil. Missouri Botanical Garden describes neem as a tropical tree for deep, sandy, dry to medium, well-drained soils, notes excellent drought tolerance, and adds that it may be grown indoors in containers where pruning controls size — while warning that container plants have less drought tolerance than trees in open ground (Missouri Botanical Garden — Azadirachta indica).
On an Indian terrace or balcony, that biology shows up as a clear pattern: young trees fill pots quickly, sandy mix breaks down or becomes root-bound, and an oversized “upgrade” keeps the new soil wet for days. Done well, a repot every 2–3 years in late winter or early spring refreshes drainage, adds one modest pot size, and resets a soak-and-dry watering rhythm. Done poorly — monsoon timing, peat-heavy mix, or a giant pot — and yellowing leaves follow even though you “gave it more room.”
This guide covers when to repot neem, which pot and mix to use, step-by-step transplanting, aftercare, and when to leave a healthy plant alone. Pair it with the Neem care hub and the Neem soil guide so the new container matches how this species actually drinks.
Why container neem needs thoughtful repotting
In habitat and long cultivation across the Indian subcontinent, neem explores deep, permeable, sandy ground and then waits out dry spells. Oregon State University notes that it reportedly prefers those sandy soils in sub-arid to sub-humid tropical and subtropical climates (Oregon State University Landscape Plants). Winrock International’s FACT sheet adds that neem is highly drought tolerant once established, prefers a soil pH near 6.2–7.0, and should not be planted where soils become waterlogged or seasonally inundated (Winrock — Azadirachta indica).
A pot truncates that story. There is no deep water table, no long lateral root run, and every watering either drains cleanly or sits. Repotting is your chance to restore pore space, remove sour or compacted mix, and give circling roots a little room — without creating a reservoir of unused wet soil around a heat-loving tree that dies quickly when oxygen runs out at the roots (Plants For A Future — Azadirachta indica).
Deep roots meet pot walls
Winrock describes neem with a long, penetrating lateral root system (and a relatively short taproot) that can extend many metres in the ground. In a 30–45 cm terrace pot, those roots hit plastic or clay within months if the tree is young and growing fast. Circling roots, a top-heavy canopy, and mix that dries within a day of watering are not “personality” — they are the container hitting its limit.
Repotting does not turn a balcony neem into a 15–25 m shade tree. It keeps the plant stable and drained while you manage size with pruning. If the goal is a permanent landscape tree, plan an eventual move to open ground with free drainage rather than endless upsizing of patio pots.
Signs your neem needs repotting
Use root and pot behavior, not a single yellow leaflet. Penn State Extension lists classic pot-bound cues for container plants: mix that dries out very quickly, roots through drainage holes, and stalled growth despite otherwise reasonable care — then confirms by sliding the plant out to see dense, circling roots with little mix visible in the lower root ball (Penn State Extension — Repotting Houseplants). Those checks transfer cleanly to neem.
Also watch for a top-heavy canopy that rocks when you water or brush past, and for soil that pulls away from the pot wall as a solid root mat. If the mix smells sour or stays heavy for many days after watering, you may need a soil rescue more than a size upgrade — see the Neem watering guide for overwatering patterns before you disturb roots.
Root, soil, and canopy cues
Repot soon when you see two or more of these: roots exiting holes; a pot-shaped root ball with almost no loose mix; water racing through in minutes then the plant wilting the next day; canopy much wider than the pot base; or a young tree that has not been moved in 2–3 years of active growth.
Do not repot for these alone: temporary leaf drop after a heat wave or cold night; one lower leaflet yellowing in otherwise firm growth; or a newly purchased nursery plant still adjusting to your light. Missouri Botanical Garden notes that neem may temporarily lose leaves in protracted drought, then recover — that is not automatically a root-bound emergency (Missouri Botanical Garden — Azadirachta indica).
Best season to repot neem in India and similar climates
Aim for late winter or early spring — typically February–March across much of India — just as days lengthen and the tree gears up for a new flush. Penn State Extension recommends spring for houseplant repots because roots colonize fresh mix while the plant is entering active growth (Penn State Extension — Repotting Houseplants). Neem follows the same logic: warm soil, rising light, and a long growing season ahead.
Avoid peak monsoon and cool North India winters unless the pot is cracked, roots are rotting, or the plant is tipping dangerously. Wet season humidity keeps new mix soggy; winter chill slows water use while Missouri Botanical Garden notes neem is intolerant of temperatures below about 40°F (4°C) (Missouri Botanical Garden — Azadirachta indica). If you must rescue in a bad season, use a modest pot step-up, the leanest free-draining mix you can mix, bright sun, and a lighter watering hand until new leaves appear.
Choosing pot size, material, and drainage
Drainage holes are non-negotiable. Penn State Extension is blunt: containers need holes so mix does not stay waterlogged, and decorative cachepots without holes should only hold a drained inner pot (Penn State Extension — Repotting Houseplants). For terrace neem, that means a real grow pot with open holes — never plant directly into a sealed planter that holds a lake after rain.
Prefer a stable, relatively heavy base once the canopy spreads: terracotta, thick plastic, or concrete-style patio pots all work if drainage is clear. Unglazed clay dries faster (helpful for this species) but needs more frequent checks in peak summer. Tall, narrow pots tip easily when the crown grows; choose width that matches canopy spread as much as depth.
One size up — not a giant jump
Move only one pot size up — roughly 5 cm (2 inches) wider in diameter than the current container for most patio trees. Penn State notes the new pot should be slightly larger, because an oversized container looks unbalanced and, more importantly for neem, holds unused wet mix around roots that prefer dry-to-medium conditions.
A giant jump is the most common terrace mistake. Extra soil stays wet for a week after each watering, oxygen drops, and roots decay even though you “improved” the plant. If you want to slow growth rather than enlarge the tree, root-prune lightly, refresh mix in the same pot, and control the canopy with Neem pruning instead of upsizing forever.
Fresh mix for Azadirachta indica
Do not refill with moisture-control peat blends meant for thirsty foliage plants. Tropical Plants Database notes that neem prefers well-drained soil, tolerates poor soils and drought once established, and quickly dies in waterlogged soils (Tropical Plants Database — Azadirachta indica). Winrock’s preferred pH band of about 6.2–7.0 (wider tolerance roughly 5.0–8.0) is a useful target for containers.
A practical DIY mix that matches LeafyPixels’ neem profile is about 50% sandy loam or screened garden soil, 25% coarse sand or perlite, and 25% compost — lean, free-draining, with enough organic matter for a deep soak to stick briefly. Moisten the mix before planting so it accepts water evenly. Full recipes and monsoon drainage checks live in the Neem soil guide; use that page if the current failure is mix quality rather than pot volume.
Step-by-step: how to repot neem
Water the plant lightly the day before so the root ball holds together without being soggy. Gather the new pot, pre-moistened sandy mix, clean shears, and a screen scrap or mesh for the drainage hole if your mix is fine.
- Tip the pot gently; support the stem and slide the root ball out. If it sticks, tap the sides — do not yank the trunk.
- Inspect roots. Firm, pale-to-tan roots are fine; brown, mushy, foul-smelling roots should be trimmed back to healthy tissue. Tease circling roots outward so they can enter new mix.
- Add a base layer of mix so the old soil line sits about 2–3 cm below the new rim.
- Center the plant, fill around the sides without burying the stem deeper than before, and firm lightly — do not compact into a brick.
- Water thoroughly until runoff exits the holes, then empty the saucer within 15–30 minutes.
Return the plant to its brightest safe sun — full sun on a terrace is ideal once it has settled a day or two. Keep care boring: same light, same watering logic, no fertilizer for several weeks. If you also change placement, pot size, and watering all at once, you will not know which stress caused leaf drop.
Post-repot care for the first month
Expect a short pause in growth and maybe minor leaf yellowing as roots reattach. That is transplant adjustment, not a cue to fertilize or water daily. Resume the neem rhythm: soak deeply only when the top 3–5 cm of mix are dry, then let the pot lighten again. Missouri Botanical Garden’s overwatering guidance explains why wet, oxygen-starved roots fail even when the canopy looks thirsty — dying roots cannot supply water, so another soak makes decline worse (Missouri Botanical Garden — Overwatering).
Hold fertilizer until you see a clear new flush of firm leaves, then follow the light feeding approach in the Neem fertilizer guide. Keep the plant out of frost and cold drafts; Winrock places normal comfort roughly around 9.5–37°C and notes poor cold tolerance (Winrock — Azadirachta indica). Stake only if the canopy is top-heavy and wobbles in wind; remove ties once roots grip.
When not to repot neem
Skip elective repotting when the plant is newly home (quarantine and learn its dry-down first), when it is flowering heavily and already stressed, during prolonged cool wet weather, or when the only issue is a cosmetic preference for a larger decorative planter — use a cachepot around a drained grow pot instead.
Also skip upsizing when the mix is fine, roots have room, and the canopy is manageable with pruning. Missouri Botanical Garden explicitly notes container culture with pruning for size control; more soil is not always kinder. Emergency exceptions remain: cracked pots, confirmed root rot, or severe binding that makes watering impossible.
Seedlings, young trees, and mature patio specimens
Nursery and seedling stages move more often than woody patio trees. Winrock notes that containerized seedlings are commonly outplanted after about 3–4 months when they reach roughly 30–50 cm, while bare-root stock may stay longer in the nursery and often needs root and shoot pruning before transplant (Winrock — Azadirachta indica). Young container trees on a balcony may need a step-up every 1–2 years until growth slows.
Mature patio specimens on a 2–3 year refresh cycle can often stay in large, stable pots if you top-dress annually, keep drainage open, and prune for height. If you are multiplying plants rather than upsizing one tree, use the Neem propagation guide for seed and cutting methods instead of splitting a single woody trunk at repot time.
Moving neem from pot to ground
When a container tree outgrows every practical pot, transplant into open ground with the same rules: sandy, free-draining site, full sun, and no seasonal waterlogging. Dig a hole only modestly wider than the root ball, keep the soil line the same, and water to settle — then shift toward field drought tolerance once roots explore. Do not plant into a clay basin that ponds in monsoon; neem’s intolerance of wet feet does not change outdoors.
If your climate sees frost, remember MOBOT’s cold limit near 4°C and protect young trees, or keep a backup container specimen you can move under cover. Ground planting is a commitment to space: in-ground neem can reach 15–25 m where conditions allow, far beyond any balcony pot.
When to use this page vs other Neem guides
Use this repotting page when pot size, root binding, mix failure, or transplant timing is the decision. Use Neem watering when the question is how often to soak and how to read wet vs dry stress. Use Neem soil when you need mix recipes and pH without changing containers. Use Neem light when weak sun is keeping pots wet or growth thin. Use Neem fertilizer only after roots have recovered. Use Neem pruning to manage height without endless pot upsizing. Use Neem propagation when you want new plants from seed or cuttings. Start from the Neem overview if you need the full care picture first.
Related Neem guides
- Neem overview — identity, mature size, and core care summary
- Neem watering — soak-and-dry timing after a repot
- Neem soil — sandy mix ratios and drainage fixes
- Neem light — sun placement that helps new mix dry
- Neem fertilizer — when to resume light feeding
- Neem pruning — keeping patio trees manageable
- Neem propagation — starting the next generation
Conclusion
Repot neem like the drought-smart tropical tree it is: late winter or early spring, one pot size up, sandy free-draining mix, and a calm month of dry-down watering afterward. Watch for roots in the holes, a top-heavy canopy, and mix that fails to hold structure — not for every yellow leaflet. Skip monsoon and cold-wet windows for elective moves, and use pruning plus a stable pot when you want size control rather than a bigger water reservoir. Follow those rules and container Azadirachta indica stays drained, anchored, and ready for the next flush of growth.