How to Grow and Care for Anaheim Pepper Plants
Grow Anaheim pepper plants from seed to harvest with clear guidance on timing, soil pH, watering, containers, fruit set, pests, and green or red picking.
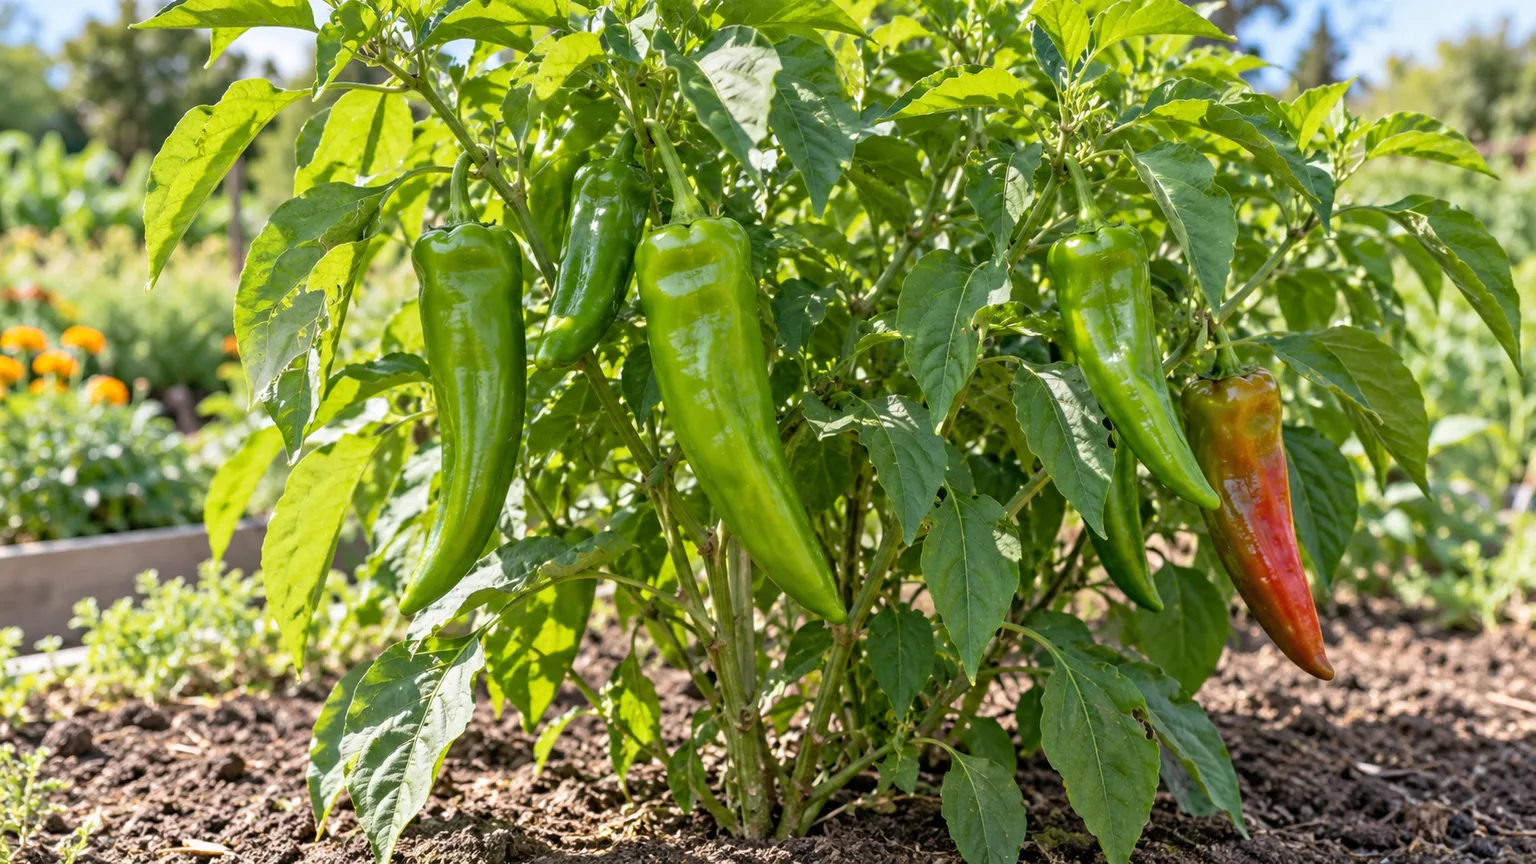
Anaheim peppers are rewarding when you give them a long, warm season and keep their root zone evenly moist. The most important decisions happen before planting: start seeds early enough, wait for genuinely warm soil, and choose a spot with sun and drainage. After that, watch the plant’s response instead of following a rigid watering or feeding calendar.
Anaheim is a cultivar group of Capsicum annuum, the same species that includes bell peppers and jalapeños. Its fruits are usually long and tapered, picked green for a mild chile flavor or left to ripen red for a deeper, often more pronounced flavor. Heat varies by cultivar and growing conditions, so a packet’s variety name is a better guide than assuming every Anaheim will taste equally mild. Epic Gardening’s Anaheim guide and Gardener’s Path both describe this variation and the green-to-red harvest window.
What an Anaheim Pepper Plant Is—and Is Not
An Anaheim pepper is not a separate species: it is a type of Capsicum annuum. Gardeners may encounter related labels such as California chile, New Mexico chile, or Hatch chile, but names can refer to a cultivar, a regional growing tradition, or a place of origin. Read the seed packet for the specific cultivar and maturity estimate rather than treating every label as interchangeable. The NC State Extension Plant Toolbox places peppers in the species Capsicum annuum, while Anaheim-specific cultivar guides describe the familiar elongated fruit.
Plants are usually upright, branching shrubs that can reach roughly 2 to 3 feet, though cultivar, pot size, weather, and pruning affect their final size. The flowers are small and pale; after pollination, they develop into narrow, hollow fruits that lengthen as they mature. In climates with frost, treat Anaheim peppers as warm-season annuals. Although peppers can live for more than one season in frost-free regions, a garden plant should not be assumed to survive an ordinary winter outdoors.
A maturity estimate of around 70 to 85 days is common for Anaheim types, but read the label carefully: seed companies usually count from transplanting, not from sowing indoors. A plant started from seed may therefore need several additional weeks before the first harvest. Cool nights, low light, a small container, or transplant shock can also stretch the calendar.
When to Start Anaheim Peppers
Use frost dates as a planning reference, then use soil and nighttime temperatures as the planting decision. Anaheim peppers are tropical-origin, frost-sensitive plants; putting them into cold soil does not give them a useful head start. A warm windowsill or lighted seed-starting shelf can bridge the weeks between late winter sowing and safe outdoor weather.
Start Seeds Indoors
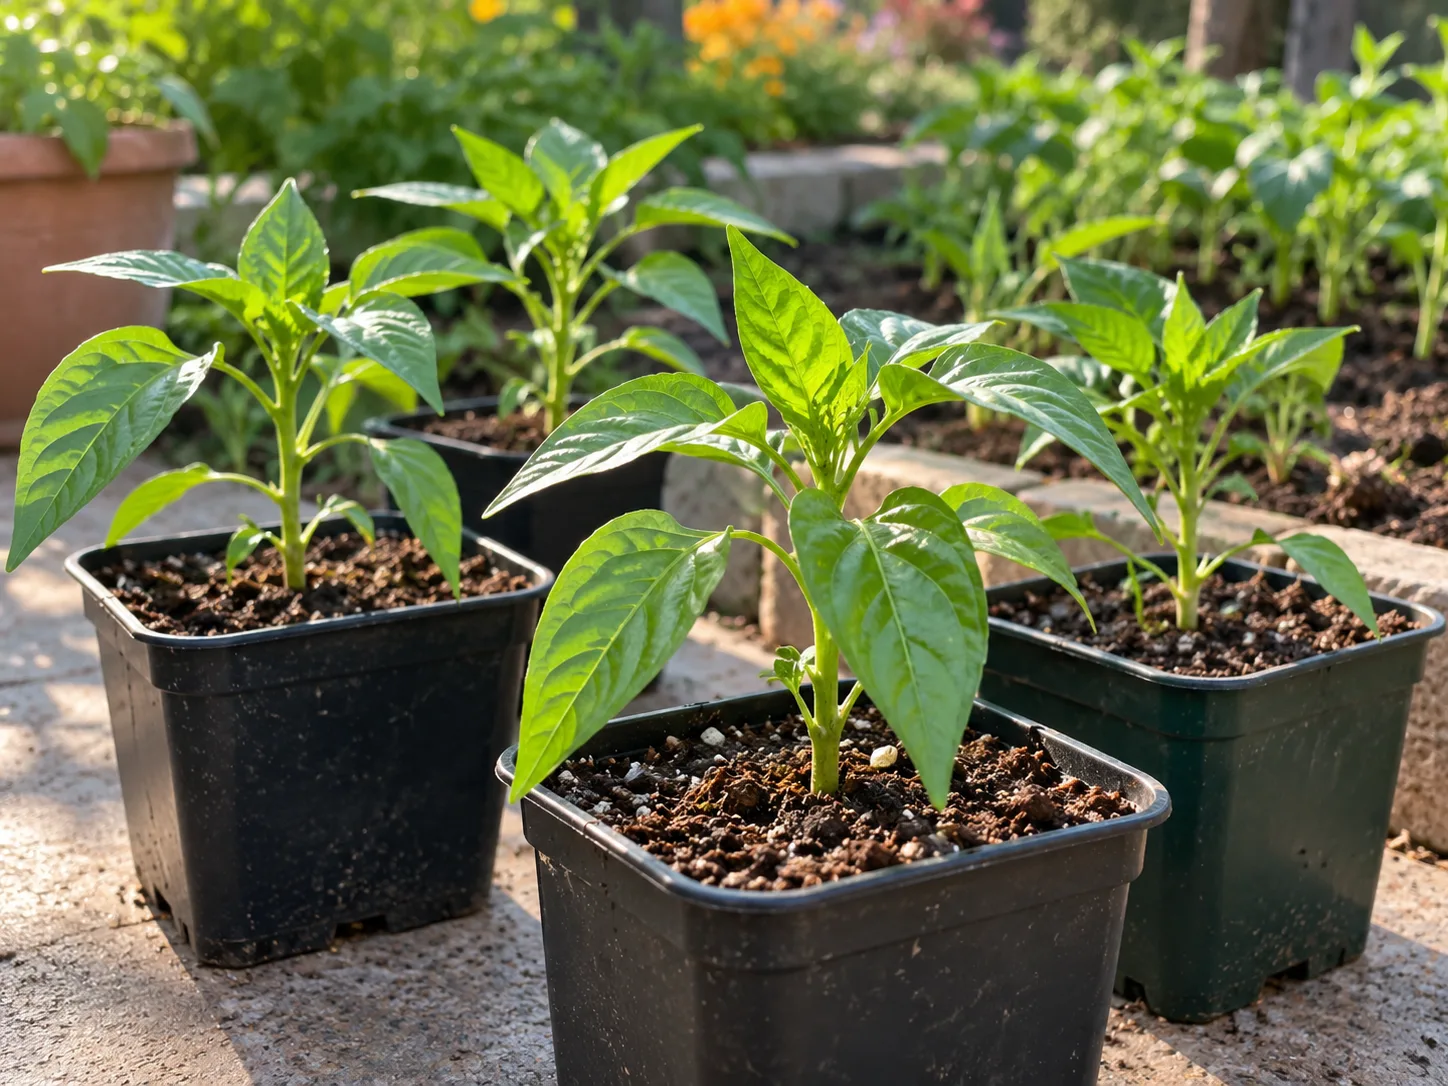
Sow seeds about 8 to 10 weeks before the date you expect to transplant outdoors. Use a clean seed-starting mix and small pots with drainage holes. Plant each seed about a quarter-inch deep, keep the mix evenly damp rather than saturated, and provide steady bottom warmth if your growing area is cool. Pepper seeds germinate slowly in chilly conditions; a heat mat set according to its manufacturer’s directions can help, but remove seedlings from direct contact with excess heat once they emerge.
As soon as sprouts appear, give them strong light. A bright window may work if the seedlings stay compact, but a grow light positioned close enough to prevent stretching usually gives more reliable results in late winter. Keep lights on a consistent daily schedule, rotate trays if plants lean, and water when the surface begins to dry. If several seedlings emerge in one cell, keep the strongest and snip the extras at soil level rather than pulling and disturbing its roots.
Pot up a seedling if it becomes rootbound before outdoor conditions are ready. A sturdy plant with several true leaves is easier to establish than an overgrown, stressed transplant. Do not rush seedlings outside just because they have reached a certain height; warmth matters more than size.
Harden Off and Transplant Safely
Before planting, acclimate indoor-grown seedlings to direct sun, wind, and outdoor temperature changes over about a week. Start them in a sheltered bright spot for a short period, then increase their exposure gradually. A sudden move from a warm room to full afternoon sun can scorch leaves even when the weather seems pleasant.
Transplant after frost danger has passed and the soil has warmed to about 65°F. UConn Home and Garden Education Center recommends waiting for that soil temperature and notes that pepper seeds do not germinate in soil below 55°F; University of Illinois Extension also cautions that peppers grow slowly and may drop flowers when nights stay below roughly 50 to 55°F. Choose a calm, mild day, water the seedling beforehand, and plant it at approximately the depth it was growing in its pot. Water around the root ball to settle soil, then keep it evenly moist as new roots establish.
If a late cold snap is forecast, delay transplanting or protect the plant with a breathable row cover that does not press against the foliage. Remove or vent covers when temperatures rise and once flowers open so pollinators can reach blossoms and the plant does not overheat beneath the cover.
Pick a Sunny Site With Drainage
Choose a location that receives at least 6 to 8 hours of direct sun. Morning and midday sun support compact growth and flowering; in places with punishing afternoon heat, light late-day shade can reduce heat stress without turning the site into a shady bed. A plant that gets too little light often grows leggy and leafy while producing fewer flowers.
Anaheim peppers need soil that stays moist after watering but drains freely. Heavy, compacted ground holds too much water around roots; very sandy soil drains so quickly that plants may wilt between irrigations. Improve the bed with mature compost and loosen compacted soil across the planting area rather than filling only the planting hole with a different mix. A sharply different pocket can collect water or discourage roots from spreading into the surrounding soil.
Soil pH is one place generic pepper advice can mislead. UConn Home and Garden Education Center lists a preferred range of 6.0 to 6.8, not a strongly alkaline target. A soil test is more useful than adding lime, sulfur, or fertilizer by guesswork; amend only if the test recommends it. Raised beds are a practical option where the native soil stays wet or heavy after rain. Leave enough open space for airflow, and avoid planting peppers in a bed recently used for tomatoes, potatoes, eggplant, or peppers when crop rotation is possible.
Space Plants in Beds and Containers
In a garden row, set Anaheim seedlings about 18 to 24 inches apart. That spacing gives branches room to grow, makes it easier to inspect leaves and harvest fruit, and lets foliage dry faster after rain. If you are using a raised bed, arrange plants so you can reach each one without stepping on the soil around its roots. Crowding saves a little space but makes watering, pest checks, and harvest more awkward.
A container is useful when your garden soil is poor or when you need to move a pepper away from early-season cold. Choose a pot with multiple drainage holes and enough volume to hold moisture through a warm day; a container of about 5 gallons or larger is a sensible starting point for one full-size plant. Use a quality potting mix, not dense garden soil, and set the pot where it will receive full sun. Small pots dry quickly and can swing from waterlogged to bone-dry, so they require closer checks than an in-ground bed.
A dark container may warm faster in spring, but it can also overheat roots in intense summer sun. If the pot becomes hot to the touch, move it where the foliage still gets sun while the container receives some afternoon shade, or use a light-colored outer pot. A stake or small cage installed at planting time is easier to place before roots fill the container.
Water for Steady Growth and Fruit
Aim for steady moisture, not a fixed number of watering days. UConn Home and Garden Education Center gives 1 to 2 inches of water a week as a general reference, but actual need changes with rainfall, soil texture, wind, heat, mulch, and container size. Check the soil near the root zone: if the top inch or two is dry and the plant is actively growing, water deeply enough to moisten the root area. If soil is still cool and wet, wait rather than adding more.
Water at the base of the plant in the morning when possible. This puts moisture where roots can use it and gives leaves time to dry. A mulch layer can slow evaporation once the soil has warmed, but keep mulch slightly away from the stem so the crown does not remain wet. During a heat wave, a container may need daily watering while an established plant in a deep bed still has adequate moisture; the soil check is a better guide than a universal schedule.
Avoid the cycle of severe drying followed by flooding. Fluctuating moisture stresses roots and can contribute to flower drop or blossom-end rot while fruits are forming. On the other hand, waterlogged soil deprives roots of oxygen and encourages root disease. If the plant wilts in the afternoon but recovers by evening, check the soil before reacting; a plant in dry soil needs water, while one in saturated soil needs better drainage, not another drink.
Feed Plants Without Overdoing Nitrogen
Start with soil, not a fertilizer calendar. If a soil test shows adequate fertility, compost and a modest preplant fertilizer may be enough for the season. Where the soil is poor, use a balanced vegetable fertilizer according to the product label and local soil-test recommendations. More fertilizer is not a shortcut to more peppers.
Too much nitrogen encourages soft, leafy growth and can delay flowering or reduce fruit production. If a plant is dark green and growing vigorously but setting few fruits, pause feeding and inspect light, temperatures, and moisture before applying another dose. UConn Home and Garden Education Center notes that peppers use phosphorus and potassium for flowers and fruit and cautions that high nitrogen can favor foliage over yield; it recommends matching fertilizer choice to soil-test results rather than guessing. Do not add bone meal, rock phosphate, calcium, or “bloom booster” automatically. A nutrient amendment cannot correct cold nights, poor pollination, or waterlogged roots.
For container plants, nutrients wash out with repeated watering, but this does not mean the pot should be fertilized every time it is watered. Follow the label for the chosen potting mix and fertilizer, and watch for pale new growth, leaf-edge burn, or salt crusts as signs to reassess. If the plant is healthy and setting fruit, resist the urge to keep changing inputs.
Protect Flowers Through Hot and Cold Spells
Flowers may appear and then fall without setting fruit when temperatures are unfavorable. University of Illinois Extension notes that pepper growth slows and flowers can drop when nights fall below about 50 to 55°F. UConn Home and Garden Education Center reports that both cool nights and very hot daytime conditions can interfere with fruit set. Treat those figures as guidance, not a sharp on-off switch: cultivar, humidity, and how long the temperature lasts all matter.
When a cool spell is short, protect plants at night with a breathable cover or move a potted plant to a sheltered sunny location. When temperatures spike, keep root moisture even, mulch after the soil is warm, and give some afternoon shade if intense heat persists. Do not overwater a plant that already has wet soil, and do not feed it extra nitrogen to force flowering. Flowers generally resume setting fruit after conditions become favorable.
Peppers usually self-pollinate, so a second plant is not required for fruit. Bees and gentle movement can improve pollen transfer outdoors; if a plant is growing indoors or in a nearly windless spot, gently tap the flowering branches when blooms are open. If the blossoms fall during a heat wave or cold stretch, weather is a more likely first explanation than a lack of hand pollination.
Prune Lightly and Support Loaded Branches
Pruning is optional. Remove broken, dead, or diseased stems with clean snips, and trim leaves that rest on the soil if they are staying wet or contacting mulch. Avoid stripping the center of the plant: foliage protects developing peppers from sunscald, and a sudden loss of leaves exposes fruit to intense sun.
Some gardeners pinch seedlings or top plants to encourage branching, but it delays growth and may cost harvest time in regions with short summers. If your season is long and the seedling is robust, modest early pinching can be an experiment; it is not a required step. Do not routinely remove every early flower. That advice can postpone fruiting, especially when a transplant is already large or the local season is short. Focus first on establishing the plant and maintaining stable conditions.
Anaheim fruits can weigh down slender branches, particularly after a productive set. Add a small cage or stake before branches become heavily loaded, and tie stems loosely with soft garden ties. Check ties as stems thicken. Support is especially useful in a container exposed to wind, where a top-heavy plant can tip even when the root ball is healthy.
Harvest Green or Red Anaheim Peppers
Pick green peppers when they have reached a useful size, feel firm, and have filled out; many Anaheim fruits are harvested at roughly 6 to 8 inches, though cultivar dimensions vary. Green fruit is not fully ripe, but it is a normal harvest stage and usually gives a fresh, grassy chile flavor. Leaving some fruit on the plant allows it to ripen red, deepen in flavor, and develop a different level of heat depending on cultivar.
Use clean pruners or scissors to cut each pepper with a short piece of stem attached. Pulling or twisting can break a loaded branch. Harvesting regularly also frees the plant to develop more flowers and fruit rather than holding a large crop to full color at once. If the first frost is approaching, pick mature green fruit rather than losing it outdoors.
Days to maturity on seed packets are estimates. They may count from transplanting and assume warm conditions, so record the transplant date and note when the first fruits set rather than expecting an exact calendar date. For a practical sequence, check plants every few days once fruit is full-sized: harvest some green for immediate use and leave selected fruit to turn red if you want ripe chiles for roasting, drying, or preserving.
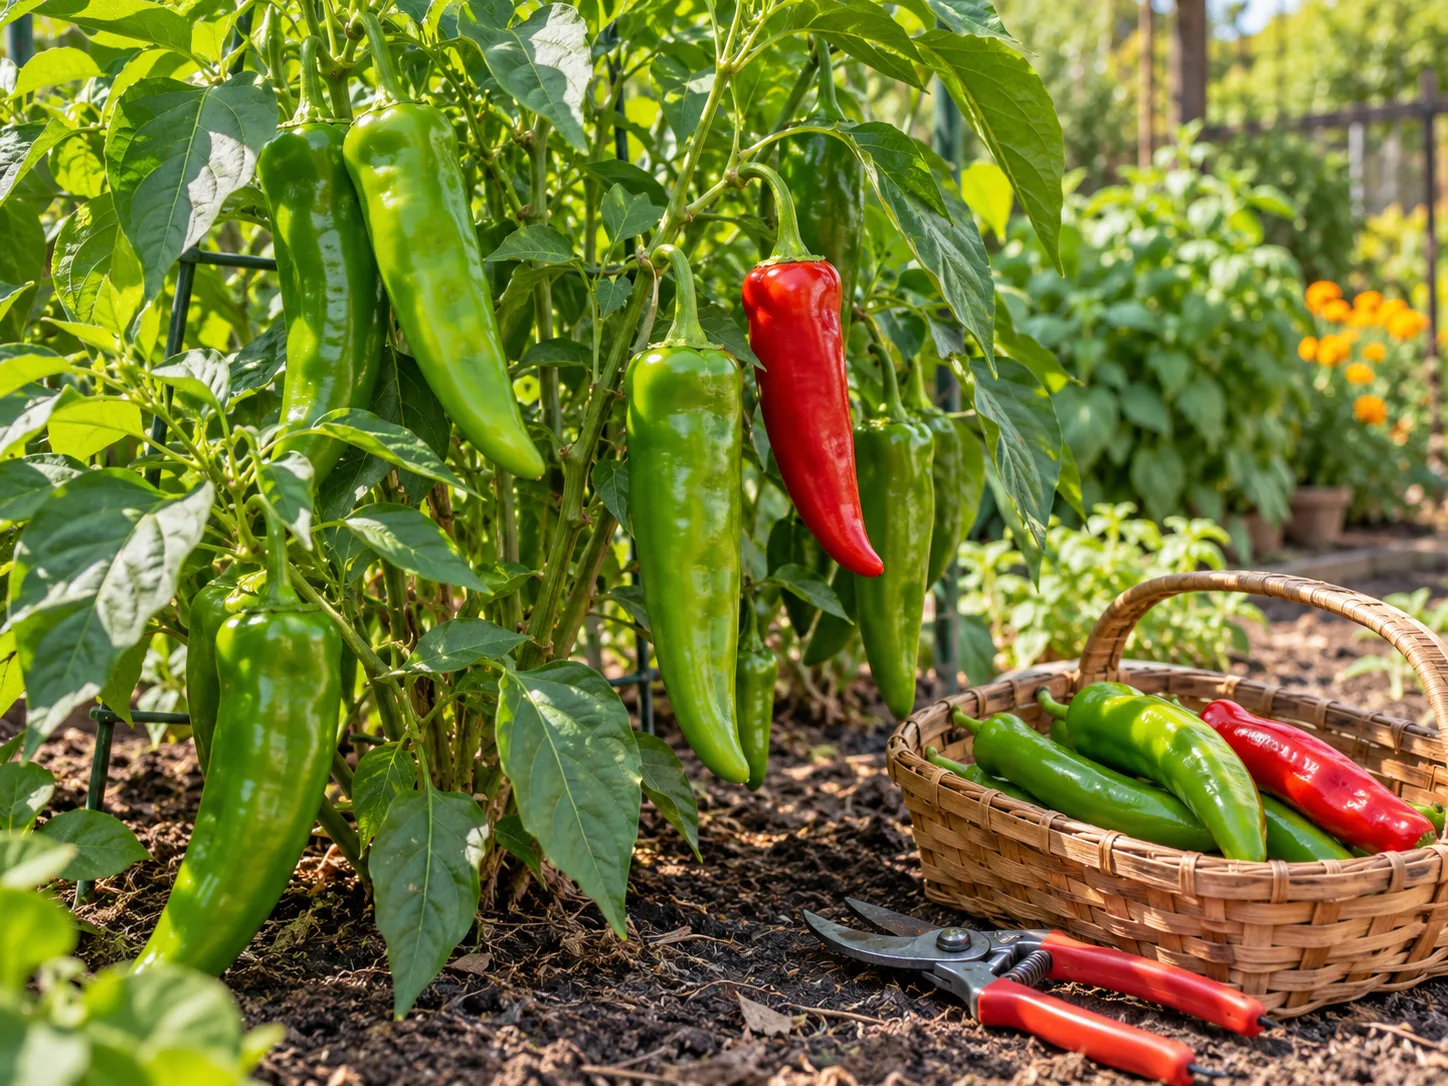
Green and red fruit are both usable; choose the stage that fits your cooking plan. Wash hands after handling cut peppers and avoid touching eyes, since even a mild cultivar can irritate sensitive skin.
Diagnose Common Pepper Problems Before Treating
Start with a quick sequence before reaching for fertilizer or spray: feel the soil, review recent temperatures, inspect the underside of leaves, and look for damage on stems and fruit. Several different problems can cause yellow leaves, wilting, or poor fruit set. A single symptom rarely identifies the cause by itself.
Aphids, Flea Beetles, and Other Insects
Aphids cluster on tender growth and leaf undersides; their feeding may curl leaves and leave sticky honeydew. Flea beetles are small and quick, and their feeding creates many tiny round holes, especially on young leaves. Leafhoppers and other sap-feeding insects can also stress plants and may spread viruses. Check plants weekly, including inside dense growth, so a small population is easier to manage.
For a light aphid infestation, a firm stream of water can dislodge insects; repeat checks over the next several days. Remove badly damaged leaves only if doing so does not strip the plant. Floating row cover can protect young plants from some insects, but remove it when flowers open so pollinators can visit. If you use a pesticide, choose a product labeled for the edible crop and target pest, follow the label exactly, and observe any harvest interval. Do not spray open flowers or assume an organic product is harmless to beneficial insects.
Yellow Leaves, Blossom Drop, and Blossom-End Rot
If older leaves turn yellow, first check whether the soil is staying soggy, drying too far between waterings, or remaining cold. Pale leaves on a vigorous plant may reflect nutrient shortage, but root stress often prevents nutrient uptake even when fertilizer is present. Correct the water or drainage issue before feeding; otherwise fertilizer can accumulate around weakened roots.
For blossoms that fall, review the recent nighttime lows and daytime highs. Cold nights, prolonged heat, dry wind, and inconsistent moisture can all disrupt fruit set. The practical first response is to stabilize the root zone and wait for a more favorable temperature window, not to remove more foliage or add a heavy dose of fertilizer.
Blossom-end rot appears as a sunken brown or black patch at the blossom end of a developing fruit. It is a calcium-transport problem commonly associated with uneven moisture, not proof that the soil lacks calcium. Utah State University Extension links the disorder with water management and recommends consistent moisture during fruit development. Remove affected fruit, correct drying-and-flooding cycles, and use a soil test before adding calcium.
Spots, Wilting, and Virus-Like Symptoms
Water-soaked or expanding spots on leaves and fruit, sudden wilting despite moist soil, or mottled and distorted new growth deserve closer inspection. Fungal and bacterial diseases are more likely to spread when leaves stay wet, plants are crowded, or the same nightshade crops are planted in one bed year after year. Water the soil rather than spraying foliage late in the day, space plants for airflow, and clean tools between plants.
A virus cannot be cured with fertilizer or a foliar spray. If several plants show persistent mosaic patterns, puckering, or unusual distortion, isolate the suspect plant and ask a local extension office to help distinguish disease from herbicide injury or nutrient stress. Remove and discard a confirmed severely infected plant rather than composting it, then clean tools and manage weeds and volunteer nightshades nearby. Rotate peppers and their close relatives when possible; UConn Home and Garden Education Center recommends avoiding a bed recently used by peppers, tomatoes, eggplant, potatoes, or tobacco.
Overwinter, Propagate, or Start Fresh?
Whether to keep a plant depends on winter temperatures and how much protected space you have. In frost-free climates, a pepper may continue as a short-lived perennial. Where freezes occur, an unprotected Anaheim plant will not survive winter outdoors. Many gardeners get a healthier, more productive crop by starting fresh from seed each year than by carrying an older plant through a dim indoor winter.
Overwinter Only Where Plants Can Stay Warm
If you want to try overwintering a valuable container plant, move it before frost. Inspect leaves and stems for pests, remove fallen debris, and keep the plant in a warm, bright location where it will not be exposed to cold drafts. Growth often slows indoors because light levels are lower; reduce watering to match slower use, but do not let the root ball dry completely. Resume normal feeding only when new growth returns and the plant is moving back into strong light.
Overwintering can fail because of pests, low light, or root problems, so treat it as an option rather than a promise of three productive years. Before moving the plant back outside in spring, acclimate it gradually as you would a seedling. If it is badly stressed or infested, discard it and start new seed rather than bringing pests into the next season’s garden.
Seeds and Cuttings Have Different Trade-Offs
Seeds are the straightforward way to grow a new plant. Buy fresh seed for a named cultivar when predictable fruit traits matter. Saved seed may not come true if the plant cross-pollinated with another pepper nearby, and seed from an immature green pepper may not be fully developed. Let selected fruit ripen fully, remove mature seeds, dry them thoroughly, and store them cool and dry; label the cultivar and harvest year.
A healthy stem cutting can sometimes root, but it is less reliable than seed and produces a clone of the parent rather than a genetically new seedling. Use a clean cutting, remove lower leaves, and root it in a clean medium or water while avoiding prolonged stagnant conditions. Once roots form, pot it gently and keep the young plant out of harsh direct sun until it resumes growth. If you have only one plant and need reliable results, seed is the better starting point; if you want to preserve a particular plant temporarily, a cutting can be worth trying.
Conclusion: Match Care to Your Climate
For a productive Anaheim pepper plant, start seed indoors early, but wait to transplant until frost danger has passed and the soil is warm. Give the plant 6 to 8 hours of sun, well-drained soil near pH 6.0 to 6.8, roughly 18 to 24 inches of space, and even moisture through flowering and fruit development. Those basics prevent more problems than extra pruning or frequent fertilizer.
When growth stalls or flowers drop, check temperature, light, and root-zone moisture before changing the plant’s care. Harvest full-sized peppers green for a milder, earlier crop or leave some to turn red for a riper chile; cut rather than pull so branches stay intact. In frost-prone regions, plan on growing Anaheim peppers as annuals, and treat overwintering as a climate-dependent experiment rather than a guarantee.