How to Grow a Creeping Thyme Lawn in Spring
A creeping thyme lawn can cut mowing in the right sunny, dry site. Get the honest pros, cons, planting math, and care plan for a strong first season.
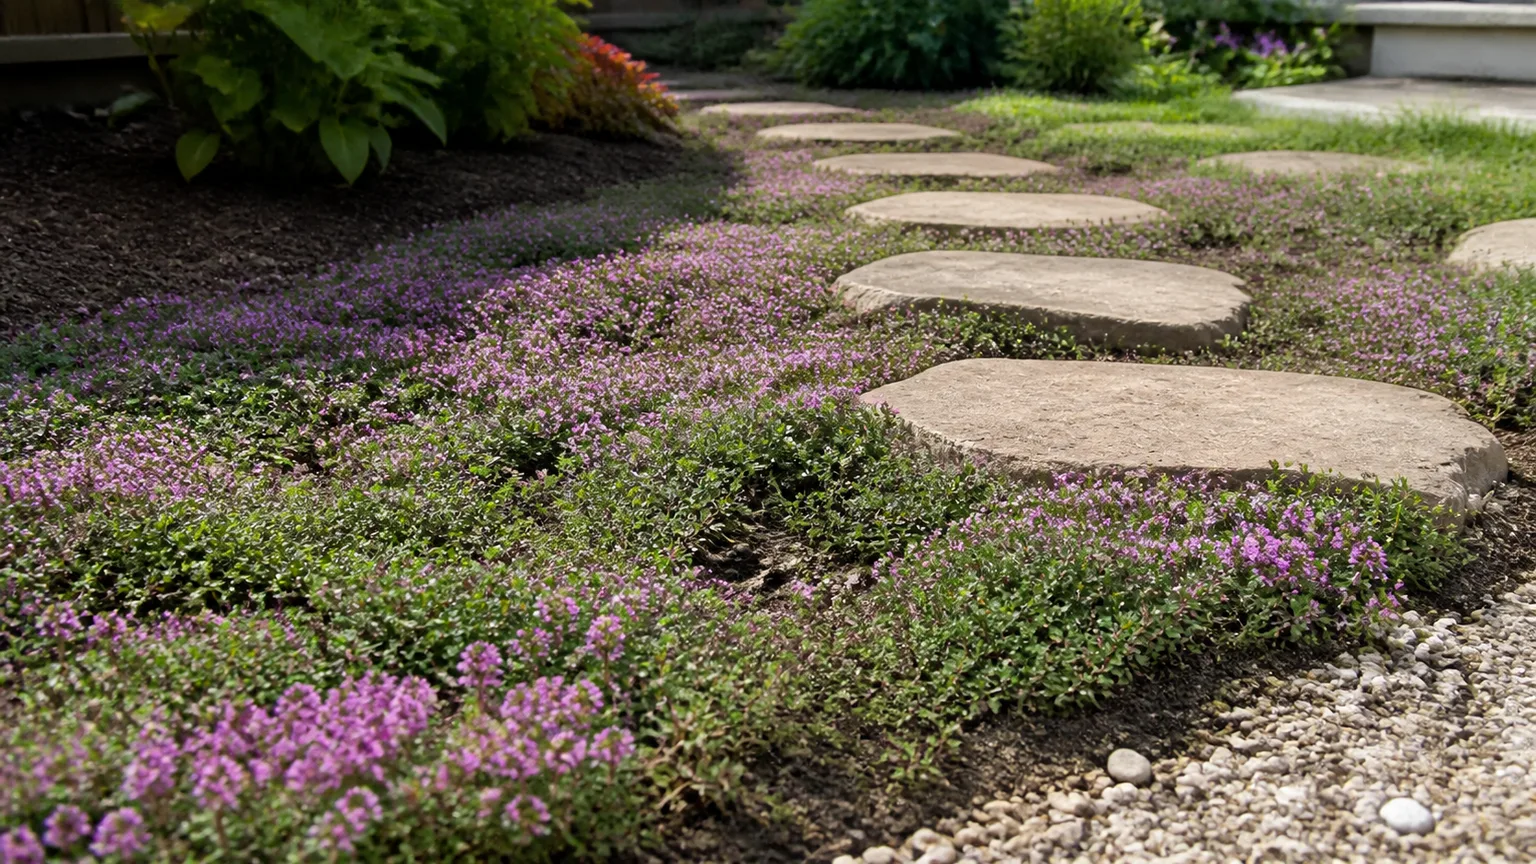
A creeping thyme lawn can be an excellent low-mow replacement for a small, sunny, sharply drained space. It is not a drop-in substitute for turf: the plants fill in gradually, repeated traffic opens bare spots, and wet soil can kill them faster than summer drought. The right question is not “Can thyme replace grass?” It is “Does this patch behave like the dry, bright ground where creeping thyme naturally performs well?”
If the answer is yes, you get a fragrant, fine-textured carpet with summer flowers and much less routine mowing. If the answer is no, change the site or shrink the project before buying plants. A failed thyme lawn is usually a site-matching problem, not a mysterious plant problem.
Is a Creeping Thyme Lawn Right for Your Yard?
Start with the site, not a plant catalog. Creeping thyme is most useful for small front-yard pockets, path edges, rock gardens, slopes, and spaces between stepping stones—places where its low, spreading habit is an advantage and people are not constantly cutting across it.
Use a four-part site test before buying plants
Sun: Count direct light on the actual planting area, not the light on the lawn beside it. Aim for at least six hours; the NC State Extension Plant Toolbox describes creeping thyme as a full-sun plant, and the University of Illinois Extension lists full sun as the required exposure. Less light can mean fewer flowers, looser growth, and a slower fill.
Drainage: Dig a hole about 12 inches deep, fill it with water, and watch what happens after the water drains away. If the area still holds a puddle after rain, or the soil stays sticky and cold, do not assume more compost will solve it. Build a raised mound, improve the grade, use a raised bed, or choose a moisture-tolerant ground cover instead.
Traffic: Be honest about how the space is used. Occasional stepping on an established mat is different from a shortcut between the driveway and back door, a child’s play area, or a dog run. Some Thymus praecox selections are described as tolerating moderate foot traffic by NC State, but a living mat is still less forgiving than a turfgrass designed for repeated wear.
Scale and patience: The larger the area, the more plugs you need for a quick visual result and the more weeds you must manage while the gaps remain. A 100-square-foot courtyard is a manageable experiment; a large backyard conversion is a different budget and maintenance project. For a broader comparison, see our guide to lawn alternatives.
If the site fails two of those four tests, use thyme as an edging, stepping-stone filler, or sunny island instead of converting the whole lawn. That partial approach often delivers the fragrance and flowers without forcing the plant to do a job it cannot handle.
What Creeping Thyme Actually Is (and Is Not)
“Creeping thyme” is a landscape name used for several low-growing Thymus species and cultivars. The most common choices include wild or mother-of-thyme (Thymus serpyllum) and early or creeping thyme (Thymus praecox). Their thin stems spread outward and can root where they touch the soil, producing a low mat rather than a tuft of upright leaves.
The Missouri Botanical Garden’s profile of Thymus serpyllum ‘Pink Chintz’ describes a woody-based perennial with a 2- to 3-inch foliage mat, tiny blue-green leaves, and summer flowers that attract bees. NC State gives creeping thyme a similar low, fragrant, ground-cover profile and notes that the plant is primarily ornamental rather than a culinary herb.
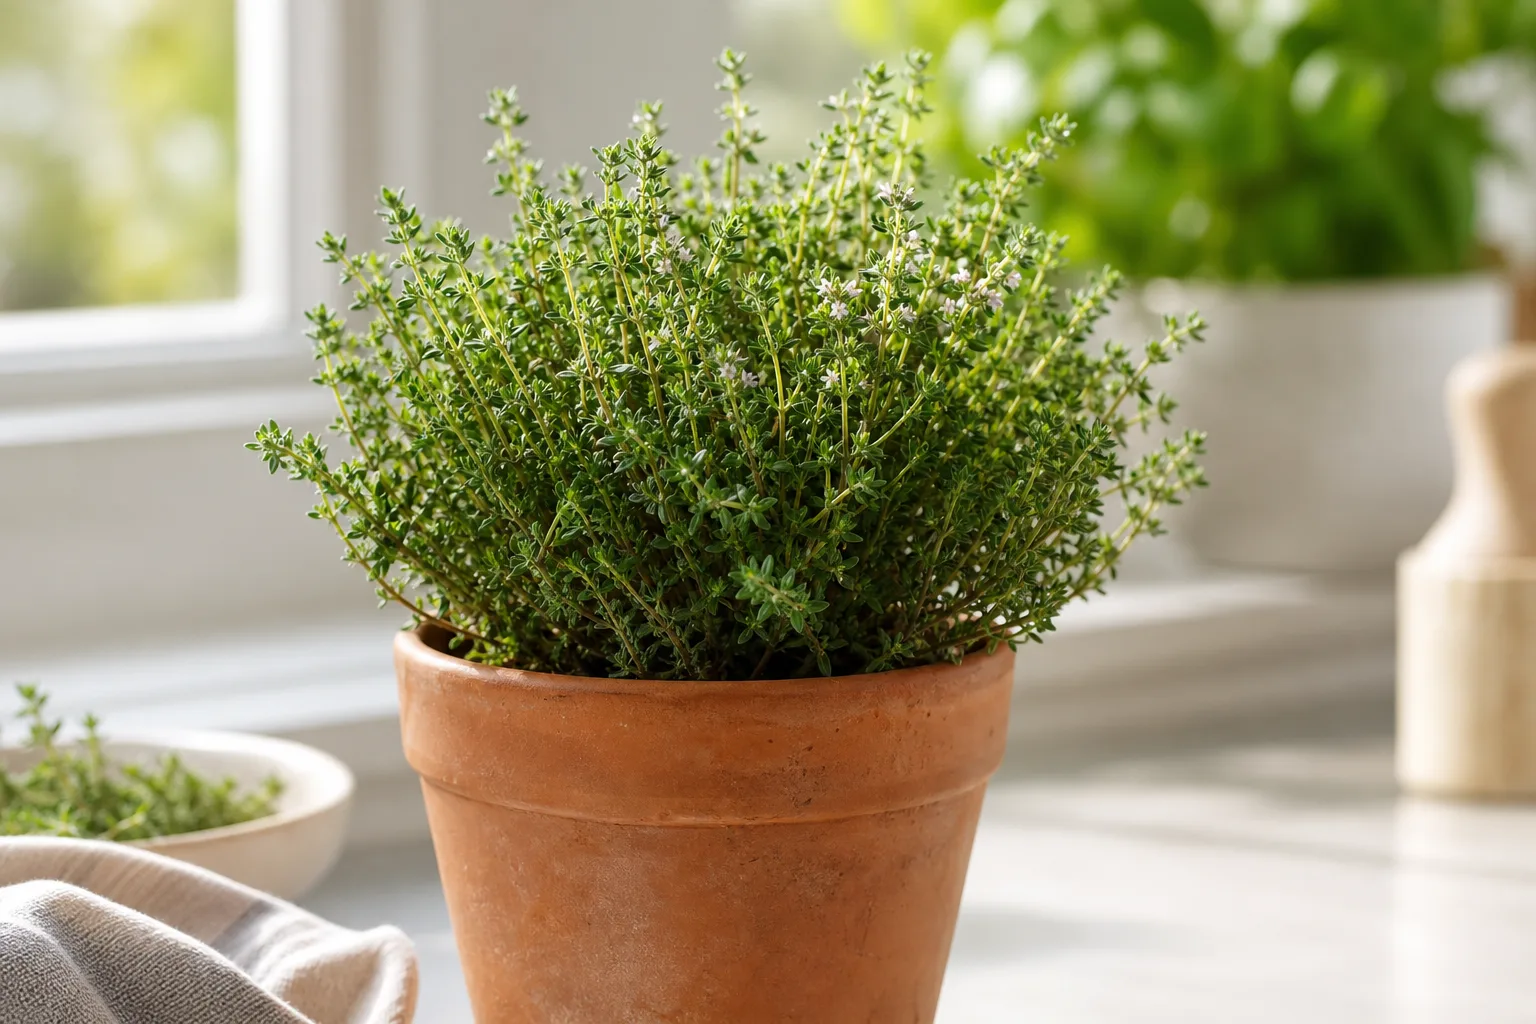
That distinction matters when you shop. Common thyme (Thymus vulgaris) is the upright kitchen herb; it is not the same plant as the low mat sold for lawns. A “red creeping thyme” label can refer to different botanical combinations depending on the nursery, so check the scientific name and mature height. An upright plant in a small pot is not automatically a lawn plant just because its tag says thyme.
Why It Can Beat Turf in the Right Spot
Thyme does not win by imitating grass. It wins by changing the maintenance bargain: once established in a sunny, lean, well-drained site, it can stay low without routine mowing and can handle dry periods better than moisture-hungry turf. It also brings scent and flowers that a conventional lawn does not.
Benefits that hold up in real gardens
No routine mowing. A creeping mat generally stays a few inches tall. You may trim it for shape or remove woody stems, but you are not maintaining a weekly mowing height.
Lower water demand after establishment. Both NC State and the RHS thyme growing guide describe thyme as drought tolerant once established and warn that excess water, especially in winter, is more dangerous than a modest dry spell. Practical drought-garden guidance from Gardening Know How makes the same distinction: even water-wise plants need irrigation and weeding while their roots establish. That is a site-specific benefit, not a promise of zero irrigation: new plugs still need water while roots spread, and hot container-like exposures dry quickly.
A pollinator-friendly bloom period. Small pink, purple, or white flowers bring bees and other pollinating insects into the garden. If someone in your household has a serious sting allergy, place flowering thyme away from a doorway or the main sitting area rather than treating the flowers as a flaw.
Fine texture in difficult spaces. Creeping thyme can soften gravel, fill cracks around stepping stones, and cover a dry bank where mowing is awkward. It is also less visually demanding than a formal turf lawn: a few gaps during establishment can look intentional when the planting is edged with stone.
Few serious pest problems. NC State lists no significant insect or disease problems for T. serpyllum, though spider mites can appear in hot, dry weather and rot follows overwatering or poor drainage. That is a simpler problem profile than many turf lawns, but not the same as maintenance-free.
Trade-offs that change the decision
It is not a play surface. Even a good cultivar will thin under daily foot traffic, turning, running, or concentrated pet activity. Use stepping stones through the planting and reserve a small turf or hardscape zone for the places where people actually walk.
The first year is the work year. The mature mat is low maintenance; the spaces between new plugs are not. Until the thyme knits together, those gaps are open invitations to annual weeds, erosion, and accidental foot traffic.
Installation can cost more than seed-sown turf. Plugs give a more predictable start but require many plants. Seed is cheaper per square foot but asks for careful moisture, weed control, and patience; it is a poor choice when you need a finished-looking lawn this season.
Climate still matters. Creeping thyme is hardy across a broad range, but hardiness does not override heat, shade, winter wet, or local rainfall. The RHS plant profile for the Coccineus Group pairs these plants with full sun and well-drained neutral-to-alkaline soil. In a hot, humid region, drainage and afternoon exposure matter more than a hardiness-zone number on a plant tag.
Which Creeping Thyme to Buy
Buy for habit and site, then choose flower color. For a flat, lawn-like mat, look for T. serpyllum or T. praecox and confirm the mature height and spread. NC State’s entries include ‘Coccineus,’ ‘Elfin,’ ‘Magic Carpet,’ ‘Pink Chintz,’ and other forms; the species differ in leaf texture, flower color, spread, and traffic tolerance.
Ask the nursery three questions: What is the botanical name? What is the mature height and width? Is this selection recommended for a ground-cover or lawn-alternative use? If the answer is only “red thyme” or “carpet thyme,” keep looking for a more specific label.
Choose a cultivar that matches the visual you want, but do not mix many unnamed types in a small lawn unless you are comfortable with uneven height and bloom timing. If you want a consistent carpet, buy enough of one cultivar from one production batch. For a pollinator strip or informal path edge, a blend can be attractive and more forgiving.
When to Plant in Spring
Plant nursery-grown creeping thyme from mid-spring into early summer, after the soil is workable and the worst frost swings have passed. The RHS recommends planting out bought or home-grown thyme in this window and advises hardening off plants raised indoors before moving them outside. Spring gives roots time to establish before the hottest part of summer and before the next winter wet cycle.
Do not use the calendar alone. Wait until the soil is not waterlogged, the ground can be crumbled rather than smeared, and you can water consistently for the first few weeks. Planting into a cold, saturated bed simply gives roots a longer exposure to rot.
In a mild climate, early fall can also work, but spring is the more forgiving default for a first lawn project. If your summers become brutally hot soon after the last frost, plant as early as local conditions allow and use temporary shade or extra monitoring during the first heat wave.
How Many Plants You Need: Spacing Math
Spacing determines the trade between upfront cost and time spent weeding. For the fastest, most uniform cover, plant plugs about 6 to 8 inches on center; for a lower initial cost and a longer fill period, use 10 to 12 inches. The RHS recommends 20–30 cm (8–12 inches) depending on variety, while Fine Gardening uses close centers for quickly establishing spreading ground covers.
Use this rough planning table before ordering:
| Plug spacing | Approximate plants per square foot | Plugs for a 10 × 10-foot area | Best for |
|---|---|---|---|
| 6 inches | 4 | 400 | Fastest cover; highest upfront cost |
| 8 inches | 2.25 | 225 | A practical middle ground |
| 12 inches | 1 | 100 | Lowest cost; more weeding and patience |
These are planning numbers, not a guarantee. A small plug, vigorous cultivar, slope, irrigation pattern, and regional growing season all change the fill rate. Measure the actual planting area, subtract paths and stones, then buy 5–10 percent extra for replacements rather than leaving a few isolated gaps.
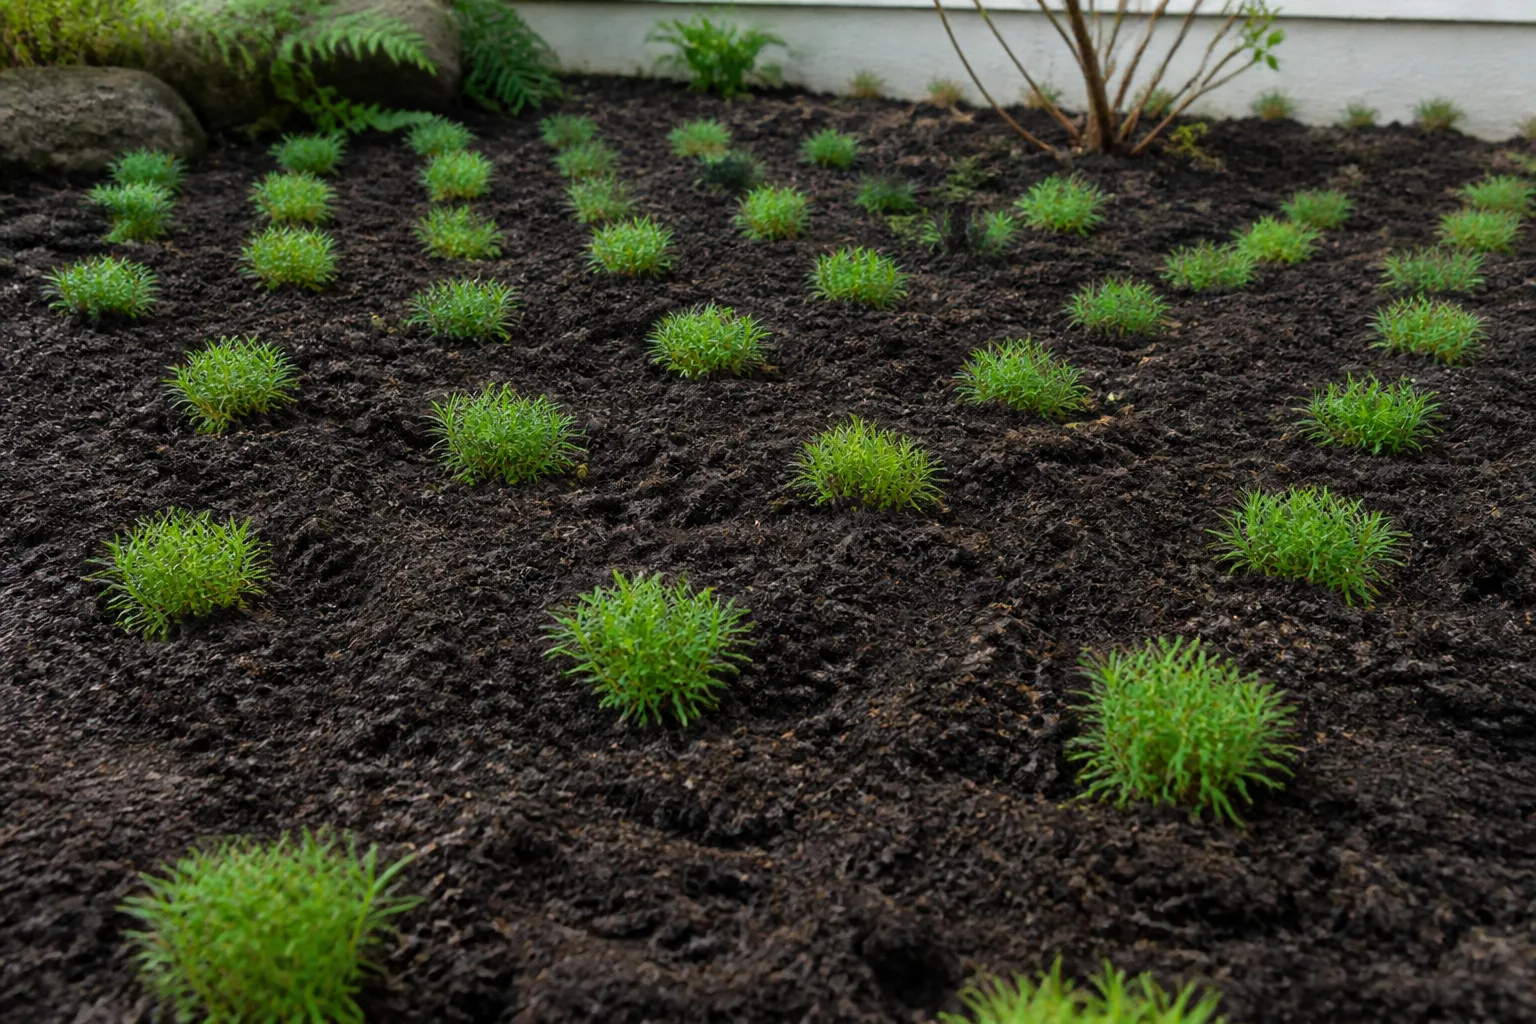
Stagger rows like bricks instead of placing every plug in a square grid. The offset pattern shortens the distance between neighboring plants and makes the surface look more intentional as the plants spread.
Prepare the Site Before You Buy Plugs
Remove existing grass and perennial weeds completely. Slice and lift the sod, dig out persistent roots, and rake away loose debris. Do not count on creeping thyme to choke out established turf; grass is already occupying the light, water, and space the new plants need.
Shape the surface so water moves away rather than pooling. On heavy clay, a raised planting area or low mound is usually more reliable than trying to convert the entire soil profile with a little sand. If you amend, use a modest amount of gritty material and finished compost to improve structure, but do not turn the bed into rich, moisture-holding lawn soil.
The goal is firm, open, well-drained soil, not a deep layer of fertilizer. Thyme tolerates poor soil and often performs poorly in overly rich conditions. The RHS recommends grit or gravel mulch around creeping thyme because it suppresses weeds and lifts low foliage away from damp soil; a thin, open top-dressing is more appropriate than a thick blanket of fine bark.
Finish the bed before the plants arrive: weed it once, water it, let another flush of weeds appear, and remove those seedlings. This “stale seedbed” pause is optional but valuable on a former lawn, where weed pressure is often the hidden reason a thyme conversion looks disappointing.
Plant Creeping Thyme Plugs Step by Step
Plan to plant on a cool, overcast day if possible. Set the plugs out in their final staggered pattern before digging so you can see whether the spacing looks even and whether a border or path needs adjusting.
- Water the plugs in their containers. A hydrated root ball is less likely to crumble during planting and settles faster into the bed.
- Mark the spacing. Use a ruler, stick, or a measured string so the first row does not drift. Keep the outer row slightly inside the bed edge so stems can spread without immediately spilling onto a path.
- Dig a hole the depth of the root ball. Make it wide enough for the roots to sit naturally. Do not bury the crown or cover horizontal stems with soil.
- Tease only circling roots. If the plug is tightly root-bound, loosen the outside gently. Avoid shredding a small root ball just to make it look loose.
- Set the plant at its original depth. Backfill around the roots and firm the soil lightly so there are no air pockets, but do not compact the whole bed.
- Water the planting row thoroughly. Water at the base until the surrounding soil is settled. A single deep settling drink is more useful than a mist over the leaves.
- Add a light gravel top-dressing if needed. Leave the crown and foliage open. Gravel can reduce weed germination and keep the low stems off wet soil; it should not bury the plants.
- Mark the area as off-limits. Put stepping stones in place now, before anyone creates a shortcut through the new planting.
After planting, the surface should be evenly damp but never muddy. If water runs off the bed or stands in the holes, stop and correct the grade or soil before adding more water.
Seed vs. Plugs: Which Start Fits the Job?
Choose plugs when you want a predictable pattern, need to suppress weeds sooner, or are converting a small visible area. Plugs cost more at the start, but each plant has a head start and can be spaced exactly where you need it. They are also easier to replace individually if one spot fails.
Choose seed when the area is large, the budget is limited, and you can protect the surface from drying and weeds for a long establishment period. The RHS notes that thyme seed is inexpensive for large plantings such as aromatic ground cover, but seed-grown plants take time to become established. Tiny seeds should be scattered thinly on the surface of moist seed compost and not buried deeply; outdoor seedbeds are harder to keep evenly moist and weed-free.
Do not mix the methods casually in one formal-looking lawn. Seedlings and plugs often differ in size and fill timing, producing a patchwork for the first year. If you start seed indoors, harden off the seedlings and move them out only after they are sturdy and the soil is suitable.
For a lawn alternative, plugs are usually the best balance of speed and control. For a small experiment between pavers, a division or rooted cutting from a healthy, correctly identified plant can work. If you want the new plants to match a named cultivar, vegetative propagation is more predictable than seed.
First-Season Care Until the Mat Knits
The first season is when you earn the low maintenance promised by a mature thyme lawn. Keep the root balls from drying out, remove weeds before they shade the plugs, and keep people and pets from compressing the planting while the stems are still separate.
Water deeply enough to moisten the root zone, then check the soil before watering again. Frequency depends on rainfall, soil, wind, and temperature; a fixed “every ten days” rule is less useful than a finger test. During the first few weeks, the surrounding soil should not swing from bone dry to flooded. As new growth reaches outward and roots anchor, lengthen the interval and allow the surface to dry between thorough drinks.
Watering and weeding checkpoints
Use these checkpoints rather than a calendar:
- First week: Check daily during warm, dry weather. Water when the top inch or two is drying, and make sure water reaches the plug rather than running off the surface.
- Weeks two through four: Check every few days. Water thoroughly when the root zone begins to dry, but skip irrigation after meaningful rain.
- After visible spread: Reduce frequency gradually. A mature planting should live on rainfall in many climates, with supplemental water reserved for extended drought or unusual heat.
- Every visit: Pull weeds while they are small. Do not hoe aggressively through shallow spreading stems, and do not spray a blanket herbicide over mixed young plantings.
Keep the bed lightly mulched with grit or small gravel if weeds are intense, but do not cover the thyme crown. If a weed is growing through a plug, hold the thyme aside and remove the weed by its base. The first growing season is not the time to test how much neglect the plants can tolerate.
Long-Term Care: Mowing, Pruning, and Fertilizer
Once established, creeping thyme needs no routine mowing. If the mat becomes uneven, trim lightly after flowering or in late spring to remove spent, floppy growth. The RHS cautions that hard cuts into old wood may not resprout, so do not scalp a woody patch down to brown stems and expect instant recovery.
Some stems naturally become woody with age. Remove a few of the oldest or leggiest stems at a time, and root replacements from healthy green growth if the center is declining. For a large, old patch, replacing a section is often more reliable than trying to rejuvenate every woody stem.
Skip high-nitrogen lawn fertilizer. A lush, soft flush is not the goal, and rich feeding can encourage weak, leggy growth that competes poorly with weeds. If a soil test or obvious nutrient deficiency shows that the bed is genuinely poor, use a modest, label-directed spring feed; otherwise, drainage and light are the more important “fertilizers” for this plant.
Keep leaves and wet mulch from sitting over the mat through winter. In cold climates, a thin open layer of grit can reduce mud contact, but thick organic mulch that holds moisture against the stems can do more harm than cold air. If a section repeatedly dies over winter, solve the water problem or move the planting rather than adding more protection.
Troubleshooting Sparse, Brown, or Dying Thyme
Diagnose the soil before reaching for a product. Creeping thyme often looks similar when it is thirsty and when its roots are suffocating, but the remedy is opposite.
Sparse growth after planting: First check the calendar. Plugs can remain visibly separate for months, especially at 10–12-inch spacing. If the plants are green and producing new outward stems, keep weeding and wait. If they are stretched, pale, and flowering poorly, measure sunlight; if they are being stepped on, reroute traffic. Patch only after the cause is corrected.
Brown, crisp leaves and dry soil: Water slowly and deeply, then check again the next day. A dry root ball can shed older foliage and still recover if the stems remain green. Add temporary protection from reflected heat near concrete, but do not compensate for heat with constant shallow watering.
Brown or yellow leaves with wet soil: Stop watering and inspect drainage. Pull one struggling plug gently; black, soft roots or a sour-smelling root zone point toward rot. Improve the grade, move the planting to a mound, or replace the section with healthy material. The University of Illinois Extension’s creeping thyme profile lists root and stem rot as a problem in wet soils, while NC State also warns about rot from overwatering.
Woody centers and bare patches: This is usually age, shade, or repeated stress rather than a fertilizer shortage. Lightly remove older stems, root healthy outer pieces, and replant the gaps. If the entire mat is old and woody, replacement is often faster than a severe cutback.
Few or no flowers: Young plants may spend their first season making roots and stems. Otherwise, check direct sun and variety. Shade, heavy nitrogen, and excessive moisture all favor loose green growth over the compact, flowering carpet people expect.
Grass and weeds keep returning: Thyme will not magically defeat established turf. Remove the runners and crowns, reduce the gap between plugs, and keep hand-weeding until the mat closes. If the site is too shady or wet to support a dense thyme carpet, stop adding plants and choose a ground cover suited to that location; our drought-tolerant groundcovers from seed guide is a useful comparison for dry sites, while Irish moss fits a cooler, evenly moist niche better than thyme.
Conclusion: Treat It Like a Ground Cover, Not Turf
A creeping thyme lawn is worth growing when you have full sun, sharp drainage, light-to-occasional traffic, and the patience to manage a planted bed while it fills in. It can replace mowing in the right space, but it cannot replace the durability of grass on a play lawn or the reliability of a hard surface on a busy path.
For spring, make the project small enough to manage: test the site, confirm the botanical name, calculate plugs at 6–12-inch centers, clear weeds before planting, and protect the new mat through its first hot, dry spell. If the site stays wet, shaded, or heavily used, choose a different ground cover or keep a path through the planting. That honest fit is what turns creeping thyme from a pretty idea into a lawn alternative that lasts.



