Growing Peppers in Pots: 15 Steps for More Fruit
Grow peppers in pots with the right variety, five-gallon container, potting mix, sun, watering, feeding, support, and harvest timing.
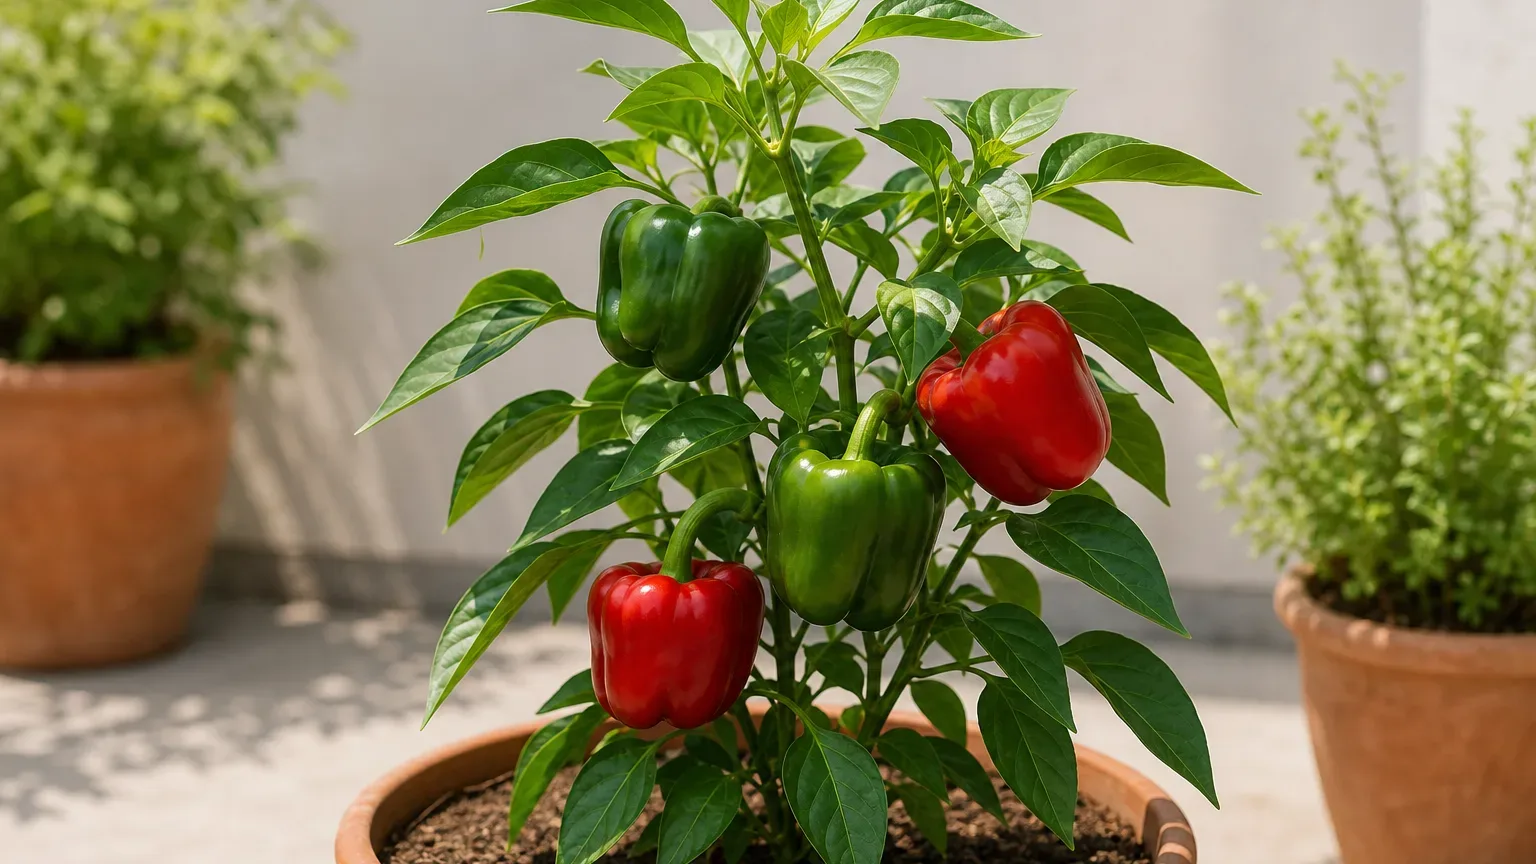
Peppers are unusually good container crops because one plant can supply a long harvest from a balcony, patio, deck, or sunny doorstep. The catch is that a pot gives you control over the soil while also making every mistake more immediate: a small root zone dries quickly, a dark pot can overheat, and a missed feeding is harder for a fruiting plant to outgrow.
The reliable approach is to build a stable root zone first, then match your variety and care to the container you can actually maintain. Extension guidance from Colorado State University and Wisconsin Horticulture treats peppers as large, sun-hungry container vegetables, not tiny herbs that can be squeezed into any decorative pot.
Choose a pepper that fits the container
The variety you choose changes how forgiving the plant will be. A compact jalapeño or patio pepper can produce well in a manageable pot, while a large bell pepper may need a longer warm season, more root volume, and sturdier support before it rewards you.
Start with the plant’s mature height, spread, days to maturity, and expected fruit size on the label. “Hot” does not automatically mean “small,” and “bell” does not automatically mean “too large,” but small-fruited and compact cultivars usually reach harvest sooner in a restricted root zone.
Match variety to pot and space
For a first container, choose a bush, patio, dwarf, or compact cultivar. Jalapeño, banana, serrano, cayenne, and compact Italian peppers are practical choices when you want a steady supply without a very tall plant. A compact bell pepper can also work, but give it the biggest pot and the longest warm, bright window you can provide.
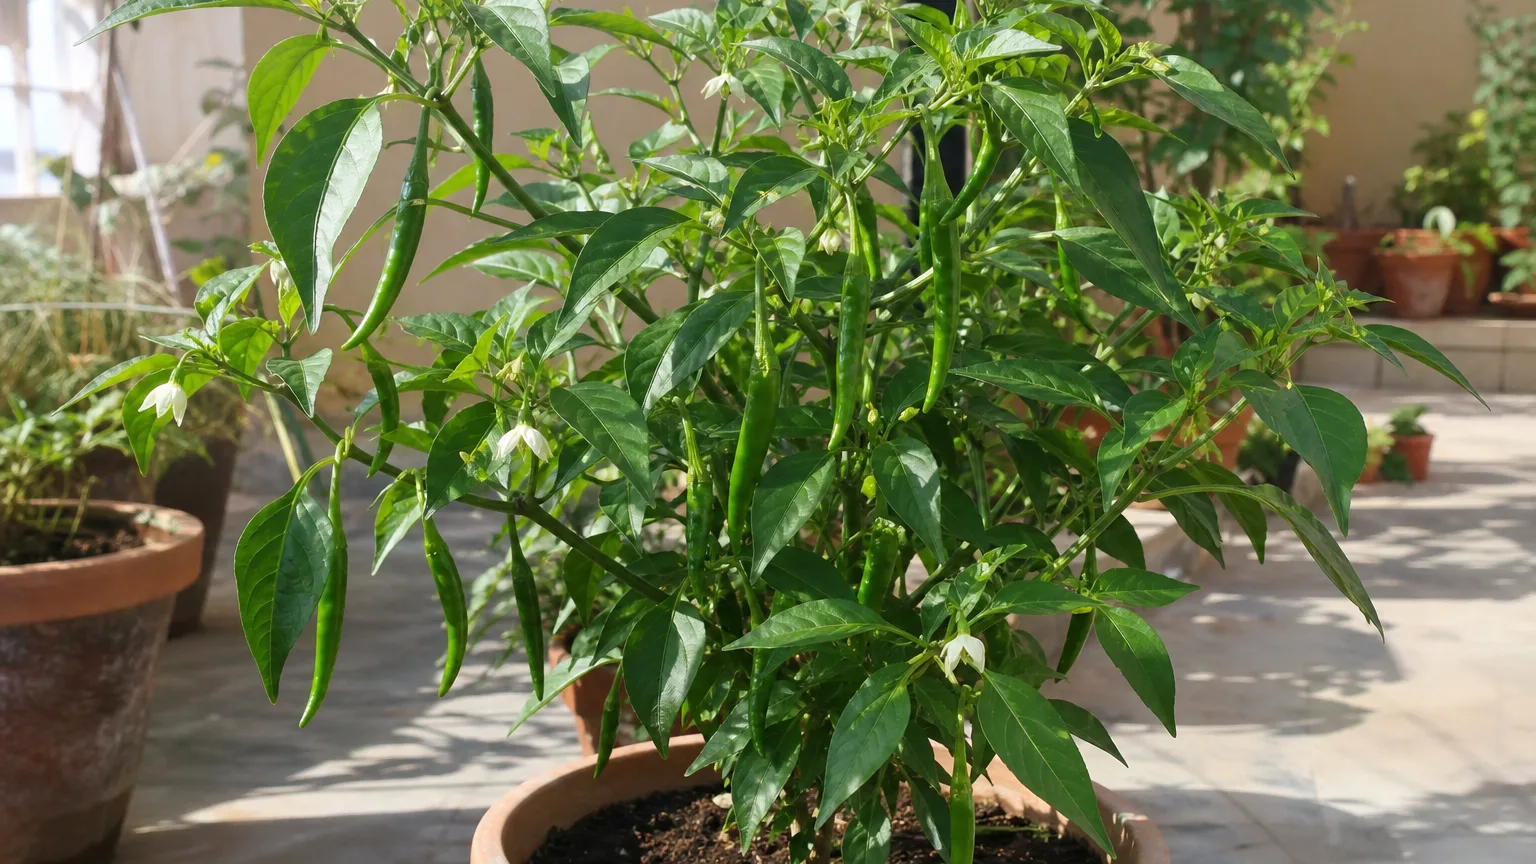
If your only location is a narrow balcony, prioritize a plant that stays upright and does not need a broad cage. If your patio can hold a 10- to 15-gallon grow bag, you have more freedom to grow large bells or multiple smaller plants, although the filled container will be heavy and harder to move.
That trade-off is also reflected in the practical guidance from Harvest to Table: smaller-fruited peppers tend to be earlier and more reliable in containers than large bells when spring stays cool. Treat that as a planning advantage, not a rule that excludes bell peppers; a compact bell in a warm, bright location can still be an excellent choice.
Start with a transplant or seeds
Buying a healthy transplant is the shortest path to fruit, especially in a climate with a brief summer. Look for a sturdy plant with dark green leaves, a compact shape, no visible insects under the foliage, and roots that fill the nursery pot without circling into a hard mat.
Starting from seed gives you more variety choice, but it requires an early, warm start and strong light. A practical rule is to sow indoors early enough to produce a stocky transplant roughly eight to ten weeks before your local outdoor planting window, using your seed packet and last-frost date as the final guide.
Do not move a tender seedling straight from a warm indoor room to a hot, windy balcony. Harden it over about a week by increasing outdoor exposure gradually, while bringing it in if nights are cold or the plant wilts sharply.
Choose the pot before the plant
A productive pepper needs enough mix to buffer moisture and temperature swings. Wisconsin Horticulture’s container guidance places peppers with the larger fruiting vegetables that need a minimum five-gallon container and about 12 to 18 inches of depth; that is a useful floor, not a guarantee of maximum production.
Get the size, depth, and drainage right
Use one pepper plant in a pot of at least five gallons for the most dependable result. A seven- to ten-gallon container is a better choice for a large bell pepper, a vigorous hot pepper, a long growing season, or a location that dries rapidly; the extra volume gives roots more room and gives you a larger margin between “moist” and “bone dry.”
Choose a pot that is at least 12 inches deep with several open drainage holes. A wide, heavy container is less likely to tip when the plant is loaded with fruit, while a fabric grow bag is easy to store but can dry from all sides. Terracotta breathes and looks good, but it loses water faster than plastic or glazed ceramic.
Drainage is not the same as a layer of gravel. Fill the container with mix from top to bottom instead of putting stones or broken pottery underneath; Wisconsin Extension explains that a layered bottom can impede rather than improve drainage. Put the pot on feet or a level surface where the holes can drain freely, and empty a saucer after watering.
Fill it with a stable container mix
Use a commercial vegetable potting mix or a dependable soilless mix that stays open after repeated watering. A blend based on composted bark, peat or coco coir, and perlite is a practical starting point because it holds water and nutrients without becoming a dense column of garden soil.
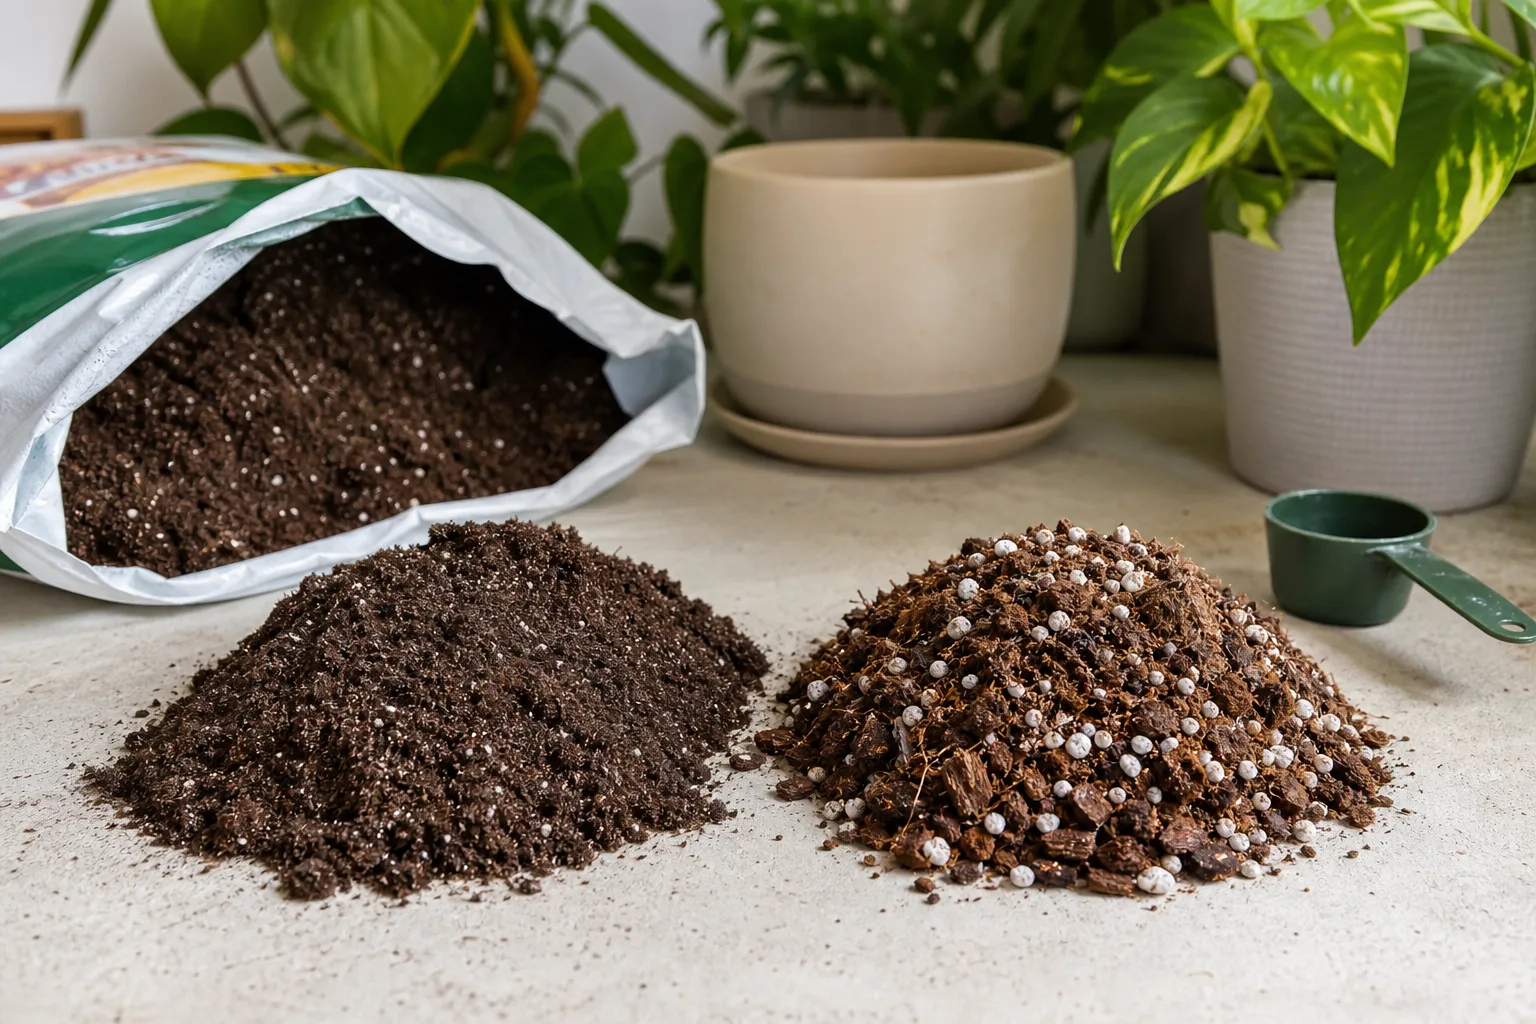
Do not fill a pot with native soil from the yard. It settles, compacts, drains poorly, and can bring weed seeds or soil-borne disease into a small root zone. If the bagged mix already contains a starter fertilizer, note that on the label; if it does not, choose a vegetable fertilizer that you can apply accurately rather than adding a large amount of compost and guessing.
Moisten a very dry mix before transplanting so it does not repel the first watering. Fill the pot nearly to the rim, leaving only enough headspace to water without washing mix away, and avoid packing the mix down around the root ball.
Plant after cold nights, not by the calendar
Peppers need warmth to grow, flower, and set fruit. The safe planting window is after frost danger has passed and nights are consistently mild; a calendar date that works in a sheltered courtyard may be too early on an exposed roof or in a cool, wet spring.
Use the weather forecast, the last-frost date, and the plant’s response together. If a newly planted pepper stops growing after a cold night, moving the pot to a warmer, protected location may help, but repeated cold exposure can cost more time than waiting another week before setting it out.
A container warms faster than garden soil in direct sun, which is helpful in spring but risky when the pot is small or dark. On the first hot days, shade the container itself during the harshest afternoon light without shading the plant for the whole day.
Transplant without a setback
Water the pepper in its nursery pot a few hours before planting. Tip it out with the root ball intact, loosen only roots that are visibly circling around the outside, and set the plant at the same soil level it had before; burying a pepper stem deeply like a tomato is unnecessary.
Place one plant in the center of the pot, backfill with the prepared mix, and press lightly so there are no large air gaps. Water slowly until the whole root ball is wet and a little drains from the holes, then let the pot drain completely.
Keep the new transplant out of extreme wind for several days. A short stake installed now is safer than pushing one through a crowded root ball later, and a thin layer of bark or straw on the surface can slow evaporation if it is kept away from the stem.
Give the pot the sun and heat peppers need
Aim for at least six hours of direct sun, with eight hours a better target for heavy fruiting. Put the pot where the plant will not be shaded by a railing, wall, or taller container during the strongest part of the day, and rotate it only if one side is growing dramatically faster.
Sun is not the same as unlimited heat. North Carolina A&T Cooperative Extension warns that dark plastic can hold excess heat around roots; use a light-colored container, a fabric pot, or an outer sleeve that does not trap heat against the pot. On a paved balcony, raise the pot slightly from the surface and protect it from reflected heat during a heat wave.
Wind matters too. A tall pepper in a light plastic pot can dry out and tip before the soil feels dry, breaking stems that would otherwise keep producing. Place the pot against a stable wall with airflow, use a heavy base, or add a small cage before the branches are carrying fruit.
Water deeply and consistently
Check the root zone rather than following a fixed “every other day” schedule. Push a finger about two inches into the mix or lift the pot if it is small enough; water when the upper layer has begun to dry but the plant has not reached the point of midday collapse.
When you water, apply it slowly over the whole surface until a little runs from the drainage holes. That wets the full root ball and helps move accumulated fertilizer salts downward. Do not let the pot sit in drained water, and do not give a stressed plant a series of tiny sips that wet only the surface.
Container plants often need more frequent watering as they become larger and start carrying fruit. Wisconsin Extension notes that fruiting vegetables in containers may need daily watering as heat and plant size increase, while Colorado State University points out that even plastic pots can need daily or twice-daily attention in extreme conditions.
Adjust for heat, wind, and pot material
A windy balcony, a black nursery pot, full afternoon sun, and a small root zone can turn a reasonable watering routine into underwatering. Check those plants early in the day and again during a heat wave; if the mix is dry all the way down and water runs straight down the gap at the pot wall, water in two passes a few minutes apart so the mix can re-wet.
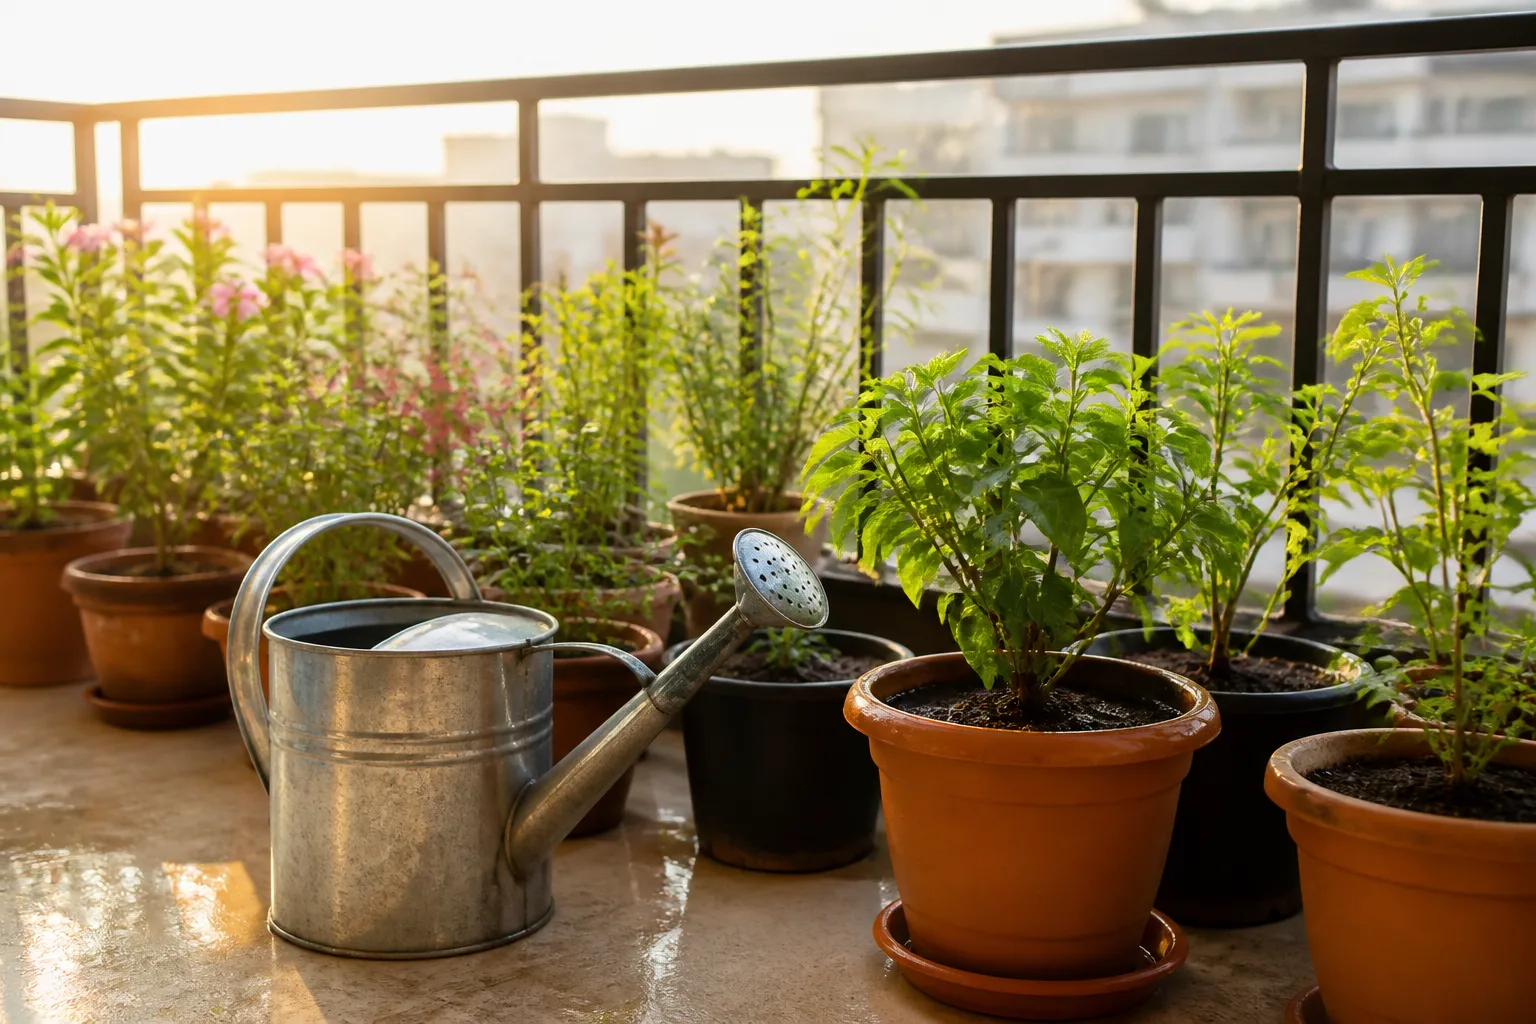
Terracotta and fabric usually need more frequent checks than glazed ceramic or plastic. A thin surface mulch can slow evaporation, but it cannot compensate for a container that is too small or a pot that receives reflected heat all afternoon.
If you are away often, use a larger container or a properly designed self-watering system rather than leaving the pot permanently in a deep saucer. Test any reservoir system before a trip: it should keep the mix evenly moist while still allowing roots to breathe, not turn the lower half of the pot into a stagnant swamp.
A simple weekly check keeps the schedule honest. Look at the leaves in the morning, feel the mix two inches down, lift the pot if possible, and inspect the drainage outlet; then note whether the container is drying in one day or staying wet for four. Grow Hot Peppers’ container-growing guidance also treats watering as a stage-based task rather than a single universal interval, which is the right mindset for a crop that changes quickly once fruit begins to size up.
Feed through the crop, not past it
Potting mix contains a limited nutrient supply, and frequent drainage carries some of it away. That does not mean a pepper needs a constant stream of fertilizer; it means the feeding plan should account for the product already in the mix and the plant’s growth stage.
North Carolina A&T’s container-vegetable guidance says commercial media may have only about a two-week fertilizer charge, then recommends weekly water-soluble feeding and a change in emphasis once flowering begins. Use that as a framework, not permission to exceed the label: a slow-release product, compost-rich mix, and concentrated liquid fertilizer do not have the same schedule.
If the mix has no long-term fertilizer, begin a complete vegetable fertilizer at label strength after the transplant has resumed active growth. Before flowering, balanced nutrition supports leaves and stems; once fruit is forming, continue a complete fertilizer at the label interval rather than chasing an extreme high-potassium product. Too much nitrogen can produce a large leafy plant with fewer flowers, while overfeeding can burn roots and leave a white salt crust on the mix.
If you see salt buildup, pause feeding and water thoroughly so some water drains from the bottom, then empty the saucer. Do not “fix” a weak plant by adding more fertilizer until you have checked light, roots, moisture, and pests first.
Keep a small note on the pot or in your phone: transplant date, fertilizer product, last feeding, and the days the mix stayed wet. That record helps you tell the difference between a plant that needs food and one whose roots are too cold, too wet, or too hot to use the food already present. It also prevents the common mistake of feeding again because the plant looks stalled when the real problem is a blocked drainage hole or insufficient light.
Support first and prune only for a reason
A compact pepper may stand without support until its first heavy crop, then split at a branch joint after one windy day. Install a small tomato cage, stake, or ring support while the plant is young so you can guide stems without crushing leaves or disturbing roots.
Use soft ties and leave room for the stem to thicken. Tie the main stem loosely and support fruit-heavy side branches, especially on bell peppers whose fruit can act like a lever in wind.
Pruning is optional for most peppers. Remove broken, diseased, or badly crossing growth, and clear old lower leaves that touch the mix; do not strip healthy leaves just to make the plant look tidy. A crowded plant in a humid location may benefit from a little interior airflow, but severe pruning removes the leaves that power fruit production.
Keep flowers setting fruit
A pepper flower can fall without becoming a pepper when the plant is stressed by cold nights, excessive heat, dry-down followed by flooding, low light, or a sudden change in location. A large dose of nitrogen can also push leafy growth at the expense of a balanced flowering response.
First check the pot for the basics: bright direct light, evenly moist—not soggy—mix, active new growth, and a temperature pattern the plant can tolerate. Outdoor peppers usually pollinate without hand work, but a sheltered balcony may have little air movement; gently tap the cage or shake the plant once flowers are open if fruit set is poor and the plant otherwise looks healthy.
Do not respond to blossom drop by watering on a rigid clock or feeding every day. Stabilize the root zone, move a heat-baked pot away from reflected pavement, and wait for new flowers; the next flush is more useful evidence than the fallen flowers themselves.
Harvest at the stage you actually want
Read the variety label for mature size and color, then cut the fruit with clean scissors or pruners instead of pulling. North Carolina A&T’s pepper guidance notes that sweet peppers can be picked green at full size or left to develop full color, while hot peppers can be harvested green or allowed to ripen on the plant.
Green fruit is usually the earlier harvest. Leaving a sweet pepper to color often gives it a different flavor and texture but uses the plant’s time longer; harvest a few green peppers if you want the plant to keep setting more fruit during a short season. Ripe hot peppers are often hotter, but variety and growing conditions still matter.
Pick regularly once fruit reaches the desired stage. Removing mature peppers reduces the weight on branches and makes room for flowers and developing fruit, while cutting rather than pulling protects the stem joints that will carry the next crop.
For a small-space garden, harvest planning matters as much as plant size. Cut a few fruits at the green stage if you want a quicker meal and continued flowering, then leave later fruits to color when the weather forecast gives them time. If frost is approaching, pick full-size green peppers rather than gambling the whole crop on a final color change.
Troubleshoot common container pepper failures
Container problems are often a chain reaction rather than one mysterious disease. A small pot dries out, the plant wilts, the gardener floods it, roots lose oxygen, and fertilizer is added to compensate for stalled growth; diagnose the root zone before reaching for a spray or feed.
Yellow leaves, wilting, and root stress
If the mix is dry two inches down and the whole plant wilts, water thoroughly and move the pot out of hot reflected light while it recovers. If the mix is wet for days, the pot smells sour, or lower leaves yellow while the stems stay soft, stop watering until the surface begins to dry and confirm that drainage holes are open.
If roots are brown and mushy when you slide the plant out, remove only clearly rotted material with clean scissors and repot into fresh, airy mix in a clean, appropriately sized container. Do not move a struggling plant into an enormous pot; the extra wet mix can prolong the same problem.
Pale new growth can also point to low light or a nutrient issue, while a white crust on the surface suggests fertilizer or hard-water salts. Correct the cause in that order—light and water first, then label-led feeding—instead of treating every yellow leaf as a deficiency.
No fruit, sunscald, and pest damage
A healthy plant with flowers but no peppers needs a check for cold nights, excessive heat, low light, and inconsistent moisture before it needs more fertilizer. If the plant is tall and leafy with few flowers, move it into stronger light and avoid high-nitrogen feeding; if flowers drop during a heat wave, protect the pot and wait for cooler conditions.
Sunscald appears as pale, bleached, or papery patches on fruit exposed to intense light after the plant loses leaf cover. Keep enough healthy foliage to shade developing peppers, avoid unnecessary pruning, and move the container from reflected heat without putting the whole plant in deep shade.
Inspect new growth and the undersides of leaves for aphids, leafminers, mites, or sticky residue. A strong spray of water can dislodge some soft-bodied pests; for any insecticide or soap product, identify the pest, follow the product label, and use local extension advice for edible crops and harvest intervals.
Conclusion
The best container pepper harvest starts before the first flower. Choose a compact variety when space is tight, give one plant a five-gallon or larger pot with real drainage, use a light container mix, and plant only after cold nights have passed.
From there, keep the root zone evenly moist, feed according to the product label, support branches before fruit makes them heavy, and solve stress at the pot level before pruning or spraying. With enough sun and a container sized for the plant—not just the space available—peppers can keep producing in a small outdoor garden long after a poorly managed pot has stalled.



