How to Germinate Seeds Indoors: Step-by-Step Guide
Learn how to germinate seeds indoors with the right depth, moisture, warmth, and light. Pick paper towel or seed mix, solve failures, and grow sturdy starts.
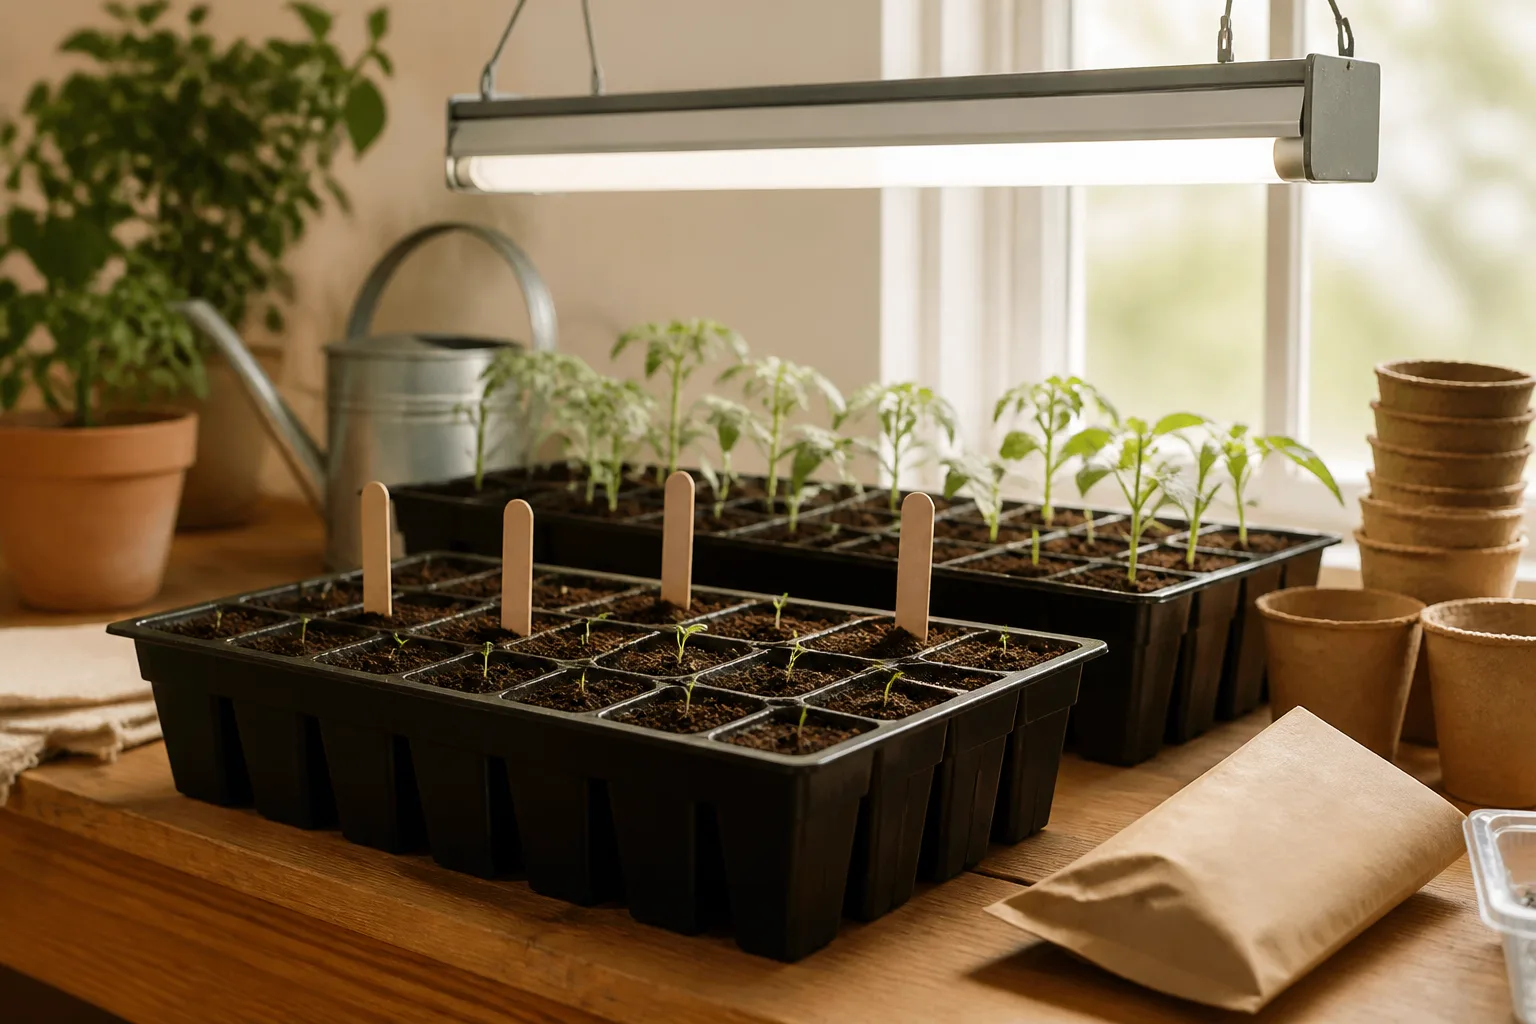
To germinate seeds indoors, give each kind of seed the moisture, oxygen, temperature, light, and planting depth it needs, then move every sprout into strong light as soon as it emerges. The seed packet is your starting brief: the right conditions for a tomato are not automatically right for a lettuce, snapdragon, or native perennial.
The most reliable routine is simple once you separate getting a seed to sprout from growing the seedling that follows. Choose indoor or outdoor sowing first, prepare a clean draining container, sow at the recommended depth, keep the medium evenly moist, and check it against the packet’s germination window rather than expecting every seed to appear on the same schedule.
Germination Has Two Stages: Sprouting and Seedling Growth
Germination begins when a viable seed absorbs water and its embryo resumes growth. The seed coat opens and the first root, called the radicle, emerges; a shoot follows. West Virginia University Extension describes water, oxygen, and a suitable temperature as essential conditions, while light affects some seeds but is not a universal requirement for the germination stage (WVU Extension’s germination overview).
That first root is not the finish line. A newly emerged seedling soon depends on light to make its own food, so the covered, warm germination setup must change as soon as green growth appears. Keeping seedlings in a dark cupboard because the seed packet said “dark to germinate,” or leaving a tight humidity dome over them for days after emergence, confuses the two stages and can produce weak growth.
| Condition | What it does | Practical check |
|---|---|---|
| Water | Starts the seed’s internal growth processes | Medium feels evenly damp, not saturated |
| Oxygen | Supports respiration as the embryo grows | Container drains; mix is not compacted or waterlogged |
| Temperature | Affects both how many seeds sprout and how quickly | Follow the packet; measure the mix if warmth is uncertain |
| Light | Needed by some seeds to germinate and all green seedlings to grow | Check the packet before covering; provide strong light after emergence |
Seeds also differ in dormancy. Some need a period of cold, a nick in a hard coat, or another species-specific treatment before they will germinate. Extra water or a hotter mat will not replace that cue; look up the variety’s directions if the packet mentions stratification, scarification, or pretreatment.
Decide What to Start Indoors and What to Sow Outside
Indoor sowing gives slow-growing plants a head start before the outdoor season is warm enough, and it lets you control early conditions for crops that need a longer growing period. It can also make unusual varieties easier to find as seedlings. But indoor starting adds equipment, light, watering, and a transplanting step; it is not automatically faster or better for every plant. Botanical Interests likewise recommends weighing the crop’s growing time and transplant tolerance when choosing between indoor and outdoor sowing (Botanical Interests’ seed-starting overview).
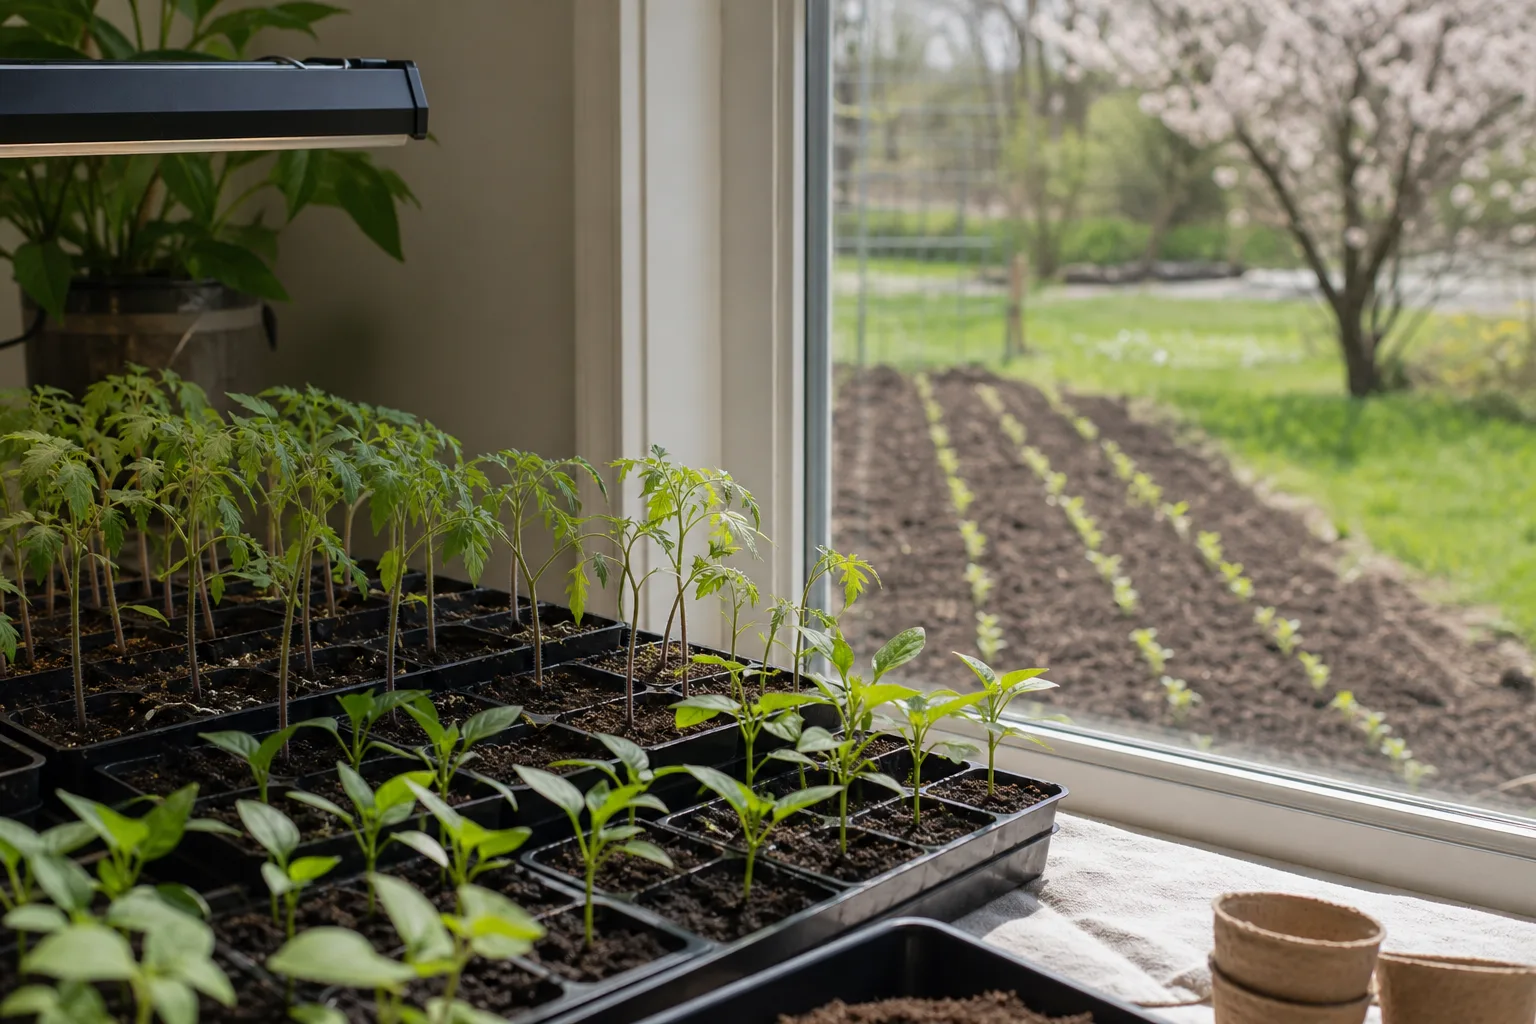
Seeds that benefit from an indoor head start
Tomatoes, peppers, and eggplants are common indoor starts where the outdoor warm season is shorter than the time those crops need to mature. Broccoli, cabbage, and some annual flowers are also often raised in trays so they can be planted at a useful size when the garden bed is ready. The exact number of weeks depends on the variety and local planting window, so use the packet’s “start indoors” guidance rather than applying one schedule to every crop.
Indoor starting is most useful when you can provide enough light and have a safe place for the seedlings until outdoor conditions suit them. If you have no bright grow space, the seedlings may become thin and stretched before transplant time; buying healthy starts or direct-sowing an appropriate crop can be the better choice.
Seeds usually better direct-sown
Carrots, radishes, beets, and other root crops are usually sown where they will finish because disturbing a developing root can slow or deform it. Beans, peas, corn, and many fast-growing squash or cucumber varieties can also be direct-sown once the soil is warm enough. Large seeds are easy to place outdoors, and these crops may gain little from a long indoor stay.
“Usually” matters: a gardener with a short summer may start cucumbers or squash in individual pots and transplant them while small, while a gardener in a long warm season can sow them outside. Choose by transplant tolerance, growing-season length, available light, and the time the seedlings will need indoors—not by a rigid list of plants that must never be started inside.
Time Sowing From Your Local Planting Window
For spring crops in regions with frost, begin with the local average last-frost date, then count backward by the number of weeks listed on the packet. For example, a packet that recommends sowing six weeks before transplanting gives you a date to work from; add time for slow germination only if the packet or a reliable crop guide supports it. The average frost date is a planning reference, not a promise that a late freeze cannot occur.
The date you plan to transplant is often more useful than the last frost date alone. Warm-season plants may need warm soil and settled nights even after the final frost, while cool-season seedlings can tolerate a different window. Count backward from when that particular crop can safely go outdoors, and leave room for a week or two of gradual hardening off.
If you garden somewhere without a meaningful frost season, use the crop’s preferred temperature and local season instead: for example, sow before the hottest period, during a mild dry season, or when rain and soil warmth suit the crop. UGA Extension’s local seed-starting guidance illustrates why regional frost records and county advice are more useful than copying a calendar date from another climate (UGA Extension on local seed timing). Starting too early is a common way to end up with oversized seedlings that have to wait indoors for suitable planting conditions.
Read the Seed Packet Before You Open It
Check the packet for the plant variety, days to germination, indoor-start timing, planting depth, light or darkness requirements, and any soaking or chilling directions. The packet may also tell you when to thin and how large transplants should be. UGA Extension notes that commercial seed packets commonly include depth, expected germination time, spacing, and thinning information; its reviewed guide explains why the values vary with the seed and growing method (UGA Extension’s seed-starting bulletin).
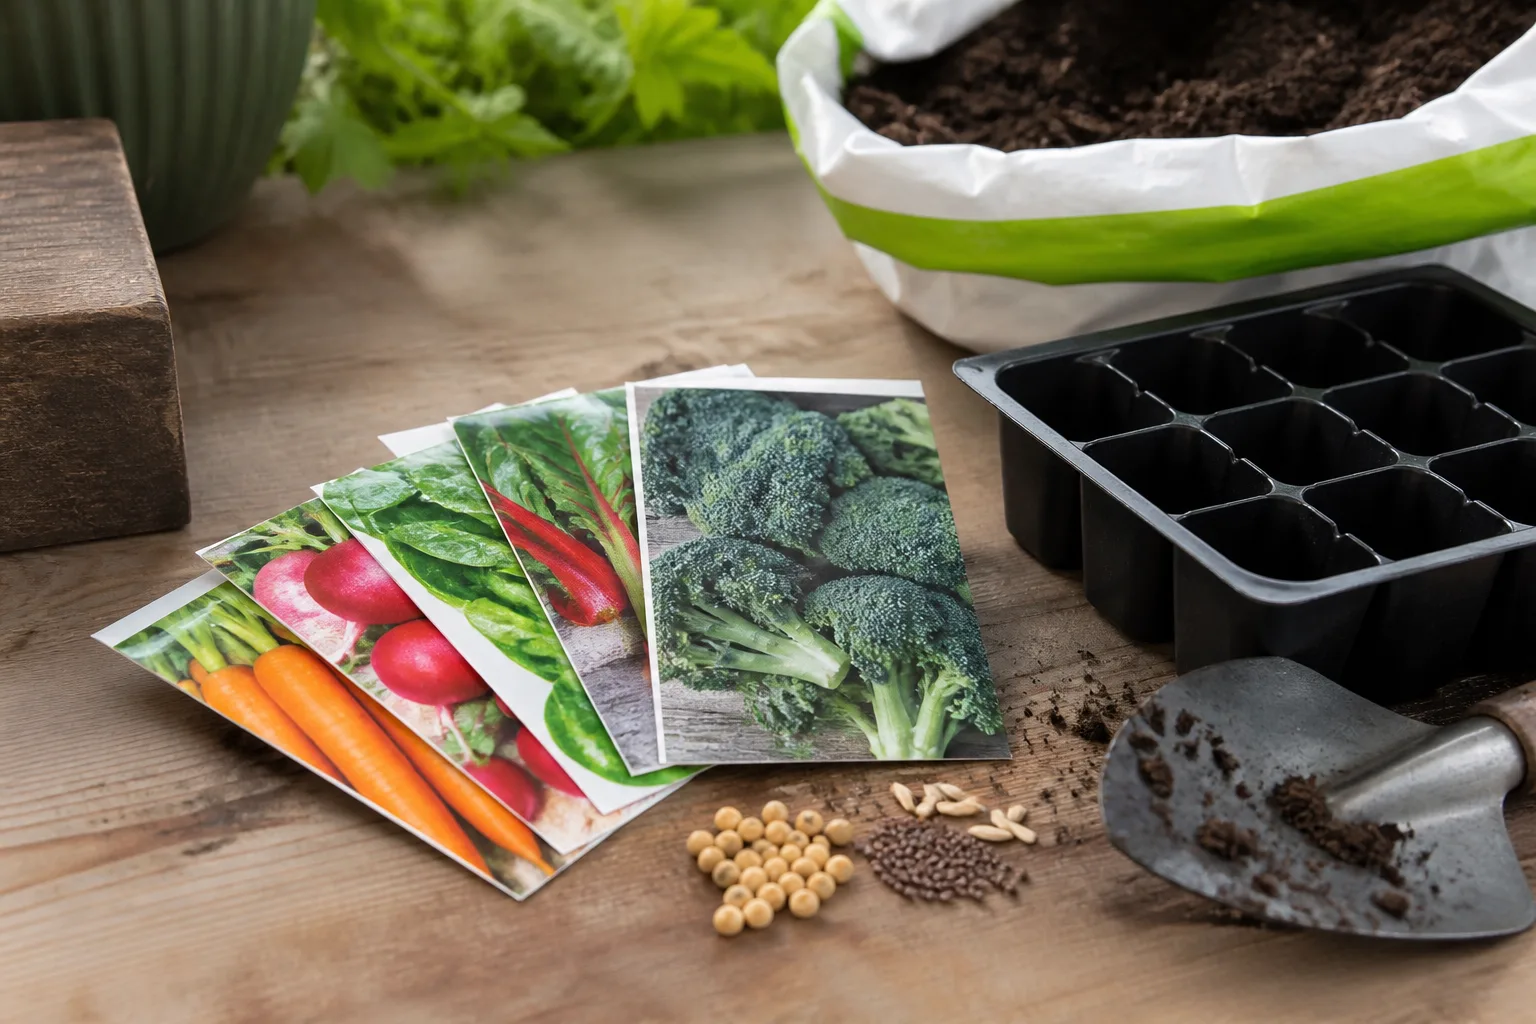
Write the variety and sowing date on a label before planting. This small habit prevents a tray of nearly identical sprouts from becoming a mystery, and it lets you compare actual germination with the expected range. If the seed is old or its storage history is unclear, test a small sample first: place a counted group in a moist towel, record how many sprout within the stated window, and estimate the fraction that remains viable. A small sample is only a rough estimate, but it can help you decide whether to sow extra or replace the packet.
Choose a Method: Seed-Starting Mix or Paper Towel
For most garden starts, sow directly into seed-starting mix. The seed stays in the medium where its new root will grow, so you avoid handling a fragile radicle and moving it from a towel into a pot. Paper towels are useful when you want to check whether older seed is viable, watch a large seed sprout, or manage a seed that is easier to place after it has begun to open.
The paper-towel method is not a shortcut around packet instructions. Seeds still need their correct temperature and light or dark conditions, and a sprouted seed still needs potting mix, light, and room to grow. Gardening Know How describes the method as a way to monitor germination and recommends checking often and transferring seeds before roots become tangled in the towel (Gardening Know How’s paper-towel guide).
Use the paper-towel method for a reason
Dampen a plain paper towel until it is moist but not dripping. Arrange seeds with space between them, fold the towel over, and place it in a labeled food-safe bag or lidded container. Close it enough to slow drying while avoiding a puddle of water; follow the seed’s light requirement and keep the container in the temperature range on the packet. Check daily once the expected germination period approaches, because some seeds open quickly and their roots can anchor into paper fibers.
When a small root tip appears, move the seed into a pre-moistened cell of seed-starting mix with the root pointing down and covered as the packet directs. Handle the seed coat or cotyledon gently, never pinch the root. If a root has caught in the towel, wet the paper and cut a small piece around it rather than pulling; the paper can go into the planting hole and will break down. Do not let a long root grow in the bag while waiting for leaves—the root is especially easy to damage at that stage.
Set Up Clean Containers and Seed-Starting Mix
Use a container with drainage holes and enough depth for the crop’s early roots. Individual cells simplify labeling and reduce root disturbance when you pot up; a shallow flat can work for seeds that will be moved soon, but overcrowding makes watering and transplanting harder. Wash reused containers and remove old mix before planting, because seedlings are vulnerable to disease organisms carried on dirty equipment.
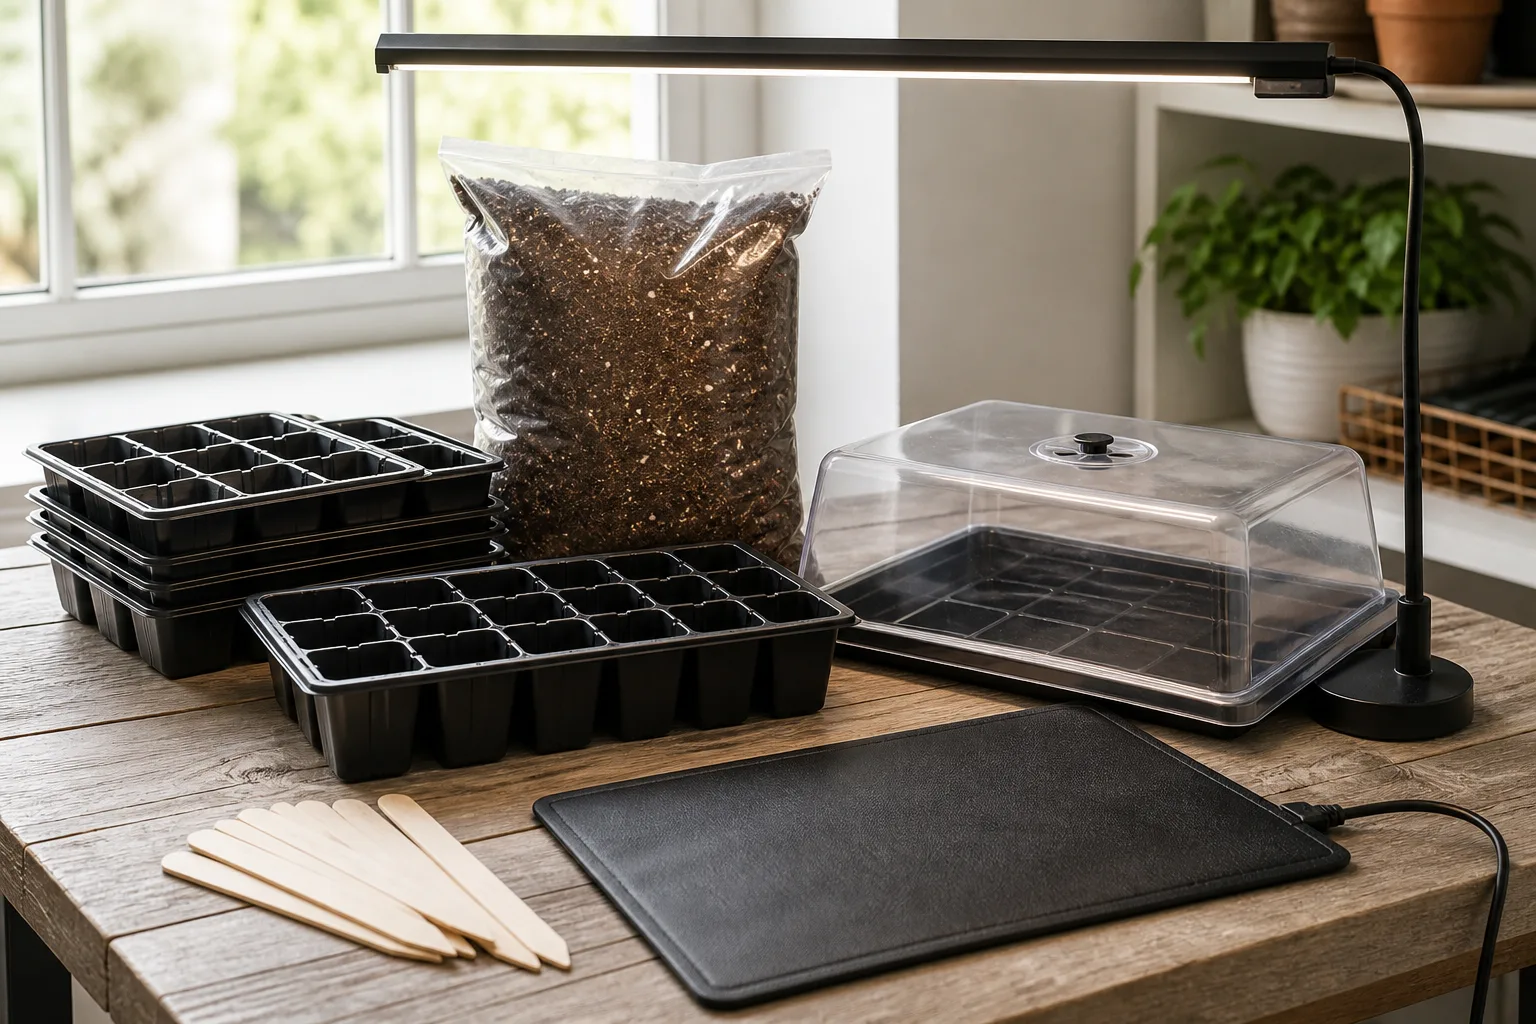
Choose a fine-textured, sterile seed-starting medium that holds moisture while draining freely. Garden soil is usually too heavy and may compact in small cells, hold too much water, or carry weed seeds and disease organisms. UGA Extension recommends soilless seed-starting media and clean containers for reliable early growth. You do not need a collection of specialized gadgets: a basic tray, drainage, mix, labels, water, and a suitable light source cover the essentials.
Before filling the tray, moisten the mix so water is distributed through it. It should clump lightly when squeezed but release no stream of water. Fill cells loosely, tap the tray to settle large gaps, and level the surface without pressing it into a hard slab. A clear dome or loose cover can slow evaporation before germination, but it should not turn a sunny windowsill into an overheated closed greenhouse. The RHS Advice Team’s indoor sowing guide similarly recommends filling trays evenly, watering gently, labeling each sowing, and uncovering seedlings once they emerge (RHS guide to sowing seeds indoors).
Sow Seeds at the Right Depth
Use the packet’s depth instruction whenever it is provided. A useful fallback for many ordinary seeds is to cover them with soil about twice the seed’s diameter, but this is only a rule of thumb, not a universal formula. Seeds that need light to germinate are often left on the surface or pressed gently into it; tiny seeds can be smothered by a thick layer of mix.
Make shallow holes with a pencil, dibber, or fingertip, drop in the number of seeds recommended for each cell, and cover lightly. Sow a few extra only when you have a reason, such as uncertain viability; every extra seedling still needs room, light, and a decision about thinning. If a seed packet directs soaking or sowing on the surface, follow that over the general depth rule.
Label each row or cell group immediately with the crop, variety, and date. Water gently with a mister, a fine rose, or from the bottom so seeds do not wash to one edge or sink too deeply. If you bottom-water, let the mix absorb what it needs and pour off remaining water; the container should not sit in a standing reservoir indefinitely.
Keep the Medium Warm, Moist, and Aerated
Temperature affects both the percentage of seeds that germinate and the time they take. UGA Extension gives about 65–75°F as a general range for many seeds, while emphasizing that some have narrower requirements. Cool-season and warm-season crops can differ substantially, so treat that range as a starting point only and use the packet or a crop-specific extension guide for the final target.
A heat mat can help when the growing area is cool, but it is optional. It warms the root zone; it does not provide light, and it cannot fix a dry, waterlogged, or incorrectly planted seed. For more control, measure the temperature of the medium with a probe thermometer and follow the mat manufacturer’s instructions. Remove or switch off bottom heat as seedlings emerge if the crop no longer needs it, especially if the room itself is warm.
Keep the mix evenly moist through the germination window. A humidity dome, clear lid, or loose plastic cover reduces evaporation, but check the tray rather than assuming that a covered container cannot dry out or become saturated. Condensation on the lid is not a precise moisture gauge; look at the mix and feel a sample cell. If water is pooling, remove it and allow air back into the medium. Seeds need oxygen as they respire, and a saturated mix can deprive them of it and encourage rot.
Move Sprouts Into Strong Light Immediately
When green shoots first appear, remove the cover and move the tray to strong light. Seeds that germinate in darkness do not need to remain dark after emergence. A bright window may work for some short-term starts, but light intensity drops quickly indoors and winter days are short; seedlings often stretch toward the glass and become weak before they look obviously unhealthy.
An adjustable LED or fluorescent fixture makes it easier to keep light close and consistent. UGA Extension’s reviewed guide recommends positioning light stands roughly 2–3 inches above seedlings and running them for about 16 hours daily; use the fixture’s instructions because heat and intensity differ by model. Raise the light as leaves grow, keep it above the full tray, and give plants a daily dark period rather than leaving lights on around the clock.
Airflow matters after the humidity cover comes off. A gentle room fan or an open, ventilated growing area helps the surface dry between waterings and reduces the stagnant conditions that favor seedling disease. Keep moving air mild: leaves should barely flutter, not bend continuously. If the room is cold, drafty, or very hot, stabilize the growing area rather than setting the tray directly against a heater or air-conditioning vent.
Water, Thin, and Pot Up Without Stalling Growth
Check seedlings every day, but water according to the mix rather than a calendar. A warm light stand can dry small cells quickly, while a cool room or deep container may stay wet longer. Lift a tray to compare its weight, touch the surface, and water when the medium is beginning to dry—not after seedlings have wilted. Bottom watering can keep tiny seeds and leaves from being displaced, but drain the tray afterward.
If several seedlings share a cell, keep the strongest one and snip the others at mix level once the first true leaves appear or crowding begins. Pulling out extras can disturb the roots of the seedling you want to keep. Cotyledons are the first seed leaves; true leaves appear later and usually have the shape of the mature plant’s foliage.
Pot up when roots fill the cell, seedlings crowd one another, or they have developed a few true leaves and are still too small for the garden. Fill the new pot with pre-moistened mix, lift the plant by a leaf or root plug rather than pinching its stem, and set it at the same depth it was growing before. The cotyledons supplied stored energy, but once true leaves and continued growth develop, seedlings in low-nutrient media may need a dilute fertilizer according to its label. Do not fertilize a dry or wilted seedling to compensate for poor growth; first correct water, light, and temperature.
Troubleshoot Seeds That Fail or Seedlings That Collapse
When a tray goes wrong, change one condition at a time. Confirm what the packet says, then check the seed’s age, the temperature inside the mix, its moisture and drainage, and whether light or darkness and sowing depth match the variety. This order is more useful than adding extra water or turning up a heat mat before you know what the seed needs.
Nothing has sprouted
Compare the elapsed time with the packet’s days-to-germination range. Some seeds sprout in a few days; others take weeks, and cool conditions can slow even viable seed. If the stated window has not passed, maintain the recommended conditions and keep checking. If it has passed, open one or two seeds from the tray: a firm seed may still be alive, while a soft, mushy, or foul-smelling seed has likely rotted.
Next, check the actual medium temperature rather than the room thermostat. A seed tray on a cold sill may be much cooler than the air, while a mat or sunny enclosed dome can make the mix too hot. Make sure the seeds were not planted too deeply, that the medium is damp but not saturated, and that light-requiring seeds were not buried. Old or poorly stored seed may have low viability; run a small paper-towel sample before sowing the rest or use fresh seed for a time-sensitive crop.
Mold or rotting seeds
Fuzzy growth on the mix surface can signal excess moisture and poor airflow, but the most urgent symptom is a seedling stem that becomes thin, dark, or water-soaked at the soil line and then falls over. UGA Extension identifies disease-causing fungi as a risk to young seedlings and recommends sterile media and sanitized containers. Remove collapsed seedlings and nearby debris, uncover the tray after germination, improve ventilation, and reduce watering if the mix stays wet.
Do not keep a sealed dome over emerged seedlings or leave trays standing in water. If seeds themselves are slimy or soft, discard them and sow again in fresh, lightly moist mix. Wash and dry reusable containers before the next batch; avoid improvised chemical treatments on edible seedlings, and use a product only when it is labeled for that purpose and crop.
Stretched or fallen seedlings
Long, pale stems leaning toward a window usually point to insufficient light; soft growth can also result when seedlings stay too warm after germination. Move the fixture closer within its safe operating distance, extend the daily light period to the crop’s recommended range, and lower excess bottom heat. Rotate trays only when relying on a window, because turning a tray cannot make weak room light as intense as a properly placed grow fixture.
If a seedling has collapsed at the soil line, treat it differently from one that is simply leaning. A leaning plant may recover when light improves, but a pinched, rotting stem is unlikely to stand back up. Remove it, improve drainage and airflow, and keep neighboring seedlings from sitting in the same wet conditions.
Harden Off Before Planting Outdoors
Indoor seedlings have grown in sheltered air and steady light; direct sun, wind, and temperature swings can scorch or dehydrate them. Begin hardening off about one to two weeks before planting. Set trays outside in a protected, shaded place for a short period, then increase outdoor time and sun exposure gradually over successive days. Bring them inside or under cover when frost, strong wind, heavy rain, or unusually hot conditions threaten.
Keep the root plug evenly moist during this transition because small containers can dry quickly outdoors. A cloudy day is a gentle time to transplant, but the crop still needs suitable soil temperature and weather. Loosen the plug without tearing roots, handle the plant by its leaves or root ball, water it in, and provide temporary protection if the forecast calls for an abrupt cold or heat spell.
Conclusion: Match the Seed to the Conditions
Successful germination is less about finding one perfect trick and more about matching each seed to its own instructions. Start with a fresh, clearly labeled packet; choose indoors or direct sowing according to the crop; give it the right depth, moisture, oxygen, and temperature; and check the tray within the expected window.
Then change conditions as soon as the seedling emerges: remove its cover, provide strong light, water by need, and give it room to grow. A paper towel can help you test or observe seeds, but clean seed-starting mix, drainage, careful handling, and gradual hardening off turn a sprout into a transplant ready for the garden.



