Keep Your Summer Garden Thriving Into Fall
Keep your summer garden thriving into fall with nine practical tips for watering, harvesting, mulch, pruning, fall crops, bulbs, and frost prep.
Late summer is a handoff, not a finish line. Warm soil can still grow new roots and crops, while cooler nights change how quickly plants use water, how fast disease spreads, and how much fertilizer they can turn into useful growth. The best garden work now is selective: keep plants that are earning their space, remove problems before they spread, and use the remaining warmth to prepare the next crop.
Start With a Quick Garden Triage
Walk the garden before reaching for a tool. Mark plants in three groups: productive and worth supporting, stressed but recoverable, and finished or diseased. This simple decision prevents two common mistakes—pulling a healthy tomato because its lower leaves look tired, or continuing to water a plant whose stem or roots are already failing.
Check the underside of leaves, the soil several inches below the surface, and the base of each plant. A dry surface does not always mean a dry root zone; compacted or poorly drained soil can be wet below while the top crust looks dusty. Also note where afternoon shade has lengthened. Buildings, fences, and neighboring plants can reduce light just as the sun’s seasonal angle changes.
1. Adjust Watering as the Season Changes
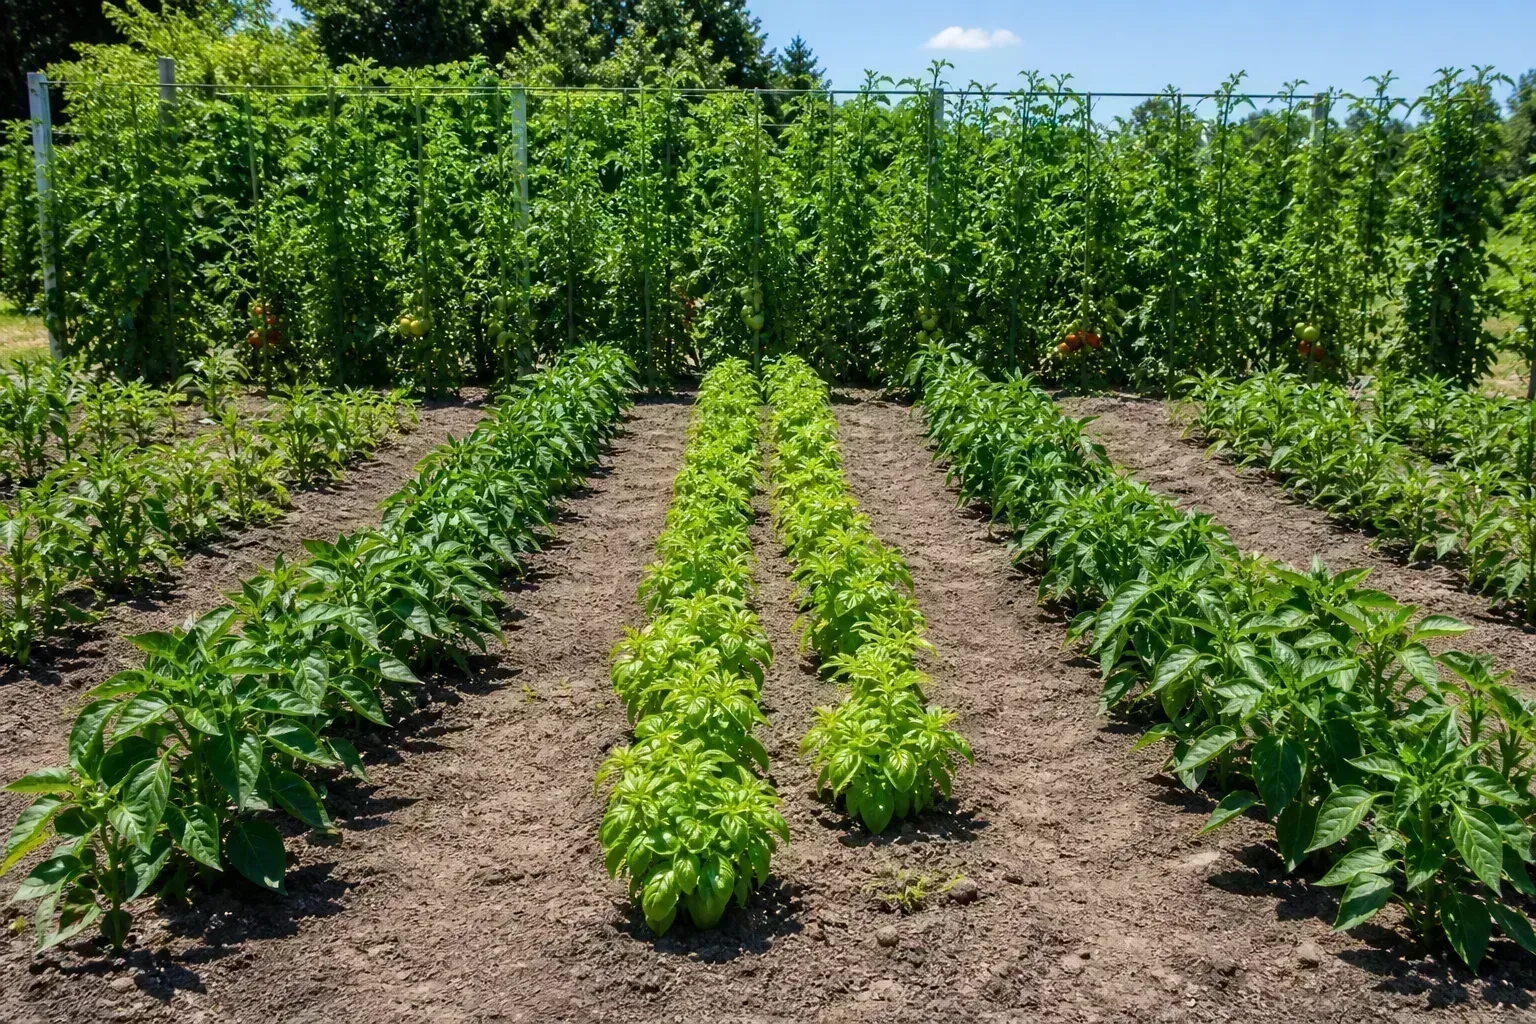
Do not switch from deep watering to a rigid calendar just because nights are cooler. Water when the root zone needs it, then water slowly enough to soak the soil to the depth of the active roots. In a raised bed, that may mean checking two to four inches down; in a large border, inspect deeper. Containers need more frequent checks because wind and exposed sides dry them quickly even when the ground is moist.
Morning is usually the most forgiving time to water. It gives foliage that gets wet a chance to dry, reduces evaporation compared with a hot afternoon, and lets plants enter the warmest part of the day hydrated. Direct the stream at the soil rather than spraying leaves. A soaker hose or drip line is especially useful under dense tomatoes, squash, and perennials where a surface spray misses the root zone.
Ease off only when conditions support it. A stretch of cloudy weather, regular rain, cooler temperatures, or slower plant growth lowers demand; a windy week, sandy soil, a fruit-heavy plant, or a container in full sun raises it. Water stress during fruit filling can cause more damage than a slightly untidy bed, so keep productive crops steady until harvest is complete.
2. Feed Lightly and Only When Plants Can Use It
Late-season fertilizing is a precision job. A plant still producing leaves, flowers, or fruit may benefit from a modest feeding if its soil is genuinely depleted, but a heavy application can push tender new growth when the plant should be hardening for cooler weather. Excess nitrogen can also create lush foliage that is more vulnerable to pests, disease, and cold injury.
Start with observation. Pale older leaves, weak growth, or a plant that has been cropped heavily can justify a soil test or a carefully measured, balanced fertilizer. Do not diagnose every yellow leaf as hunger: waterlogged roots, drought, compacted soil, natural aging, and disease can look similar. If you fertilize, follow the product label, spread it away from the stem, and water it into the soil.
For beds being replanted, finished compost is often a better late-season investment than a strong soluble feed. It improves the soil’s physical condition gradually and supports the next crop without forcing a flush of growth from plants that are nearly done.
3. Harvest Promptly and Make Room for Fall Crops
Pick vegetables at the stage you actually enjoy eating, and check productive plants frequently. Beans become fibrous when oversized, cucumbers can hide under leaves and turn seedy, and ripe tomatoes left on the plant attract cracking, insects, and wildlife. Regular harvest also tells a plant to keep flowering and setting fruit when the weather allows.
Remove fruit that is diseased or badly damaged rather than leaving it as a pest reservoir. Healthy plant material can often go into compost, but diseased leaves and fruit belong in the trash or another disposal route allowed in your area. Do not compost material that is actively spreading a disease unless your system reliably reaches the temperatures and conditions needed to destroy pathogens.
Once a row is finished, clear it promptly and use the opening. A clean, lightly amended bed can support quick crops such as leafy greens, radishes, turnips, or other varieties selected for your local late-season window. The key is not the calendar month alone; count backward from your typical first frost using the seed packet’s days to maturity, then add extra time for short days and slower growth.
4. Plant Cool-Season Crops While Soil Is Warm
Early fall planting works because warm soil helps seeds germinate and roots establish before air temperatures settle. The opportunity closes faster than many gardeners expect, especially in areas with an early frost. Sow or transplant in stages rather than putting every seed in on one day; staggered planting spreads harvest and lets you learn how quickly the weather is changing.
Prepare the bed before planting. Pull weeds, loosen only the compacted surface, add a thin layer of mature compost if needed, and water the seedbed evenly. Newly sown rows dry out quickly in sun and wind, so use a light mulch that does not bury small seeds. Once seedlings emerge, thin them decisively; crowded plants compete for light and air and are more prone to disease.
In hot climates, the first challenge may be heat rather than cold. Shade cloth during the hottest part of the afternoon can help tender seedlings establish, but remove or adjust it as temperatures moderate. In cold climates, keep row cover ready for sudden nights. Cover should not press continuously on wet foliage, and it must be secured against wind.
5. Mulch the Root Zone, Not the Crown
A fresh layer of organic mulch buffers soil temperature, slows evaporation, and reduces splashing onto leaves. Apply it around plants in a broad, thin layer rather than piling it against stems. The crown and lower stem need air; constant contact with wet mulch can encourage rot and invite pests.
Use a material that fits the bed. Shredded leaves, clean straw, aged compost, and fine wood products each behave differently. Coarse mulch improves air space but may be slow to break down; fine material can mat and shed water if applied too thickly. Pull mulch back temporarily if the soil stays saturated or if slugs and snails are thriving beneath it.
Mulch is not a substitute for diagnosing a bad site. It will not fix standing water, a leaking irrigation line, or a root-bound container. If a plant is wilting in wet soil, improve drainage and inspect the roots before adding more material.
6. Turn Fallen Leaves Into Soil-Building Material
Leaves are useful when handled thoughtfully. Shred them with a mower or leaf shredder so they settle without forming a dense, airless mat. A thin layer can protect bare soil, while a larger quantity can be composted with nitrogen-rich material such as fresh green trimmings. Leaf mold made from decomposed leaves is a valuable soil conditioner, but it is not an instant fertilizer.
Keep leaves off crowns, evergreen rosettes that need air, and paths where they become slippery. Remove leaves from lawn areas if they block light, but do not assume every leaf must be bagged and discarded. Leaves collected from a diseased plant should be handled separately, and leaves contaminated with herbicide residue or mixed with trash should not enter a garden compost pile.
7. Remove Weeds Before They Set Seed
Late-summer weeds are not harmless just because fall is near. Many can flower and produce seed quickly, and some perennial weeds use the final warm weeks to rebuild underground reserves. Pull or hoe small weeds when the soil is slightly moist, then remove mature seed heads from the bed rather than leaving them on the surface.
Choose the method based on the weed. A shallow hoeing is efficient for tiny annual seedlings, while a perennial with a deep taproot needs careful digging. Do not cultivate aggressively around shallow-rooted vegetables or established perennials; cutting a root can create more stress than the weed would have caused. Mulch after weeding, but leave enough open soil for any fall seeds you plan to sow.
8. Prune for Health, Not for a Bare Garden
Remove dead, broken, or clearly diseased tissue first. Make clean cuts with a sharp tool, sanitize it when moving between plants with suspected disease, and avoid cutting into healthy green stems simply to make a bed look tidy. Many plants still need their foliage to photosynthesize and rebuild energy for roots, crowns, or next year’s flowers.
Pruning timing depends on the plant and the problem. Removing spent flowers can extend bloom on some annuals, while cutting a shrub at the wrong time can remove next season’s buds. If a perennial has attractive seed heads and no disease issue, leaving it standing can provide winter structure and food for wildlife. If foliage is diseased, sanitation takes priority over appearance.
Do not use pruning as a cure for drought, poor light, or root damage. First correct the underlying condition. A smaller plant with healthy roots may recover; a heavily cut plant with compromised roots may not.
9. Plan Sun, Bulbs, Containers, and the First Frost
Keep sun-loving plants in the brightest workable position. Seasonal shade can arrive from a taller crop, a growing hedge, or a lower sun angle. Four to six hours of direct sun may suit some vegetables and flowers, but fruiting crops generally need more light for strong production. If moving a container, acclimate it to a brighter location over several days when possible so a sudden change does not scorch leaves.
Tender bulbs and tubers need a separate decision. Wait until frost threatens or the foliage has naturally declined, depending on the plant, then lift carefully with a fork or shovel. Cure and store only firm, healthy pieces in a cool, dry, dark place suited to that species. Label them immediately. A damp storage bin encourages rot, while a warm room can trigger premature sprouting.
Containers deserve attention before the first cold snap. Grouping pots near a sheltered wall reduces wind exposure, but it does not guarantee warmth. Raise drainage holes off cold, wet ground, reduce saucers that hold water, and bring in plants that cannot tolerate your winter temperatures. For outdoor crops, know your frost date and keep lightweight frost protection ready before the forecast becomes urgent.
A Simple Weekly Routine for Late Summer
Once a week, harvest first, then inspect. Check new growth, leaf undersides, soil moisture, irrigation emitters, and the forecast. Spend the next few minutes removing diseased tissue and seed-bearing weeds, followed by one small improvement such as topping up mulch, clearing a finished row, or sowing a short row of fall crops.
Every two or three weeks, reassess the triage groups. A plant that was worth rescuing may now be declining, while a young fall crop may need thinning or protection. Keep a note of what you planted and when; next year, that record will be more useful than a generic calendar because it reflects your soil, exposure, and microclimate.
Common Mistakes That Shorten the Season
The first mistake is treating all plants alike. A fruiting tomato, a dormant-looking perennial, a basil container, and a newly seeded row have different water, light, and temperature needs. The second is applying a large fertilizer dose to compensate for every symptom. Diagnosis should come before feeding.
Another mistake is cleaning too aggressively. Removing every leaf and stem can expose roots, discard habitat, and eliminate the foliage a perennial needs for storage. The opposite mistake—leaving diseased plant debris in place—can carry problems into the next season. Aim for targeted sanitation, not a spotless garden.
Finally, do not wait for the first frost to make every decision. Harvest tender crops, order or gather protection, plan bulb storage, and sow fall crops according to the local weather window. A garden can remain productive into fall when each task is timed to the plant rather than to a fixed idea of when summer ends.
Conclusion
Keeping a summer garden thriving into fall is mostly a matter of attention and sequence. Stabilize watering, feed with restraint, harvest often, replant open soil, protect the root zone, and remove weeds or diseased material before they become bigger jobs. Then watch light and frost closely: leave healthy foliage working, lift tender bulbs at the right moment, and protect new crops while they establish.
The payoff is more than a few extra harvests. These late-season choices leave better soil, fewer pests and diseases to carry forward, and a clearer starting point for next spring. Walk the garden once this week, choose the three actions that matter most, and let the rest follow from what the plants are actually telling you.



