Brinjal Propagation from Seed: Step-by-Step Guide
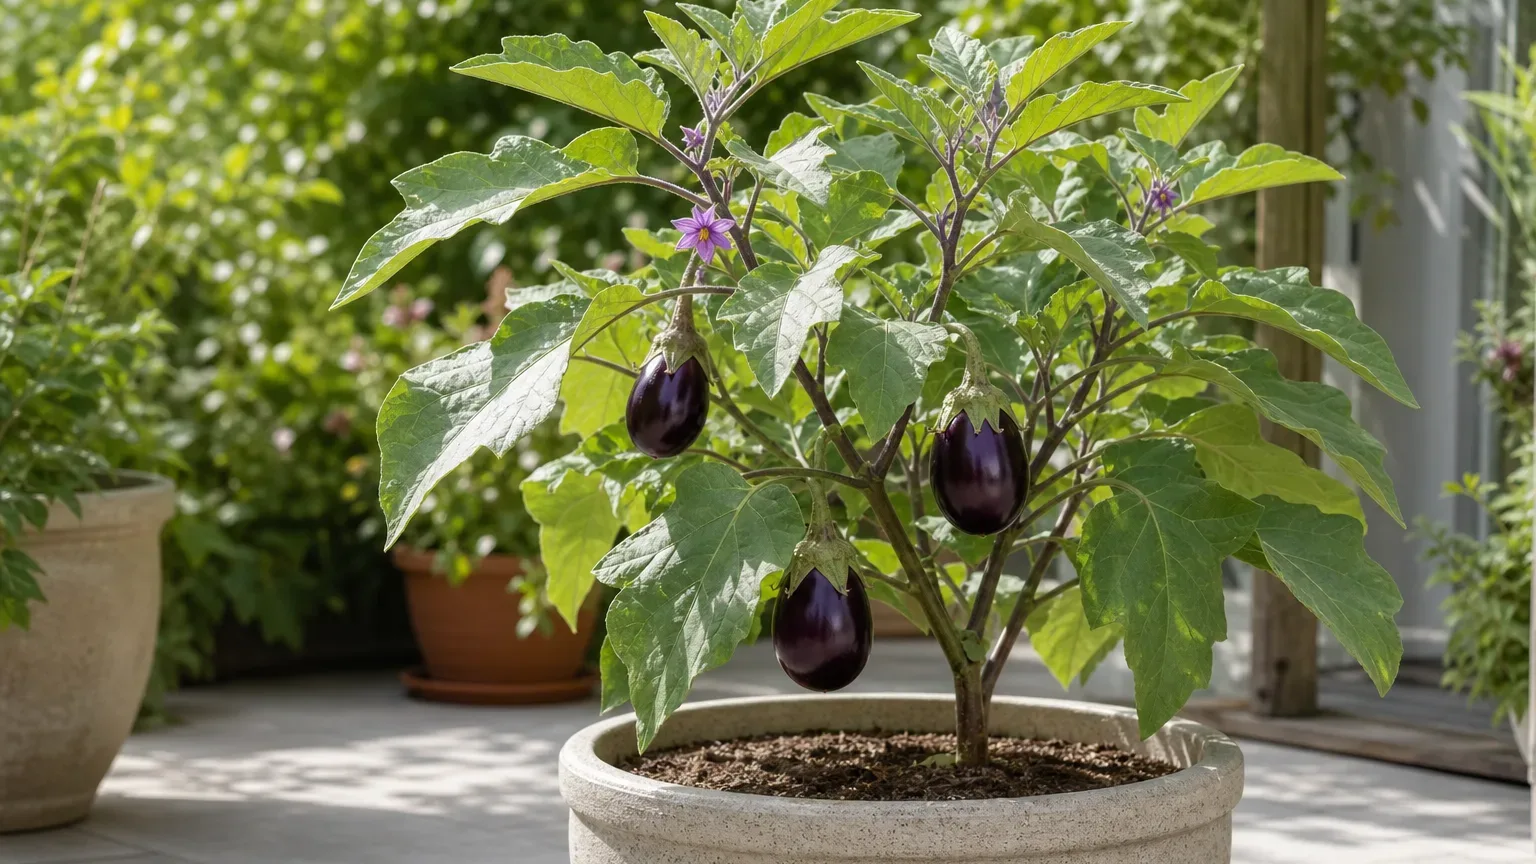
Brinjal Propagation from Seed: Step-by-Step Guide
Brinjal Propagation from Seed: Step-by-Step Guide
Brinjal (Solanum melongena) is normally propagated from seed. The challenge is not getting a seed into soil; it is keeping the root zone warm enough for prompt germination, then balancing light, moisture, and airflow so the seedling grows stocky instead of weak or diseased. A good result is a young plant with several true leaves, a root ball that holds together, and no flowers or buds when it enters its final bed or container.
This process works for purple, green, white, round, long, and striped cultivars. The calendar changes with climate and variety, but the plant signals do not: warm mix for germination, strong light after emergence, careful watering, gradual outdoor exposure, and transplanting only into genuinely warm conditions.
Quick answer: how to propagate brinjal
Sow one or two seeds per cell about 6–12 mm deep in fresh seed-starting mix. Keep the mix evenly moist and warm—roughly 24–32°C is the useful germination range given for eggplant by Oklahoma State University Extension—then remove any humidity cover as soon as shoots appear and give them strong light.
Thin to one seedling per cell. If you began in a shared flat, move seedlings when their first true leaves are forming; grow them on until they have several true leaves, a cohesive but not congested root ball, and sturdy stems. Harden them gradually for about a week and plant them at the same depth once the soil and nights are warm.
The best propagation method for brinjal
Seed is the practical method for home growers because it offers the widest cultivar choice and produces many healthy plants without maintaining a parent plant. Brinjal can form roots from cuttings under controlled conditions, and commercial crops may use grafted transplants, but neither route is simpler than seed for an ordinary balcony or kitchen garden.
Starting in cells is safer than sowing a dense tray. Individual cells reduce root tangling, make watering easier to judge, and let you discard one problem seedling without disturbing the rest. Direct sowing can work in a long, consistently warm season, but nursery-started plants are easier to protect from pounding rain, pests, and uneven moisture.
Time sowing to a warm planting window
Work backward from suitable transplant weather, not from a fixed month. Brinjal transplants commonly need about six to eight weeks from sowing, and University of Georgia Extension recommends starting seed six to eight weeks before outdoor planting and waiting for warm soil. In much of India, that may mean raising plants ahead of a warm dry-season or post-monsoon planting window; local heat, rainfall, and frost risk matter more than a national calendar.
Avoid starting so early that plants become root-bound or begin flowering in small cells. Old, checked plants often establish more slowly than younger transplants. If outdoor conditions are delayed, pot up once rather than holding a large seedling thirsty and crowded in a tiny plug.
Choose seed before you sow
Buy seed with a named cultivar and a recent packing date. The cultivar tells you more than fruit colour: compact and vigorous plants need different final spacing and support, while maturity times also vary. Keep the packet because it records whether the seed is open-pollinated or marked F1 hybrid.
Seed saved from an F1 hybrid may germinate, but the offspring generally will not repeat the parent plant’s exact combination of fruit shape, colour, vigour, or yield. Seed Savers Exchange explains that hybrid offspring generally do not retain the same traits, while properly isolated open-pollinated varieties can remain true to type. If reliable uniformity matters, buy fresh hybrid seed; save seed only from an open-pollinated cultivar whose flowers were protected from unwanted cross-pollination.
Do not collect seed from a brinjal at normal eating maturity. For seed saving, the fruit must remain on the plant until it is overripe, yellowing, tough-skinned, and carrying hard, mature seed. That fruit is a seed crop, not a kitchen harvest.
Prepare clean containers and seed-starting mix
Use a fine, fresh, well-drained seed-starting mix rather than heavy garden soil. Fill cells loosely, water the mix, and let excess drain before sowing. A clean tray with drainage holes is more important than a decorative pot because stagnant water and contaminated media create ideal conditions for seed rot.
Wash reused trays and tools thoroughly and disinfect them before use. Do not mix fresh medium with leftovers from a tray that lost seedlings to rot. These hygiene steps matter most during the brief, vulnerable period from sowing through the first few true leaves.
Sow brinjal seed step by step
- Fill small cells with damp seed-starting mix and tap the tray gently to settle it.
- Sow one fresh seed per cell, or two if germination is uncertain.
- Cover with 6–12 mm of mix; eggplant seed is not a surface-sown crop.
- Mist or bottom-water until the covering is moist without becoming muddy.
- Label the cultivar and sowing date.
- Cover loosely to slow drying, but leave ventilation and check daily.
Cornell’s eggplant guide records germination across a broad 16–35°C range, with the best performance around 27–32°C and emergence in roughly 7–10 days at about 29°C (Cornell University). Cooler trays can take much longer and fail unevenly, so do not discard sound seed after only a few days.
Warmth is the germination switch
Warm the mix, not just the room. A shelf can feel comfortable while wet potting mix remains several degrees cooler, especially near a window or on a stone floor. A thermostatically controlled heat mat is useful; otherwise, place the tray in a stable warm location and measure the medium with a clean probe thermometer.
Warmth does not compensate for saturated soil. Keep the seed zone damp like a wrung sponge, never glossy with standing water. Once most seedlings emerge, remove the cover and reduce bottom heat if the seedling area is already warm; continuously hot, dim conditions encourage stretched stems.
Care for seedlings after emergence
The first pair of smooth seed leaves are cotyledons. The next leaves look more like mature brinjal foliage and are the true leaves. Seedlings now need air movement, root oxygen, and light more than greenhouse-like humidity.
Thin duplicate seedlings by snipping the weaker one at the mix surface. Pulling it can disturb the roots of the plant you intend to keep. Rotate trays if light comes strongly from one side, and give cells enough space that leaves are not packed together.
Give seedlings strong light
Move emerged seedlings immediately into the brightest suitable position. If daylight is weak or comes from one direction, use a grow light close enough to prevent leaning but far enough to avoid heating leaves. UGA’s eggplant guidance uses supplemental light for about 14 hours a day to promote sturdy growth and prevent legginess.
Do not move tender indoor seedlings directly into harsh Indian midday sun. First expose them to gentle morning light, then lengthen the outdoor period during hardening. Pale, elongated stems signal too little light; bleached patches or crisp margins after a sudden move signal excessive exposure.
Water the mix, not the calendar
Check cells individually. Water when the surface begins to lighten but before the small root ball dries throughout. Apply enough to moisten the cell, then empty any tray that remains flooded; the Brinjal watering guide becomes more relevant once roots occupy a larger container.
Morning watering gives foliage and the mix surface time to dry before night. Bottom-watering can keep stems dry, but remove the tray after the mix has wicked up moisture. Constantly wet cells do not make seedlings safer; they reduce root-zone air and increase disease risk.
Pot up at the first true-leaf stage
If seedlings started in a shared flat, prick them out as the first true leaves form. Oklahoma State Extension advises handling tiny seedlings by a cotyledon rather than the fragile stem, setting them into their finishing container, and watering immediately. Lift from below with a label or dibber so the root is supported.
Seedlings already growing one per cell may not need this intermediate move. Pot up only when roots hold the plug together or when the cell dries too quickly to manage. Use the loose, fertile medium described in the Brinjal soil guide, and avoid jumping from a tiny plug into an oversized, slow-drying pot.
Know when seedlings are ready to transplant
Age is only a guide. A transplant-ready brinjal should have several true leaves, a short sturdy stem, healthy green growth, and roots that bind the mix without forming a tight circling mass. It should lift from the cell as one root ball and recover quickly after watering.
Wait if the plant has only cotyledons, if cold weather is forecast, or if the final soil is cool and waterlogged. Pot up first if roots are congested but weather is not ready. Remove any early flower bud rather than planting a stressed, reproductive seedling; the immediate goal is rapid root establishment, not holding a fruit on a small root system.
Harden seedlings without stalling them
Begin about a week before transplanting. Put plants in bright shade or gentle morning sun for a short period, bring them back under protection, then add time and sun exposure each day. Oklahoma State recommends gradual hardening for a week, while protecting transplants from storms and cold.
Do not use severe wilting as a hardening technique. Slightly wider intervals between watering can prepare roots for outdoor fluctuations, but a dry plug can overheat quickly. In hot climates, increase sun exposure in the morning first and delay harsh afternoon exposure until plants remain firm.
Transplant with minimal root disturbance
Water seedlings a few hours before planting so the root ball is moist but not collapsing. Make the hole before removing the plug, support the stem base, and set the plant at approximately the same soil line. Firm gently, water thoroughly, and shade temporarily only if intense sun or drying wind would overwhelm the new roots.
Warmth still matters after planting. University of Maryland Extension notes that warm-season transplants including eggplant establish best after frost danger when soil is above about 16°C (Maryland Extension); brinjal performs more decisively in warmer soil. For final container size and moving-on decisions, use the Brinjal repotting guide.
Prevent damping-off
Damping-off may rot seed before emergence or constrict a young stem at the soil line until the seedling falls. Eggplant-specific guidance from UC Integrated Pest Management links the problem with contaminated or overwatered mix, poor drainage, compaction, and cool conditions. A dark, pinched stem at the soil surface and sudden collapse are stronger clues than ordinary midday wilt.
Prevention is more reliable than rescue. Start with clean containers and fresh well-drained mix, sow at the correct depth, avoid crowding, keep the tray warm, and do not leave cells saturated. Penn State Extension identifies excess moisture, high humidity, and crowded seedbeds as favourable conditions, while Wisconsin Horticulture Extension advises against garden soil and deep sowing and notes that collapsed seedlings cannot be saved.
Remove an affected seedling and a small margin of surrounding mix, then correct the wet or stagnant conditions for the remaining tray. Do not pour fungicide into a home seed tray as a reflex; diagnosis matters, products differ by pathogen and location, and any registered treatment must be used strictly according to its label.
When to use this page vs other Brinjal guides
Use this page from seed selection through the first move into a final bed or pot. Once a transplant begins active growth, the Brinjal overview provides the crop-wide plan, while the Brinjal light guide covers mature sun exposure and the Brinjal fertilizer guide covers feeding after establishment.
If seedlings repeatedly stay wet, compare the medium and container with the soil guide rather than simply reducing every watering. If roots fill their current cell or pot before planting conditions are ready, follow the repotting guide for the next container step.
Related Brinjal guides
- Brinjal overview — cultivar habit, season-long care, and harvest context
- Brinjal light — sun exposure after hardening and transplanting
- Brinjal watering — moisture checks once the root system expands
- Brinjal soil — final bed and container mix choices
- Brinjal repotting — moving a growing seedling into more root room
- Brinjal fertilizer — feeding established plants without forcing weak growth
Conclusion
Successful brinjal propagation is a sequence of small decisions: sow shallowly in clean mix, keep the seed zone warm, provide strong light as soon as shoots appear, water without saturation, and move seedlings only when true leaves and roots show they are ready. The transplant should enter warm soil young, sturdy, hardened, and free of flowers.
If one factor deserves the closest attention, it is the combination of warmth and moisture. Warm, aerated mix speeds emergence; cool saturated mix delays the seed and favours damping-off. Start with fresh seed—especially when uniform F1 traits matter—and let the plant’s leaves, roots, and stem strength set the transplant date.