Guide to Fertilizing Tomatoes: How and When to Do It
Fertilize tomatoes at the right growth stage with the right NPK. Get a soil-test-first schedule for beds and containers, plus signs of over-feeding.
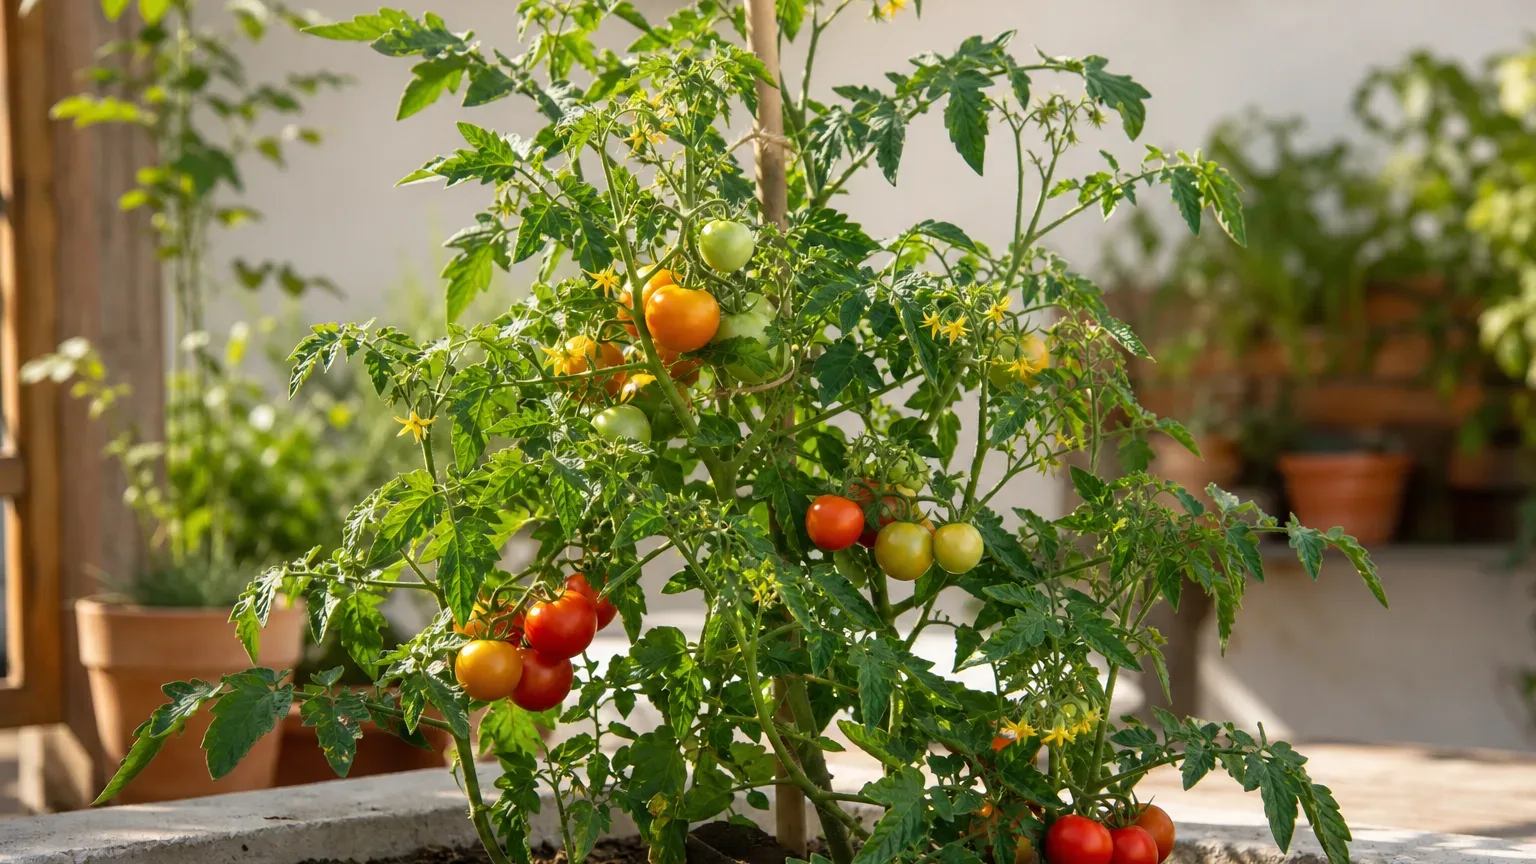
Tomatoes are hungry plants, but fertilizer is not a substitute for good soil, steady water, and enough sun. The most common feeding mistake is not choosing the wrong bag — it is using the same nutrients at the same rate all season, which often produces a gorgeous leafy plant and a disappointing harvest. Tomatoes want different nitrogen, phosphorus, and potassium emphasis at four distinct phases: pre-plant prep, early establishment, flowering, and fruit fill.
This guide walks through when to fertilize tomato plants, which NPK ratios fit each stage, how in-ground beds differ from containers, and how to read the plant when something goes wrong. If you already know which product you want, our best tomato fertilizer buying guide compares labeled options; this page is about timing, rates, and decision rules.
Do Tomatoes Really Need Fertilizer?
Yes — in most home gardens, tomatoes benefit from supplemental feeding. They are moderate-to-heavy feeders that pull nitrogen for leaf growth, phosphorus for roots and flowers, and potassium for fruit quality and stress tolerance. Even rich soil rarely delivers those nutrients in the right balance at the right moment through an entire season, especially in containers where every watering leaches fertilizer through the drainage hole.
That does not mean more is better. Penn State Extension describes tomatoes as heavy feeders that prefer slightly acidic, fertile, loamy, well-drained soil — and warns that excess or high-nitrogen fertilizer can produce luxuriant foliage while delaying flowering and fruiting (Penn State Extension). Fertilizer supports a healthy crop; it cannot fix shade, root damage, drought, or disease.
Start With a Soil Test and pH Check
Before you buy a “tomato” formula, find out what your soil already contains. A soil test measures plant-available nitrogen, phosphorus, potassium, calcium, magnesium, organic matter, and pH — then gives amendment recommendations instead of guesswork. Penn State recommends performing a test in fall if you missed it at planting time; without test data, a common starting point for in-ground beds is working in 2–3 pounds per 100 square feet of a complete fertilizer such as 10-10-10 at planting (Penn State Extension).
Tomatoes grow best at pH 6.2 to 6.8. When pH is too low or too high, nutrients can be present in the soil but unavailable to roots — and adding more fertilizer will not fix that lockout. Correct pH with lime or sulfur based on test results, not on leaf color alone. For a deeper look at what the three numbers on a bag mean, see our fertilizer numbers guide.
What NPK Means for Tomato Plants
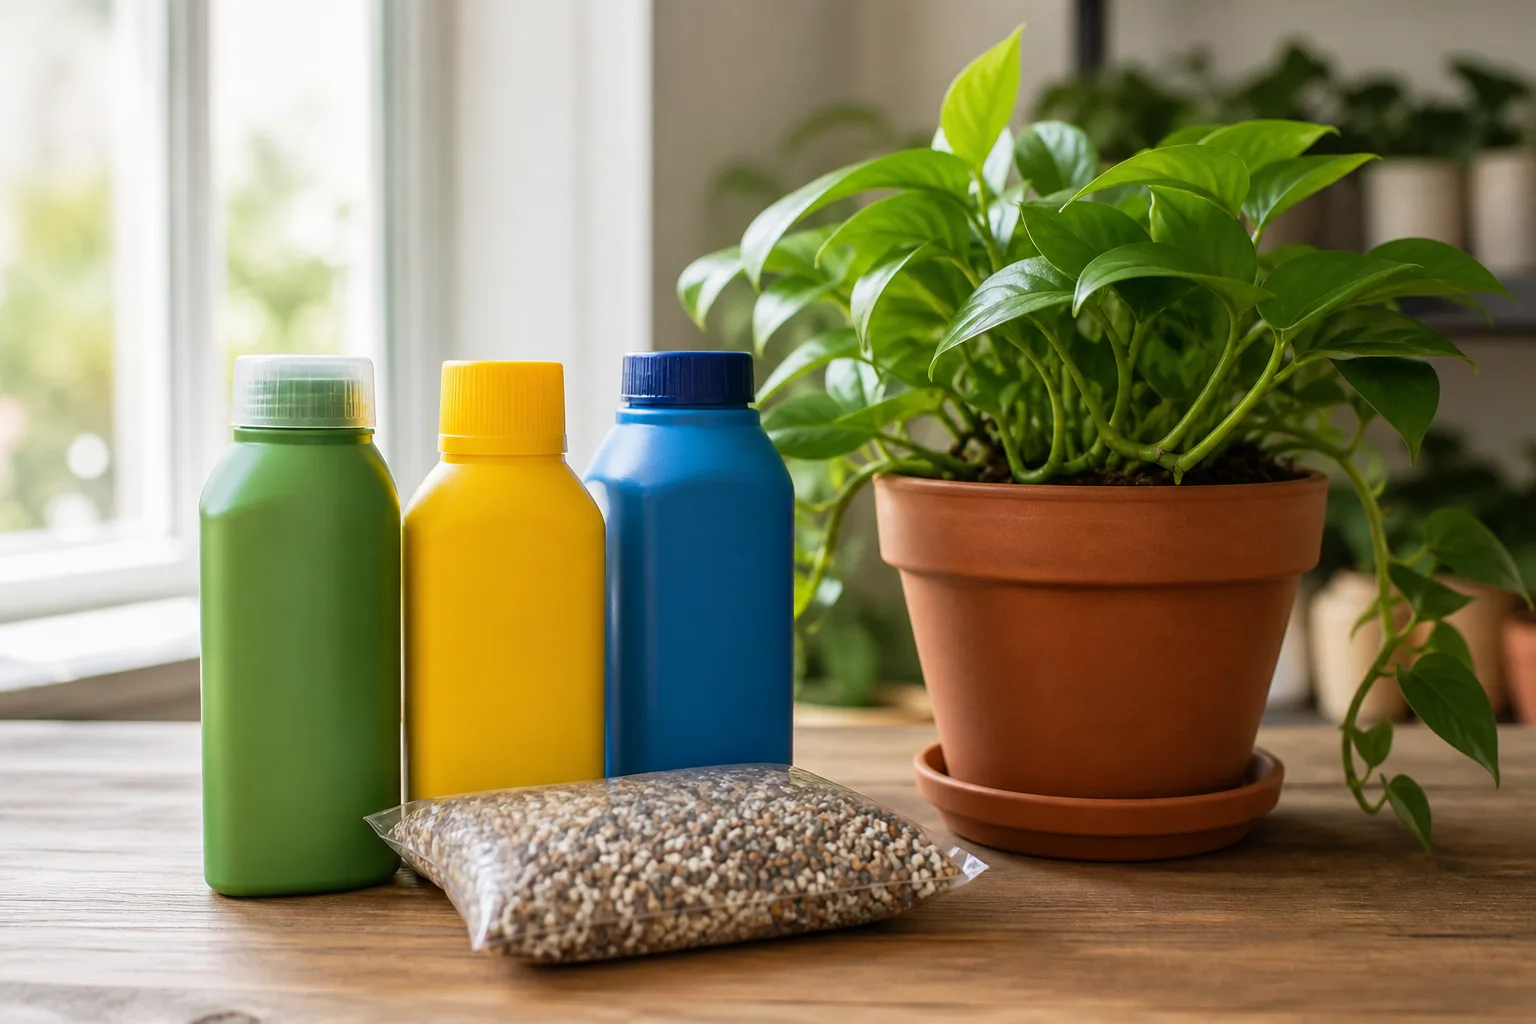
Every fertilizer label shows an NPK ratio — three numbers such as 10-10-10 or 5-10-5. They represent the percentage by weight of nitrogen (N), phosphate (P), and potash (K). Nitrogen drives leafy vegetative growth. Phosphorus supports root development, flowering, and early fruit set. Potassium helps fruit quality, water regulation, and overall plant function.
There is no single best ratio for every garden. The right numbers depend on your soil test, whether the plant is in a pot or bed, and — most importantly — which growth stage the vine is in right now. California Department of Food and Agriculture guidance for commercial tomatoes notes that excessive nitrogen produces lush foliage, delays maturity, and can worsen disease pressure and fruit quality issues (CDFA and UC Davis tomato fertilization guidance). Home gardeners see the same pattern on a smaller scale: a dark green jungle with three tomatoes.
How Nitrogen, Phosphorus, and Potassium Shift by Stage
Think of the season in four nutrient phases:
| Growth phase | Plant focus | NPK emphasis | Typical timing cue |
|---|---|---|---|
| Pre-plant / transplant | Root establishment | Moderate N, higher P | At or just before setting seedlings |
| Early vegetative | Leaf and stem building | Balanced to moderate N | First 3–4 weeks after transplant |
| Pre-flowering / fruit set | Flowers and first fruit | Lower N, adequate P, rising K | First open flowers to golf-ball fruit |
| Fruit fill / ripening | Size, flavor, continued set | Low N, moderate P, higher K | Active harvest period |
Cornell Cooperative Extension recommends a balanced 5-10-5 applied a few times through the season and cautions against fertilizers high in the first number, which encourage excessive leaf formation (Cornell Cooperative Extension Warren County). That is not a rigid recipe — it is a reminder that nitrogen should taper as reproductive growth takes over.
Organic vs Synthetic Tomato Fertilizer
Both organic and manufactured products can grow excellent tomatoes. The difference is speed, precision, and how mistakes show up.
Organic options — compost, aged manure, fish emulsion, bone meal, blood meal, and blended organic granules — release nutrients more slowly as soil microbes break them down. They improve soil biology and are harder to over-apply in a single dose, but they are also slower to correct a visible deficiency. Manufactured fertilizers deliver soluble nutrients immediately, which is useful when a container plant is pale and stalled — but repeated heavy applications can build harmful salts, especially in pots.
Organic Options That Work in Real Gardens
Compost and aged manure belong in the planting hole or as a mid-season side-dress. Use only well-composted manure; fresh manure can burn roots with excess ammonia nitrogen. Fish emulsion is a mild liquid high in nitrogen and trace elements — excellent for young transplants when diluted, but strong concentrations can scorch tender leaves. Bone meal supplies slow-release phosphorus; work it into the root zone before flowering if your soil test shows low P. Blood meal is a fast nitrogen source — useful in small doses early, risky if you keep applying it into flowering.
Organic fertilizers feed plants; soil conditioners like compost primarily improve structure and microbial life. Many gardeners use both: compost annually for soil health, targeted fertilizers for seasonal demand.
When Manufactured Fertilizer Is the Better Tool
Water-soluble and granular synthetic products shine when you need predictable, label-rate feeding — especially in containers where leaching is constant. Read the label for the actual amount per gallon or per square foot, not just the NPK on the front. A 20-10-10 is more concentrated than a 5-5-5; higher numbers are not automatically better.
Manufactured fertilizer corrects deficiencies quickly and plants use it up quickly. Over-application leaves soluble salts in the root zone. If leaves brown at the edges, growth stalls after feeding, or a white crust appears on pot soil, flush with plain water and pause fertilizer until new growth looks normal. Our indoor plant fertilizing guide covers dilution and salt-flush logic that applies equally to patio pots.
Stage-by-Stage Tomato Feeding Schedule
Tomato Dirt summarizes the core rhythm well: fertilize just before or during planting, about two weeks before bloom, and again when the first tomatoes are small (Tomato Dirt). Below is how to execute that calendar with NPK choices, rates, and the plant signals that tell you to adjust.
Before and at Transplant
Two to three weeks before planting, amend the bed with compost and, if your soil test supports it, a complete granular fertilizer worked into the top 6–8 inches. At transplant, many gardeners add a phosphorus-forward starter — a diluted liquid high in the middle number — to encourage root contact with nutrients. Penn State suggests a diluted starter high in phosphorus at planting, then spacing determinate varieties about 2 feet apart and indeterminate varieties about 3 feet apart (Penn State Extension).
In the planting hole, you can also add a tablespoon of bone meal and a handful of compost, but skip the kitchen-sink approach. More amendments in the hole do not equal more fruit, and concentrated fertilizer against young roots can burn them.
Wait 10–14 days after transplant before the first full-strength feed. Seedlings need to settle; roots are recovering from transplant shock. A light compost tea or half-strength liquid feed is fine if plants look pale, but aggressive feeding on a stressed transplant is a common early mistake.
Early Vegetative Growth
Once transplants are actively growing new leaves, switch to a balanced fertilizer — something in the 5-5-5 to 10-10-10 range, or a mild fish emulsion every 10–14 days for organic growers. In-ground plants may need only one or two applications in this window if pre-plant fertilizer was incorporated. Containers need feeding sooner because nutrients wash out with each watering.
This is the phase for building the framework: stems, leaves, and root mass that will support fruit. If you are growing indeterminate varieties that will vine for months, do not starve them here — but also do not pour on high-nitrogen lawn food. Cornell’s warning about excessive leaf formation applies directly: you are building structure, not a forest.
Pre-Flowering and First Fruit Set
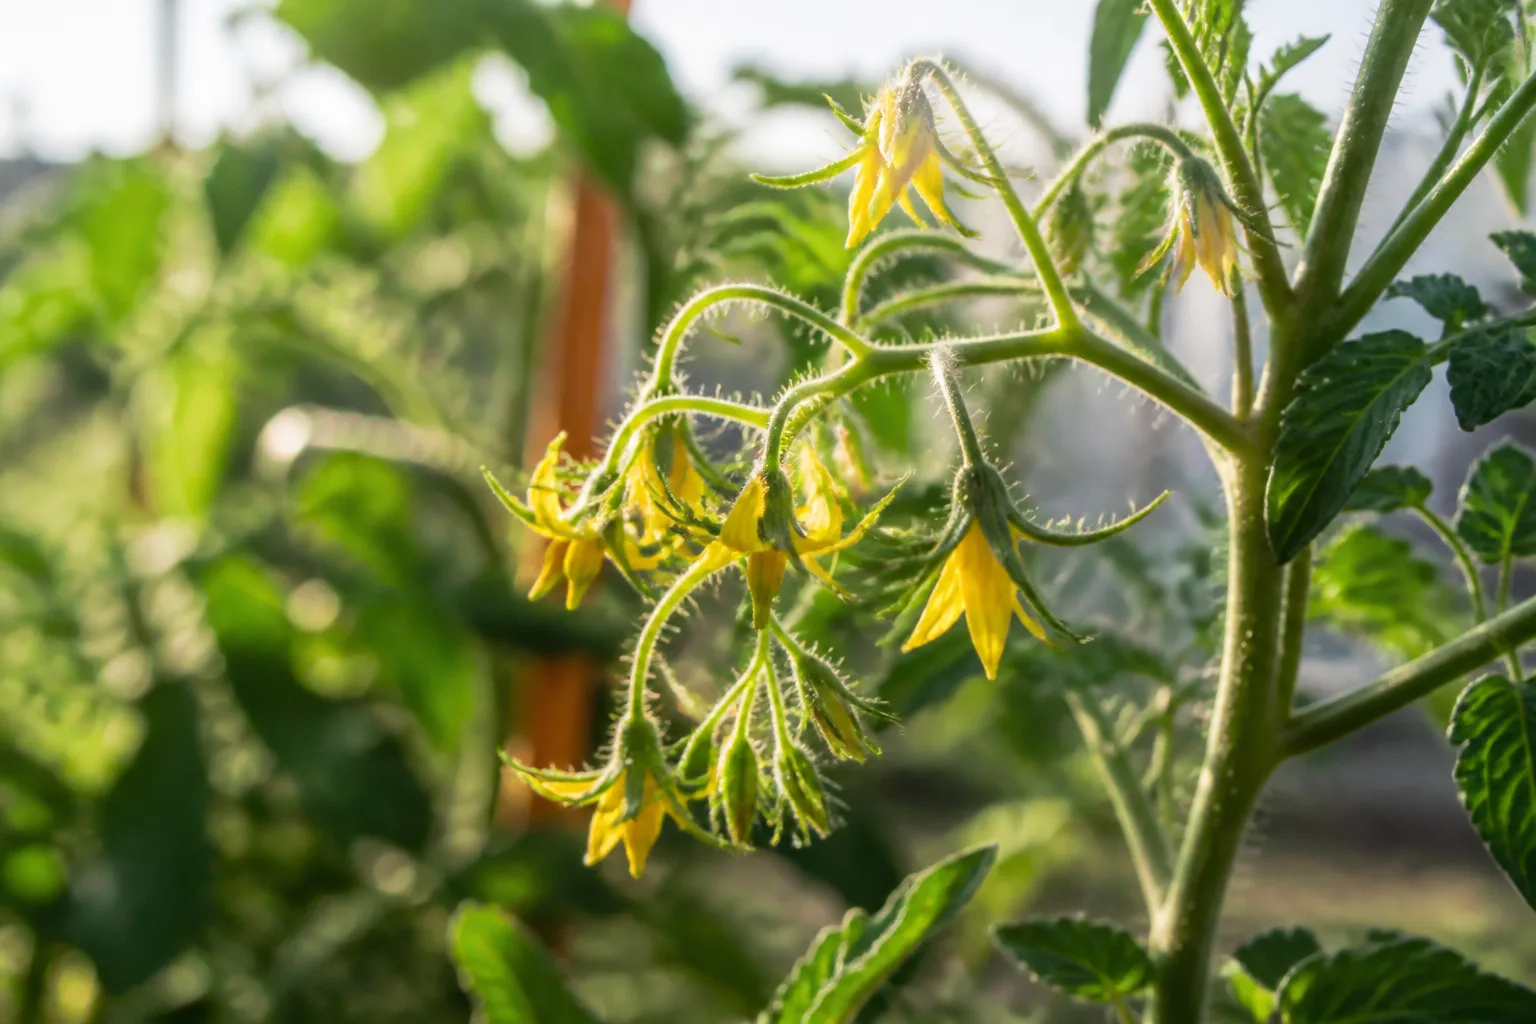
When the first flower clusters open — typically 30–45 days after transplant for many varieties, later for long-season heirlooms — ease off nitrogen. Shift toward a formula with a lower first number and adequate phosphorus and potassium, such as 5-10-10 or 3-7-7. Bone meal side-dressed and watered in is an organic alternative that releases phosphorus over several weeks.
The classic failure mode at this stage is a plant that keeps stacking leaves and refuses to set fruit. Dark green, slightly leathery foliage, thick stems, and abundant suckers often mean nitrogen is still too high. Stop nitrogen-heavy feeds, maintain even moisture, and let the plant redirect energy. If you planted in compost-heavy soil that releases nitrogen all season, you may need to skip fertilizer entirely through flowering rather than add more.
Fruit Development Through Harvest
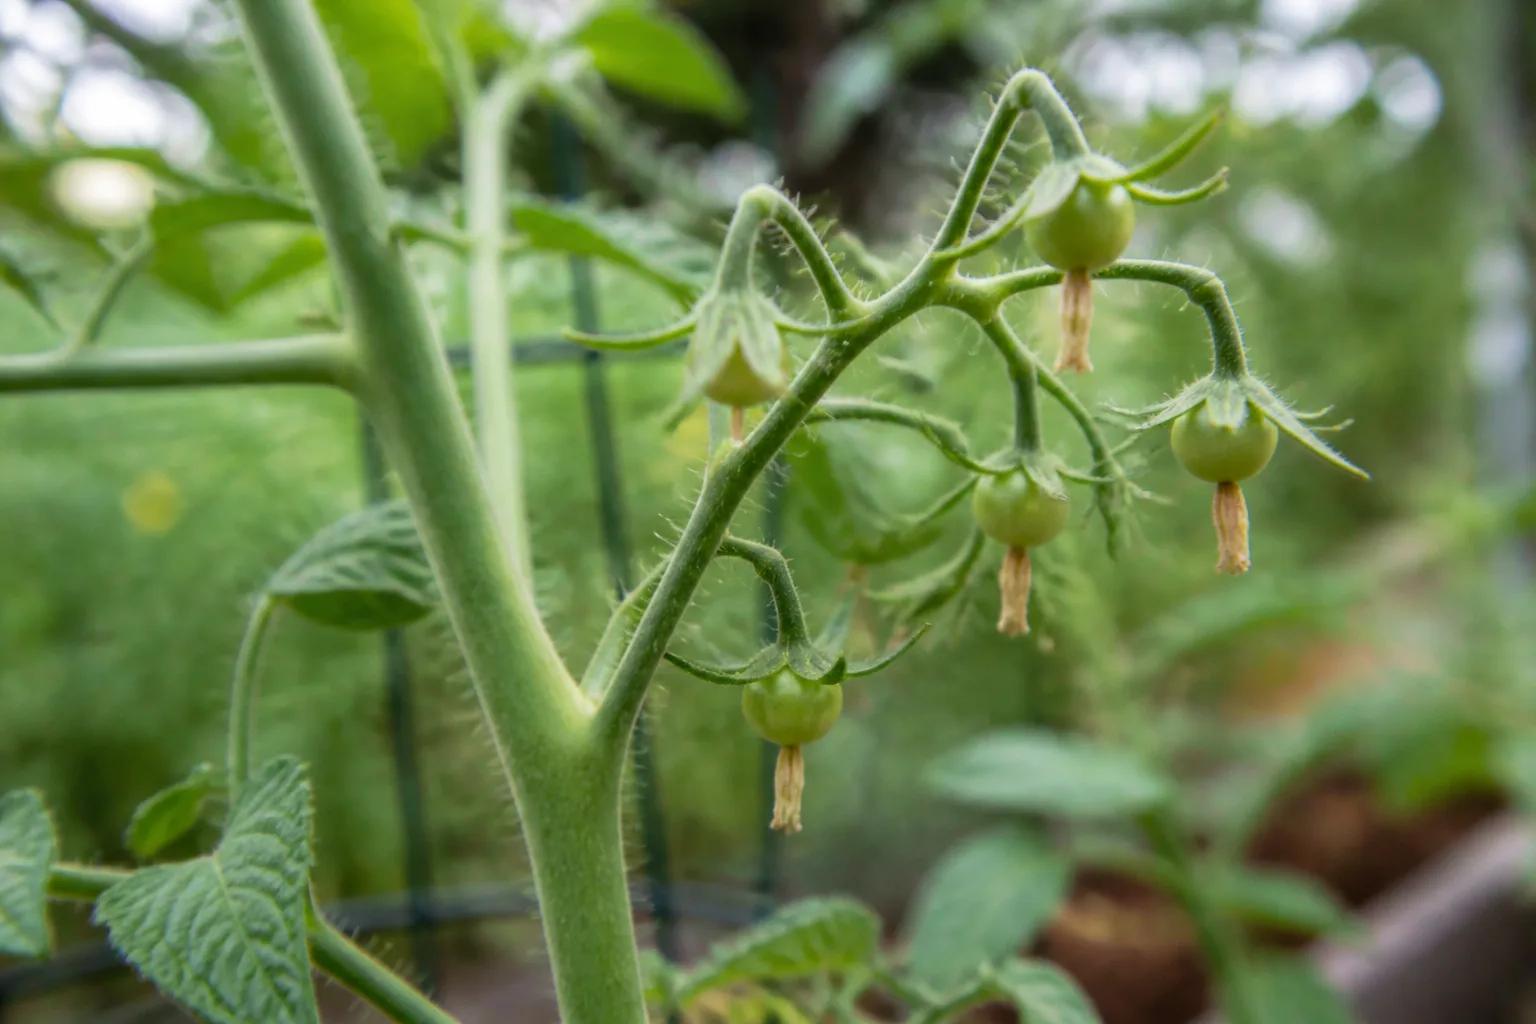
When the first fruits reach golf-ball size, resume feeding with a balanced to potassium-forward blend — many tomato-specific formulas land around 3-4-6 or similar. Indeterminate vines that keep flowering through summer benefit from liquid feed every 7–10 days in containers and every 10–14 days in fertile in-ground soil. Determinate paste types often need less mid-season feeding because their crop ripens in a shorter window.
Potassium supports fruit size and quality, but it is not a magic fruit-expander. Phosphorus supports cell division, yet simply dumping high-P “bloom booster” on soil that already tests adequate wastes product and can interfere with other nutrient uptake. Fruit size still depends on genetics, sunlight, pollination, and consistent water.
Fertilizing In-Ground Tomatoes vs Containers
In-ground tomatoes access a large soil volume. Nutrients move slowly through the profile, and pre-plant amendments may carry the plant for weeks. Containers are a different system. A 5-gallon pot holds a fraction of the root zone; every irrigation event carries dissolved fertilizer toward the drain hole. Container tomatoes often need feeding every 7–10 days during active fruiting, sometimes at half label strength to reduce salt stress.
Fabric pots and porous terracotta dry faster than plastic, which means more frequent watering and more frequent nutrient replacement. Heat accelerates both water use and fertilizer demand. A patio tomato in afternoon sun may need twice the feeding attention of the same variety in a mulched raised bed.
Raised beds behave like a hybrid: better drainage than native clay, but still limited volume compared to open ground. Treat a 12-inch raised bed more like in-ground soil if it is open to native earth below; treat a shallow planter on a deck like a container.
Side-Dressing, Banding, and Liquid Feeding Methods
Side-dressing means applying granular fertilizer in a shallow band 4–6 inches from the stem, then watering it in — never concentrating product against the crown where it can burn roots. Gardening Know How describes side-dressing as a way to replenish nutrients mid-season without disturbing roots (Gardening Know How). For indeterminate vines, one side-dress at first fruit set and another four weeks later is often enough in amended beds.
Liquid feeding gives the most control. Mix exactly to label rate, apply to moist soil in the morning, and avoid wet foliage in hot sun. Foliar sprays of fish emulsion can green up leaves quickly but do not replace root feeding for fruit production.
Slow-release granules reduce application frequency but are harder to dial back if you over-applied at planting. Spikes and pre-mixed potting soils with fertilizer already included count toward your total — do not layer spike + granular + weekly liquid without reading what is already in the root zone.
How to Spot Over-Feeding and Nutrient Problems
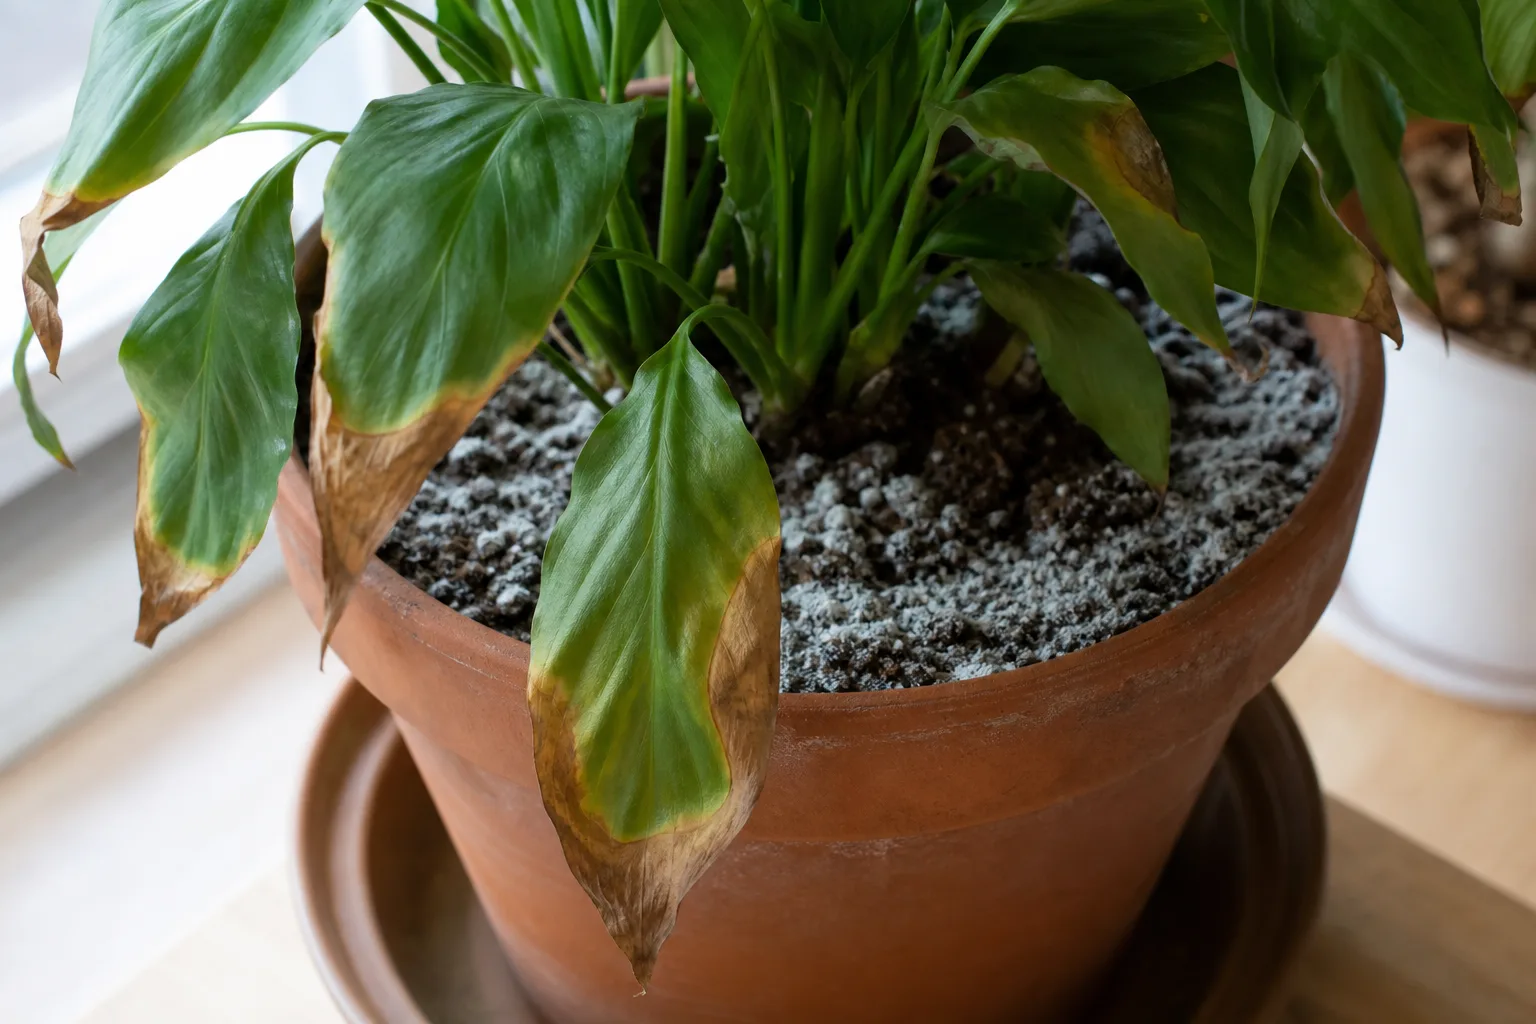
Plants communicate nutrient trouble before yield collapses. Learn to separate deficiency from excess from environmental stress — they often look similar.
Too much nitrogen: deep green leaves, rampant suckers, delayed flowering, flower drop, few fruit. Fix by stopping nitrogen feeds and maintaining even moisture until the plant shifts toward reproduction.
Not enough nitrogen: pale yellowing on older leaves first, thin stems, slow growth early in the season. Side-dress with compost or a balanced feed; confirm with a soil test if yellowing persists.
Phosphorus shortage (uncommon in many soils): purplish cast on leaf undersides and stems — but cold soil causes similar purple coloring in spring. If nights are cool and soil is below 55°F, wait for warmth before assuming a deficiency.
Potassium shortage: brown, scorched leaf margins, weak fruit, poor ripening. A potassium-forward feed and a pH check below 6.0 may both be relevant.
Salt injury from over-fertilizing: brown leaf edges, stunted new growth, white crust on soil surface in pots. Flush with plain water until drainage runs clear, then wait before resuming at half strength.
Blossom End Rot Is Usually Not a Fertilizer Shortage
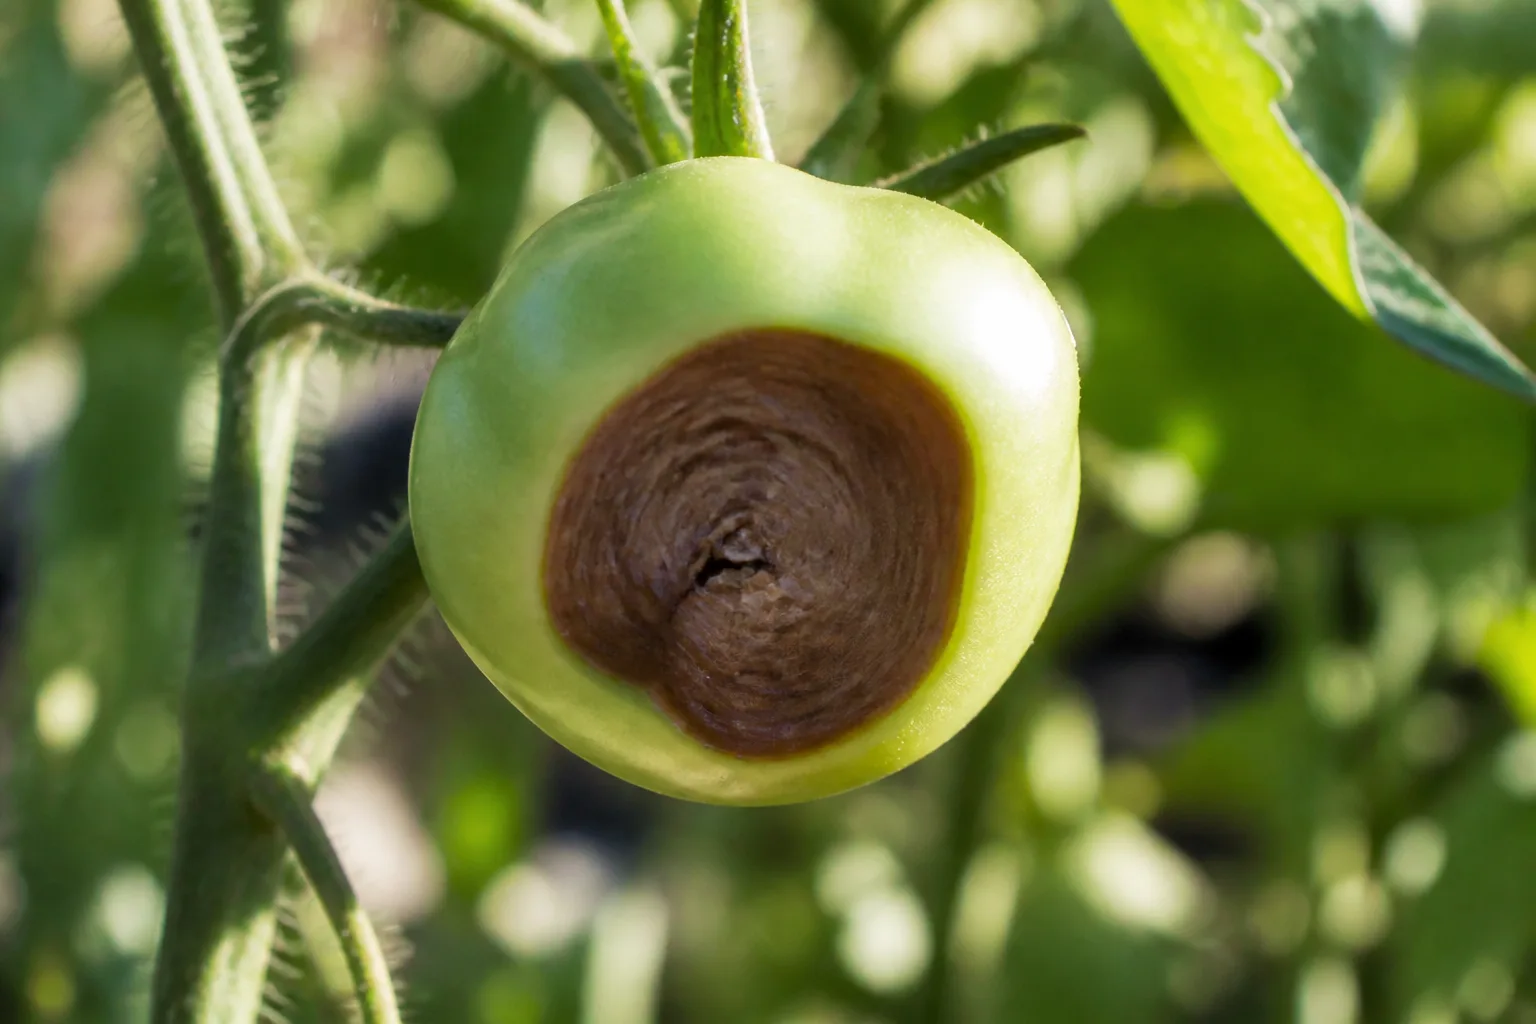
Dark, sunken patches on the blossom end of fruit terrify tomato growers — and the instinct is to throw calcium or Epsom salt at the plant. Blossom end rot is primarily a calcium transport problem linked to uneven watering, root damage, and rapid growth spurts — not a lack of fertilizer in most gardens. Adding more nitrogen or potassium can actually worsen uptake competition at the root surface.
Fix moisture first: mulch in-ground plants, water deeply and consistently, and avoid cultivating close to roots. If a soil test shows low calcium or extreme pH, amend accordingly. For the full troubleshooting sequence, see our guide on tomatoes turning black on the bottoms. Epsom salt supplies magnesium, not calcium — and only helps when magnesium is genuinely deficient (Epsom salt on tomato plants).
When to Stop Fertilizing Tomatoes
Feeding has an end date. Stop fertilizer two to three weeks before your average first frost if fruit still on the vine is unlikely to ripen — late nitrogen pushes leafy growth when the plant should be finishing existing fruit. In warm climates with extended harvests, taper feeding when the plant’s production naturally slows in late summer heat.
For determinate varieties nearing the end of their single flush, cut feeding once the majority of fruit is sizing — extra nutrients will not create a second wave. For indeterminate cherries that fruit until frost, reduce to monthly light feeds in fall rather than weekly summer rates.
If plants are heat-stressed above 95°F, drought-stressed, or fighting disease, pause fertilizer until conditions improve. Feeding a struggling root system forces growth it cannot support.
Conclusion
Fertilizing tomatoes well is less about finding one magic product and more about matching nutrients to growth stage, starting with a soil test and correct pH. Feed lightly at transplant, build structure with balanced nitrogen early, taper nitrogen as flowers open, and shift toward potassium while fruit fills. Containers need more frequent, weaker applications; in-ground beds reward pre-plant preparation and restrained mid-season side-dressing.
Watch the plant, not the calendar, when something looks off — but have a calendar anyway so you do not repeat the same 20-10-10 all summer. Pair this schedule with steady watering, good support, and sensible pruning for indeterminate vines (how to prune a tomato plant), and you will get more flavor from the same patch of soil. For variety choice, spacing, and pre-season prep, start at our tomato plant hub and things to know before growing tomatoes.



