8 Hot Summer Gardening Tips for Healthy Plants
Use these hot summer gardening tips to protect roots, hold moisture, water at the right depth, add shade, and keep plants productive through heat waves.
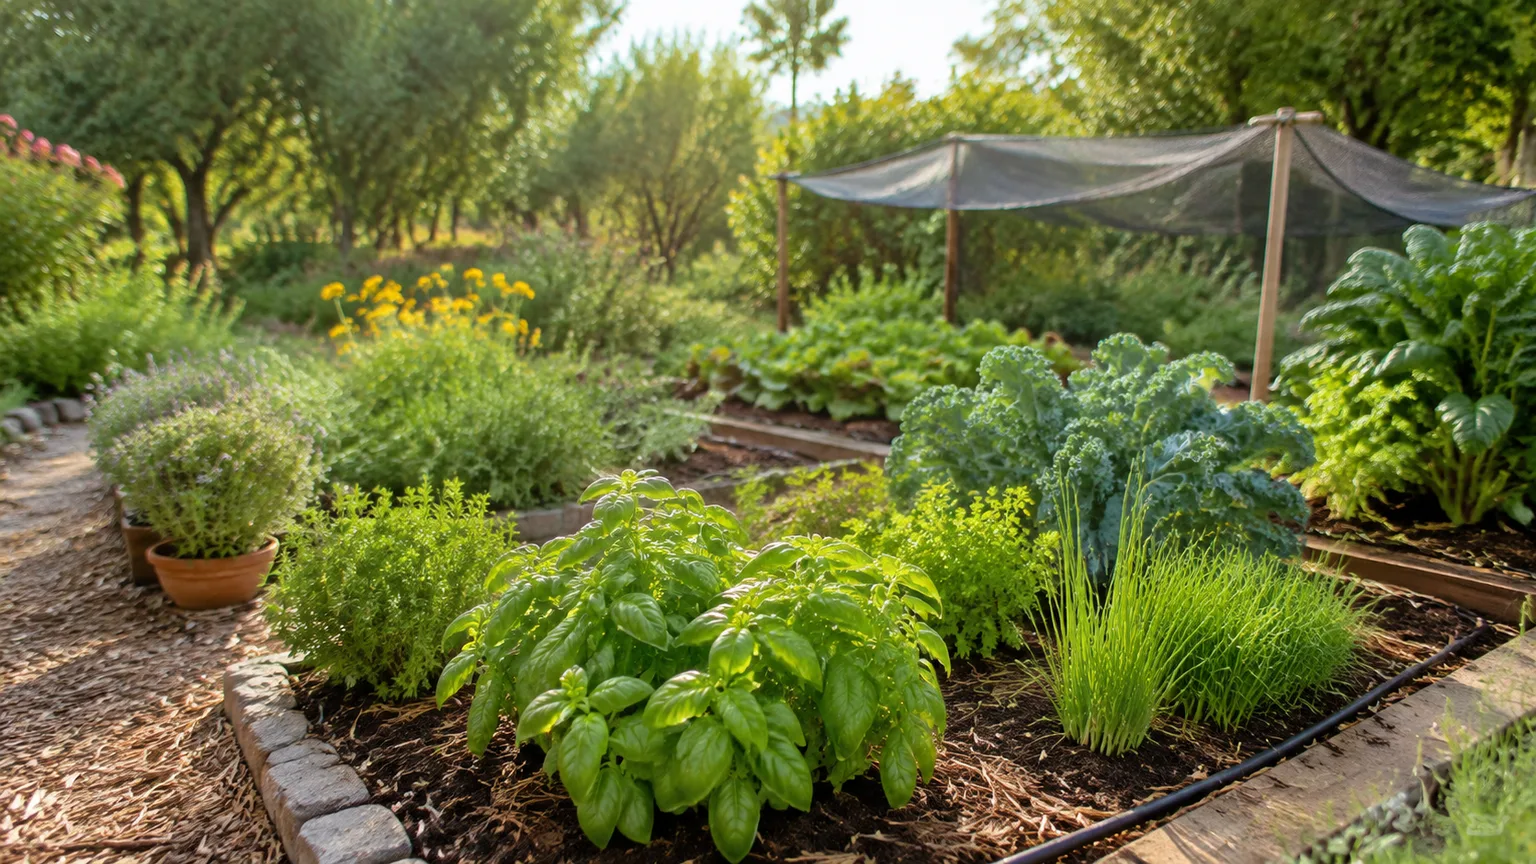
Hot weather does not damage every plant in the same way. A newly planted shrub, a tomato in a black pot, a mature native perennial, and a patch of lettuce can all experience the same afternoon temperature yet need completely different help.
The most effective summer routine is not watering everything on a timer. It is protecting the root zone, reducing the worst afternoon stress, and checking what the plant actually needs before adding more water or fertilizer. These eight habits make that routine easier to repeat, whether you garden in a humid climate, a dry region, a small patio, or a large vegetable bed.
Heat stress starts with site, not the hose
Plants lose water through transpiration, the natural movement of water from roots through stems and out of leaves. Heat, wind, low humidity, reflective walls, and dark paving can all speed that loss. Roots then have to replace water faster, while hot or compacted soil may make it harder for them to take up enough moisture.
That is why a wilted plant is not automatically a thirsty plant. It may be temporarily unable to replace water as quickly as its leaves are losing it, or its roots may be sitting in saturated soil with too little oxygen. The first pro habit is to look at the whole site—sun, soil, pot, wind, and recent weather—before reaching for the hose.
Cool-season plants can show heat stress at temperatures that a heat-loving crop tolerates. A 2026 gardening column in The Irish Times describes reduced growth, scorching, wilting, flower drop, and bolting among common heat-stress symptoms, while noting that the threshold varies by plant. That variability is the reason a plant-specific check beats a universal summer schedule.
1. Match plants to the hot spot, not the picture on the label
The cheapest way to make a garden more heat-resilient is to choose plants that fit its conditions before they are planted. Local native plants, climate-adapted perennials, and crops bred for warm weather generally need less intervention once their roots are established, but “drought tolerant” never means “does not need water.” A new plant still needs consistent moisture while it builds a root system.
Start by separating your yard into microclimates. A bed beside a pale wall may receive reflected heat; a bed under a tree may have cooler air but thirsty tree roots; a raised bed may drain quickly; and a container on a balcony may heat from every side. Treating those spaces as one garden is how some plants are overwatered while others dry out.
For a new planting, ask three questions: How much direct afternoon sun reaches this spot? Does water soak in or run off? What is the plant’s likely mature size? A plant that will eventually shade its own root zone may need more support during its first summers than it will later.
Read the yard before planting
Walk the garden at breakfast, midafternoon, and near sunset during a hot week. Notice where leaves droop first, where soil forms a hard crust, where wind passes through, and where pots or paving stay hot after the sun has moved. Those observations are more useful than a single “full sun” or “partial shade” label.
Use the gentlest reliable site for plants with thin leaves, shallow roots, or cool-season habits. Morning sun with afternoon protection can preserve flowering or harvest better than full exposure, while a heat-loving tomato or pepper may prefer stronger light as long as its roots stay evenly moist. Remember that shade from a building and shade from a mature tree are not interchangeable: tree roots can compete for water even when the canopy feels cool.
2. Protect afternoon-sensitive plants with shade
Afternoon shade is a pressure-release valve, not a substitute for healthy soil and watering. It lowers the energy hitting leaves during the most demanding part of the day, which can reduce sunscald, leaf scorch, blossom drop, and the speed of water loss. Natural shade from a taller crop, shrub, arbor, or trellis is useful because it can be part of the garden’s long-term structure.
Temporary shade cloth is better for a sudden heat wave or for a bed that contains a mix of crops with different needs. Stretch it above the plants rather than laying it directly on the foliage, leave space for air to move, and anchor it so wind cannot whip leaves against the fabric. Solid plastic or a tightly sealed sheet can trap heat and block rain, making the cure worse than the exposure.
Shade also has a cost. Too much shade reduces photosynthesis and can lower flowering or fruit production, especially in tomatoes, peppers, cucumbers, and other fruiting crops. Use the lightest protection that solves the problem, then remove or reposition it when the heat wave passes.
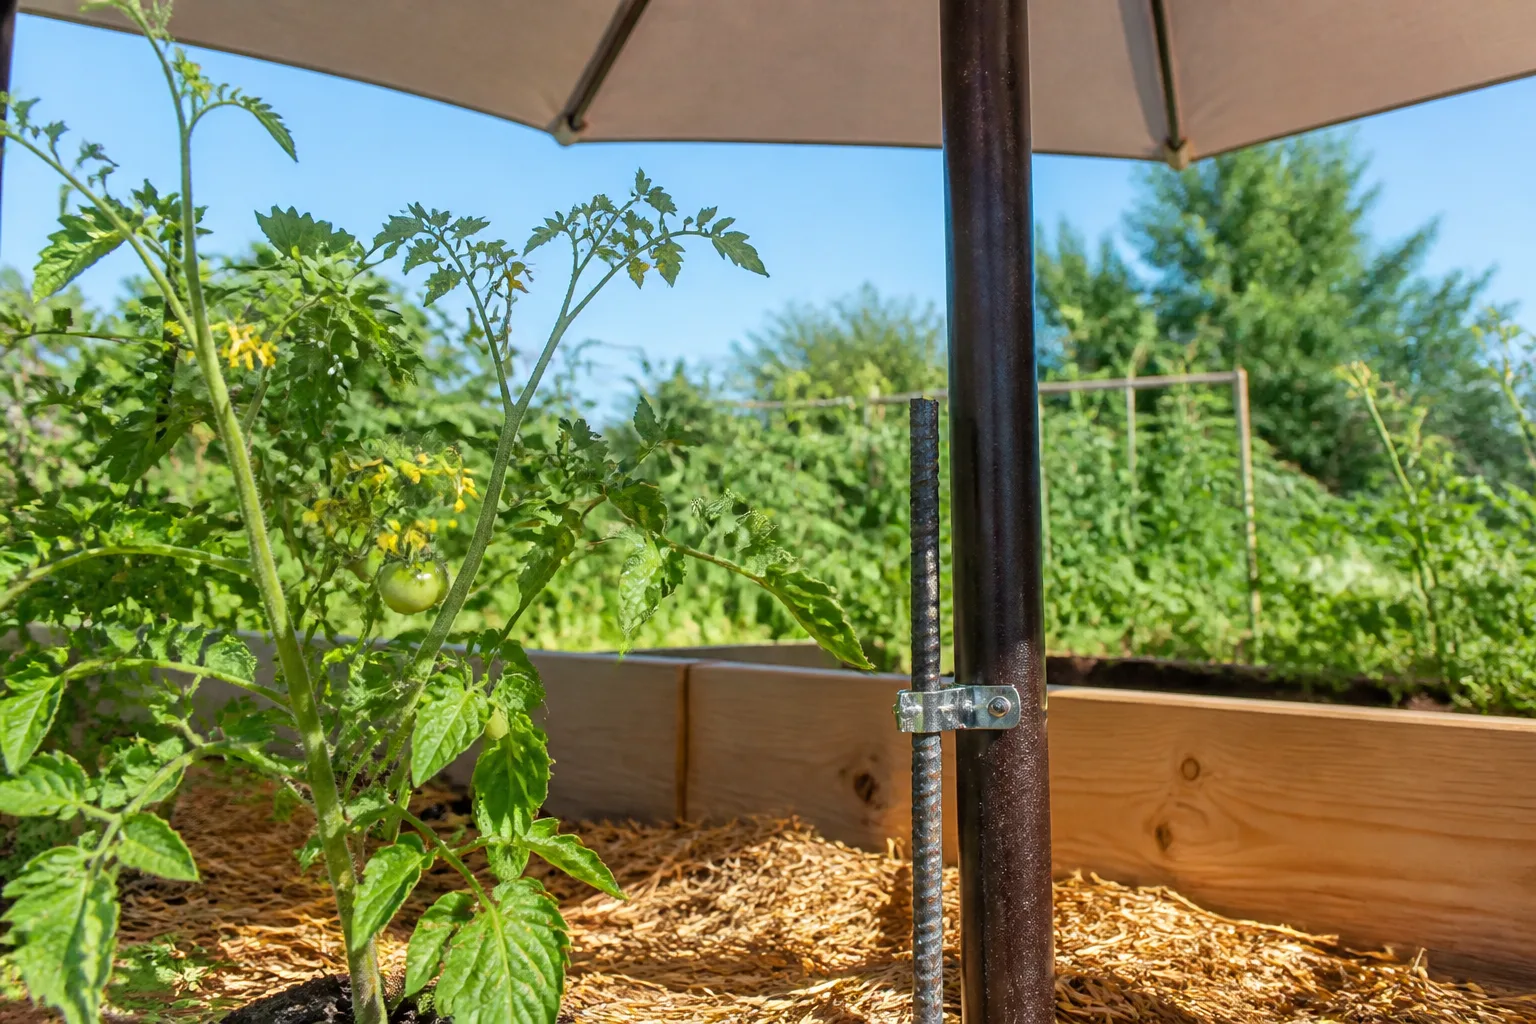
Choose shade cloth by crop
Shade percentage describes how much sunlight the fabric blocks. A practical starting point is:
- About 30 percent: light afternoon protection for tomatoes, peppers, cucumbers, and other fruiting plants that still need strong light.
- About 40 percent: a middle ground for mixed beds or plants that need meaningful relief without deep shade.
- About 50 percent: stronger protection for lettuce, spinach, arugula, seedlings, and other cool-season or tender plants during an intense spell.
These are starting points, not rules for every cultivar or climate. The experienced vegetable grower Stephen Albert of Harvest to Table recommends treating shade cloth as a complement to deep watering and soil care, not a replacement; his guide also warns that heavier shade can reduce flowering and fruit production. If plants become stretched, pale, or slow to flower, the fabric may be too dense or too close to the canopy.
3. Water deeply at the root zone
Deep watering means applying water slowly enough that it reaches the active root zone instead of running off the surface or evaporating before it infiltrates. For many established garden plants, a useful starting target is to moisten the soil several inches down, then wait until the upper layer begins to dry before watering again. The exact interval depends on soil texture, root depth, wind, rainfall, mulch, and the plant’s size.
Water the soil, not the foliage, when the goal is hydration. A soaker hose, drip line, or watering wand aimed at the base delivers moisture with less splash and evaporation than a fast overhead spray. Move the hose around the plant’s root spread rather than pouring against the stem, where a constantly wet crown can invite rot.
Morning is the best default because plants have time to take up water before the hottest part of the day, and foliage that gets wet can dry sooner. If a plant is already collapsing in late afternoon, water it rather than waiting for a perfect schedule; the emergency action matters more than the rule. In humid areas, avoid turning evening into a routine foliar shower, especially when leaves stay wet overnight.
Apply water in two passes when soil is very dry or hydrophobic. Wet the surface lightly, wait a few minutes, then water slowly again so the second application can move down instead of sliding away. Check with a finger, trowel, or soil probe after watering; a damp surface does not prove that the root zone is wet.
Adjust the method for beds, containers, and lawns
Garden beds usually benefit from a slower, deeper soak that covers the plant’s root area. A small plant does not need the same volume as a mature shrub, and a sandy bed may need attention sooner than a loamy one. If water puddles for a long time, fix compaction or drainage rather than responding with shorter, more frequent watering.
Containers are the exception to the “water deeply, then wait” rhythm because they hold a small root volume and can heat from the sides. Check them more often, especially on balconies, in terracotta pots, or during hot wind. Water until some drains from the bottom, empty a decorative cachepot, and never use a permanently waterlogged saucer as a substitute for a container with drainage.
Established lawns can go temporarily dormant in summer and recover when rain returns, while newly seeded or newly laid turf has a different need. Do not spend scarce water reviving every brown lawn while newly planted trees, shrubs, vegetables, and containers are drying out. Prioritize plants that are establishing, fruiting, or showing true root-zone drought stress.
4. Check soil before watering again
A watering calendar is only a rough reminder. Before you water, push a finger or moisture probe below the surface, or dig a narrow inspection hole with a trowel. Compare the top layer with the deeper soil: dry at the surface but cool and damp below may be normal, while dry several inches down means the plant needs a thorough soak.
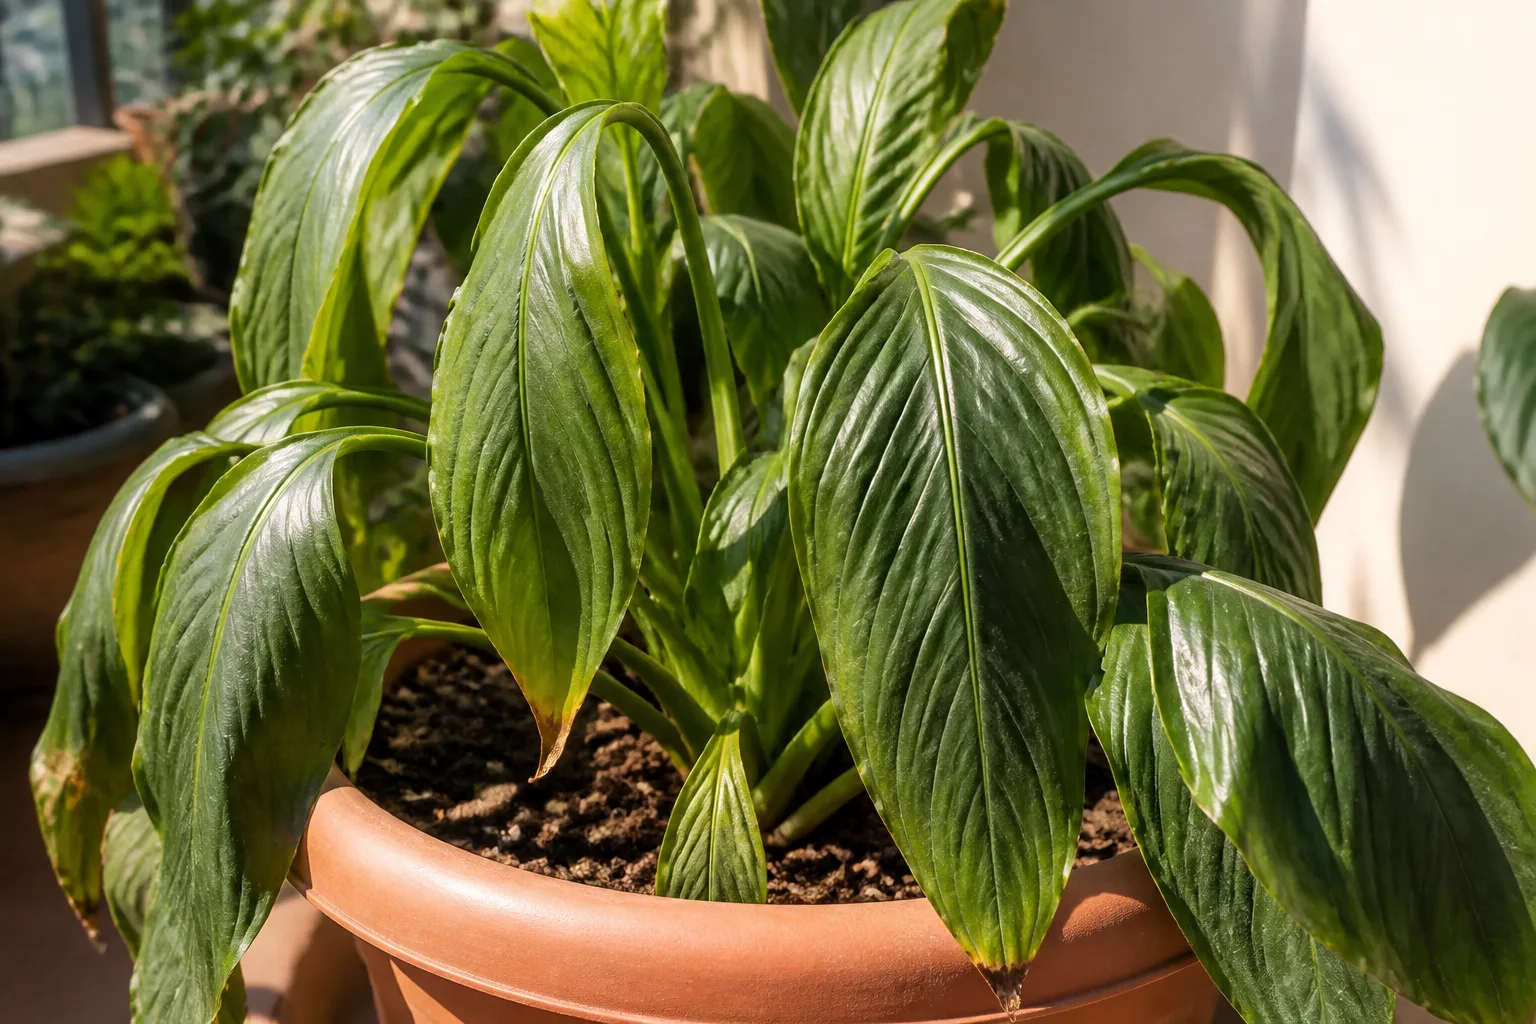
Look at the plant and the soil together. Wilting with dry soil points toward thirst; wilting with wet, sour-smelling, or persistently heavy soil points toward a root or drainage problem. Yellowing lower leaves, slow growth, and fungus-gnat activity can accompany chronic overwatering, so adding more water simply because the leaves look unhappy can deepen the stress.
Diagnose midday wilting
Many plants briefly droop during the hottest hours and recover by evening. If the soil is moist and the stems firm up after temperatures fall, give the plant shade and monitor it rather than flooding the bed. The RHS heatwave guidance notes that some wilting and even scorching can be temporary during extreme heat, especially when the underlying soil and roots remain healthy.
If the plant is still wilted after sunset, inspect more closely. Dry soil calls for a slow root-zone soak; wet soil calls for better drainage, temporary shade, and patience while the roots regain function. Do not fertilize a wilted plant as a quick fix, and do not prune away half the canopy while it is still using those leaves to make energy.
5. Mulch to slow the dry-down
Mulch is a root-zone tool. It shades soil, slows evaporation, reduces temperature swings, limits competing weeds, and softens the force of heavy rain or irrigation. Utah State University Extension describes mulch as a way to reduce evaporation and moderate soil temperature; its water-wise landscaping fact sheet reports that mulching around trees, shrubs, and beds can produce a ten-fold reduction in evaporative water loss in some settings.
Use clean, mature organic materials such as shredded leaves, compost, aged bark, or straw when they fit the planting. Organic mulch gradually contributes matter as it breaks down, while gravel or other inorganic mulch can be useful around plants that need excellent drainage. The best material is the one that matches the bed, does not carry weed seed or disease, and will not heat the root zone excessively in your conditions.
Mulch cannot rescue bone-dry soil instantly. Water the root zone first, let it absorb, then spread the mulch so the layer locks in moisture rather than sealing a dry crust underneath. A mulch layer of roughly 2 to 4 inches suits many beds, but heavy clay, small plants, and wet climates call for a lighter hand.
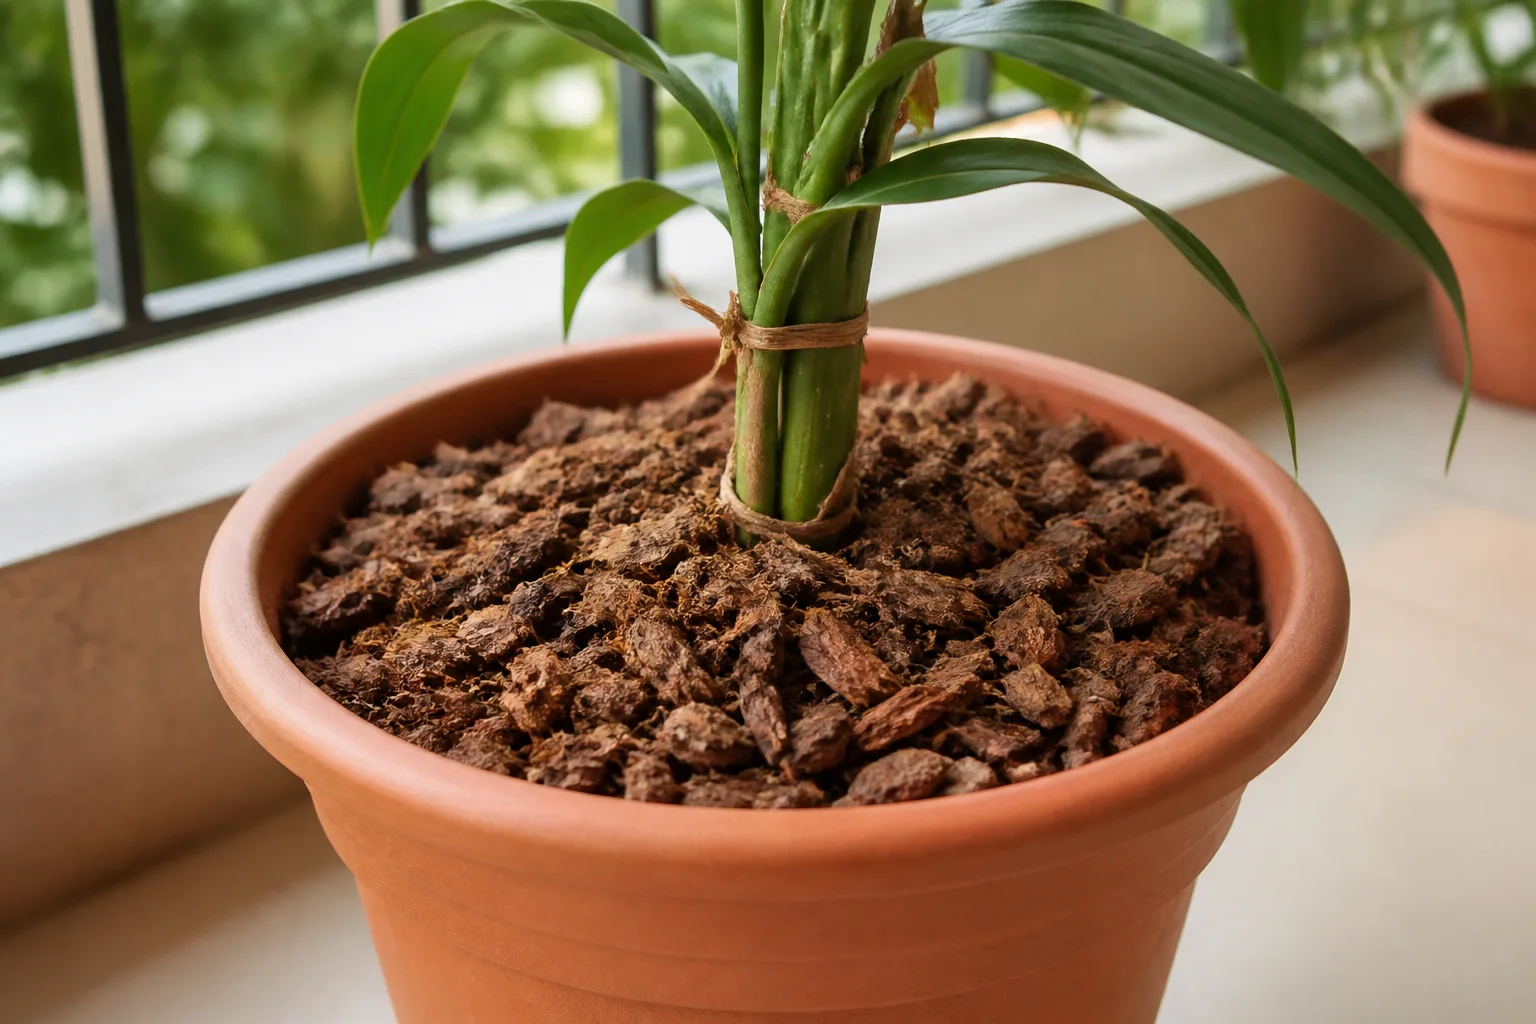
Apply mulch without smothering stems
Pull mulch a few inches away from stems, trunks, and crowns. A thick, wet mound touching the plant can hold moisture against tender tissue, encourage rot, hide pests, and create a bridge for rodents. Keep irrigation emitters accessible and look beneath the mulch occasionally instead of assuming the soil is still moist.
Avoid piling fresh, fine wood material into an annual vegetable bed when a composted or aged material is available. Utah State University Extension explains that microbes breaking down high-carbon fresh wood can temporarily use nitrogen that plants would otherwise access. If older leaves, compost, or straw are available and clean, they are often easier choices for a summer vegetable bed.
Replenish mulch as it decomposes, but do not blindly add a new layer every month. Rake aside old material, check for a compacted or water-repellent surface, and adjust depth based on the plant’s crown and the season. Mulch works best as part of a water plan, not as permission to stop checking the soil.
6. Pause fertilizer and major pruning during peak heat
Heat is a poor time to push soft new growth. When roots are dry or a plant has slowed under extreme temperatures, routine fertilizer can add salt stress or encourage growth the plant cannot support. The RHS heatwave guidance specifically recommends holding off on feeding and pruning during very hot periods because those jobs can stimulate tender growth while water uptake is already difficult.
Pause routine granular feeding and strong foliar products until the plant is hydrated, actively growing, and the weather has moderated. If a container plant has a confirmed deficiency and is still growing, water the mix thoroughly first and follow the product label rather than guessing at a stronger or weaker dilution. “Organic” does not mean impossible to overapply.
Light cleanup is different from major pruning. Remove leaves that are fully dead, diseased, or a safety hazard, but postpone shaping, renovation cuts, and heavy thinning. A heat-stressed plant may look untidy, yet living leaves still provide energy for recovery.
7. Use airflow and timing to reduce disease and stress
Schedule demanding garden work in the early morning or later evening, when soil, leaves, tools, and people are cooler. Morning watering also lets foliage dry before night, while early-day harvesting keeps tender greens from sitting in the hottest sun after picking. In a greenhouse or tunnel, open vents and doors early enough to prevent a pocket of trapped heat from building.
Good airflow is a spacing decision. Avoid pressing dense foliage against walls, crowding containers so leaves stay wet, or covering a bed with shade cloth that rests on the canopy. Water at the base, remove fallen diseased leaves, and inspect leaf undersides for pests because heat-stressed plants can become easier targets even when the original problem is environmental.
Container placement matters as much as watering. Move pots off dark metal, concrete, or west-facing walls when possible, group them to create a slightly cooler microclimate, and use a tray only to catch useful runoff—not to keep the pot sitting in stagnant water. The RHS recommends moving vulnerable containers off hot hard surfaces and notes that grouping them can reduce runoff and create cooler conditions.
8. Track what survives and build next summer’s resilience
Professional-looking gardens are often the result of notes taken after an ugly summer. Mark the beds that dried first, the pots that overheated, the plants that recovered quickly, and the ones that needed constant rescue. Record approximate sun exposure, mulch depth, irrigation method, and whether the plant was new or established.
Use those observations when you plant again. Put shallow-rooted or cool-season crops where afternoon shade is available, reserve the hottest spots for proven heat lovers, improve compacted soil with organic matter when conditions are suitable, and plant major shrubs or perennials during a cooler establishment window in your region. A garden that survives heat because its layout and soil are doing part of the work will need less emergency watering later.
Do not judge a plant solely by how it looks at 3 p.m. A plant that wilts briefly and recovers overnight may be better adapted than one that looks lush only because its soil is kept constantly wet. Resilience is the combination of recovery, reasonable water use, healthy roots, and performance over the whole season.
A hot-weather triage routine
When a heat wave is forecast, work in three phases. Before the hottest days, check the root zone, water deeply if it is dry, refresh mulch, install temporary shade, and move vulnerable containers. During the heat, inspect early, prioritize new plantings and fruiting crops, and avoid fertilizer, hard pruning, repotting, and unnecessary disturbance.
After temperatures ease, do not try to compensate with a flood of water or a heavy feed. Recheck soil moisture, remove only tissue that is clearly dead, look for pests that took advantage of weakened growth, and wait for new growth before deciding whether the plant truly failed. Recovery can take days or weeks, especially after sunscald.
If a plant is wilted but the soil is wet
Do not water again automatically. Move a container into bright shade, improve airflow, confirm that the drainage hole is open, and inspect roots later if the wilt persists. In a bed, check for compacted soil, standing water, damaged roots, or a stem problem; wet soil plus wilt can mean the plant cannot use the water already present.
If leaves are scorched
Scorched tissue will not turn green again. Protect the remaining healthy foliage from harsh afternoon sun, keep the root zone evenly moist, and resist stripping every damaged leaf at once. Remove leaves when they are fully dead or diseased, then judge recovery by the condition of stems and new growth rather than by the old brown patches.
If a container is overheating
Move it to morning sun or afternoon shade, especially if the pot is dark, thin-walled, or sitting on a hot surface. Water slowly until the mix is thoroughly moistened and drains freely, then check again later because a small container can dry out faster than a bed. If the plant repeatedly reaches crisis point, the long-term fix may be a larger light-colored container, a better-draining but moisture-buffering mix, or a cooler growing location—not an endless cycle of emergency watering.
Conclusion
Healthy summer plants are rarely the result of one heroic watering session. They come from matching plants to the site, protecting sensitive foliage from brutal afternoon exposure, keeping roots evenly moist without drowning them, mulching the soil, and timing disruptive jobs for cooler weather.
The next time leaves droop in the heat, pause before you reach for fertilizer or turn on a timer. Check the soil, identify the microclimate, correct the biggest source of stress, and give the plant time to respond. That calm sequence is what lets a garden stay productive through summer instead of making every hot day an emergency.



