How to Grow Echeveria: Light, Water, and Soil Tips
Learn how to grow echeveria with practical light, watering, soil, pot, propagation, bloom, winter, and root-rot guidance for indoor and outdoor plants.
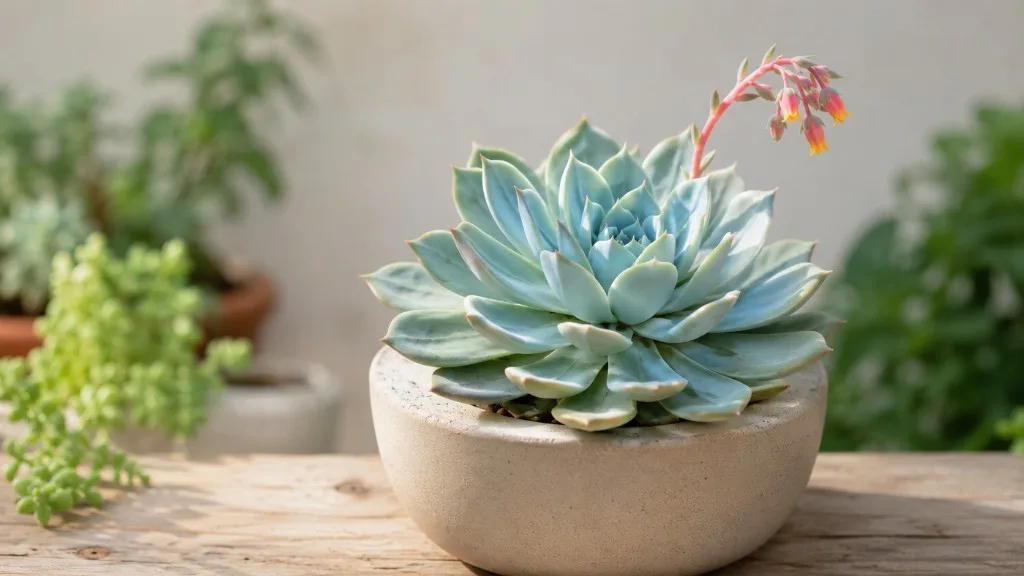
Echeveria is a forgiving plant until its pot stays wet or its light is too weak. Its thick leaves store water, so the goal is not constant moisture; it is a repeating cycle of bright light, a thorough drink, and enough dry time for the roots to breathe.
That cycle looks slightly different in a sunny windowsill, a humid apartment, a patio container, or a frost-prone garden. Use the plant’s shape, leaf firmness, soil condition, and weather as your guide, and echeveria can stay compact for years while producing offsets and seasonal flower stalks.
| Care decision | Good starting point |
|---|---|
| Light | Bright light with several hours of gentle direct sun after acclimation |
| Water | Soak the root zone, then wait for the mix to dry thoroughly |
| Soil | Airy, gritty succulent mix that drains quickly |
| Pot | Drainage hole, modest size, terracotta when practical |
| Humidity | Normal to dry indoor air; avoid enclosed humid spaces |
| Winter | Protect from frost and reduce watering as growth slows |
Echeveria basics: a rosette succulent with a dry-side lifestyle
The genus Echeveria belongs to the Crassulaceae family and includes many species and hybrids from Mexico, Central America, and northern South America. NC State Extension describes the plants as compact, mounding or clumping succulents with fleshy leaves arranged in a rosette; colors range from blue-green and gray to pink, purple, red, and variegated forms. The same genus can include a tiny windowsill rosette and a larger branching specimen, so the label matters when you are choosing a mature pot or outdoor location.
The powdery coating on many leaves is called farina, or an epicuticular wax. It helps create the soft, silvery look that makes echeveria distinctive, but it also rubs off easily. Handle the plant by its pot or lower stem when possible, and do not polish the leaves. A fingerprint is cosmetic damage, not a sign of poor health, but repeated handling removes the plant’s natural finish.
Echeveria is often called low maintenance because it tolerates missed waterings. That does not mean it thrives in neglectful conditions such as a dark corner, a sealed terrarium, or heavy soil. Think of it as a plant that forgives a dry week more readily than a wet week; this framing makes the rest of the care routine much easier to judge.
Choose an indoor or outdoor growing spot
For most people, a container is the safest way to grow echeveria because you can move it away from winter rain, frost, or a heat wave. Outdoors, use a raised or sharply draining position in a rock garden, patio pot, balcony planter, or dry border where irrigation does not collect around the crown. BBC Gardeners’ World notes that echeverias cope with small pots and even narrow paving cracks when drainage is good, but a rich, water-retentive bed should be amended or avoided.
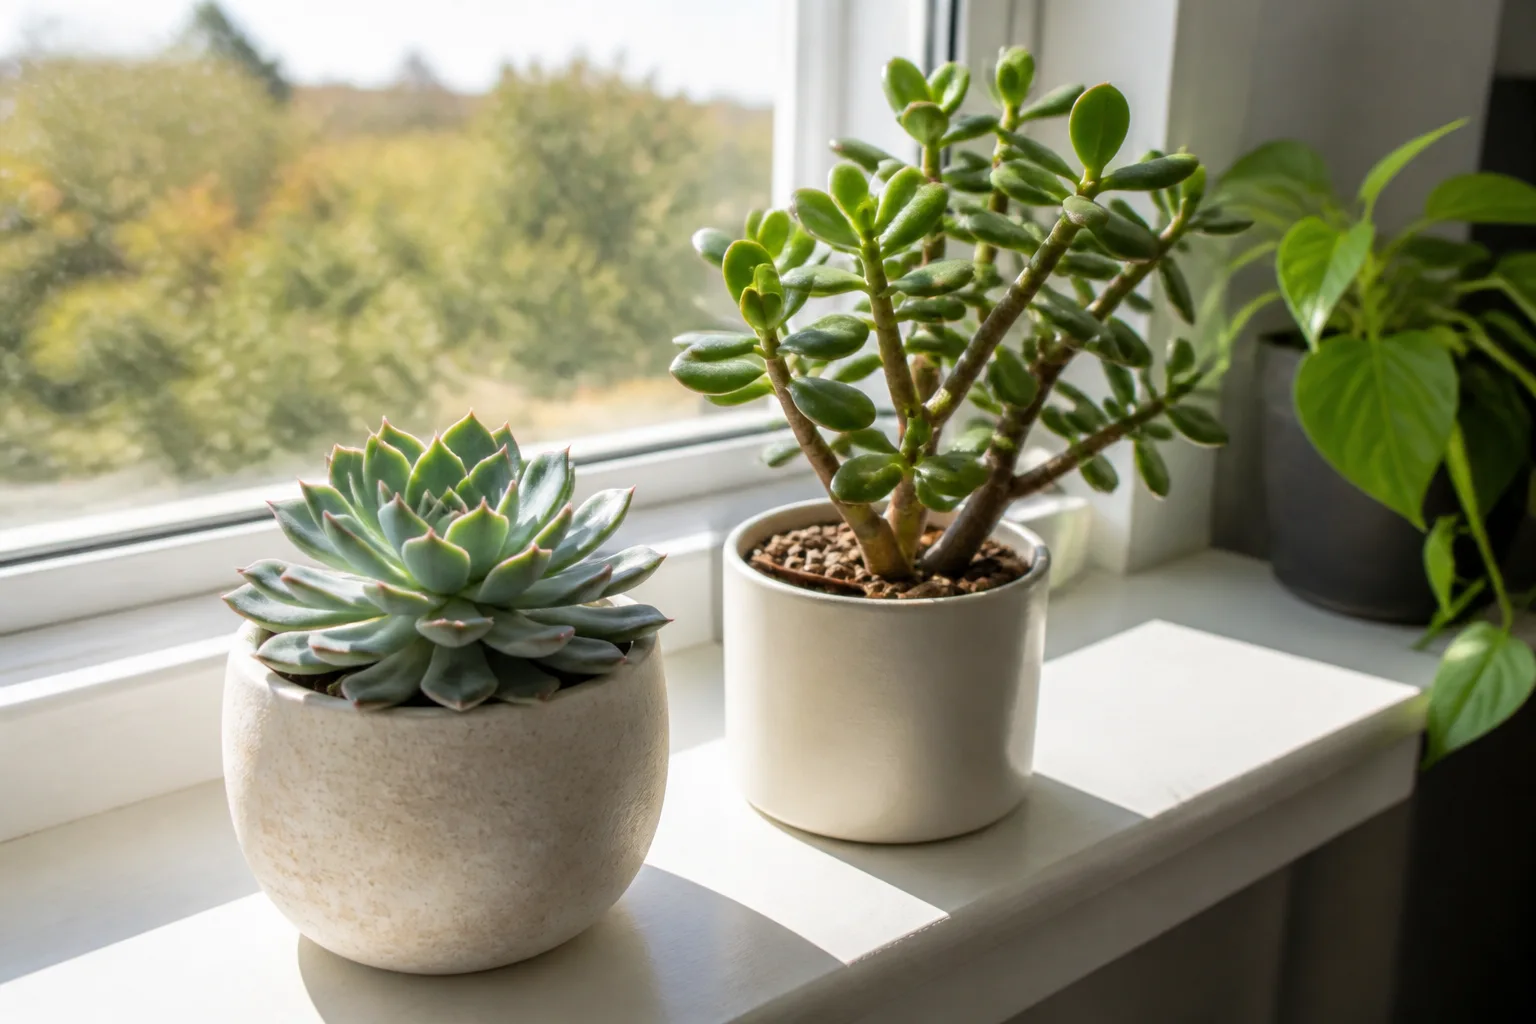
Indoors, choose the brightest room rather than the most decorative location. A south- or west-facing window may work well, although glass, curtains, latitude, and seasonal sun change the result. Keep the foliage from pressing against cold glass in winter or a scorching pane in summer. If the plant leans toward the window, rotate the pot a quarter turn every week or two, provided the rotation does not move it abruptly into harsher light.
Use a grow light when the plant cannot receive enough natural brightness. A lamp is most useful when it provides a consistent daily schedule and sits close enough to illuminate the rosette without heating the leaves. If new growth stretches despite regular watering, the answer is usually more usable light, not more fertilizer.
Give echeveria bright light and acclimate it safely
Bright light keeps the rosette tight, supports color, and helps the soil dry at a predictable rate. Mature plants often handle several hours of direct sun, but a plant that has just left a greenhouse, store shelf, shipping box, or dim room can burn when moved straight into the strongest afternoon rays.
Acclimate in stages. Start with bright filtered light or gentle morning sun for a few days, then increase direct exposure gradually over about one to two weeks. Move back a step if the leaves develop sharply outlined tan or bleached patches, a hot-looking translucent area, or a sudden collapse after a heat event. Sunburned tissue will not regain its original color, but new growth can remain healthy once exposure is corrected.
The ideal outdoor position is often morning sun with light afternoon shade, especially in hot climates or for pale-leaved cultivars. A plant can want “full sun” in a mild coastal climate and need protection from late-day heat in a low-humidity inland patio. Judge the combination of light, temperature, wind, and pot moisture rather than treating the phrase “full sun” as a universal command.
Use fast-draining soil and a pot that can dry
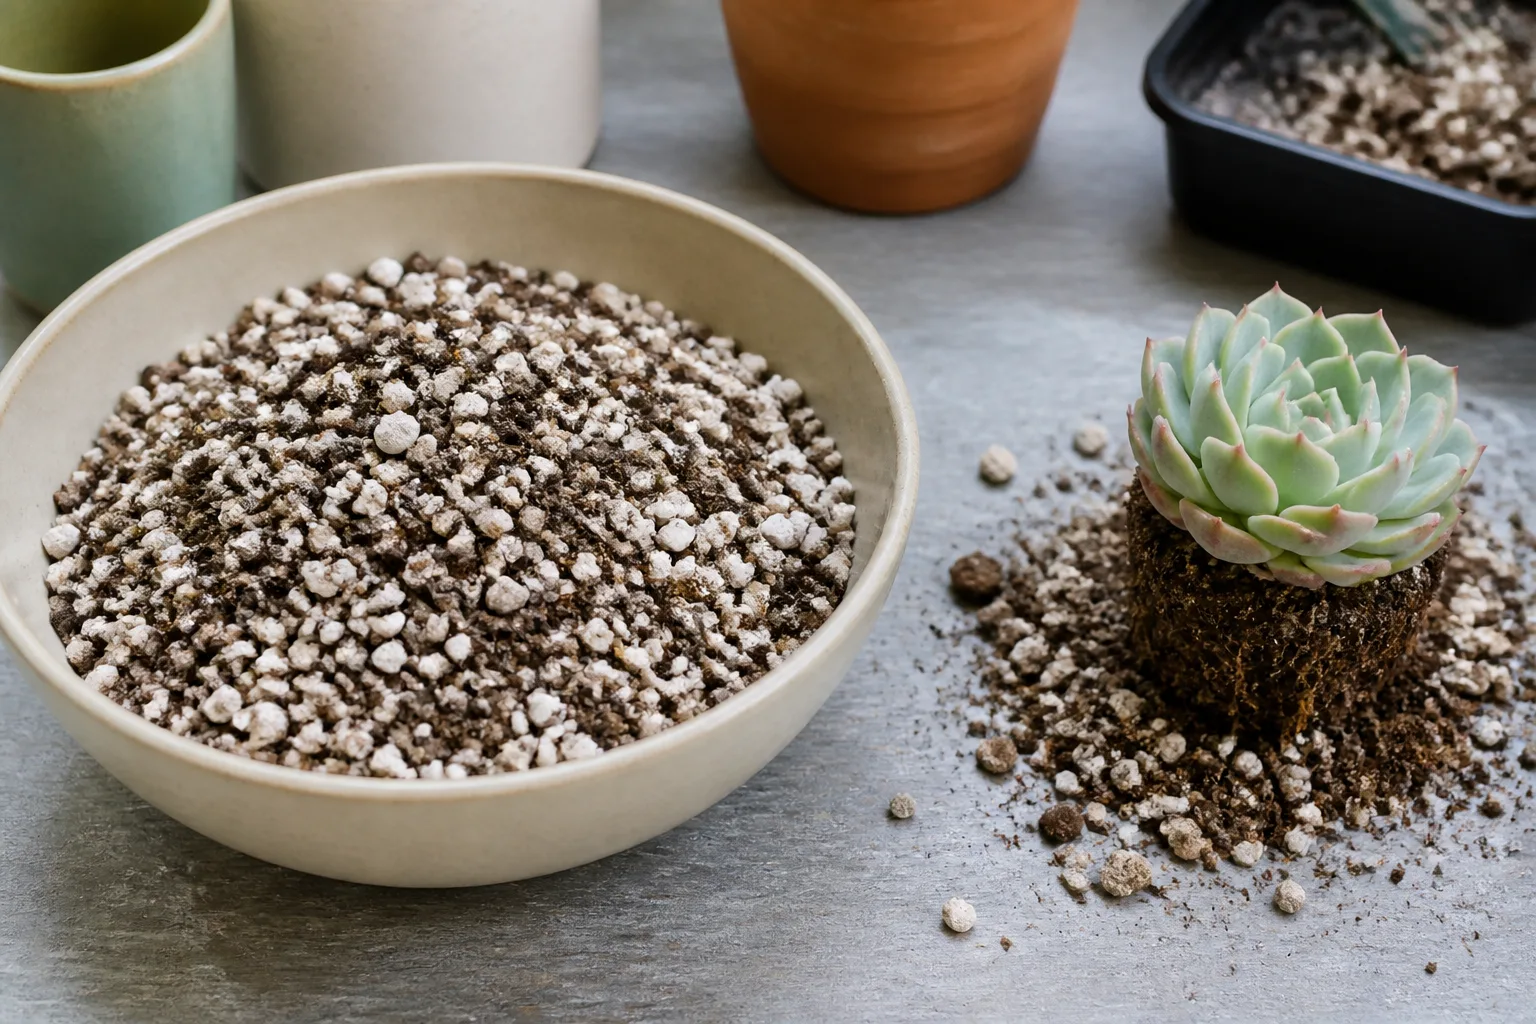
The best echeveria soil is porous enough for water to pass through while leaving air-filled spaces around the roots. A commercial cactus or succulent mix is a useful starting point, but inspect it after watering: if it stays dark and heavy for many days in your home, it is not drying fast enough for that pot and location.
For a simple homemade mix, combine roughly half regular potting mix with half coarse mineral material such as perlite, pumice, or horticultural grit. In a cool, dim, humid room, increase the mineral portion; in a hot, bright, windy outdoor setup, retain enough organic material to keep roots anchored. Avoid fine beach sand, which can fill air spaces and compact the mix. Epic Gardening’s echeveria guidance likewise emphasizes a quick-draining medium and adjusting the mineral content when a packaged succulent mix holds too much water indoors.
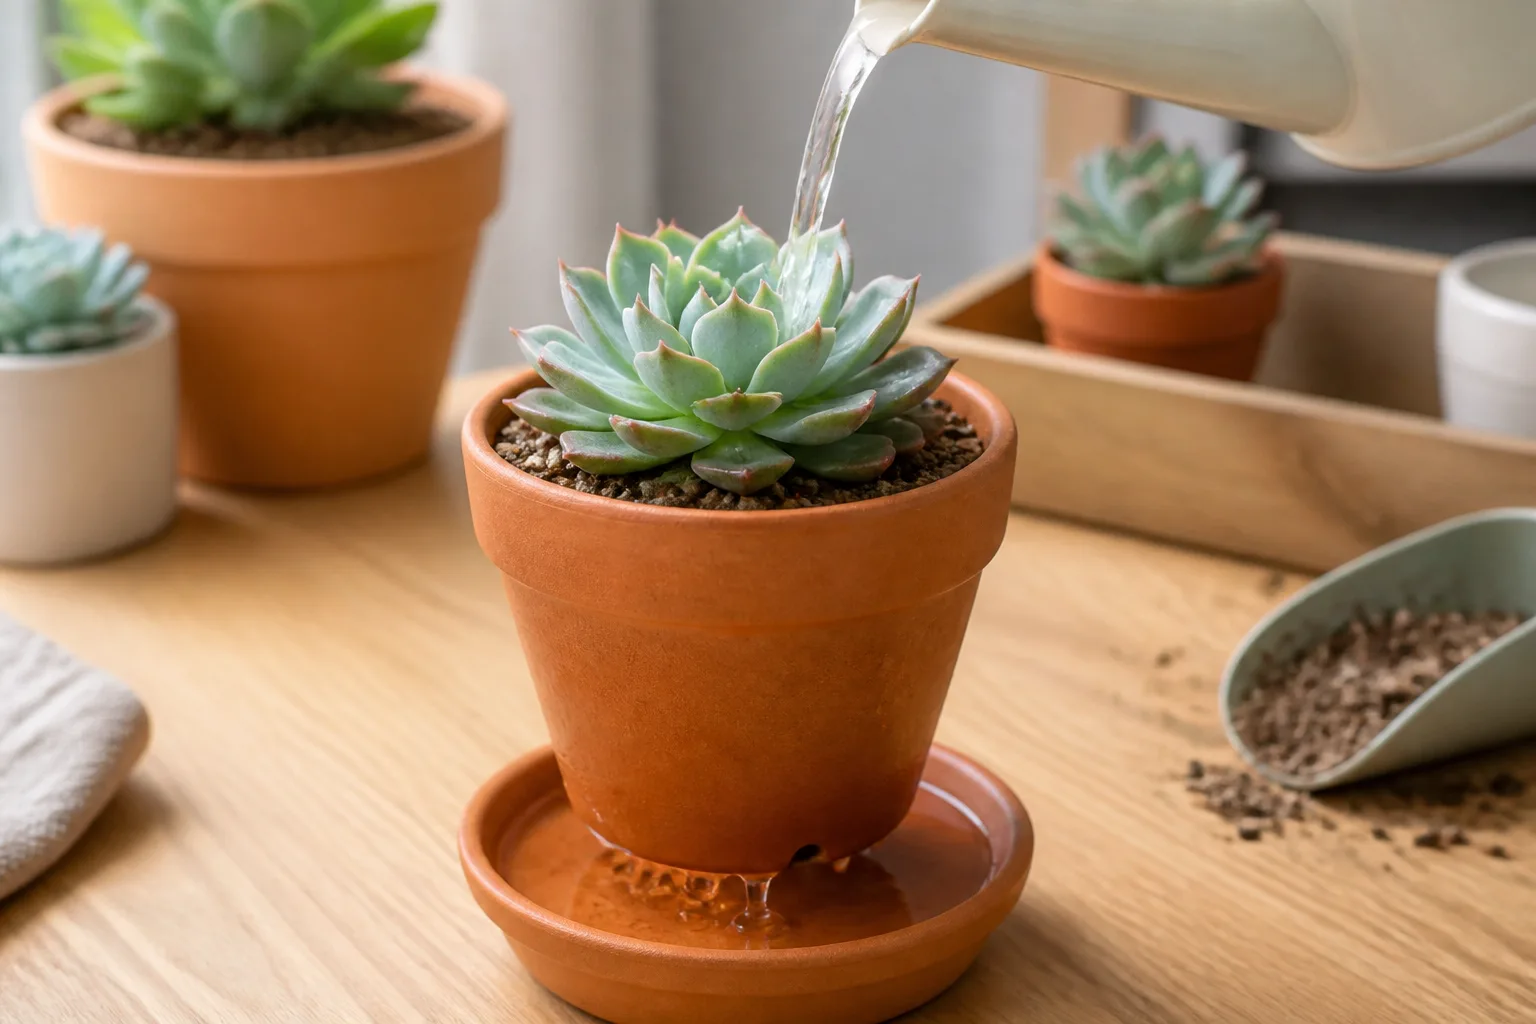
Choose a pot with an open drainage hole and a diameter only a little wider than the root ball. An oversized pot is not “room to grow” if it holds a large reservoir of wet mix around a small plant. Unglazed terracotta can make the drying cycle easier to read because the porous sides lose some moisture; glazed ceramic and plastic can work too, but you may need to wait longer between waterings.
Do not add a layer of gravel to the bottom as a substitute for drainage. It reduces the depth available to the roots without fixing a waterlogged mix. The useful combination is a real drainage hole, an airy medium, and a pot size that matches the plant.
Water by soil dryness, not by calendar
Water echeveria thoroughly when the mix is dry through the root zone. Pour slowly over the soil until water runs from the drainage hole, allow the pot to finish draining, and empty the saucer or cachepot. Keep water out of the rosette because droplets trapped between leaves can encourage rot or spotting, especially where airflow is poor.
Use more than one test before watering. Push a wooden skewer or finger into the mix, lift the pot to compare its weight with a freshly watered pot, and inspect the drainage hole if accessible. A dry surface does not prove that the center is dry, while a wrinkled leaf does not prove that the roots are healthy enough to drink. If the soil is still cool and damp, wait.
There is no responsible universal amount such as half a cup every seven days. A small terracotta pot in bright summer light may dry in a week; a large plastic pot in a cool room may need two or three weeks or longer. Clemson Extension’s indoor-watering guidance identifies plant type, pot size and material, soil, location, growth stage, and weather as variables, which is why soil condition is more reliable than a repeating reminder.
Avoid misting as a routine. It wets the foliage and surface without delivering a dependable drink to the root ball, and repeated moisture in the leaf joints is a poor trade for a plant adapted to dry air. Bottom-watering can wet a dry root ball, but remove the pot once the mix is evenly damp and do not leave it sitting in a reservoir.
Change the care rhythm with the seasons
In spring and summer, more light and warmth usually mean faster growth and a shorter dry-down period. Check the pot more often, but do not water on the first warm day after a long cool stretch. Roots that are still inactive in cold, wet soil can rot even when the calendar says the growing season has begun.
In fall, move outdoor containers under cover before cold rain becomes a pattern. Once light and temperatures drop, the plant may use water more slowly. Reduce the frequency, keep the mix from staying wet, and stop feeding when the plant is no longer making active growth. A bright indoor location is usually better than a dark garage if you want to preserve the rosette.
Winter care is a frost-protection problem first and a watering problem second. Tender echeverias should come inside before frost threatens; the exact cold tolerance varies by species and cultivar, and a wet plant exposed to cold is at greater risk than a dry one. Indoors, water sparingly and only after the mix has dried. A leaf that is slightly less plump in winter is less alarming than soft tissue at the crown.
Keep temperature, humidity, and airflow on the dry side
Normal household temperatures suit echeveria when light is strong and the plant is not placed against a drafty window. Avoid cold, wet conditions outdoors and warm, stagnant humidity indoors. Bathrooms, closed terrariums, and crowded plant shelves can keep the rosette damp longer than the leaves can tolerate.
Airflow does not replace drainage, but it helps wet surfaces dry. Leave a little space between pots, remove dead leaves from the soil, and avoid watering late in a cool evening if the foliage or crown will remain wet overnight. Do not use a humidity tray for this desert-adapted rosette; raising humidity solves a problem echeveria generally does not have and can make crown and fungal issues harder to manage.
Fertilize lightly and maintain the rosette
Echeveria can grow without regular fertilizer, especially in a fresh commercial mix. If the plant is actively growing and the mix is old or nutrient-poor, apply a balanced or low-nitrogen succulent fertilizer at half strength or weaker according to the product label. Water the soil first if it is bone dry, and do not feed a stressed, recently repotted, pest-infested, or dormant plant.
Excess nitrogen can produce soft, fast growth that is less compact and more vulnerable to imbalance. Fertilizer salts can also accumulate in a small pot. If you see a crust on the mix or leaf tips begin to brown after repeated feeding, pause fertilizer and flush the pot thoroughly with clean water when the plant’s normal watering time arrives, then let it drain completely.
Routine pruning is unnecessary. Peel away leaves that are fully dry and loose, remove fallen debris from the soil, and cut a spent flower stalk near its base with clean snips. Do not pull a firm lower leaf simply because it is older; echeveria naturally sheds bottom leaves as the stem lengthens. Never cut into the central growing point unless you are intentionally taking a crown cutting from a leggy plant.
Repot echeveria without creating new root problems
Repot when the plant has outgrown its container, the mix has collapsed and stopped draining, roots circle densely, or the pot dries impossibly fast because the root ball has filled it. There is no benefit in moving a healthy echeveria into a much larger pot every year. Spring or early summer is convenient because active growth can help it recover, but a rotting plant needs attention whenever the problem is found.
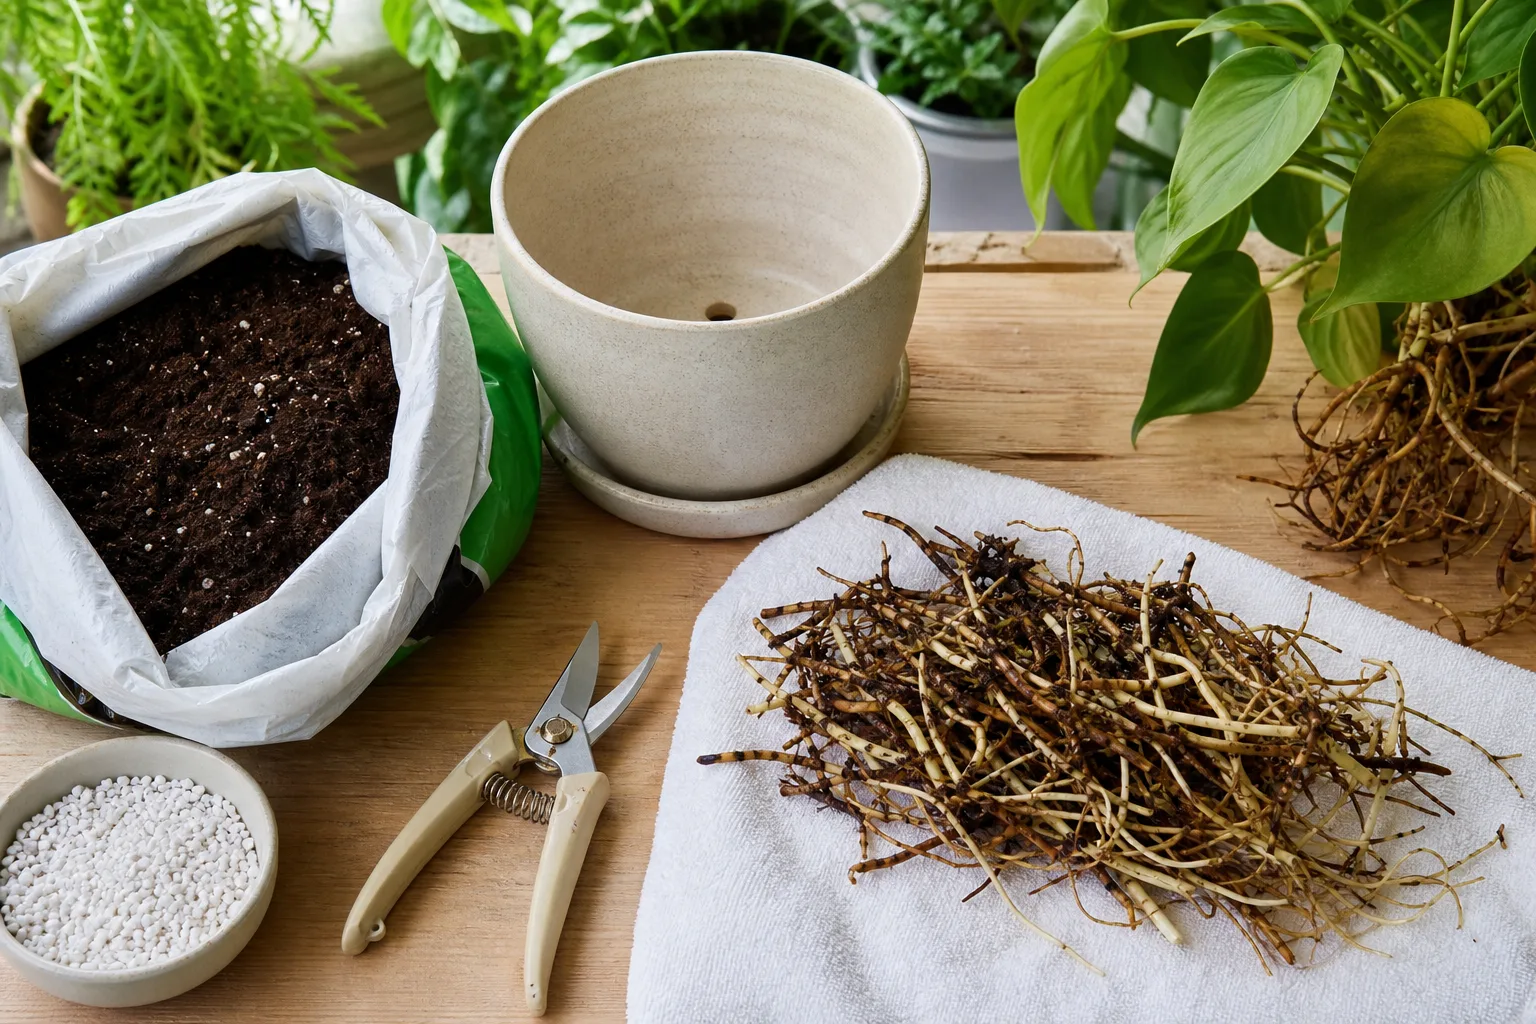
Let the old mix dry before repotting. Slide the plant out gently, loosen only soil that falls away easily, and inspect the roots. Firm pale or tan roots are reassuring; dark, mushy, hollow, or foul-smelling tissue should be removed with a sanitized blade. Set the plant at the same depth, keeping lower leaves above the soil line, and use a clean pot with a drainage hole.
Wait several days before watering after routine repotting, and wait longer if roots were cut. The exact delay depends on how much tissue was disturbed and how quickly the new mix dries. A dry settling period lets small wounds callus instead of sitting in wet soil.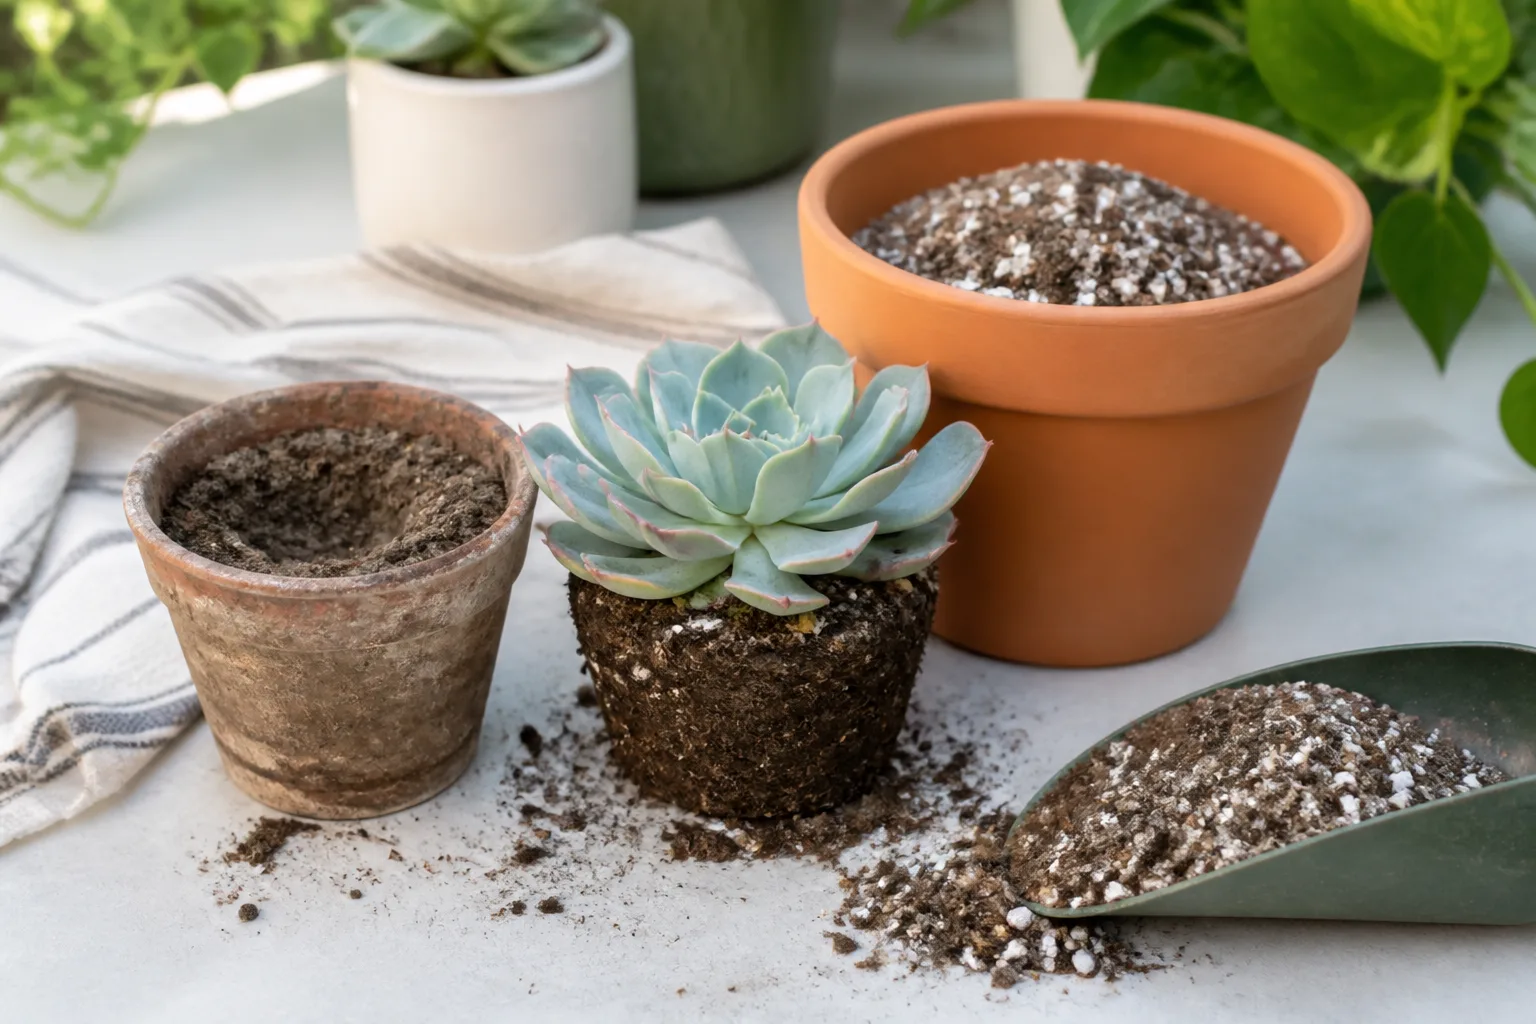
Choose the right propagation method
Echeveria is one of the better succulents for propagation, but “easy” still means choosing healthy material and allowing wounds to dry. Spring and early summer are usually the fastest periods. Use a shallow tray or small pot with gritty mix, bright indirect light, clean tools, and patience.
Leaf propagation
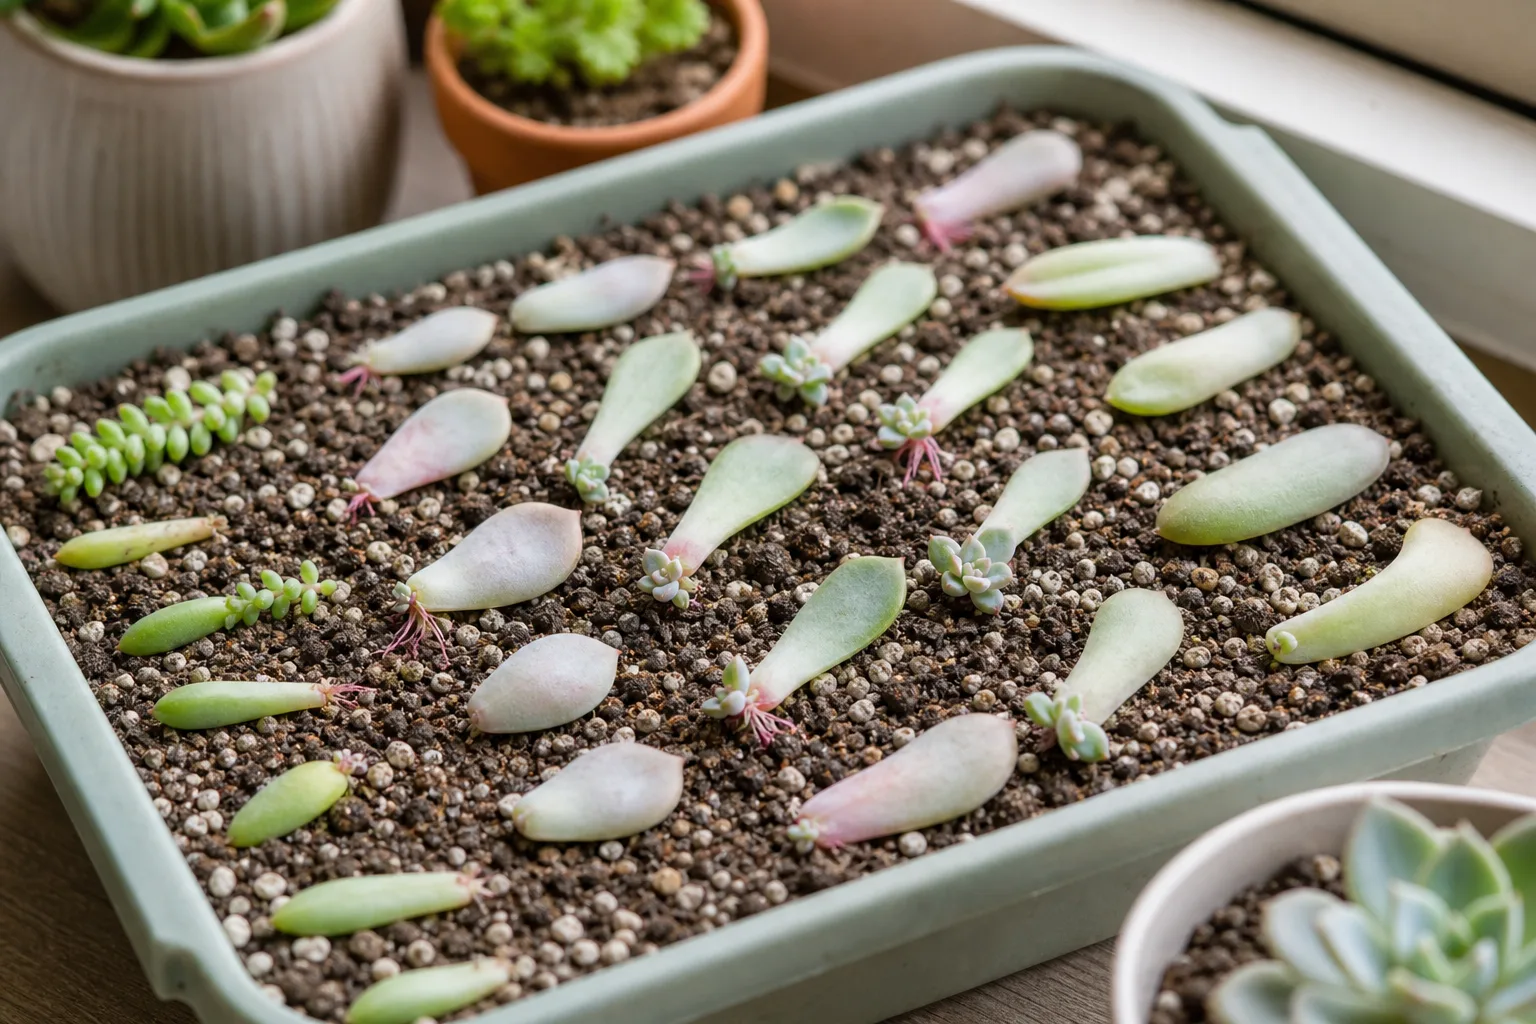
Select a plump, undamaged lower leaf and twist it gently from side to side until it releases cleanly from the stem. The base must be intact; a leaf snapped across its attachment point is much less likely to make a rosette. Lay leaves on top of dry or barely moist gritty mix with the cut end exposed, and keep them in bright indirect light.
Do not bury or mist the leaf every day. Roots may appear before the baby rosette, and the original leaf supplies moisture and energy while the new plant develops. Once roots are visible, you can add a tiny amount of moisture to the mix near them, but keep the leaf itself dry. The mother leaf will gradually shrivel; separate it only when it releases easily and the new rosette has its own roots.
Stem cuttings and offsets
A stretched echeveria can be beheaded to restore a compact crown and produce new plants from the stem. With a clean blade, cut below the rosette while leaving enough stem to anchor the crown. Remove a few lower leaves if needed, then let the cut surface dry until it is matte and callused. Set the crown into dry, gritty mix; do not water immediately.
Offsets, also called pups, are small rosettes that form at the base or along a stem. They are usually the fastest option because an offset may already have roots. Separate it with a clean knife or snips when it is large enough to handle, preserve roots if present, and let any fresh wound dry before potting. Keep the parent plant’s cut area dry as it heals.
After planting a stem cutting or offset, provide bright indirect light and wait for signs of rooting, such as resistance when gently tested or new growth. A cutting without roots cannot use a heavy drink efficiently, so repeated watering is more likely to rot it than speed it up.
Growing echeveria from seed
Seed is the slowest and least predictable method, but it is useful if you want genetic variation rather than a clone of a favorite plant. Scatter fresh seed on a sterile, porous mix, keep it evenly and lightly moist, and provide warmth and bright filtered light. Ventilation matters because a covered seed tray can stay too wet.
Seedlings need more consistent moisture than mature echeveria because they have not built large water reserves. As rosettes develop, increase light gradually and allow the surface to dry slightly between careful waterings. If your goal is simply more plants from a household echeveria, an offset or leaf is usually more practical.
Troubleshoot stretching, wrinkles, and soft leaves
Start with the pattern, not a single symptom. Check the light, feel the leaves, test the soil, inspect the crown, and look beneath leaves for pests before changing several variables at once. A plant can be thirsty and light-starved, or overwatered and pale, so “wrinkled” or “yellow” alone is not a diagnosis.
When the plant gets tall and leggy: Etiolation means the stem has stretched because usable light was insufficient. Move it to brighter light gradually, rotate it for even growth, and improve the window or grow-light setup before adding fertilizer. The old stretched stem will not shrink; if the shape is unacceptable, take a healthy crown cutting, let it callus, and reroot it. A cutting is a reset, not a way to make the existing elongated section compact.
When leaves wrinkle or drop: If the leaves are thin, dry, and firm rather than translucent or mushy, check whether the mix is completely dry and then water deeply. Wrinkling that does not improve after a reasonable dry-down and watering cycle can indicate damaged roots, cold stress, or a pest problem. Lower leaves naturally dry and fall as the stem grows, but a sudden wave of leaves dropping from the middle or crown deserves inspection.
When leaves turn yellow, translucent, or soft: Stop watering and inspect the soil and crown. Yellowing with wet mix, easy leaf detachment, a soft stem, or a sour smell points toward excess moisture and possible root or crown rot. Unpot the plant, remove wet mix, cut away every soft section until the tissue is firm, and let healthy cuts dry before repotting in fresh mix. If the crown or stem is soft throughout, save only firm leaves or stem sections; no fungicide can restore tissue that has already collapsed.
When pale patches appear after a move: Suspect sunburn if the damage is crisp or sharply located on the most exposed leaves. Protect the plant from the harshest light and restart acclimation. Do not remove every marked leaf immediately; damaged leaves can still support the plant until new growth replaces them.
Handle pests and disease early
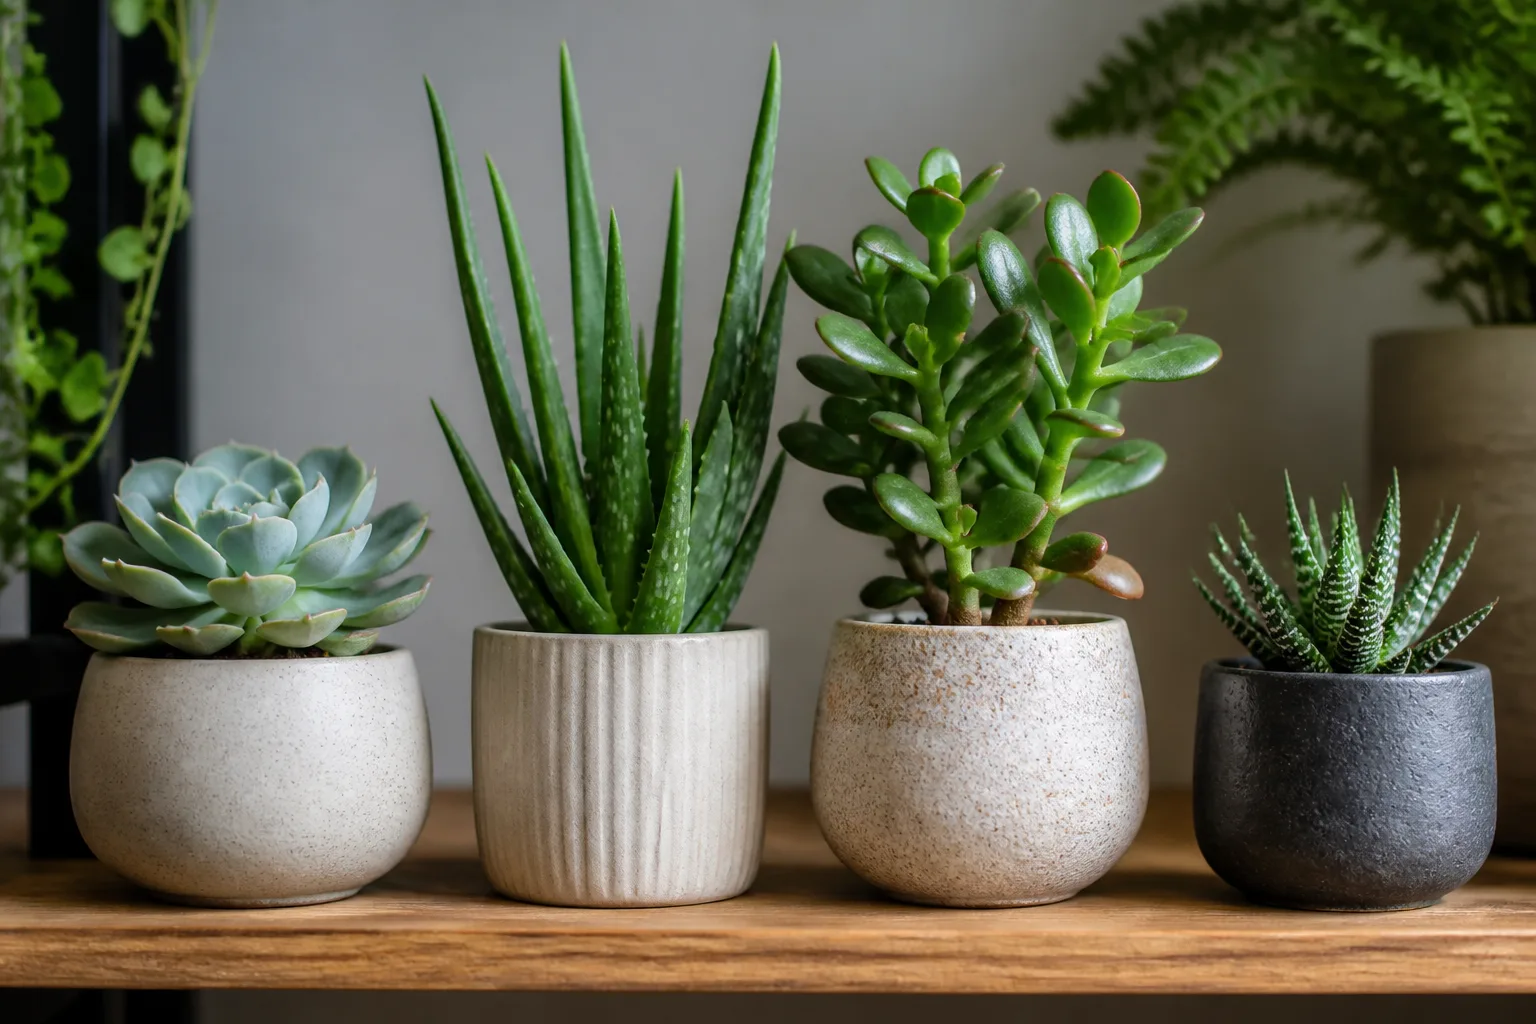
Echeveria is generally trouble-free when kept bright, clean, and on the dry side, but indoor plants can still attract mealybugs, spider mites, and fungus gnats. Mealybugs look like small white cottony clusters in leaf joints or at the stem. Spider mites are tiny and may leave fine webbing or stippled foliage. Fungus gnats hover around persistently damp mix rather than proving that the plant itself is thirsty.
Isolate a suspect plant before treating it. Remove visible mealybugs with a cotton swab or soft cloth, rinse or wipe foliage carefully without scraping farina, and use an insecticidal soap only as directed on its label. Test any product on a small area first because succulent leaves can react to sprays, especially in hot sun. Neem products and other pesticides are not automatically harmless because they are marketed as natural; follow the label, protect pets and children from wet residues, and never apply a product to a use site the label does not cover.
The most serious disease pattern is rot: dark, wet, soft, collapsing tissue at the roots, stem, or center of the rosette. Do not respond by merely moving the pot to a brighter window while leaving saturated soil in place. Confirm the problem, remove the source of wetness, salvage firm tissue, and correct the container and mix before watering again.
Encourage flowers without overfeeding
Healthy echeveria may send tall flower stalks in spring or summer, but maturity, cultivar, light, and seasonal conditions all affect flowering. NC State Extension describes the flowers as small tubular blooms, often pink or reddish with yellow markings, held above the rosette and attractive to bumble bees and hummingbirds outdoors.
The best bloom strategy is strong light, an airy root zone, and steady active-season care. A plant that is stretching, chronically wet, recently repotted, or recovering from pests has more urgent needs than a bloom booster. If you fertilize, use a weak balanced or low-nitrogen feed during active growth rather than repeatedly applying a high-phosphorus product. Extra phosphorus cannot compensate for insufficient light or damaged roots. NC State Extension’s plant profile also notes that echeveria flowers can attract bumble bees and hummingbirds outdoors.
When flowers fade, cut the stalk back once it begins to dry. You can leave it longer for visual interest, but remove it if it bends into the rosette or traps moisture. Do not confuse the flower stalk with a new offset: a stalk rises from the rosette and bears buds, while a pup forms as a small leafed rosette at the base or side.
Conclusion
To grow echeveria well, build the environment around its water-storage habit. Give it bright light, acclimate it before strong sun, use a modest pot with a drainage hole, and choose a gritty mix that dries instead of staying cool and wet. Water thoroughly only when the root zone is dry, then change the rhythm as light and temperature change.
Most problems become easier when you read the plant in context. Wrinkles in dry soil call for a deep drink; wrinkles in wet soil call for a root inspection. Stretching calls for more light before pruning, while soft yellow tissue calls for less moisture and faster action. With those decision rules, echeveria needs little fuss—and it has plenty of time to reward you with color, pups, and flowers.



