How to Keep Container Gardens Lush All Summer
Keep container gardens lush through summer with smart pot size, soil, watering, feeding, pruning, and a simple revive-or-replace checklist.
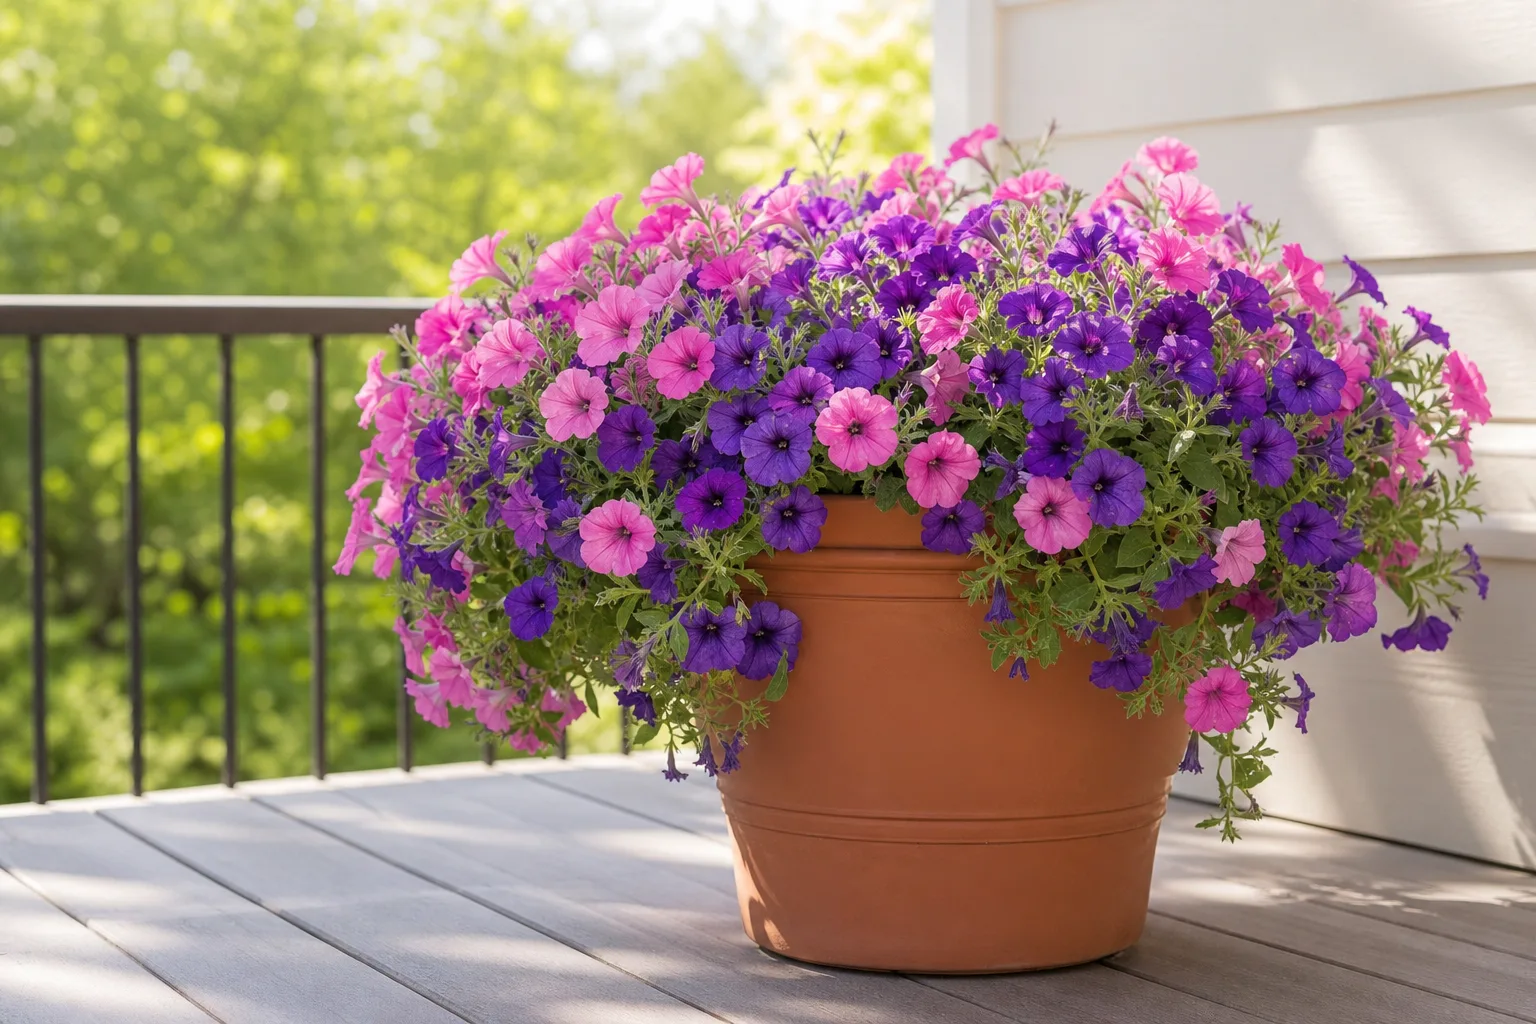
Container gardens usually do not fade because one forgotten watering ruined them. They fade because a small pot, a fast-growing plant, intense sun, and a tight root zone gradually turn every hot day into a stress test. By midsummer, the plants may be thirsty by noon, short on nutrients, crowded at the roots, or spending their energy on seed instead of new flowers.
The fix is a system, not a heroic daily rescue. Start with enough soil, place the pot where the plant can handle the heat, water according to the root zone, feed only after the plant is hydrated, and prune in small, purposeful passes. That combination keeps containers fuller with less wasted effort and makes it much easier to tell when a plant needs help versus a replacement.
Start with a container that buffers heat and drying
The easiest container to maintain is the one that gives roots a reasonable volume of evenly moist, airy mix. A pot that is too small can look perfect on planting day but become a high-maintenance thimble once roots fill it. A crowded arrangement also shades and dries its own soil unevenly, so one plant may wilt while another sits wet.
Penn State Extension’s container guidance starts with the basics: choose a pot with drainage, use a light soilless mix instead of straight garden soil, and match the container to the plant’s mature size. Those choices matter more than a decorative watering gadget because they determine how much water and oxygen the roots can access between checks.
Pick pot size by plant load
Think about the finished planting, not the nursery pot you brought home. One vigorous petunia or geranium can fill a smaller vessel, while a mixed “thriller, filler, spiller” planting needs enough volume for several root systems and enough surface area for water to reach the whole pot. A large tomato can need a pot roughly 20 inches wide; peppers and eggplants can often manage in a pot around 14 inches wide, while herbs and greens can use less. Those are useful reference points, not universal rules for every cultivar.
For an ornamental combination, size up when the plants are vigorous, the pot will sit in full afternoon sun, or you cannot check it often. More mix creates a larger moisture buffer and gives roots room to recover from a hot day. The trade-off is weight: a large ceramic container is harder to move, so place it on a stable stand or plant it where it can stay for the season.
Do not pack a container to its maximum visual fullness on day one. Leave room for roots and stems to expand, especially when combining a vigorous spiller such as sweet potato vine with flowering fillers. Penn State Extension notes that overcrowded containers can be transplanted or thinned as they grow; doing that early is gentler than trying to separate a tangled root ball in August. Its container-gardening guidance also recommends allowing plants room to grow and keeping air moving through the planting.
Insist on drainage and a real potting mix
Every outdoor container needs an open drainage path. Waterlogged mix displaces the air roots need, so a pot can be wet and still produce wilt, yellow leaves, weak growth, or root decline. Put the pot on feet if its drainage hole is pressed against a flat surface, and check that the hole has not become plugged with roots or compacted mix.
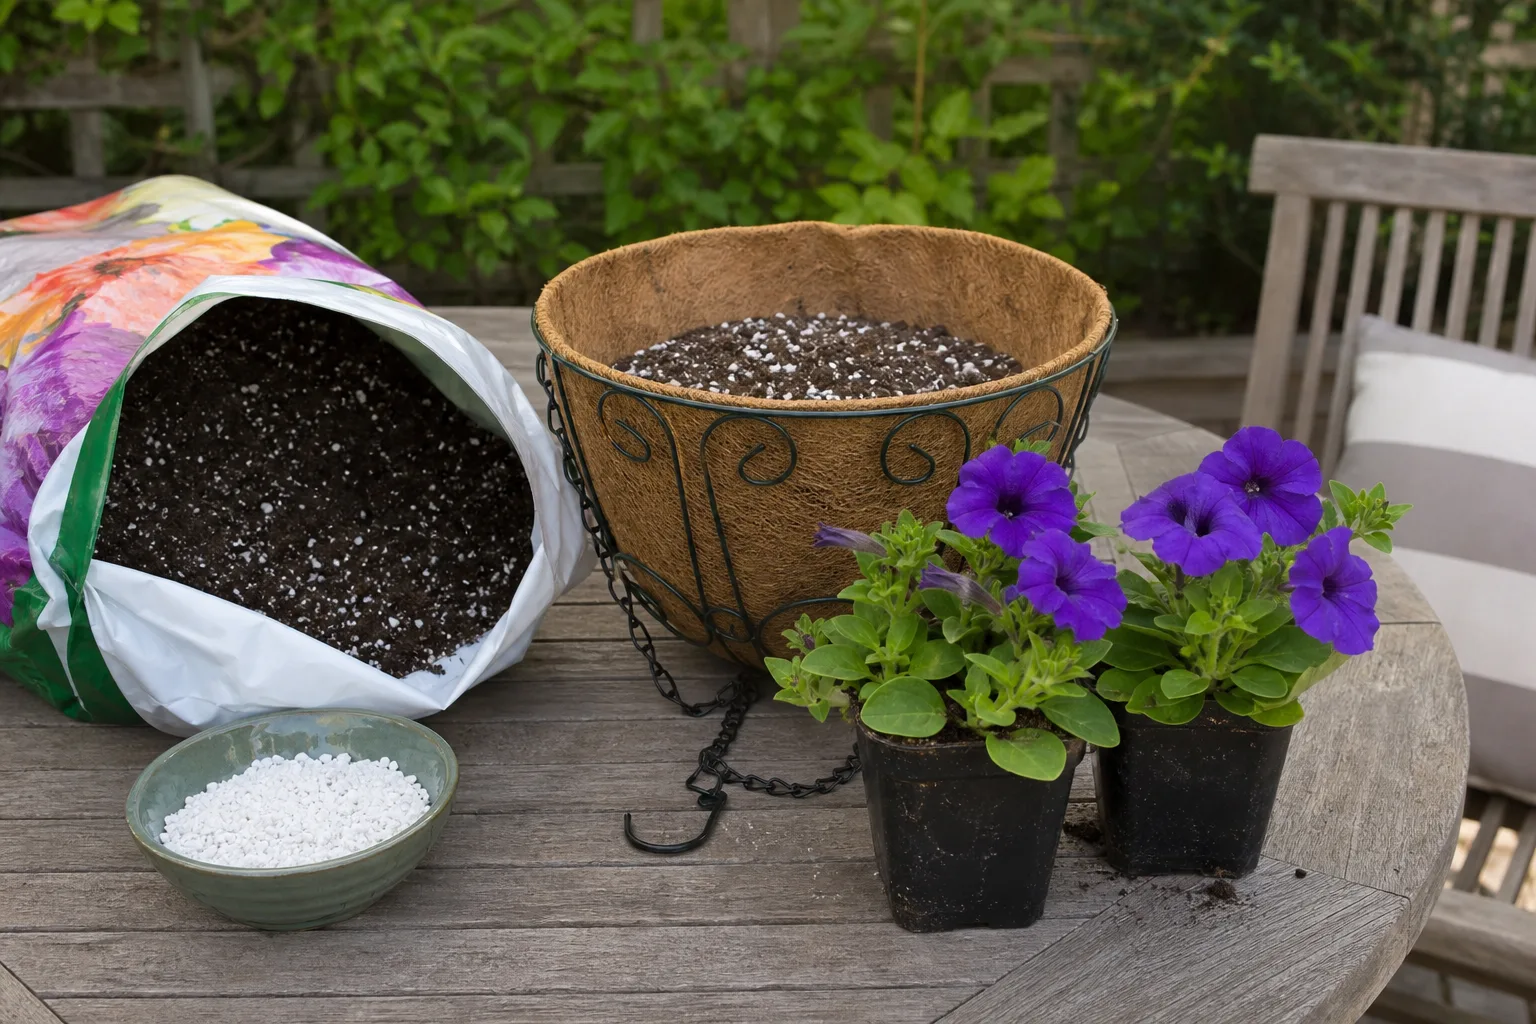
Use a commercial container mix or a similar lightweight soilless blend containing materials such as peat or coir, composted bark, and perlite or vermiculite. Straight garden soil is usually too dense for a pot: it can collapse around roots, drain slowly, and become hard to re-wet after it dries. Penn State Extension explains why soilless mixes are preferred and notes that finished compost can be blended into them, but compost is not a substitute for air space.
Refresh the top inch or two of an established pot with fresh mix or finished compost only when the surface has settled and roots are not already packed to the rim. Do not bury crowns or stems, and do not cover a drainage problem with a thicker top layer. If water runs straight down the side of a shrunken, dry root ball, re-wet it gradually rather than flooding the pot once and assuming the center is moist.
Place each pot to match its summer exposure
The same container can be easy in a bright morning location and exhausting on a west-facing concrete patio. Pots lose water from every exposed side, and heat reflected from paving, walls, or railings can raise root-zone temperature beyond what the leaves suggest. Denver Urban Gardens describes containers as especially vulnerable to high temperatures and moisture loss, which is why placement is part of watering management rather than an afterthought.
Read the plant tag as a starting point, then watch the site. A full-sun annual may enjoy six or more hours of light but still appreciate protection from the hottest late-afternoon rays in a heat wave. Shade-loving foliage can scorch in a bright pot even when the soil is wet. Keep plants with different exposure needs in separate containers so you can move one group without disrupting the others.
Use shade as an irrigation tool
Move a container into dappled shade, under a patio umbrella, or against a cooler wall when leaves are repeatedly wilting in afternoon heat and the plant recovers in the evening. This does not mean hiding every flowering pot from the sun. It means reducing the few hours when evaporation and leaf water loss peak, especially for small pots and hanging baskets.
Morning sun is often a useful compromise: it provides light for growth and flowering but avoids the longest stretch of intense afternoon exposure. If a plant suddenly needs water twice a day after a heat wave, temporary shade can reduce the load more effectively than simply pouring in more water. Southern Living’s container-refresh guidance similarly recommends moving some full-sun pots into dappled shade when watering demands become excessive.
Do not move a pot from deep shade to full sun in one afternoon. Acclimate it over several days, and make changes gradually when the plant is already stressed. A sudden shift can create leaf scorch even if the potting mix stays moist.
Protect dark and porous pots from heat
Dark containers absorb more solar heat than light-colored ones, while unglazed terra-cotta loses moisture through its sides. Neither material is automatically wrong; terra-cotta can be useful for plants that dislike staying wet, and dark pots can work in a shaded or irrigated location. The trouble starts when a thin, dark, porous pot sits on hot paving with a thirsty planting inside.
Group pots so foliage shades the sides without blocking air circulation, use a light-colored cachepot with a drainage gap, or move the container off the hottest surface. Keep a saucer under a pot only when it is emptied after watering; a permanently full saucer turns a drainage feature into a standing-water reservoir. Garden.org’s National Gardening Association editors also recommend light-colored, nonporous containers and protecting pots from full sun and wind when the goal is to reduce watering chores.
Build a watering routine around soil moisture
There is no honest summer watering calendar that works for every container. A small hanging basket in full sun may need water every day or even a second check during extreme heat; a large glazed pot in morning sun may go several days. The reliable rule is to check the mix and then water the whole root zone when it is beginning to dry, before the plant reaches collapse.
Press a finger about an inch or two into the mix near the root zone, not just at the exposed edge. For a large pot, check more deeply with a wooden skewer or narrow trowel because the surface can be dry while the center is still saturated. A wilted plant is a signal to investigate, not an automatic instruction to water: heat, root damage, disease, and overwatering can all produce wilt.
Water deeply enough to drain
When the mix is dry at the checking depth, water slowly over the entire surface until the root ball is wet and a little water exits the drainage hole. A quick splash that wets only the top or runs down a gap beside the root ball leaves the interior dry. For a very dry pot, water once lightly, wait a few minutes, then water again so the mix can absorb rather than repel the second application.
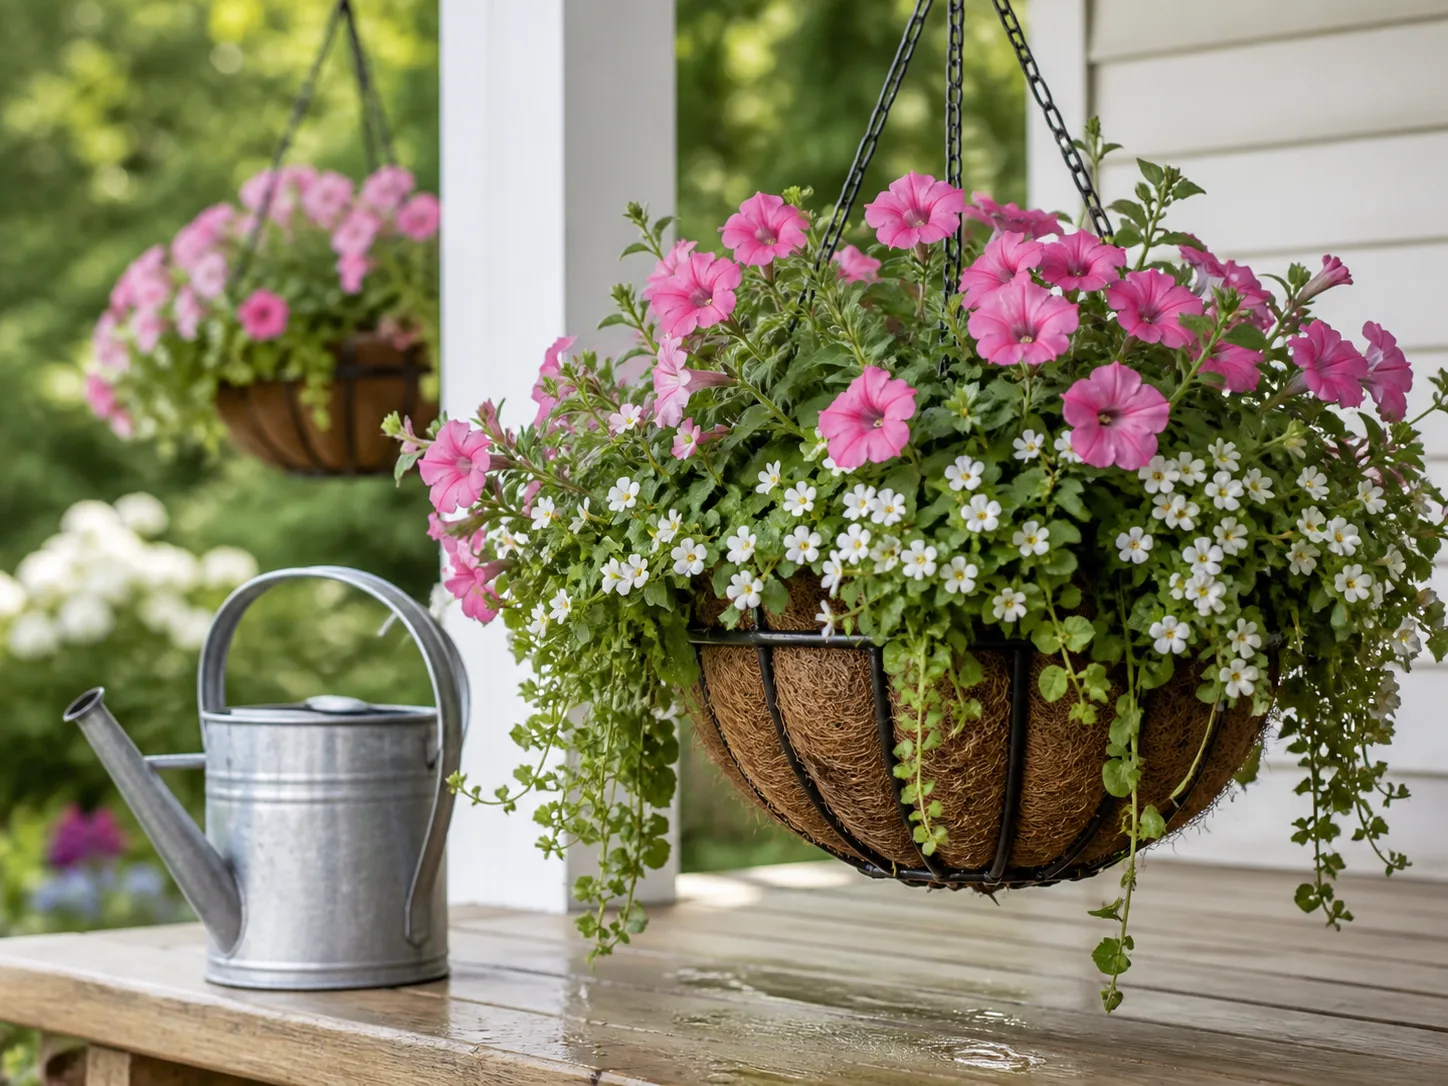
Drainage is a useful confirmation that water reached the bottom, not a target volume that every plant must receive. In a basket lined with coir, some water may pass through quickly; in a dense, root-filled pot, it may take longer. Garden.org’s watering guidance recommends soaking containers thoroughly until water drains from the bottom and checking the top inch or two before watering again.
Water in the morning when possible. Cooler air and lower wind reduce evaporation, and foliage that gets wet has more time to dry. Tilth Alliance’s summer watering advice likewise recommends morning watering, allowing the upper layer to dry between checks, and using drip or soaker systems when hand watering is difficult. If a plant is severely wilted at midday, revive it rather than waiting for an ideal clock time, but make the next routine check earlier so it does not reach that point repeatedly.
Choose hand watering, drip, or self-watering
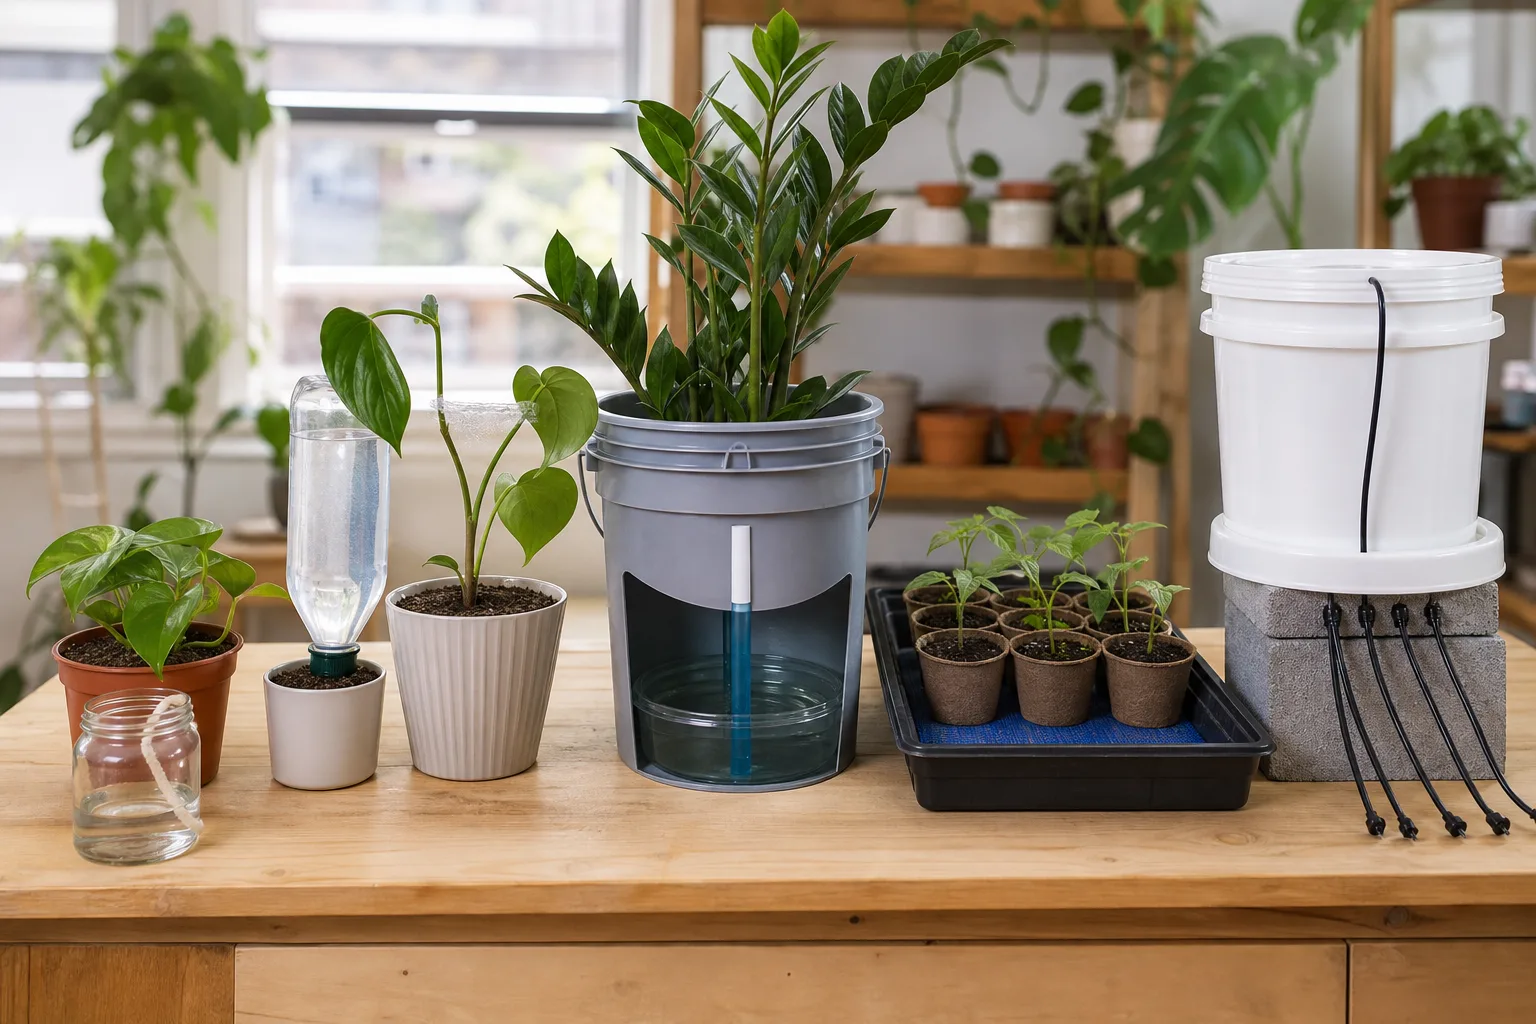
Match the system to the number of pots and the way you miss waterings:
- Hand watering works well for a few containers because it lets you inspect leaves, stems, and soil at the same time. Use a gentle stream aimed at the mix, not the flowers.
- Drip irrigation is the best fit for a row of pots or a collection that dries at different rates. Put an emitter near each root zone, secure the tubing, and check for clogs and leaks after moving pots. A timer makes the routine easier, but it does not replace a weekly inspection.
- Self-watering containers are useful for thirsty annuals, balconies, and gardeners who miss occasional checks. They buffer the gap between waterings through a reservoir or wick, but they do not make overwatering impossible. Confirm that the overflow works, the reservoir is not stagnant, and the mix is designed to wick without staying saturated.
Keep plants with different moisture needs off the same irrigation zone. A rosemary or succulent container should not share a schedule designed for a thirsty annual basket. Likewise, do not assume a reservoir is full just because the surface looks damp; check the indicator or reservoir opening and inspect the roots if the pot stays wet for days.
Feed plants without forcing weak growth
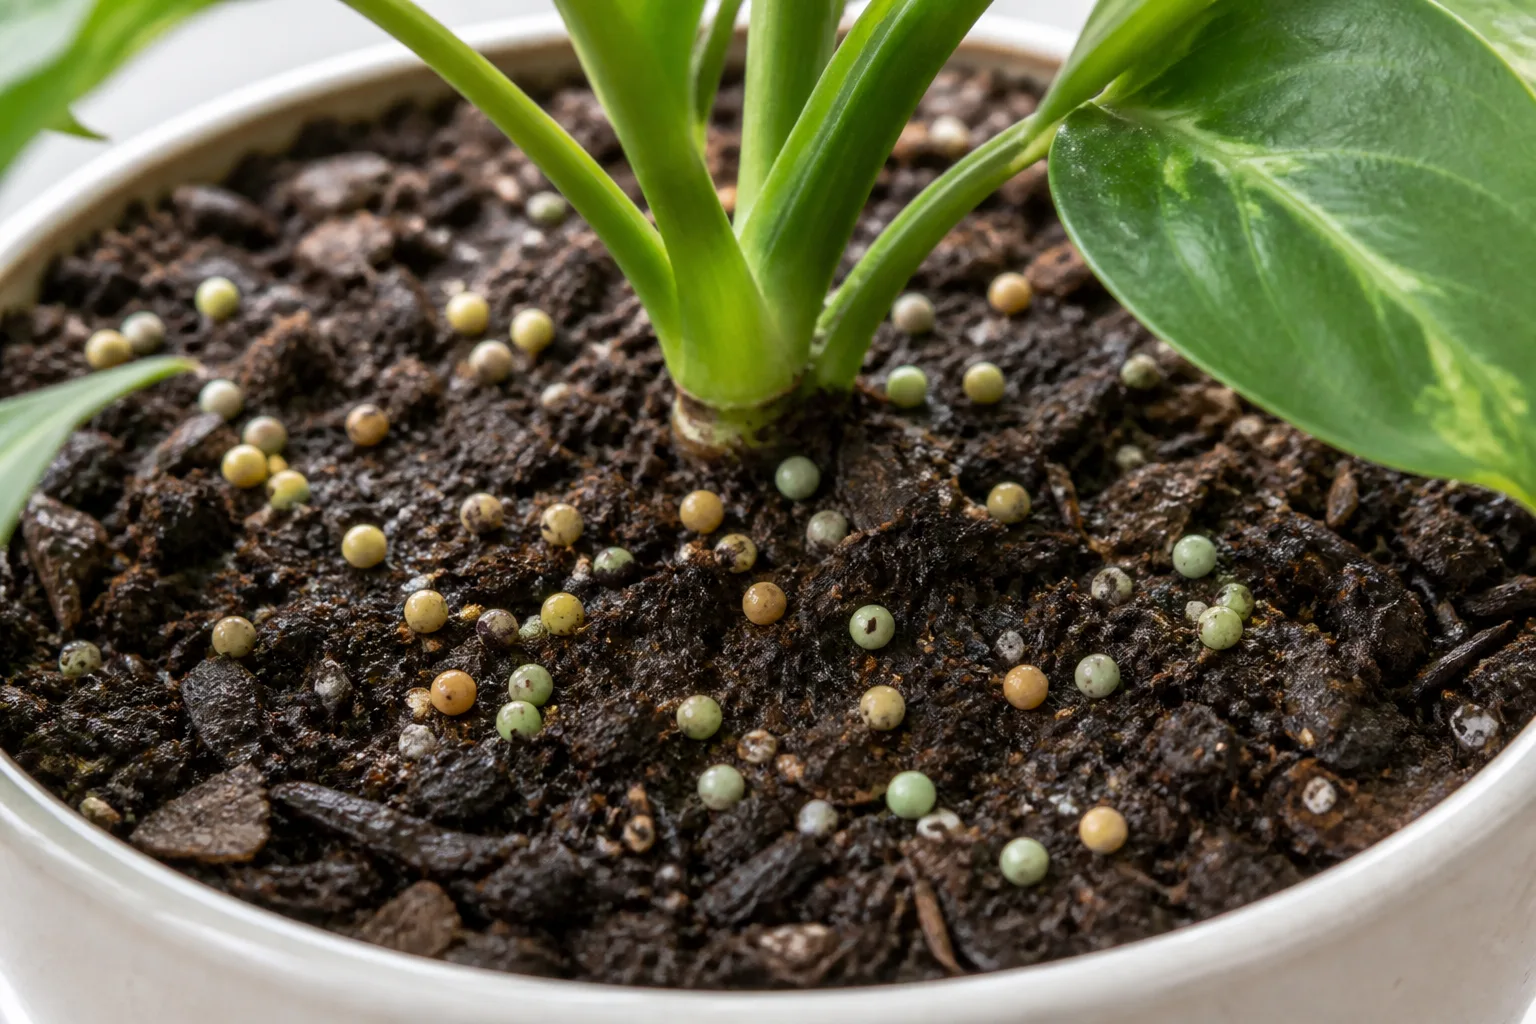
Container plants have access only to the nutrients in their limited volume of mix, and frequent watering carries some soluble nutrients out of the pot. Fast-growing flowers and vegetables therefore often need more regular feeding than plants in the ground. Garden.org recommends a slow-release fertilizer at planting followed by a water-soluble feed during the growing season, while Penn State Extension gives a similar slow-release-plus-periodic-soluble approach for productive containers.
Use the label for the specific product and plant. A slow-release fertilizer already mixed into spring potting mix may still be active, or it may be depleted after months of heat and irrigation. Do not add a second full dose simply because the foliage looks pale; first check light, root crowding, pH-related nutrient lockout, pests, and watering. Too much fertilizer can increase salt buildup and produce leaf-edge burn or soft, overly lush growth.
Water the pot thoroughly before applying a liquid or granular feed. Feeding a bone-dry root ball concentrates salts at the roots and increases the chance of damage. During a heat wave, stabilize moisture and temperature first, then feed once the plant is actively growing again. Fertilizer is a growth support, not an emergency treatment for a wilted plant.
If the pot has a crusty white residue on the mix or rim, pause feeding and flush the container with clean water while ensuring drainage is open. Repeat only as the product and plant tolerate. When a container has been neglected for months, replacing depleted or compacted mix may be more useful than escalating fertilizer.
Prune in layers, not by default
Pruning keeps a container full only when the plant has enough roots, water, light, and time to make new growth. Start with the least disruptive cut: remove dead leaves, damaged stems, and finished flower stalks. Then pinch growing tips if the plant is healthy but stretching. Reserve a larger cutback for a plant that is hydrated, actively growing, and still has live nodes below the proposed cut.
Penn State Extension distinguishes deadheading, pinching, heading back, and cutting back because each action has a different purpose. A blanket “prune every few weeks” schedule can remove new buds, expose stems to heat, or set a stressed plant back. Instead, trim in small sections, step back to assess the shape, and give the plant time to respond before cutting again.
Deadhead only when it earns the time
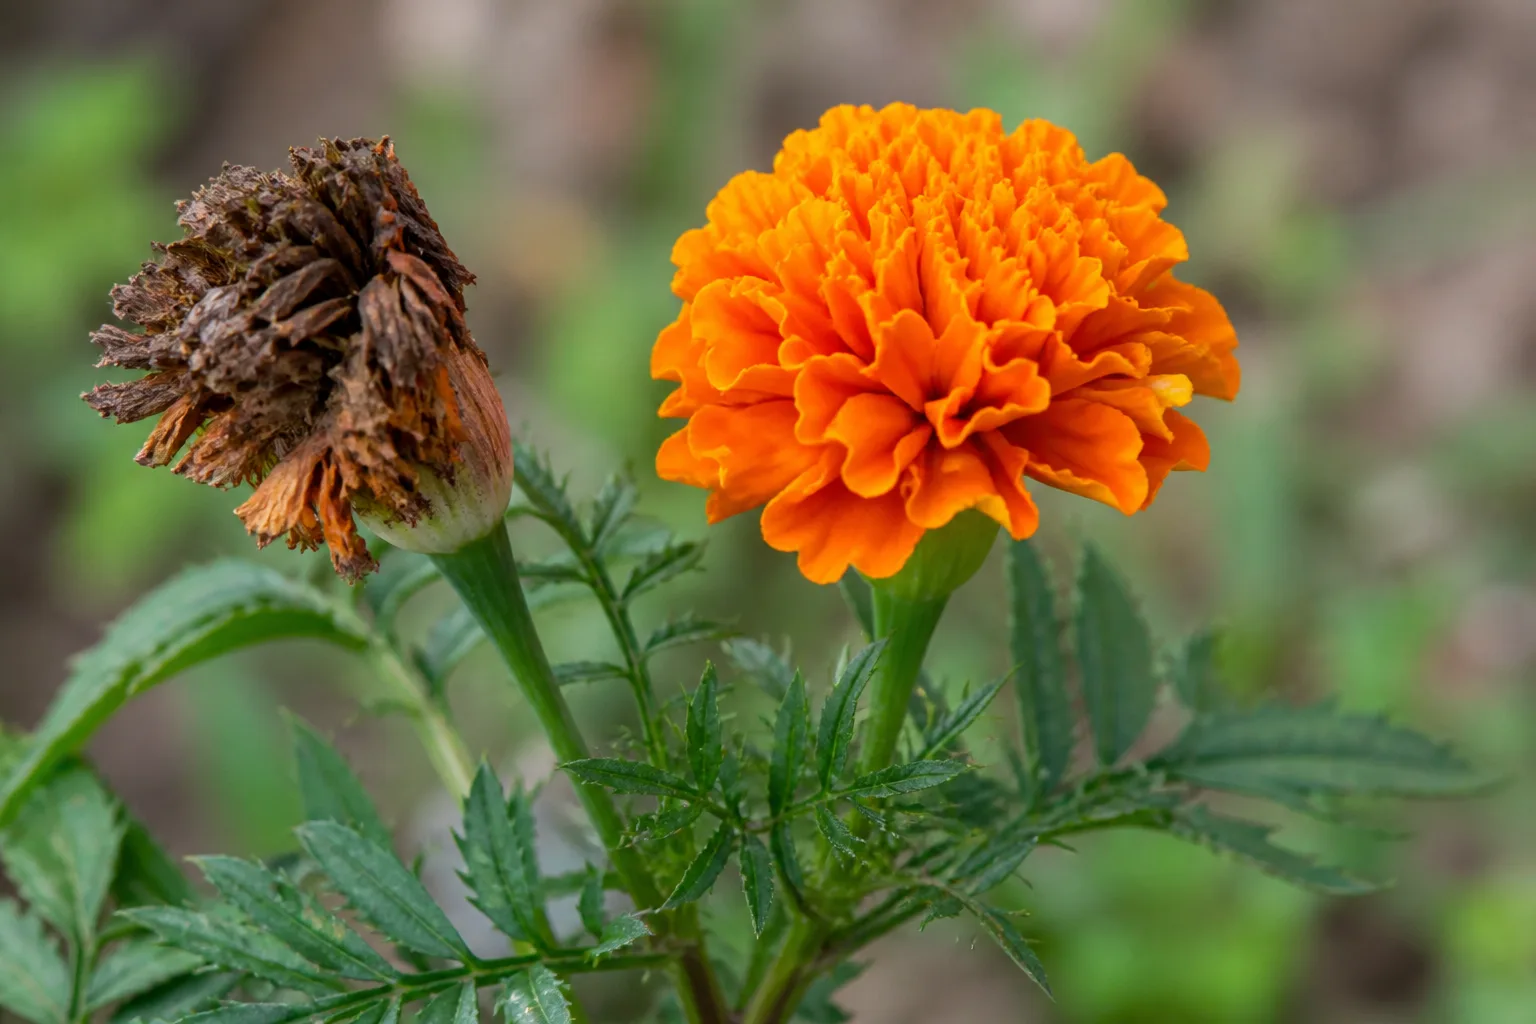
Remove spent blooms when they look untidy, are setting seed, or belong to an annual that produces more flowers when it is prevented from finishing its seed-making cycle. Petunias, geraniums, marigolds, salvias, and many zinnias can benefit from regular grooming, but not every flower needs a daily inspection. Some newer petunias, impatiens, and begonias are self-cleaning, dropping old petals without leaving a conspicuous seed head.
Use clean fingers or scissors to cut a spent flower stem just above a leaf or active bud. For a flower spike, remove the finished portion rather than cutting the entire plant. The Penn State Master Gardener deadheading guide notes that some seed heads are worth leaving for winter interest, wildlife, or self-sowing, and that deadheading a biennial can prevent the plant from returning the following year. In a decorative annual container, leaving one or two seed heads is a design choice; removing every last one is not a rule.
Pinch or cut back leggy stems
Pinch the soft growing tip of a healthy stem just above a pair of leaves to encourage branching. This is useful early and midway through the season for plants that respond by producing lateral shoots. If an annual has already become long and sparse, a more substantial heading-back cut can help: remove roughly one-quarter to one-third of the top growth, leaving several active nodes and enough foliage to keep photosynthesizing.
Do not give a hard haircut to a plant that is wilted, sun-scalded, root-bound, or sitting in saturated mix. Correct the stress first. A healthy annual may look temporarily bare after a midsummer trim, then refill over the following weeks; a plant with damaged roots may not have the reserves to do that. Water after pruning if the mix is dry, but avoid turning the pot into a swamp.
Clean pruners between visibly diseased plants, collect fallen petals and leaves, and keep dense foliage from resting on the wet soil surface. Warm, humid air, poor airflow, and decaying plant debris create a better environment for disease than a lightly groomed container does. Shape the plant with selective cuts rather than shearing every stem to the same height.
Use a 10-minute weekly inspection
The lowest-effort way to keep containers lush is to notice small changes before they become a rescue project. Once a week, walk the pots with a watering can and pruners, but inspect before touching either one. The National Gardening Association’s container-maintenance guidance emphasizes frequent watering, regular feeding, grooming, and seasonal replacement; the inspection is what tells you which task is actually needed.
Use this quick loop:
- Push a finger into the mix and compare the center with the edge.
- Check drainage holes, saucers, reservoir indicators, and drip emitters.
- Look under leaves for stippling, sticky residue, chewed edges, or insects.
- Remove dead foliage and spent blooms that are trapping moisture.
- Check whether stems are leaning toward light or plants are crowding each other.
- Rotate movable pots a quarter turn and note any side that is overheating.
- Record which containers dried first so you can adjust placement or irrigation.
Look for root-bound, crowded, or pest-stressed plants
If the pot dries again soon after a thorough watering, roots may have filled the mix or the planting may simply be too dense for the container. A root-bound plant can have roots circling the drainage hole, a tight mat at the edge, or water that rushes through without wetting the center. Slide the root ball out only when the plant is not in acute heat stress. If roots are healthy, move the plant to a larger pot or divide the combination; if they are brown, mushy, and foul-smelling, correct drainage and remove damaged tissue before repotting.
Treat yellow leaves as a clue, not a diagnosis. Yellowing can follow overwatering, nutrient shortage, root injury, age, or pests. Wet soil plus wilt points toward oxygen or root trouble; dry mix plus crisping edges points toward drought or heat; distorted new growth or stippled leaves calls for a close pest check. Savvy Gardening recommends inspecting containers for pest evidence once or twice a week and identifying the problem before applying a control, a habit that prevents unnecessary sprays.
Refresh a tired container instead of throwing it away
Many midsummer containers can be revived in one session. Move the pot out of the harshest heat, remove dead material, check the root zone, and water thoroughly if the mix is dry. After the plant has rehydrated, thin the most crowded stems, pinch or cut back healthy leggy growth, top up settled mix, and apply a modest feed only if the product schedule says it is due.
Give the trimmed plant a recovery window. It may look less full for a week or two while new shoots develop. Keep moisture steady, protect it from a second heat shock, and do not keep cutting because the first flush of flowers disappeared. Southern Living’s recent container-refresh advice uses a similar one-third midsummer trim for healthy annuals and recommends removing vigorous plants when crowding is the reason the rest of the pot is declining.
If only one plant is failing, remove that plant rather than replacing the entire arrangement. A healthy filler can become the new focal point when the dead or diseased neighbor is gone. Add a seasonal replacement that matches the pot’s current light and temperature instead of automatically buying the same type that failed.
Know when to replace a plant
Replace a plant when it has persistent disease, severe root loss, no living buds or nodes below a reasonable cut, or a mature size that the container cannot support. Also replace it when the season has moved on: a cool-season plant that is bolting in heat may be healthy but no longer suited to that spot. A replacement is not a gardening failure; seasonal succession is one of the practical strengths of container gardening.
Keep a plant when the stems are green, roots are firm and pale, the pot drains, and new buds or leaves are visible after watering and a light trim. Garden.org recommends changing tired plants seasonally, while Penn State Extension notes that perennials and foliage plants can be reused and refreshed. The decision should be based on recoverable growth and the job the plant needs to do, not on whether it looks perfect the day you inspect it.
Follow a summer container rescue sequence
When a pot looks sparse, work in this order so you do not stack stress on stress:
- Check the mix before watering. If it is dry at the root-zone depth, water slowly until the whole pot is wet and drainage appears. If it is wet, skip water and inspect roots, drainage, and heat exposure.
- Reduce the immediate heat load. Move a small or porous pot into morning sun or dappled shade, and get dark containers off hot paving if possible.
- Remove only what is clearly finished. Pick off dead leaves and spent flowers; do not cut healthy green growth from a wilted plant yet.
- Prune once the plant is hydrated. Pinch or head back healthy leggy stems, leaving active nodes and enough foliage for recovery.
- Feed only after recovery starts. Use the label rate and avoid adding fertilizer to a dry, heat-stressed root ball.
- Recheck in 48 hours. Look for firmer leaves, new buds, or improved color. If the plant continues to decline despite correct moisture and drainage, remove it and give the remaining plants more room.
This sequence prevents the most common midsummer mistake: watering a wilted plant, fertilizing it immediately, cutting it back hard, and then moving it into a new exposure all at once. The goal is not to force a perfect display overnight. It is to remove the limiting factor first, then give the plant a fair chance to rebuild.
Conclusion
Lush summer containers are built before they look tired. Use a pot large enough for the finished planting, a light mix that drains, and a location that does not turn the roots into a hot, dry pocket. Check moisture instead of obeying a calendar, water deeply, automate only what you can inspect, and feed according to the product and the plant’s growth.
Then groom with purpose: deadhead the flowers that benefit, pinch stems before they become a tangle, and cut back only healthy plants with enough root support to regrow. A ten-minute weekly inspection catches blocked drainage, crowded roots, pests, and heat stress while the fix is still small. When one plant truly has reached the end of its useful season, replace it without disturbing the rest. That is how a container garden stays full without requiring constant rescue.



