Potting Soil for Indoor and Container Plants: What Works
Choose potting soil for indoor plants and containers by drainage, moisture needs, and ingredients. Learn how to improve old mix and when to repot.
A bag labeled “potting soil” is only a starting point. The right medium depends on what the plant’s roots need, how quickly the pot dries in your home or outdoors, and whether the mix still holds a useful balance of water and air.
You do not need a custom recipe for every plant. Start with a consistent container mix, then change one ingredient only when you have a reason: water is lingering too long, the mix dries before you can keep up, or an older medium has settled and stopped wetting evenly. That approach is easier to troubleshoot than adding several amendments at once.
What “potting soil” means in a container
People use potting soil, potting mix, and growing medium as if they are interchangeable. In the store, names are not always consistent: some products contain mineral soil, while others are soilless blends of peat or coir, bark, perlite, compost, and fertilizer. Read the ingredient panel and the intended-use label instead of assuming the word “soil” tells you what is inside. Better Homes & Gardens also advises checking the ingredient list because retail labels are not consistent.
A container medium is engineered for a shallow, enclosed root zone. Garden soil relies on a much larger soil profile for drainage, but in a pot it can pack tightly and leave too little air around roots. UConn’s Home Garden Education Center explains that field soil can compact under repeated watering and that prepared container mixes are formulated to provide support, drainage, air circulation, and water and nutrient storage. For the terminology distinction in more detail, see potting soil versus potting mix.
A bag labeled “indoor” is not a guarantee: a light mix may stay wet too long for a succulent in a cool room, while a coarse blend may dry too fast indoors. Judge it by how it behaves in your pot.
The four jobs a potting mix must do
A useful potting mix holds enough water for roots to take it up, drains the surplus, leaves air-filled pore space after watering, and anchors the plant. It also needs to keep nutrients available long enough for the plant to use them. UConn’s container-media guidance describes these functions as a balance rather than a single “drainage” score, and that is the best way to evaluate any mix.
The balance is visible in the pot. After a thorough watering, water should pass through an open drain hole rather than sit on the surface, while the root zone remains evenly moist instead of turning into a dry shell around a soggy core. When excess water leaves the pot, larger pores refill with air; smaller pores retain some moisture. A mix with only large particles may dry fast, while one with mostly fine, compacted particles can stay waterlogged.
The right balance varies with the plant. A fern or many tropical foliage plants generally benefits from a mix that stays evenly moist but does not remain saturated; a cactus or many succulents need a faster-drying root zone. A sunny balcony tomato can use a larger moisture reservoir than a small pothos in a cool, dim room.
Why a mix changes after it goes into a pot
A new bag usually feels loose because its ingredients have not yet been compressed by filling, watering, roots, and time. Organic ingredients gradually break down, fine particles settle into gaps, and a dense root system occupies space that used to contain media. Some of this is normal aging; the practical concern is whether water and air still move through the root zone well enough for the plant.
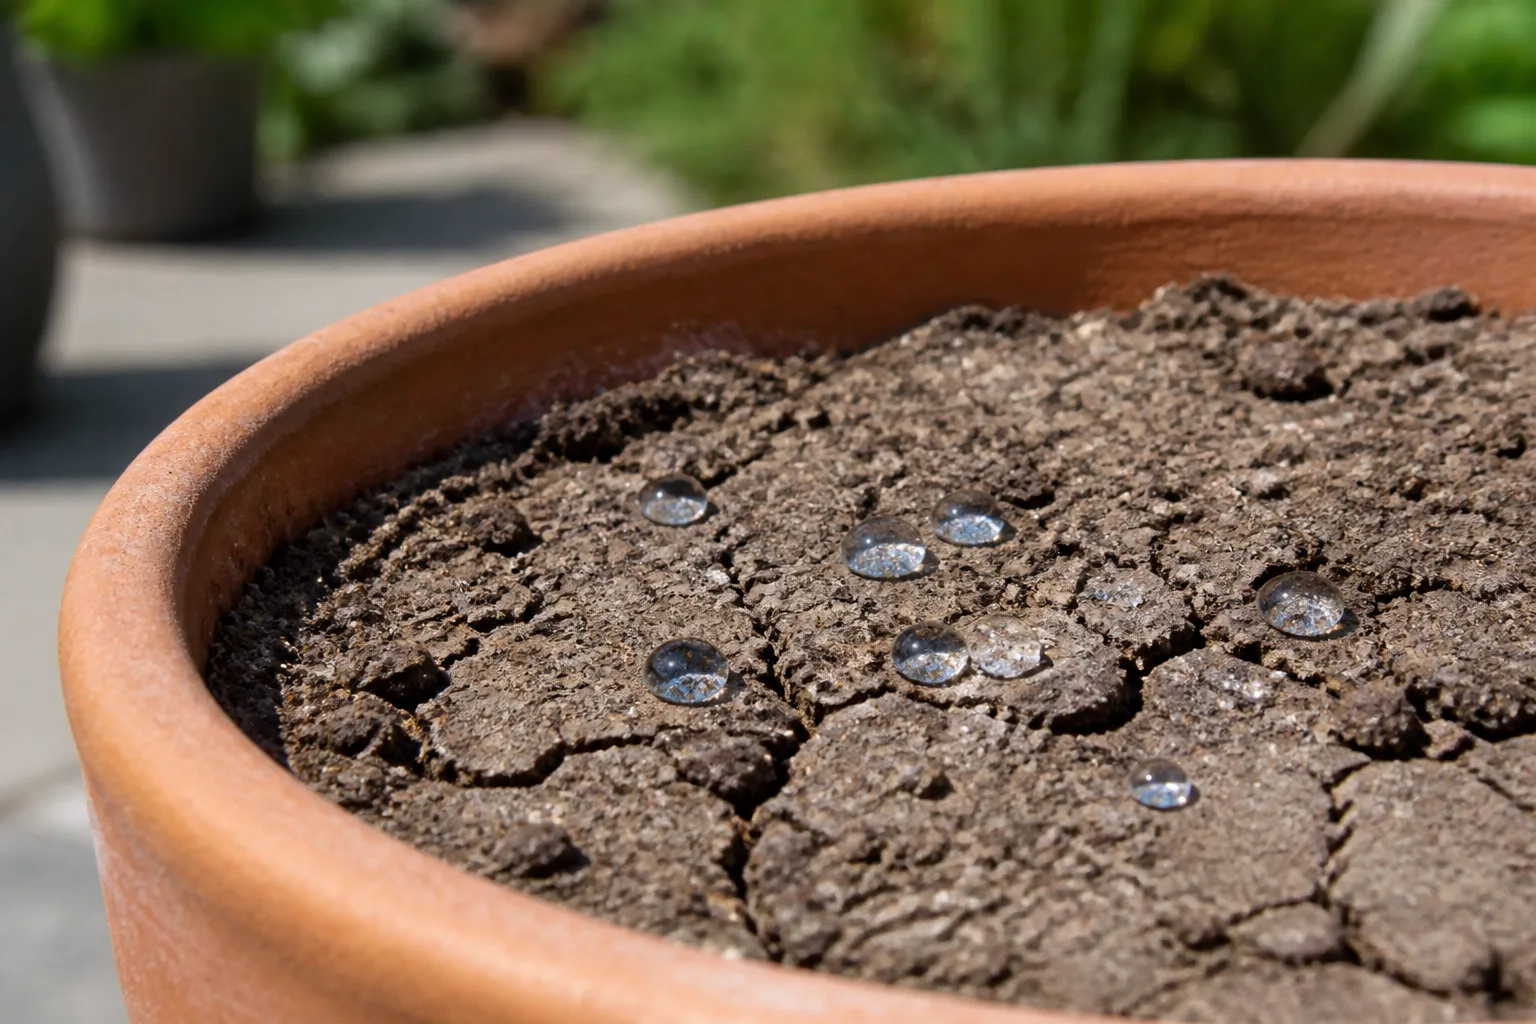
As structure declines, you may see a gap between the mix and the pot wall, water that beads or runs down the sides, a pot that stays heavy long after watering, or a crust on the surface. None of those signs proves by itself that the mix is “bad.” Roots can fill a pot, the container may lack a proper drain hole, or a saucer may be holding water; check those conditions before replacing the medium.
Choose by plant, pot, and growing conditions
Begin with three questions. Does this plant prefer the root zone to dry between waterings or remain lightly moist? How much light, warmth, airflow, and sun does the pot receive? And does the container have open drainage holes and a shape that lets extra water escape? Those answers are more useful than choosing a mix because the package says “premium” or “for indoor plants.”
For most common foliage houseplants, start with a general-purpose, lightweight container mix that contains both water-holding organic material and a coarse aeration ingredient. If your plant repeatedly stays wet, add a modest amount of coarse bark, perlite, or pumice at the next repot rather than watering less and less until the upper layer dries while the bottom remains saturated. If the mix dries too quickly in a bright, warm room, use a finer or more moisture-retentive base and check the pot size before adding water crystals.
What common potting-mix ingredients do
Ingredient lists are easier to interpret when you think in functions. No component fixes every problem, and two products with the same ingredients can behave differently because particle size, proportions, and processing matter.
| Ingredient | Main contribution | Trade-off to keep in mind |
|---|---|---|
| Peat moss or coir | Holds moisture and helps keep a mix lightweight | Can become difficult to wet after extreme drying; coir products vary in texture and may need washing or buffering |
| Composted bark | Adds larger pore spaces and structure | Coarse bark dries faster and may not suit fine-rooted plants as the only base |
| Perlite or pumice | Adds durable, coarse aeration; pumice also holds some water within its pores | Too much coarse amendment can shorten the watering interval and reduce the mix’s water reserve |
| Vermiculite | Holds water and some nutrients | A high proportion can make a mix stay wet and can compact if pressed firmly |
| Mature compost or worm castings | Adds organic matter and nutrients | Quality and salt content vary; too much can make a small pot dense or overly rich |
| Slow-release fertilizer | Supplies nutrients over a label-defined period | Release depends on product and conditions; do not assume a new mix needs immediate extra fertilizer |
The Royal Horticultural Society’s houseplant media guide describes aerators such as bark, pumice, and clay granules, moisture-retentive coir and vermiculite, and the different roles of bark, compost, and other substrates. Fine Gardening likewise emphasizes that container media must drain while holding moisture, and that ingredient choice changes the balance. Its useful lesson is not one fixed formula; it is to select components by the physical behavior you need.
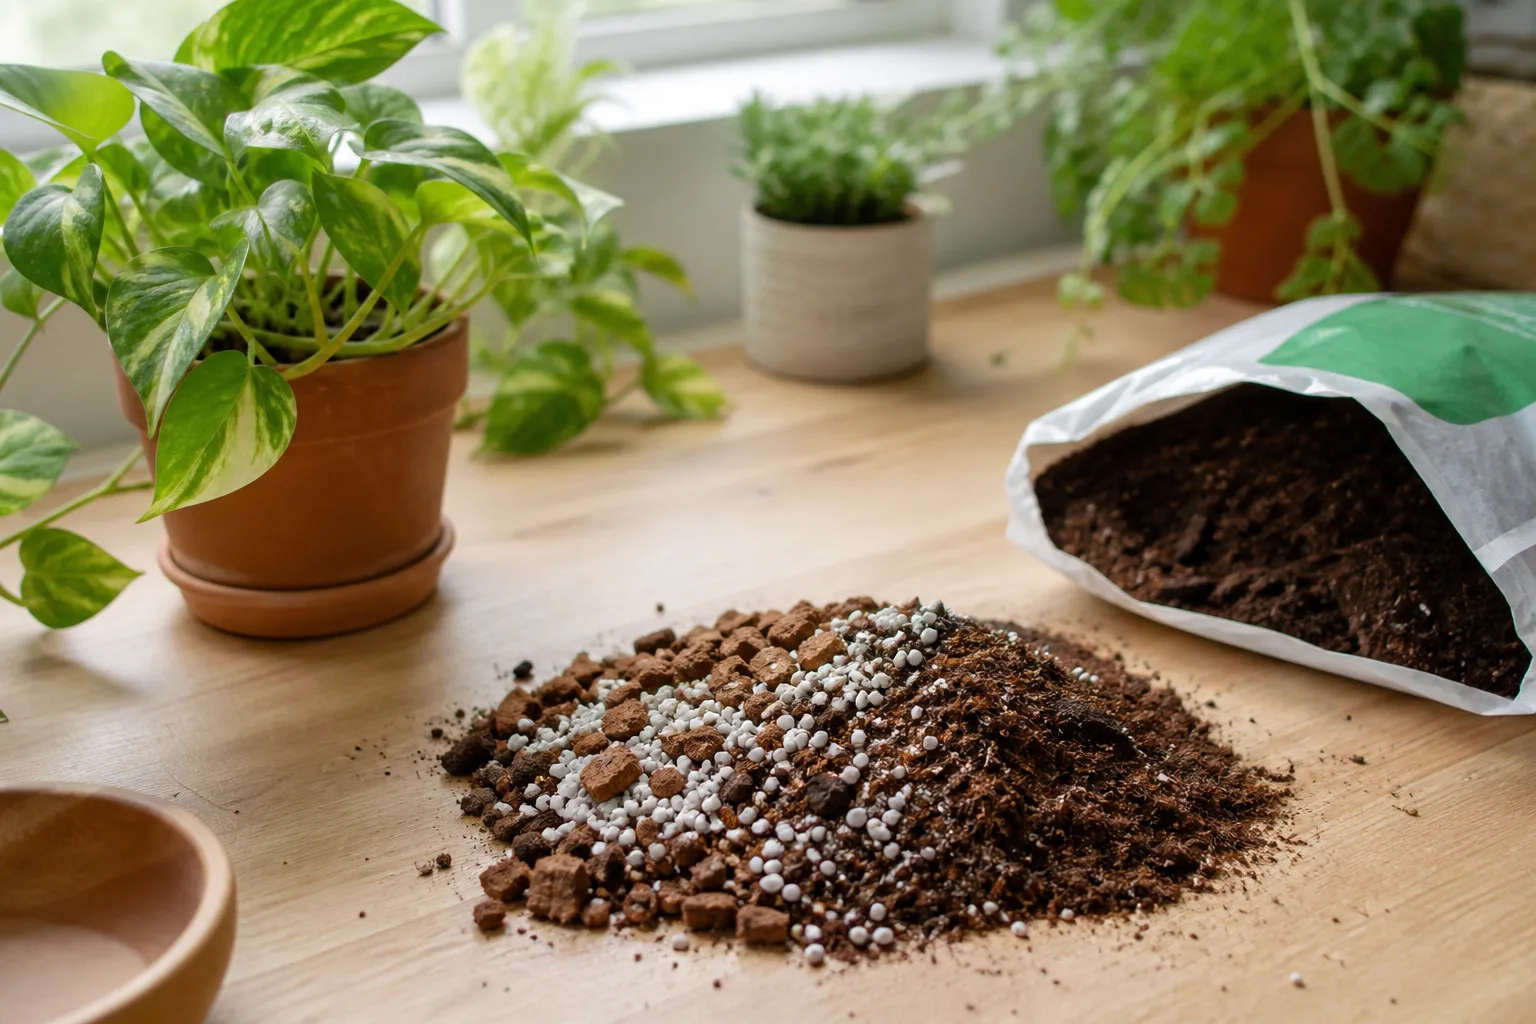
Particle size matters as much as the ingredient name: small bark behaves differently from chunky orchid bark, and a bag that already contains several amendments may need none added. Vermiculite can hold water and nutrients, so use it in moderation when a blend needs moisture retention.
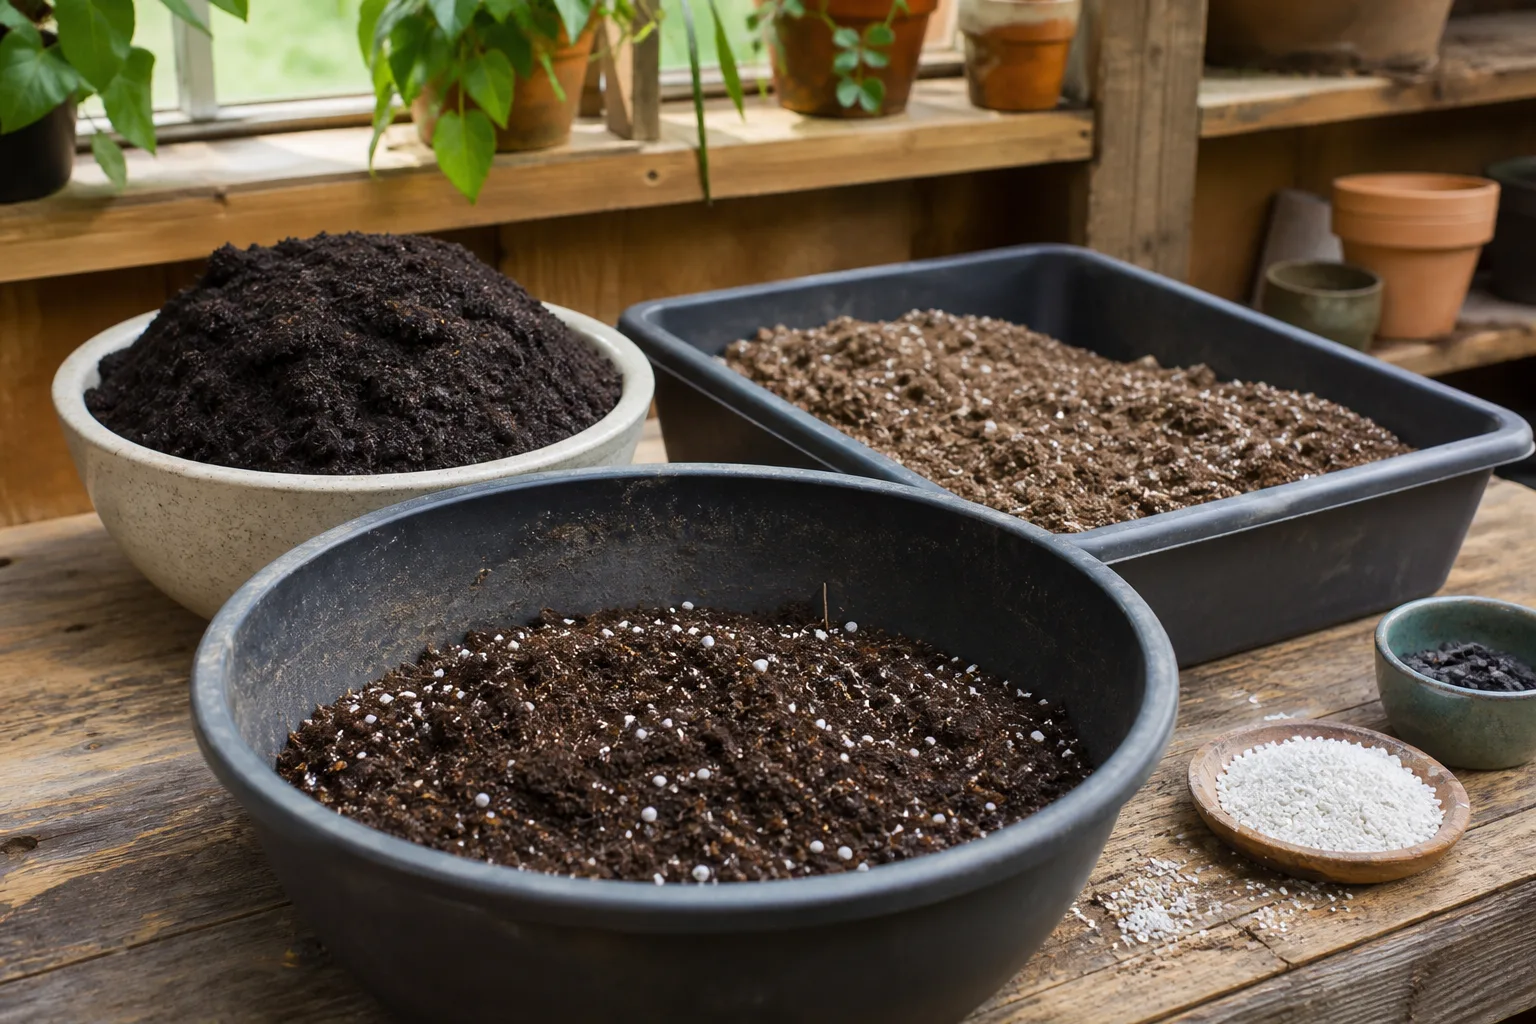
Starting mixes for common container plants
Recipes below use parts by volume, such as one scoop or one small bucket per part. Treat them as starting points for a small test batch, not universal formulas: ingredients differ by brand, and the same plant can dry at different speeds in different homes. Fine Gardening and Penn State Extension both describe recipes as blends whose texture, nutrient supply, and performance need to fit the crop and growing conditions.
| Use case | Starting blend | What to watch after potting |
|---|---|---|
| Common tropical foliage | 2 parts general potting mix + 1 part perlite or pumice; add up to 1 part fine bark if the original mix feels dense | If it dries very quickly, reduce coarse material next time; if it stays heavy, check light, pot size, and drainage before adding still more |
| Moisture-loving foliage | 3 parts general mix + 1 part perlite or fine bark | Keep it evenly damp, not waterlogged; choose a smaller pot if the mix remains wet for days |
| Cacti and many succulents | 1 part general mix + 1 to 2 parts pumice or coarse perlite | Use a pot with drainage and water according to the plant, not because a calendar says to |
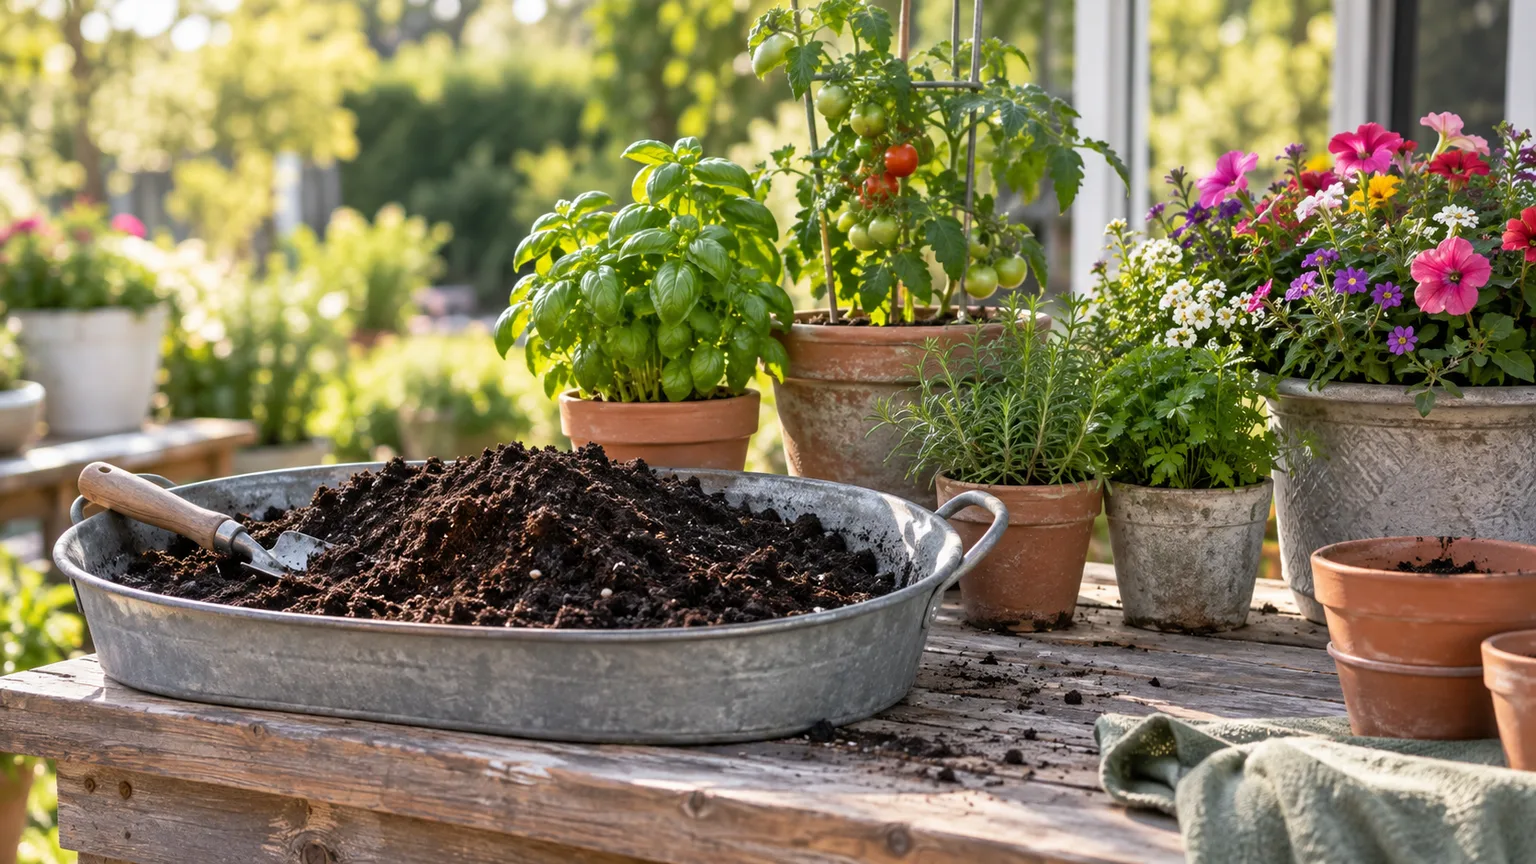
| Outdoor vegetables in a large container | 3 parts container mix + 1 part mature, screened compost | Expect more frequent watering in sun and wind; follow the fertilizer label if the base mix is not pre-fertilized |
| Orchids that grow on bark | Use a product formulated for the orchid type, often a bark-based medium | Do not bury aerial roots in fine houseplant mix unless the plant’s growing method calls for it |
These are starting points, not recipes for orchids, African violets, carnivorous plants, or seedlings, which may need specialist media. Mix a small batch and change one component at a time so you can track its effect.
How to improve a bagged mix without overcorrecting
First, inspect the bag contents. Break apart only a few large clods, remove obvious debris, and feel whether the mix is mostly fine and heavy, fluffy and coarse, or already balanced. Then identify the problem you are trying to solve. “It holds water too long” calls for more air space or a change in the pot and setting; “it dries before I can water” may call for a more moisture-retentive blend, a larger container, or a cooler placement.
Pre-moisten dry peat- or coir-based mix in a tub before planting. UConn advises moistening potting media before use because dry organic materials can repel water; this lets the initial moisture distribute through the blend instead of bypassing dry pockets. Add amendments gradually: start around one part coarse material to three or four parts of the original mix when the bagged blend feels dense, mix thoroughly, and repeat the wetting test. That proportion is a conservative trial amount, not a universal horticultural standard.
Avoid “improving” a mix with heavy garden soil, unmeasured compost, coffee grounds, or a drainage layer of gravel. A small pot has little room to absorb errors, so a modest structural amendment is easier to correct than a wholesale recipe change. If the old mix is full of roots, smells sour, has pest or disease history, or remains waterlogged after you rule out the pot, amendment is unlikely to solve the underlying problem; refresh or repot instead. For a deeper decision on previously used media, see whether potting soil can be reused.
Test a potting mix before planting
A quick home test can reveal how a dry mix wets and whether it drains freely. It does not measure pH, fertilizer strength, or disease organisms, so use it as a practical screen rather than a laboratory analysis.
- Put a handful of mix in a small nursery pot with open drainage holes, without pressing it down.
- Pour water slowly across the surface. Note whether it spreads and soaks in, beads at the top, or runs down the side gap.
- Continue until a little water exits the bottom. Lift the pot after it drains and feel whether the mix is evenly moist or has dry pockets.
- Check it again later. The pot should gradually lose weight as the medium dries; if it stays heavy for an unusually long time, compare with a smaller pot or a more open sample.
If water immediately exits a dry sample while the middle remains dusty, the mix may be hydrophobic or the pot may have a channel around the root ball. Break dry clumps and rehydrate the unused mix gradually in a tub, mixing as you add water. In an already planted pot, water in several slow passes with pauses; bottom-soaking can help a small dry root ball rewet, but remove the pot once the mix is damp and let it drain. Do not keep the container sitting in water as a routine solution.
Dry peat may need time to absorb water; a compacted mix may need replacement at repotting. See how to fix hydrophobic soil for a repair sequence.
Drainage holes, not gravel layers, solve the problem
A drainage hole gives excess water a way out; a gravel layer does not make the soil above it drain faster. Water moves through media according to pore size and the boundary between materials, so a coarse layer below fine mix can leave a wetter zone sitting above the gravel. It also takes away space that could hold roots and mix.
Use a pot with at least one unobstructed drainage hole for most houseplants. If you want a decorative cachepot without a hole, keep the plant in a smaller nursery pot inside it, lift that pot out to water, and pour away runoff before returning it. A saucer catches drips but should not become a reservoir where the pot sits for hours.
Drainage is not the same as drying quickly. A light, open medium can still hold useful moisture in smaller pores; a mix that drains through but is completely dry in minutes may be too coarse for that plant or setting. Fine Gardening describes this balance as water leaving larger pore spaces while some remains available in smaller ones. That is why fixing the mix means adjusting its texture, not lining the pot with rocks.
Fertilizer, pH, and salts: read the bag before adding more
Potting mix is a physical medium, not necessarily a complete feeding plan. Some products include a starter charge or controlled-release fertilizer; others contain little available nutrition. Look for the fertilizer analysis and the duration on the label, then count that period before applying more. A plant that has just been repotted may not need an immediate dose, and extra fertilizer cannot fix roots deprived of oxygen.
After the starter charge ends, feed during active growth according to the plant and product label. Houseplants growing slowly in low light often use nutrients more slowly than vegetables or annuals in sun. If you apply fertilizer with every watering, follow the label’s dilution guidance rather than stacking full-strength feeds; salts can accumulate in containers because there is little soil beyond the pot for them to disperse into. Penn State Extension explains that compost-based media can also vary in nutrient release and soluble salts, so “organic” does not mean automatically gentle or nutritionally complete.
Do not chase a pH number without a reason. Commercial mixes are often adjusted for broad container use, while specialty plants may need narrower conditions; UConn gives separate typical ranges for soilless and soil-containing media. Test pH only when the plant’s requirements and history point there, and use a greenhouse media test rather than treating a garden-bed soil test as equivalent.
When salts are suspected and the pot drains freely, a thorough watering that produces runoff can carry some salts out. Empty the saucer. Do not flush on a fixed monthly schedule if the mix stays wet, the pot lacks drainage, or your water is artificially softened; frequent flushing can worsen root stress or leave the medium chronically saturated. Address the cause first: fertilizer concentration, water quality, and the mix’s ability to drain.
Indoor pots and outdoor containers need different adjustments
Indoors, the limiting factor is often slow drying. Light is lower than outdoors, air movement may be still, and decorative cachepots can trap runoff. A moisture-retentive mix that works in a warm greenhouse may remain wet too long in a dim corner. Before adding bark or perlite, move the plant to brighter indirect light if appropriate, confirm the nursery pot drains, and make sure it is not standing in water.
Outdoor containers lose water faster under sun, heat, and wind, but rainfall can reverse that pattern for pots left exposed. A large container also holds a larger moisture reservoir than a small one, while porous terracotta loses water through its walls. For a patio pot that dries daily, increase the water-holding portion slightly or group the container where it receives less afternoon wind; for a planter that stays soggy after rain, protect it from repeated downpours and check that the drainage openings are clear.
Container vegetables have a different nutrient rhythm from a mature houseplant. They grow quickly in a small volume of media and may benefit from a mix with mature compost or a labeled fertilizer charge, followed by feeding appropriate to the crop and product. A vegetable-specific label can guide fertility but does not override physical fit: the blend still needs enough air at the roots and a pot large enough to buffer the plant’s water demand. An outdoor mix can be used indoors if it is appropriate for the plant, but its coarseness and preloaded fertilizer may change watering and feeding needs.
Diagnose a mix problem from more than one clue
A drooping or yellowing plant is not proof that the soil is bad. Check the whole setup before changing media: recent watering, light and temperature, pot size, drainage holes, roots, and whether the plant is actively growing. The same symptom can occur when roots are too dry, too wet, damaged, or unable to take up nutrients.
Use the pattern of evidence. Water that runs along the pot edge while the center remains dry points toward a shrunken or water-repellent root ball. A pot that stays heavy, has a sour odor, and contains dark, soft roots suggests prolonged saturation or root decay; stop watering and inspect the root ball rather than adding drainage material on top. White crust on the rim after regular fertilizing suggests mineral accumulation, while green algae on the surface usually indicates that the surface stays damp and receives light; neither sign alone tells you the entire root zone is failing.
If the mix is still loose and roots are healthy, change watering technique or the environment first. If it has collapsed into dense, fine particles, roots circle the pot, or water cannot wet it evenly after a careful rehydration, repot into fresh medium and an appropriately sized container. How to repot a plant without killing it covers the handling steps; here, the key point is to replace media when structure—not merely age—has stopped serving the roots.
Refresh the surface or repot the whole root ball?
A calendar is a poor sole trigger for repotting. Fast-growing plants may fill a small pot in a year; slow-growing plants can remain healthy longer. Repot when roots are densely circling, the plant dries unusually fast because roots occupy nearly all the medium, the mix has broken down or become hard to wet, or you need to remove decayed roots. If roots are healthy and the medium still behaves well, there is no need to disturb the plant just because a year has passed.
Top-dressing can replace a shallow layer lost through watering, but it cannot rebuild the structure deeper in the pot. Remove loose debris and the top inch or two only if roots are not concentrated there, then add fresh mix to restore the surface level. Never bury the stem or crown to make space for more soil; keep the plant at its original planting depth.
During a full repot, remove loose old media without tearing healthy fine roots unnecessarily. Cut away mushy roots with clean tools, choose a pot only modestly larger when the plant needs room, and fill around the root ball with a pre-moistened mix. Do not tamp it into a brick; settle it with a gentle watering, let it drain, and give the plant time to adjust before resuming fertilizer. For a mix that was healthy before, reuse may be possible after screening and refreshing; avoid carrying over media from plants with serious root disease or persistent pest problems.
Keep unused potting mix in usable condition
An opened bag can remain useful if you store it dry enough to prevent waterlogging, sealed enough to exclude pests, and out of direct sun and weather. Close the original bag or transfer mix to a lidded bin; label it with the product and opening date if you keep several blends. Do not leave a bag open on a damp patio where rain, weed seeds, insects, or animal waste can enter.
Before reusing stored media, inspect it. Discard it if it has a persistent sour or putrid smell, visible contamination, a large number of pests, or a texture that has turned into fine sludge. A little surface mold on damp organic material can occur without proving the whole bag is unsafe, but it signals that the bag has been wet and poorly ventilated. Open the bag outdoors, let damp media dry, and check its structure and odor before deciding.
Keep dry amendments separate, and mix only what you expect to use soon; wet compost or liquid fertilizer can change the stored batch unevenly. Pre-moisten only the amount needed for potting.
Peat-free mixes: assess the result in your own pot
Peat-free does not describe a single ingredient. A bag may rely on coir, composted bark, wood fiber, green waste compost, or a blend, and those materials vary in particle size and water behavior. Coir is a coconut-husk byproduct that can hold moisture; bark can create air spaces; compost can contribute nutrients. The actual proportions determine whether the bag works for your plant, not the environmental label alone.
The RHS notes that the wider move away from peat has brought more houseplant media options and that gardeners can blend substrates for different plant needs. Fine Gardening discusses coir as a peat alternative and bark as a structural ingredient, while also stressing that coarse mixes may dry faster. Those points matter because a peat-free product might need a different watering interval than the peat-based mix you used before. Check the first several waterings and adjust based on how the pot responds.
If you choose peat-free media, read the ingredient and fertilizer labels and test a small quantity first. Rehydrate compressed coir as directed; it may expand from a dry block. “Sustainable” does not mean pest-free or suited to every species, so observe how the blend behaves rather than expecting it to act exactly like peat.
Common mistakes that make a mix harder to manage
The most common mistake is trying to fix water retention without checking pot size, light, and drainage. A small plant placed into a pot several sizes too large can sit in a large volume of damp mix that its roots cannot use quickly. If the plant is root-bound, by contrast, a fresh mix will not solve the shortage of root space unless the pot is also sized appropriately.
Another mistake is changing several ingredients at once. A handful of perlite may help a fine mix, but adding bark, sand, compost, fertilizer, and water crystals in one batch makes the result hard to diagnose. Coarse sand is not the same as perlite and can fill pores if it is fine; excess moisture-holding amendments can swell or keep a pot wetter than expected. Test a small batch and change one variable so you can learn from the result.
Avoid repotting by routine, pressing media around roots, leaving water in an outer pot, or using garden-bed soil as the default indoor medium. Do not add fertilizer to a struggling plant before checking the roots; more nutrients cannot compensate for a root zone short of oxygen.
Conclusion: match the mix to your watering routine
Good potting soil is not simply fast-draining or moisture-retentive; it holds enough water for the plant while leaving space for air after watering. Choose a container-grade mix based on the plant, pot, and growing conditions, then use its ingredient list to decide whether it needs a small adjustment.
Before repotting, test how the mix wets and drains, inspect the root ball when symptoms persist, and read the fertilizer label before feeding. If the mix remains structurally sound, keep it; if it has collapsed, repels water, or traps moisture around failing roots, refresh it rather than piling on amendments. A well-matched medium makes watering more predictable, which is the practical measure of whether your potting mix is working.