How to Grow and Care for Onions
Onions need sun, loose soil, and the right day-length variety. This guide covers planting timing, spacing, fertilizer, pests, harvest, curing, and pet safety.
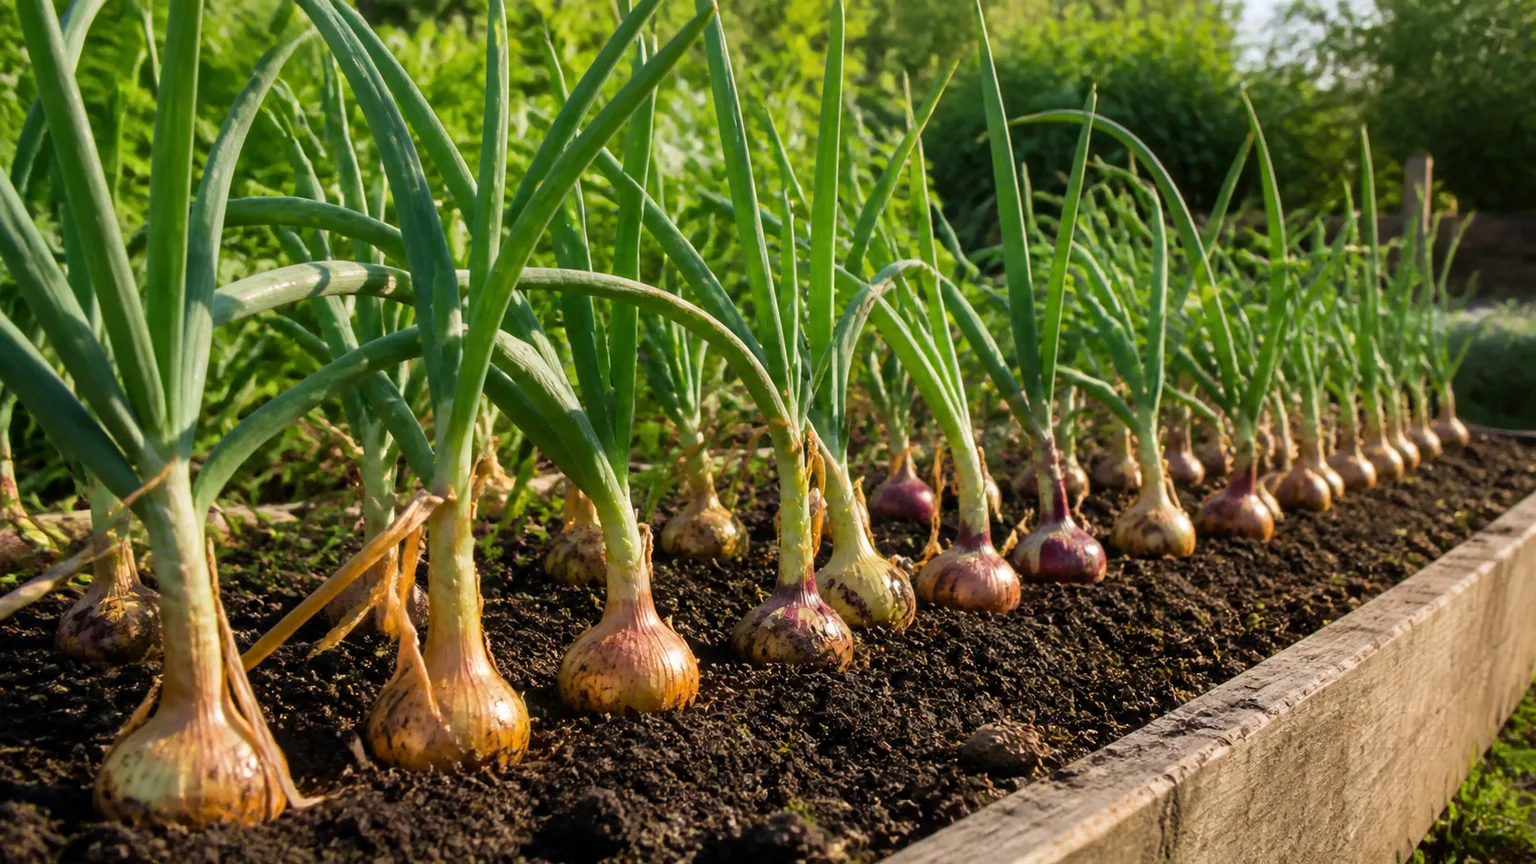
Onions look simple on the seed packet and complicated in the row: lush green tops, tiny bulbs, or a sudden flower stalk that ruins your storage plans. The crop is not hard once you understand how it actually works. An onion spends the first part of the season building leaves; when day length hits the threshold written into that variety’s genetics, it stops expanding the top and redirects energy into a bulb. Match that daylight signal to your latitude, give the plant enough time to make leaves first, and most of the “mystery” disappears.
Allium cepa is a cool-season vegetable with shallow roots, hollow blue-green leaves, and a biennial life cycle that most gardeners treat as an annual. You can harvest tender green onions in weeks, or grow storage bulbs that last months after curing. Both jobs use the same plant biology but different varieties, spacing, and timing. This guide walks through variety choice, bed prep, seasonal care, troubleshooting, and the harvest basics—with deeper timing and lifting detail in our cluster guides on when to plant onions, how long onions take to grow, how to plant onion bulbs (sets), and when to harvest onions.
What Onions Need Before You Buy a Single Set
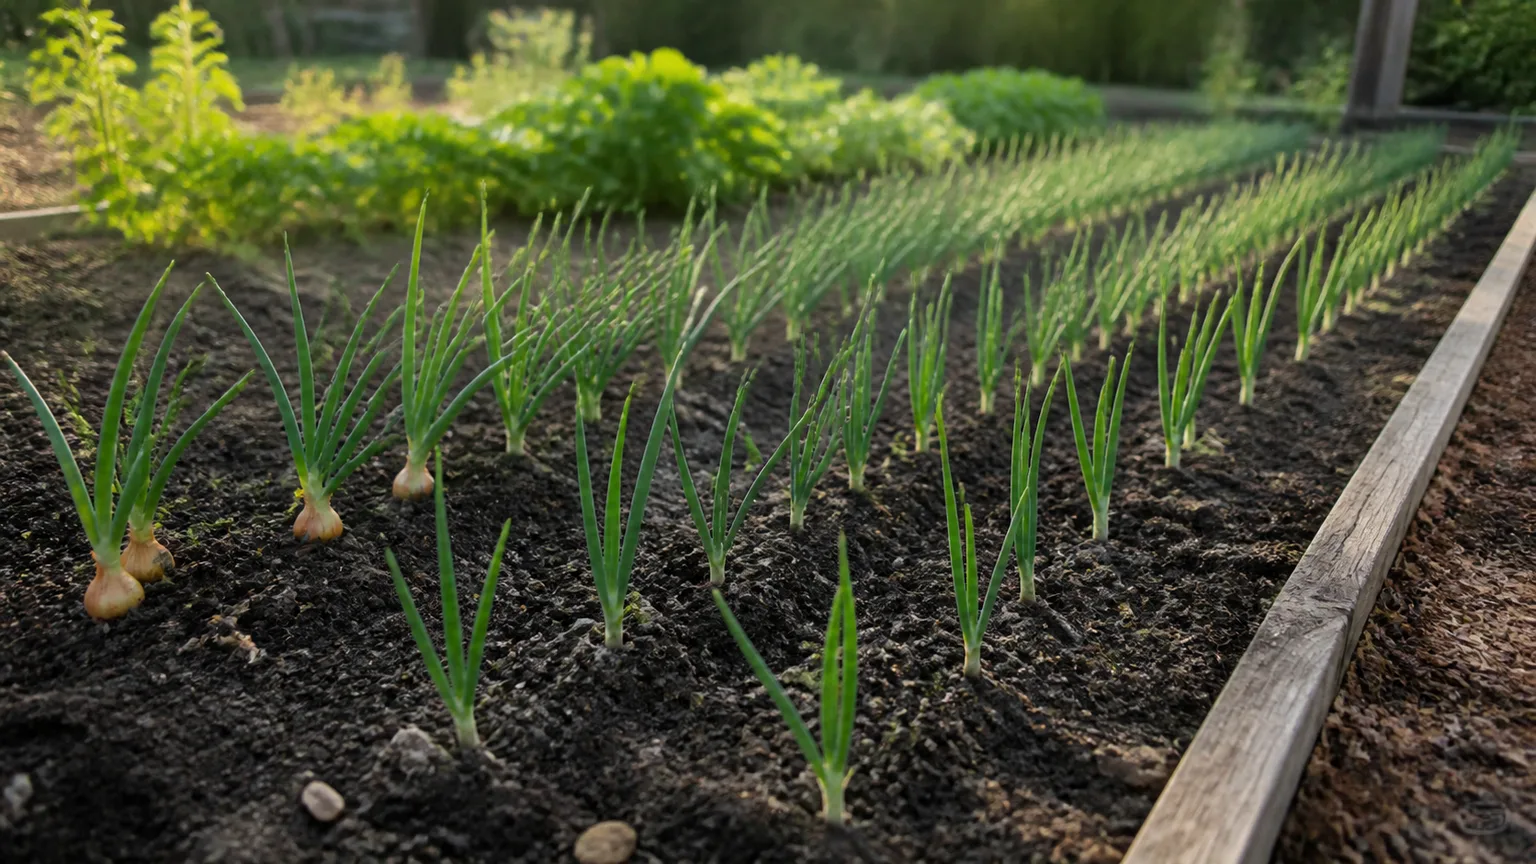
Before you touch soil, answer two questions: which day-length type fits your garden, and whether you are starting from sets, seed, or transplants. Everything else—spacing, fertilizer, water—supports those decisions. Skip them and you can do everything else “right” and still pull marble-sized bulbs.
The day-length decision that determines bulb size
Onions are photoperiodic. Bulb initiation is triggered by hours of daylight, not by a calendar date. Farmers’ Almanac and university extension guides consistently rank day-length mismatch as the most common reason home gardeners harvest all leaves and no bulb.
Use this as a first-pass guide, then read your seed catalog label—some varieties sit on the border between groups:
| Type | Bulbing begins at roughly | Best fit | Examples |
|---|---|---|---|
| Short-day | 10–12 hours of daylight | Southern US, mild winters (~25–35°N) | Texas Grano, Granex, Red Burgundy |
| Intermediate (day-neutral) | 12–14 hours | Central US, many regions (~32–42°N) | Candy, Super Star, Cabernet |
| Long-day | 14–16 hours | Northern US (~37°N and north) | Walla Walla, Yellow Sweet Spanish, Redwing |
Plant a short-day onion far north and it may bulb before it has enough leaves, giving you a small onion. Plant a long-day type in the deep South and the daylight cue may arrive too late or not align with your season, leaving you with tops and little bulb. Our when to plant onions guide expands the latitude table and fall-planting exceptions.
The practical rule: more healthy leaves before the bulbing switch means more bulb potential. Early planting helps only when the variety is genetically suited to your daylight pattern.
Sets, seeds, or transplants — pick your starting method
Each starting method trades speed against control:
| Method | Best for | Advantages | Drawbacks |
|---|---|---|---|
| Sets (small dormant bulbs) | Beginners, quick green onions | Easiest to plant; fast establishment | Fewer varieties; higher bolting risk; large sets bolt more |
| Seeds | Variety hunters, lowest cost | Widest selection; control over plant age | Slowest; needs 8–12+ weeks indoors in short seasons |
| Transplants | Short-season northern gardens | Strong yields; more varieties than sets | Must buy or grow; transplant shock if mishandled |
RHS notes that sets are the fastest route for most gardeners but are more prone to bolting (premature flowering); heat-treated sets reduce that risk. Seeds stay viable only a year or two—check the packet date. Transplants should be pencil-thick and hardened off before planting. Utah State University Extension adds that sets are easiest for both green and storage crops, while seed-started onions must be planted early and thinned to leave room for bulbs (USU onion guide).
If you want one default for a first attempt: firm, medium-sized sets of a day-length-appropriate storage variety, planted early in spring. If you want the largest bulbs in a northern garden: long-day transplants or well-grown seedlings started indoors in late winter.
When and Where to Plant Onions
Timing and placement matter as much as variety. Onions tolerate cool soil but not waterlogged roots, and they compete poorly with weeds while young.
Spring, fall, and overwintering windows
Spring is the main planting window in cold-winter gardens. Plant sets or transplants when soil is workable and air temperatures stay above about 28°F (–2°C)—onions are hardy, but repeated hard freezes on unestablished sets can still set them back. Start seeds indoors roughly 8–12 weeks before you plan to set plants out; transplant when soil is near 50°F (10°C) and seedlings are sturdy.
Fall planting works in mild climates with overwintering varieties—often short-day or Japanese types—planted late summer to autumn so they establish before winter and bulb in spring. In cold, wet-winter regions, fall sets often rot unless drainage is excellent and mulch is managed carefully. Do not treat a standard spring long-day set like a winter onion without a variety label that says otherwise.
For a month-by-month calendar tied to frost dates and day length, see when to plant onions.
Site selection, rotation, and pet-safe placement
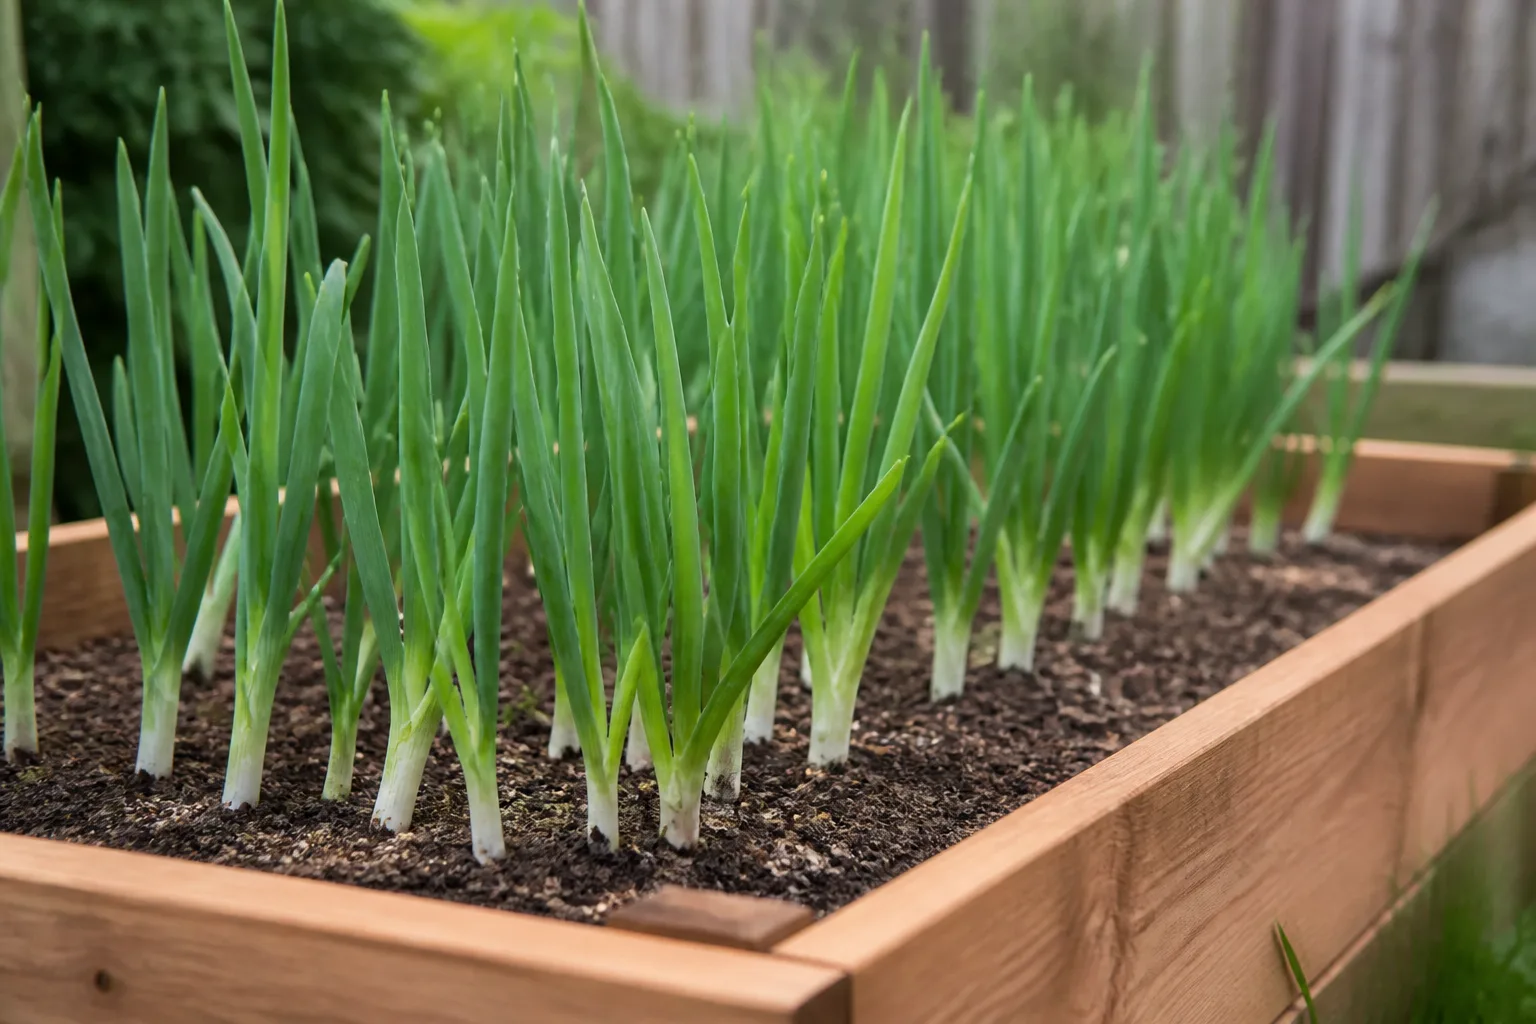
Choose full sun—at least six hours of direct light daily—and well-drained, loose soil. Compacted or rocky beds restrict bulb expansion. Onions have shallow roots, so a raised bed or deeply loosened in-ground row both work if water drains freely.
Rotate away from recent Allium crops (onions, garlic, leeks, chives). Pests and soil-borne diseases build up in the same spot. A three- to four-year gap is a sensible target in small gardens.
Onions contain compounds toxic to dogs, cats, and horses (ASPCA onion listing). N-propyl disulfide can damage red blood cells if pets ingest enough plant material. Keep beds fenced or elevated if curious pets dig, and compost onion trimmings where they cannot reach them.
Soil, Spacing, and Planting Depth
Onions are not deep-rooted miners; they are surface feeders that need friable soil and steady moisture without saturation.
Preparing a loose, fertile bed
Work organic matter into the top 6–8 inches: finished compost or well-rotted manure (not fresh manure, which can burn and encourage rot). Cornell Cooperative Extension recommends rich, well-drained soil; UF IFAS notes onions prefer sandy or loose loam with good fertility (UF IFAS onions and shallots).
Target pH 6.0–7.0—neutral to slightly acidic. Extreme acidity or alkalinity can lock up nutrients and slow growth. If you have heavy clay, amend with compost and consider a raised bed so bulbs can expand and water drains after rain.
A light pre-plant complete fertilizer mixed into the bed gives a fair start; the heavier feeding comes later in leaf stage (see below).
Spacing for green onions versus storage bulbs
Crowding produces thin bulbs unless you compensate with extra water and nitrogen—and even then, size suffers.
- Green onions / scallions: 2–3 inches apart, or sow thickly and thin progressively, using thinnings in the kitchen.
- Medium storage bulbs: 3–4 inches apart in rows 12–18 inches apart.
- Large storage bulbs: 4–6 inches apart with the same row spacing.
Sets: plant about ¾–1 inch deep, flat root plate down, tip just at or slightly above soil level—do not bury deeply. Seeds: ¼–½ inch deep, then thin to final spacing when seedlings are a few inches tall. Transplants: set at the same depth they grew in the tray, gently firm soil, water in.
For set-specific depth photos and a planting walkthrough, see how to plant onion bulbs.
Light, Water, and Temperature Through the Season
Light: Full sun drives leaf production. Partial shade yields weak tops and small bulbs.
Water: Onions need consistent moisture while leaves and bulbs are actively growing. Aim for about 1 inch of water per week from rain or irrigation, soaking deeply because roots stay shallow. Drought during bulbing reduces size and can make flavor harsh; it also encourages splitting if heavy water returns suddenly. Mulch with straw or compost to conserve moisture and suppress weeds—onions compete poorly with weeds in the first two months.
Stop routine watering when tops begin to fall naturally and the crop is nearing harvest. Excess moisture late in the season delays skin drying and invites rot in storage (USU onion guide).
Temperature: Seeds germinate at 40°F (4°C) and above; optimal growth sits around 68–77°F (20–25°C). Onions tolerate cool spring weather well. Heat alone rarely kills them if water holds steady, but extreme stress can push bolting in borderline varieties.
Feeding Onions Without Overdoing Late Nitrogen
Onions are heavy feeders during leaf growth. Nitrogen fuels the foliage that later feeds the bulb—but late nitrogen after bulbing begins can produce soft necks and poor storage.
A practical schedule for in-ground plantings:
- At planting: incorporate compost and a balanced vegetable fertilizer per soil test, or a modest complete feed if no test is available.
- Mid-season (May–June in many temperate gardens): side-dress with nitrogen if leaves look pale and growth is slow. USU Extension suggests about ½ pound of 21-0-0 nitrogen per 100 square feet in mid-May and again in late June for high-yield beds—adjust to your soil test and product label.
- Stop nitrogen by mid-July in northern gardens (or roughly when the neck begins to soften and soil cracks appear near bulbs). Fertilizer after that can stimulate late leaf growth and reduce storage quality.
If you foliar-feed or use organic sources, keep the same principle: feed for leaves early, back off as maturity approaches. Once the outer soil begins to crack around swelling bulbs and tops lose rigidity, the leaf-driven phase is ending.
Choosing the Right Onion Type for Your Garden
Beyond day length, choose for flavor, color, storage life, and bolting resistance. Sweet onions (Walla Walla, Vidalia types) excel fresh but often store weeks, not months. Pungent yellow storage types (Copra, Stuttgarter, Centurion) reward proper curing with winter keeping.
Short-day, long-day, and day-neutral varieties explained
Short-day onions suit southern latitudes where summer days are shorter. They are often planted in fall or winter in mild regions and harvest in late spring or early summer. Examples: Southern Belle, White Bermuda, Granex, Cipollini.
Long-day onions suit northern gardens with very long June daylight. Plant early spring from sets, seed, or transplants; harvest mid- to late summer. Examples: Walla Walla (also eaten fresh), Ringmaster, Red Zeppelin, Yellow Sweet Spanish, Italian Red Torpedo.
Intermediate / day-neutral onions bulb across a wider daylight range and are forgiving in the central US, though many perform well outside that band if planted early. Examples: Candy, Early Yellow Globe, Cabernet, Superstar.
RHS highlights AGM varieties such as Centurion, Red Baron, Hercules, and Sturon for reliable cropping and storage—useful starting points if your supplier lists them.
Green bunching onions (Evergreen White Bunching and similar) do not form large storage bulbs; they are harvested for stems and leaves. Pickling onions and small Cipollini types are chosen for size and shape, not marathon storage.
Growing Onions in Containers
No in-ground bed? Onions grow well in pots if you respect depth and drainage.
Use a container at least 10–12 inches deep with drainage holes. Unglazed clay helps excess moisture evaporate. Fill with quality potting mix blended with compost—not heavy garden clay. Space bulbs 4–6 inches apart in the pot, or grow fewer plants per container for larger bulbs.
Containers dry faster than ground beds; check moisture daily in heat. Fertilize lightly but regularly during leaf growth, using half-strength liquid feed or a slow-release organic fertilizer mixed into the mix at planting. Expect smaller bulbs than in a open row unless you give each onion its own large pot.
Repotting midseason is unnecessary if you sized the container for mature spread at planting.
Pests, Diseases, and Common Onion Problems
Onions share pests and diseases with other Alliums. Catching problems early matters because shallow roots recover slowly.
Thrips — tiny yellow-brown insects that scar leaves silver-gray and can stunt bulbs. Look at the base of leaves where they meet the bulb. Wash plants with a strong water spray, remove heavily infested leaves, and use insecticidal soap or neem on persistent outbreaks. Avoid planting downwind of grain fields where thrips populations spike.
Onion maggot — larvae of a small fly that burrow into stems and bulbs. Prevention beats cure: rotate crops, avoid fresh manure excess, use row covers on young plantings, and apply diatomaceous earth around bases if maggots have appeared before. Destroy infested plants; do not compost them in place.
Rot (white rot, neck rot, basal rot) — often linked to wet soil, poor drainage, or harvesting immature bulbs into humid storage. Improve drainage, avoid overwatering at maturity, and cure thoroughly before storage. USU lists pink root (roots turn pink and die) as a rotation and solarization problem in infected soil.
Splitting — bulbs crack when soil swings from dry to soaked during bulbing. Keep moisture steadier; mulch helps.
Bolting — a flower stalk appears, diverting energy from the bulb. Common triggers: oversized sets, variety mismatch, cold-then-warm swings, or stress. Remove the stalk promptly and use the bulb soon—bolted onions rarely store well. Next season, choose heat-treated sets, smaller sets, and varieties labeled bolt-resistant.
No bulb / all leaves — revisit day length first, then planting date (too late), spacing (too tight), drought, or premature top damage. Our how long do onions take to grow guide walks the stage-by-stage timeline.
Regrowing from a kitchen scrap can produce green leaves but is unreliable for full storage bulbs; for predictable harvests, start from labeled seed, sets, or transplants.
Harvest, Curing, and Storage Basics
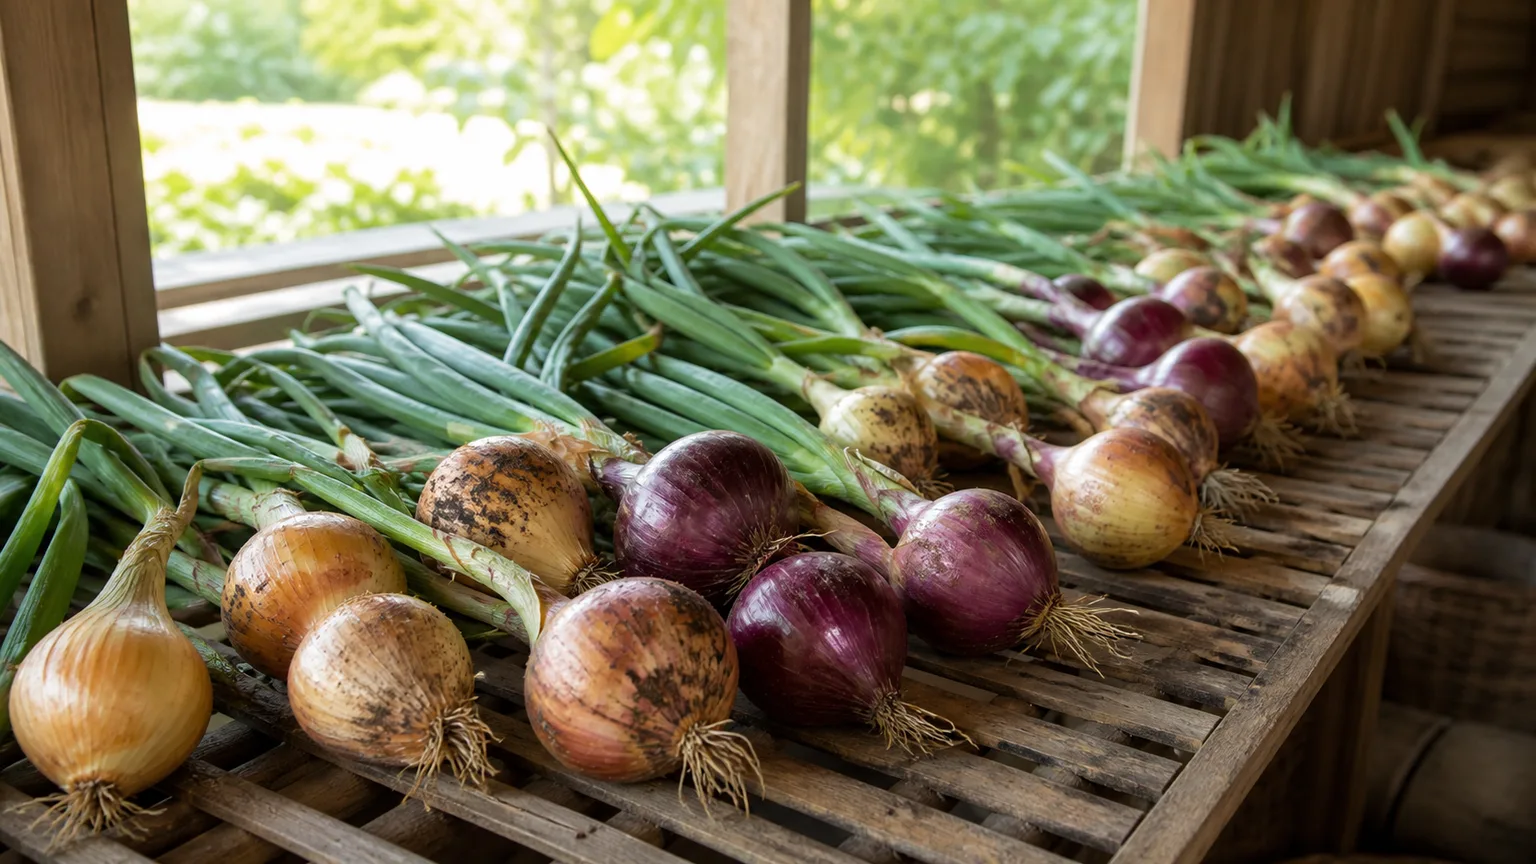
Harvest timing depends on your goal. Pull green onions anytime stems are usable. For storage bulbs, wait until a substantial share of tops have fallen, the neck is drying, and the outer skin feels papery—often when one-third to one-half of the row has tipped, not necessarily every leaf.
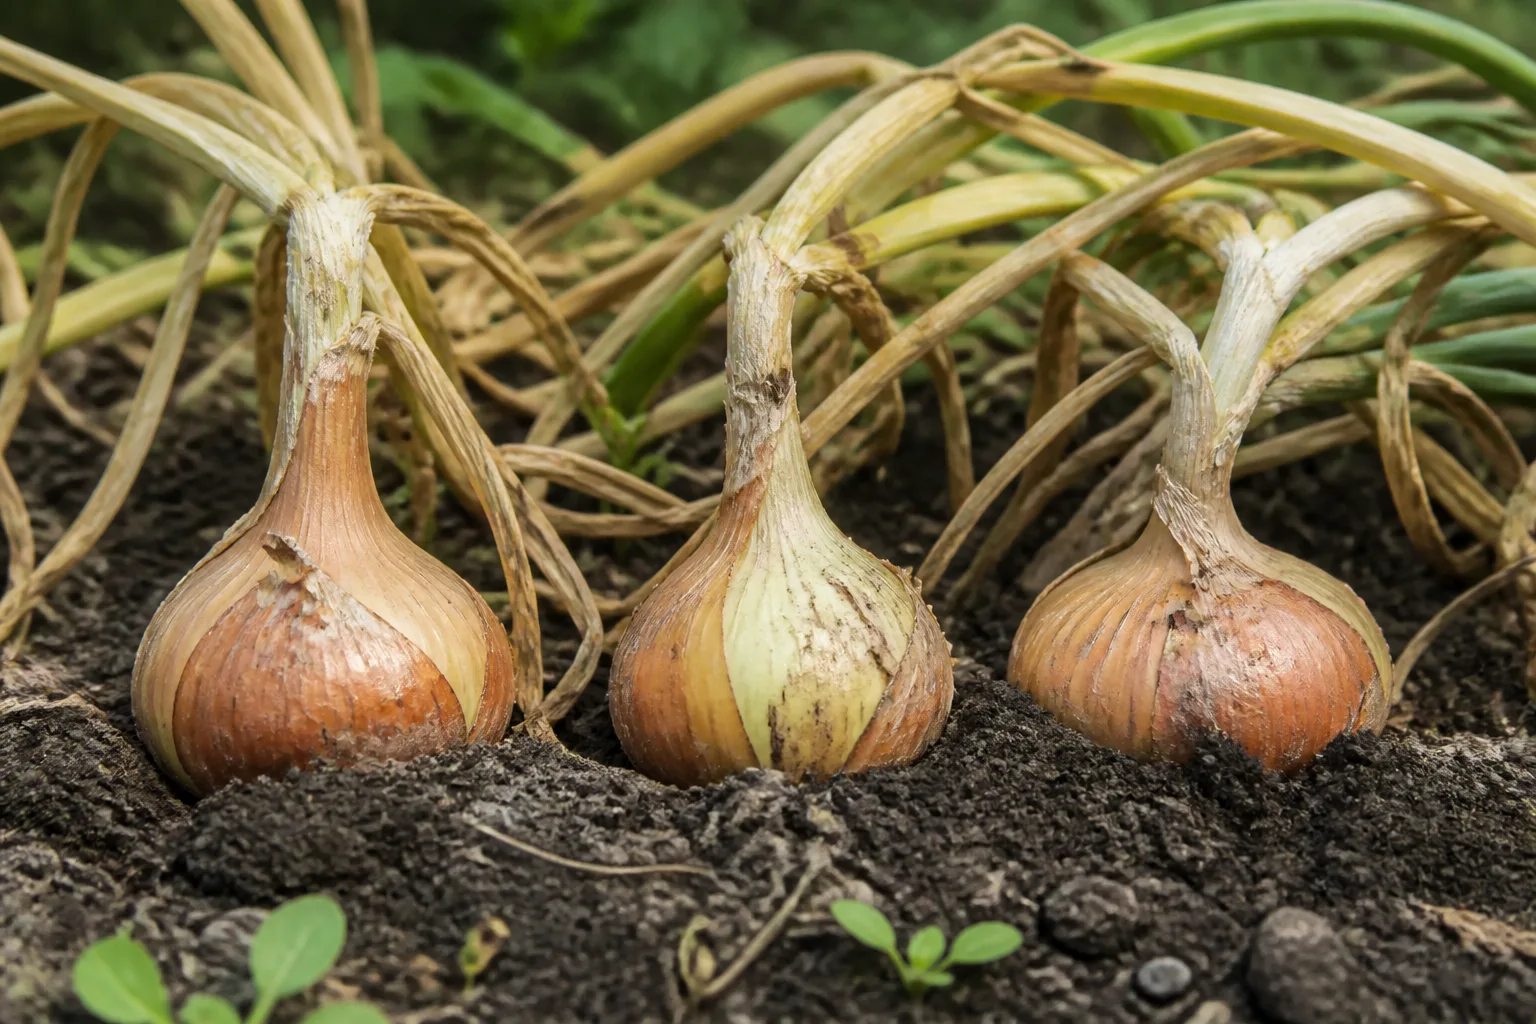
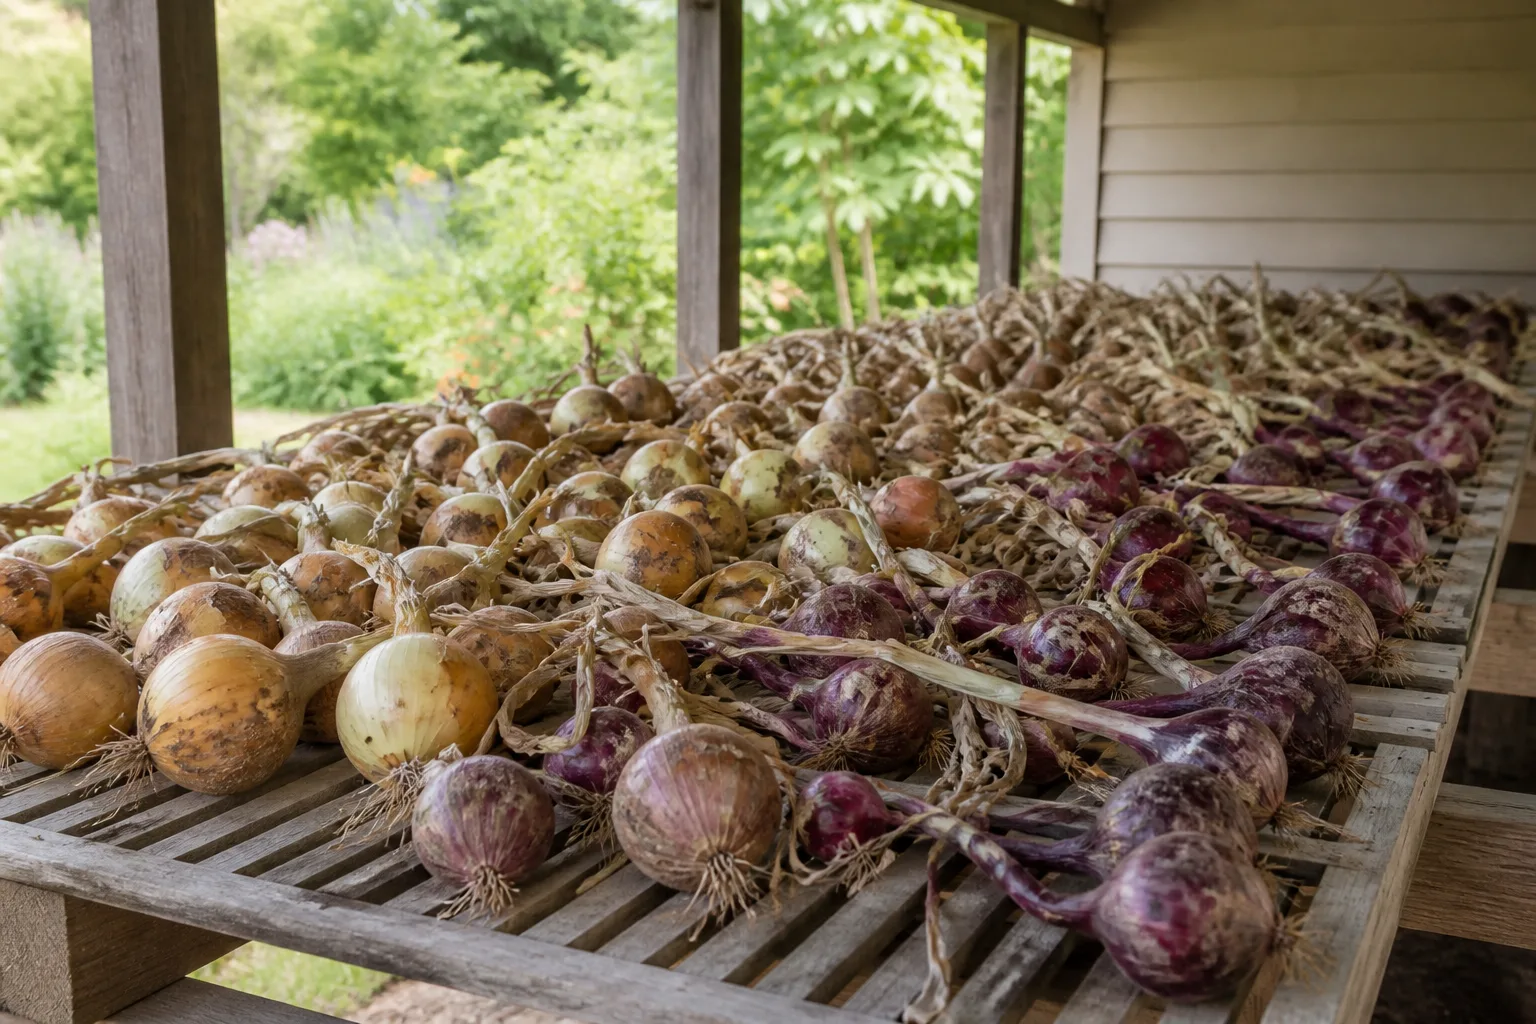
Lift bulbs with a fork rather than yanking stems. Leave them in a dry garden spot for a few days if weather cooperates, then finish curing two to four weeks in a warm, airy, shaded place. Trim tops to 1–2 inches and roots after curing. Store sound bulbs in a cool (32–40°F), dry, dark area with good air flow—mesh bags or braided ropes work. Do not store in the refrigerator long-term; humidity promotes decay. Inspect weekly and use soft or sprouting bulbs first.
Sweet varieties may last only one to two months; hard storage types can keep four to eight months when cured well. Full lifting technique, weather calls, and troubleshooting thick necks are in when to harvest onions. Dried skins can go back into the garden as a mild fertilizer boost—see onion skins for the garden.
Conclusion
Growing onions well is less about secret tricks than about respecting day length, building leaves early, and finishing dry. Choose a variety matched to your latitude, start with sets or healthy transplants if you are new, plant into loose fertile soil with correct spacing, keep moisture steady while tops are active, feed nitrogen during leaf growth and stop in time for storage quality, then harvest and cure when the neck and skin tell you the bulb is done—not when impatience does.
When something fails, diagnose in order: wrong day-length type, late planting, drought, bolting, or disease. Fix the first constraint before rewriting your whole garden plan. With the right variety in the ground at the right time, Allium cepa is one of the most reliable cool-season crops you can grow—and one of the most useful in the kitchen months after the frost returns.



