How Often to Fertilize a Vegetable Garden
Learn how often to fertilize a vegetable garden by crop, soil, and product type, plus when to feed, when to wait, and how to prevent fertilizer burn.
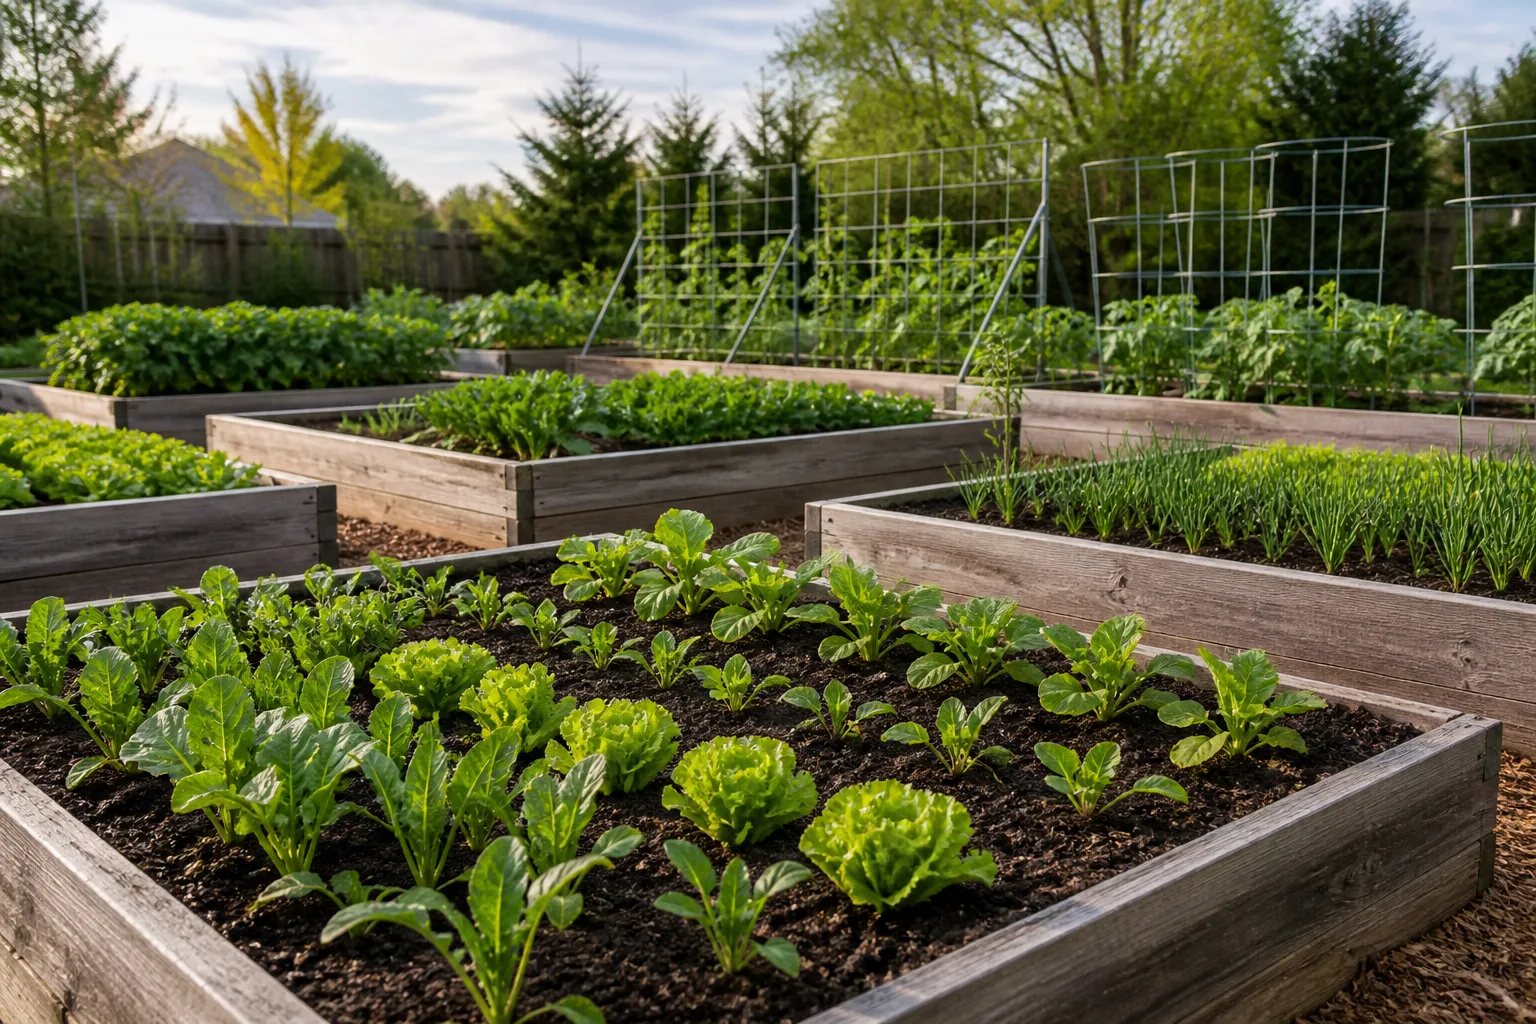
The safest answer to how often to fertilize a vegetable garden is not “every week” or “once a month.” Most mixed beds do best with a measured application before planting, then additional feeding only when the crop, soil test, and fertilizer label show that it is useful. A garden with rich compost and a high nutrient test may need little or no extra fertilizer; a sandy bed, container, or heavily cropped tomato row may need smaller applications more often.
Think of fertilizer as a targeted input, not plant medicine. It can supply a missing nutrient, but it cannot fix drought, compacted soil, root damage, poor light, pest feeding, or a disease problem. Start with the growing conditions, then decide whether the plant actually needs more nutrients.
The short answer: feed by crop, soil, and product—not a calendar alone
For a typical in-ground or raised vegetable bed, use this as a safe starting point: incorporate fertilizer only if the soil test or crop recommendation calls for it before planting; give transplants a gentle, label-directed starter feeding if needed; reassess during active growth; and side-dress heavy-feeding crops when their crop-specific recommendation or product label says to do so. Stop adding fertilizer when the crop is naturally winding down, when the soil already tests high, or when new fertilizer would push lush leaves at the expense of roots, flowers, or fruit.
There is no universal number of days because a slow-release granular product, a liquid feed, compost, and a container mix release nutrients at different speeds. A product labeled for application every four weeks is not interchangeable with one labeled for every eight weeks. The label rate and interval are part of the product; using the same spoonful on every crop is not a schedule.
Warm weather alone is not a reason to fertilize more. Heat can make a plant grow quickly, but it can also make the plant wilt or shut down. Sandy soil, frequent irrigation, repeated harvests, a long growing season, and a crop with a large fruit load may increase nutrient demand. A cool, well-amended bed with a short crop cycle may need only a preplant application.
Start with soil and bed history
Before adding fertilizer, write down what was in the bed last season and what you added since then. A bed that received manure, compost, a slow-release product, or several liquid feeds may contain plenty of nutrients even if one plant now has yellow leaves. The next step is not automatically more fertilizer; it may be a soil test, a root inspection, or a watering adjustment.
Why a soil test beats fertilizer guesswork
A soil test gives you a better starting point for pH, phosphorus, potassium, and often organic matter than a leaf-color diagnosis. Penn State Extension’s vegetable soil-fertility guidance specifically points gardeners toward soil testing so fertilizer is matched to existing phosphorus and potassium levels rather than added blindly.
Take samples from the root zone of the bed, mix several small samples from the same management area, and follow the laboratory’s sampling instructions. Do not combine a mature compost pile, a lawn, a raised bed, and an in-ground plot into one sample; they are different systems. If you grow a mix of crops, use the result as the bed baseline and then follow the more specific recommendation for the crop that is most demanding.
The University of Minnesota Extension vegetable nutrient-management calculator illustrates why “vegetable garden fertilizer” is not one universal recipe. It asks for the crop, bed area, soil-test values, organic matter, and fertility sources, and notes that different vegetables have different nutrient needs. Home gardeners may not need the calculator’s full production-level detail, but the principle is useful: test first, then choose the input.
Compost deserves its own caution. It improves organic matter and soil structure, but its nutrient content varies by material and batch. Penn State Extension’s compost guidance notes that overapplied compost can contribute excess nitrogen and phosphorus to runoff; without a compost analysis, it recommends a thin layer—about one-quarter inch—and not applying it every year as a default. More compost is not a substitute for a soil test.
Match timing to the crop’s growth stage
Plants use nutrients most actively while roots, stems, leaves, flowers, and fruit are developing. That makes growth stage more useful than a date on the calendar. Gardening Know How’s timing guidance also emphasizes feeding during active growth when soil is moist, and holding off when plants are heat-stressed or the soil is dry.
Before planting and at transplanting
Preplant feeding is the moment to correct a documented nutrient shortage and distribute a granular product evenly through the bed. Follow the soil-test recommendation, calculate the bed area, and measure the product instead of scattering an unmeasured handful. Mix it only as deeply as the label directs; aggressive digging can damage soil structure and existing roots.
At transplanting, avoid the reflex to pour a strong fertilizer solution into a dry planting hole. Water the plant and surrounding soil first, settle the roots, and use a starter product only at its label rate. A plant suffering transplant shock needs stable moisture and time to rebuild roots; extra fertilizer cannot force a damaged root system to take up nutrients.
New seedlings also do not need the same feeding plan as a mature tomato or squash plant. Seed-starting mixes may contain little fertilizer, while a potting mix or bed amended with compost may contain more than expected. Read the mix label and observe growth before adding another input.
During active growth, flowering, and fruit set
Reassess when the plant has established and is putting on new growth. If the soil test is adequate and leaves, stems, and crop development look normal, do not fertilize simply because a calendar reminder appeared. If a heavy-feeding crop is producing a large canopy and setting fruit in a long season, a side-dress or liquid feed may be appropriate when the label or local extension recommendation calls for it.
Flowering is not an automatic signal to switch to a high-phosphorus product. Phosphorus supports several plant functions, but adding extra phosphorus to a soil that already contains enough can create imbalance and contribute to runoff. Use a fertilizer with the nutrient ratio that fits the soil test and crop recommendation. For fruiting vegetables, steady moisture, pollination, sunlight, root health, and potassium availability may matter as much as the fertilizer choice.
Once a crop is close to its normal harvest window, heavy nitrogen feeding usually becomes counterproductive. It can encourage soft, leafy growth when the plant should be maturing its edible part. A late-season bed may benefit more from removing spent plants, adding a modest soil-building amendment at the recommended time, and planning a rotation than from another midseason dose.
A practical frequency guide for common vegetables
The groups below are starting points, not replacement fertilizer labels. Within each group, variety, soil, weather, harvest frequency, and container size can change the plan.
Leafy greens and brassicas
Lettuce, spinach, kale, chard, arugula, cabbage, broccoli, and similar crops need enough nitrogen to make leaves, but that does not mean they need weekly fertilizer. In a bed with adequate fertility, a preplant application may carry a short crop. For a long harvest window or repeated cut-and-come-again greens, reassess after several weeks of harvesting and use a light side-dress only if the soil or crop recommendation supports it.
Feed leafy crops cautiously if the leaves are pale and growth is slow, but first check whether the plants are cold, waterlogged, rootbound, shaded, or pH-limited. A deficiency is more convincing when older leaves pale evenly and growth is consistently weak across a reasonably uniform bed. A single yellow leaf or a plant that recently endured heavy rain is not enough evidence.
Brassicas have substantial leaves and may respond to a midseason nitrogen feeding, particularly in poor soil. Keep fertilizer away from the stem, water it into the root zone, and stop before harvest if the label specifies a preharvest interval. Do not use a nitrogen-heavy product to compensate for insect damage or a cabbage disease.
Tomatoes, peppers, eggplant, cucumbers, squash, and corn
Fruiting vegetables are often called heavy feeders, but the useful question is when their demand rises. Tomatoes, peppers, eggplant, okra, cucumbers, squash, melons, and corn may need a preplant application plus one or more crop-stage feedings in a long season, especially in a small raised bed or sandy soil. In a fertile bed, the same crops can grow vigorously without a weekly dose.
Tomatoes and peppers benefit from a plan that follows establishment, flowering, fruit set, and harvest rather than a blanket “feed every two weeks” rule. Tomato growth stages make the timing easier to visualize: a young plant building stems has a different priority from one carrying several fruit clusters.
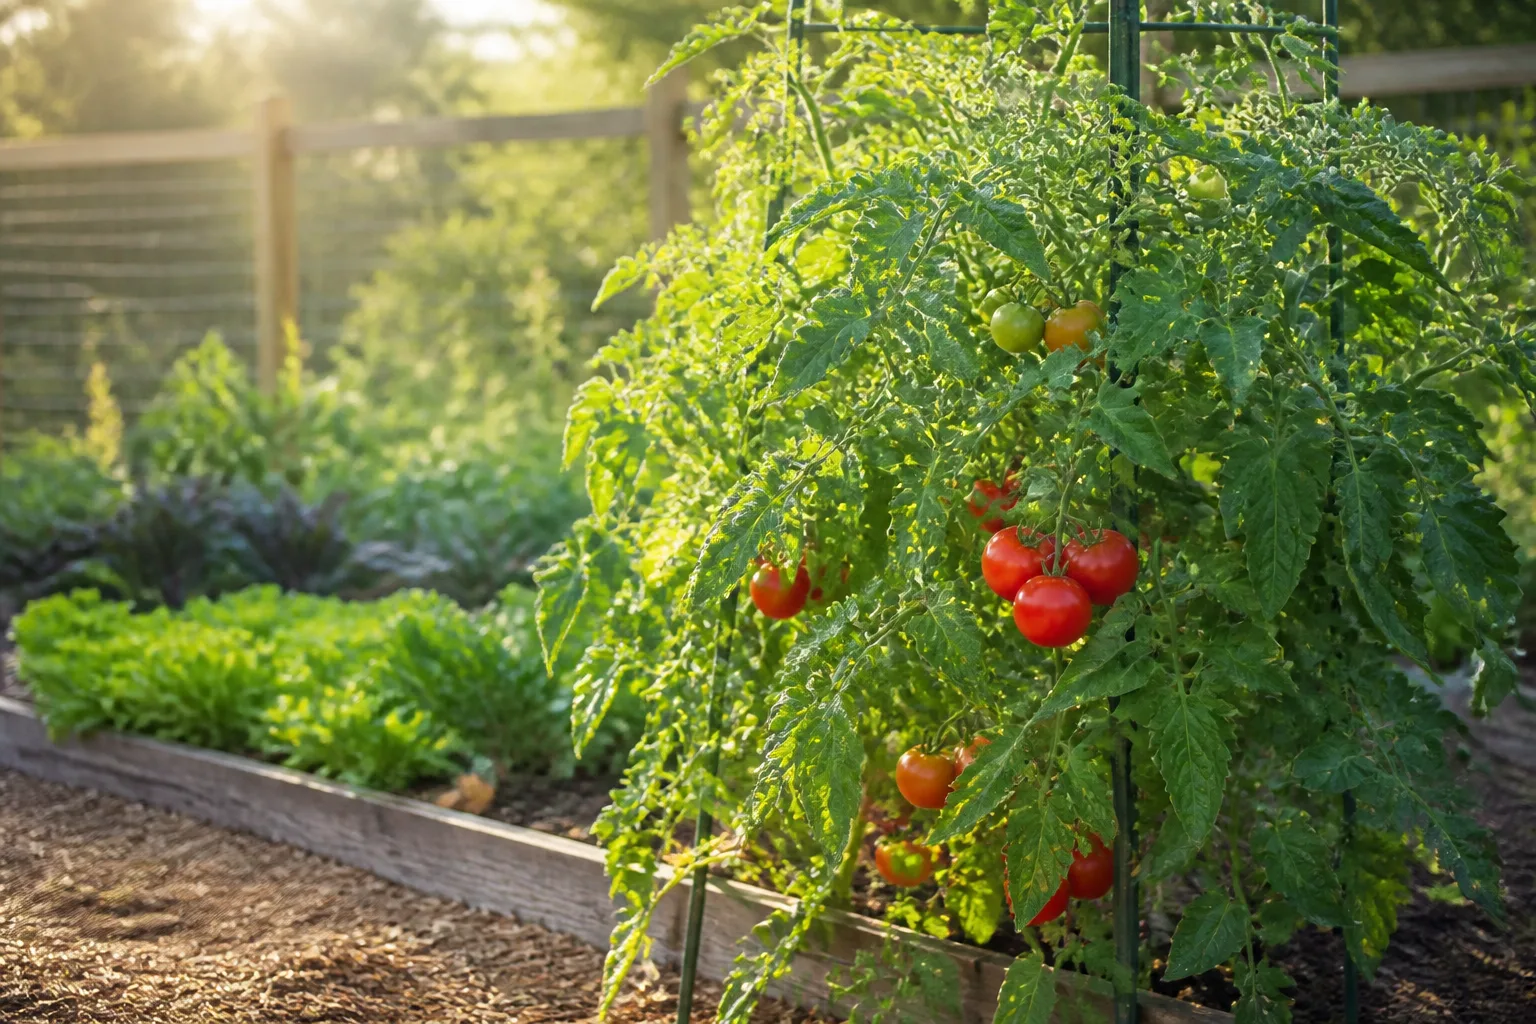
For a garden tomato, a common sequence is a soil-test-based preplant application, a gentle feeding after the plant is established if the product calls for it, and a reassessment when the first fruit begins to set. Side-dress only at the label rate and keep high nitrogen in check. A plant that is dark green, very leafy, and slow to flower is not asking for more nitrogen.
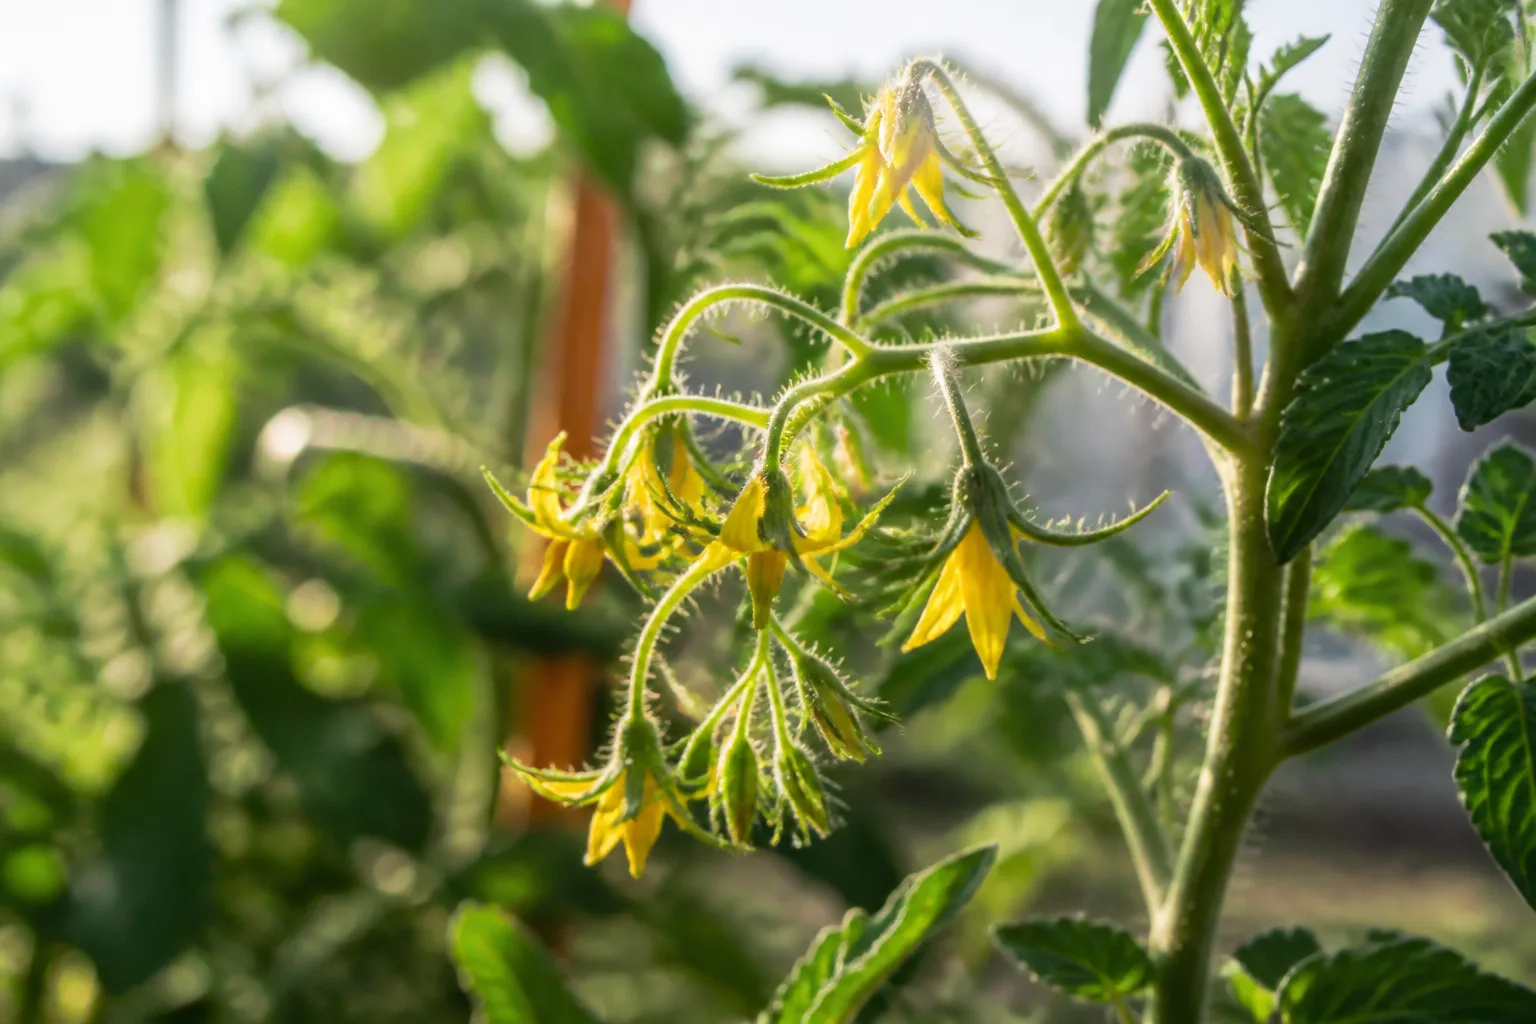
Squash and cucumbers can grow rapidly and may exhaust a small root zone, but their yellow leaves can also result from water stress, root damage, or disease. Corn is especially sensitive to planting density and nitrogen availability, yet a soil test and crop-specific recommendation are still safer than repeating a general garden fertilizer dose.
Roots, onions, beans, and peas
Carrots, beets, radishes, turnips, onions, and garlic usually reward balanced fertility and loose soil more than repeated nitrogen. Too much readily available nitrogen can produce abundant tops, misshapen roots, or delayed bulbing. Apply the nutrients the soil test calls for before planting, then resist disturbing the root zone with unnecessary side-dressing.
Beans and peas can often make part of their own nitrogen through associations with soil bacteria, but that does not mean they thrive in depleted soil. Excess nitrogen can produce leaves and vines without improving pods. If legumes are weak, investigate pH, drainage, inoculation history, root health, and soil fertility rather than assuming they need the same feeding as tomatoes.
If you are growing a short crop such as radish or baby greens, the crop may finish before a slow-release amendment becomes available. For long-season onions, garlic, or repeated root crops, the label and soil test matter more than a generic “monthly” reminder. Keep granular fertilizer from sitting against edible roots or foliage.
Choose fertilizer by the need, not the N-P-K marketing
Fertilizer type affects how often you apply it, but the best product is the one that supplies the needed nutrients at a manageable release rate. A low-number organic fertilizer is not automatically gentle, and a synthetic fertilizer is not automatically wrong. Both can be misapplied; both can be useful when matched to the soil and crop.
What the three numbers actually tell you
The N-P-K analysis lists nitrogen, available phosphate, and soluble potash by percentage. Nitrogen is closely associated with vegetative growth; phosphorus supports energy transfer and root, flower, and seed functions; potassium helps with water regulation and several aspects of plant development. The numbers tell you concentration, not a universal recommendation.
Do not choose a product because it has the biggest middle number or because the label says “bloom booster.” If a soil test shows adequate phosphorus, adding more can be wasteful and environmentally damaging. If the crop needs nitrogen but the product supplies mostly phosphorus, it is the wrong match even if it sounds specialized.
Granular slow-release products usually make sense when you want a longer, lower-intensity supply and can follow a measured reapplication interval. Water-soluble feeds act quickly and are easier to adjust, but they are also easier to overapply. BBC Gardeners’ World Magazine explains that organic matter and slow-release fertilizers feed soil differently from liquid feeds; a liquid feed is not the same thing as building the bed’s long-term structure.
Home-made feeds can be useful only when you know what they contain and dilute them as directed. For example, Gardeners’ World’s comfrey-feed method describes a potassium-rich liquid that is diluted before use. Treat such feeds as optional inputs, not measured substitutes for a soil test or a labeled fertilizer, because nutrient strength varies with the material and process.
Apply fertilizer without burning plants
Application errors cause many fertilizer problems even when the product itself is appropriate. Fertilizer granules resting against a stem, a concentrated liquid poured into dry soil, or an unmeasured second application can create salt stress around roots. A little care at application time is more valuable than trying to rescue a damaged plant later.
- Read the full label. Note the crop list, amount per area or plant, dilution, interval, storage, and any harvest or safety instructions.
- Measure the bed. Calculate the square footage or count the plants if the label uses a per-plant rate. Do not estimate by handful.
- Check moisture. The root zone should be damp, not bone dry or saturated. If the soil is dry, water first and wait until the plant has recovered.
- Keep fertilizer off plant tissue. Place granular products beside the plant rather than on the crown or leaves, and apply liquid feed to the soil unless the label specifically permits foliar use.
- Water as directed. Many granular products need irrigation to move into the root zone, but avoid washing fresh fertilizer into a drain, ditch, or hard rain event. Use a slow, targeted watering method.
- Record the date and product. Write down what you used, where, and when the next application is allowed. This prevents accidental double feeding.
When to postpone feeding
Do not fertilize a plant that is wilted from dry soil, drooping in extreme heat, waterlogged, freshly transplanted and shocked, visibly diseased, or badly root-damaged. Correct the immediate stress first. Gardening Know How’s guidance on vegetable fertilizing makes the same practical point: feeding a dry, heat-stressed plant can turn a water problem into fertilizer burn.
Also postpone before a forecast of heavy rain if the product is likely to move off the bed. Nutrient runoff is a garden problem and a water-quality problem. A calm, mild morning with moist soil and several hours for the plant to use the nutrients is a safer window than the hottest part of the day.
Diagnose before adding more nutrients
Yellowing, small leaves, wilting, and poor harvests are not fertilizer diagnoses by themselves. Use this order before feeding:
- Check the root-zone moisture. Dry soil points toward irrigation; wet, sour soil points toward drainage or root damage.
- Look at the pattern. Is the whole bed affected, only new leaves, only older leaves, or only one plant? Uniform bed-wide symptoms make soil, weather, or watering more likely than a single damaged root.
- Inspect roots and undersides of leaves. Check for circling roots, rot, insects, stippling, chewing, eggs, and fungal lesions.
- Review the recent history. Note transplanting, heavy rain, heat, herbicide drift, compost, fertilizer, and changes in irrigation.
- Use a soil test when the problem persists. A laboratory result is more useful than a fertilizer aisle color chart.
If older leaves are pale and the plant is generally stunted, nitrogen deficiency is one possibility. If new leaves are distorted or pale while older leaves remain green, pH, iron availability, root damage, or a different nutrient issue may be involved. If leaves have crisp brown edges, a white crust appears on the soil, or the plant wilts soon after feeding, suspect salt injury or overapplication before adding anything else.
What to do after overfertilizing
Stop fertilizer immediately and remove any dry granules that are still visible on the soil surface. Do not pile on compost to “dilute” the mistake. If the product label and soil drainage allow it, water slowly and deeply enough to move soluble salts below the active root zone, while preventing runoff and standing water. Containers may need several careful flushes through a drainage hole; garden beds need a more cautious approach based on soil texture and local water restrictions.
Remove severely burned leaves only when they are dead or obstructing new growth; green tissue can still contribute energy while the plant recovers. Keep moisture steady, avoid another stimulant, and watch new growth over the next one to three weeks. If the soil has a persistent crust, plants continue to wilt, or the crop is valuable, test the soil before replanting.
Aphids appearing after heavy nitrogen feeding are not proof that fertilizer caused the entire infestation, but soft, excessive new growth can make a plant more attractive or vulnerable. Correct the feeding pattern, inspect the plant regularly, and use a pest-specific response rather than another fertilizer product.
A simple season-long fertilizer workflow
Use this five-check workflow for a mixed garden. Adapt every rate and interval to the product label and your local soil-test recommendation.
Before planting: Test the bed when practical, review last season’s inputs, and apply only the nutrients or organic matter the soil and crop need. If you are planting a new raised bed, do not assume the purchased mix is nutrient-poor; check its ingredients and, after the first season, test it.
At planting: Mix granular fertilizer evenly if the recommendation calls for it. For transplants, settle the roots with water and use a starter feed only at the label rate. Mark the planting date so the next decision is based on growth stage rather than memory.
After establishment: Inspect new growth and check moisture. Do not feed a plant that is still wilting, waterlogged, or recovering from shock. If growth is strong and the soil is adequate, skip the application.
At first flowers or fruit set: Reassess heavy feeders, especially tomatoes, peppers, eggplant, cucumbers, squash, and melons. Use a side-dress or liquid feed only if the crop, soil, and label support it. Do not automatically switch to a high-phosphorus fertilizer.
During harvest and at season’s end: Repeatedly harvested crops may need a light, label-directed replenishment; short crops may not. Stop heavy feeding as the plant approaches its normal finish, remove diseased or exhausted material appropriately, and build the next season’s soil plan from a test rather than from leftover fertilizer.
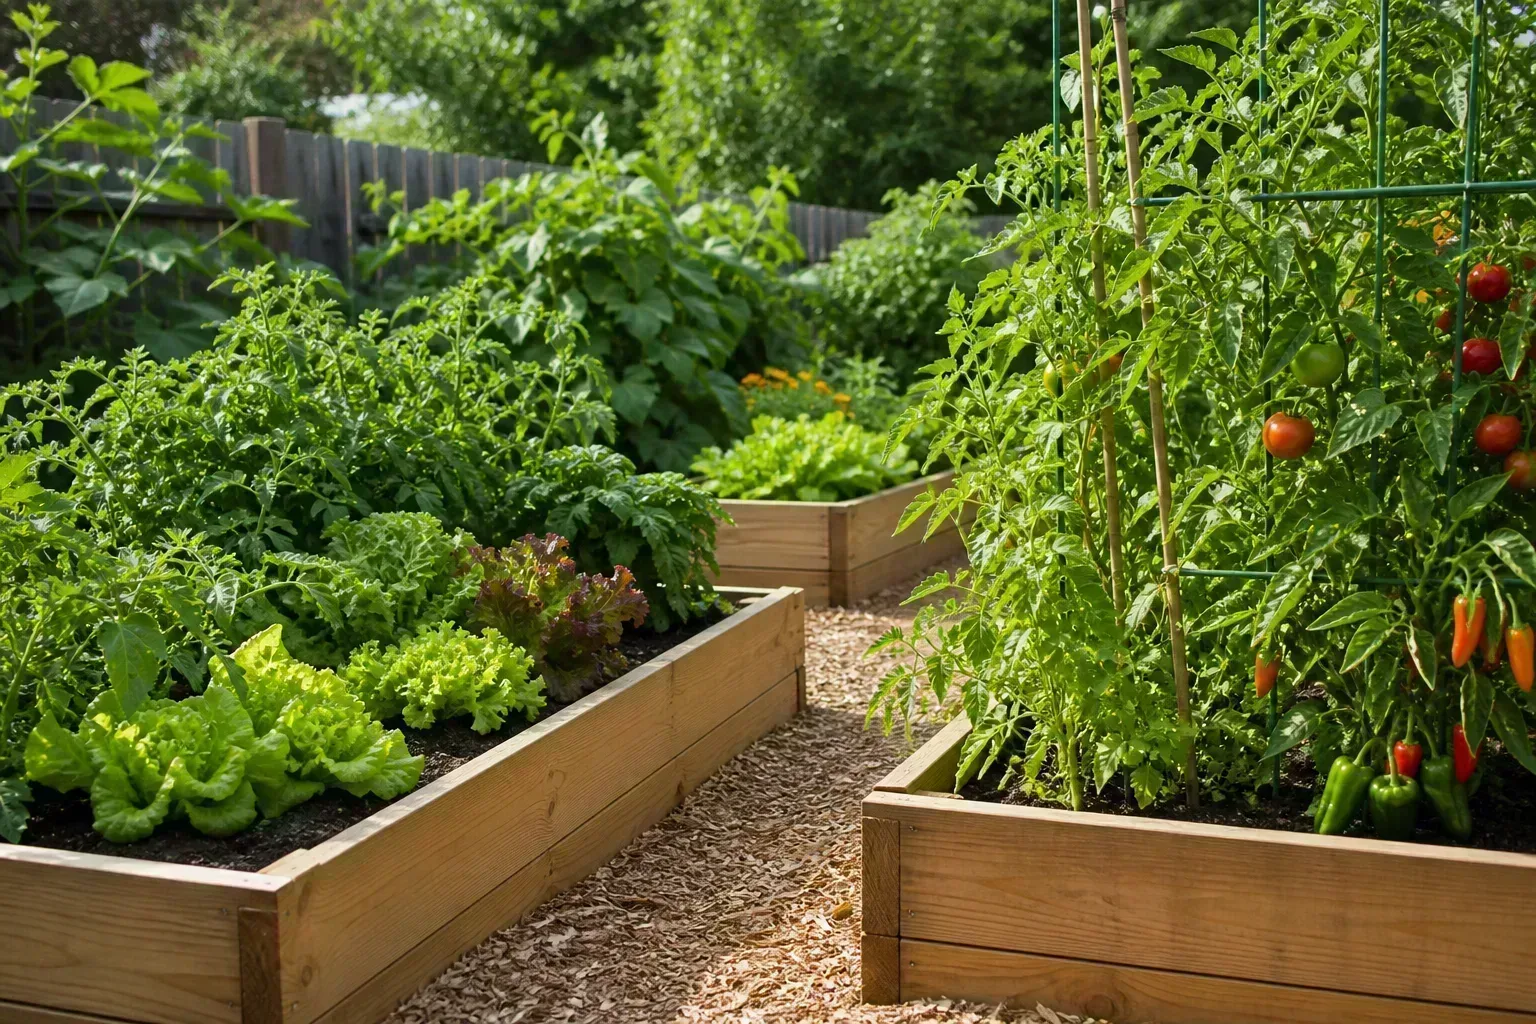
If you want the schedule to become almost automatic, group plants by feeding needs and keep one note for each bed. That is more reliable than feeding the entire garden whenever the tomatoes look hungry. A simple record of crop, product, rate, date, weather, and response will reveal whether your bed actually needs frequent fertilizer—or whether it needs better moisture management and a different diagnosis.
Conclusion
How often to fertilize a vegetable garden depends on the crop’s demand, the nutrients already in the soil, the product’s release rate, and whether the plant is actively growing under manageable conditions. For many beds, that means a soil-test-based preplant application followed by one or more carefully timed reassessments—not an automatic weekly routine.
Start with soil and bed history. Feed established heavy feeders when the evidence and label support it, keep nitrogen under control as fruit matures, avoid extra phosphorus unless it is needed, and treat compost as a variable soil amendment rather than an unlimited fertilizer. When a plant looks weak, check water, roots, pests, disease, and pH before reaching for the bag. That slower decision usually protects both the plant and the harvest.



