Vegetable Container Gardening for Beginners
Learn vegetable container gardening: pot sizes, drainage, potting mix, sun, watering, fertilizer, and the best crops for patios and balconies.
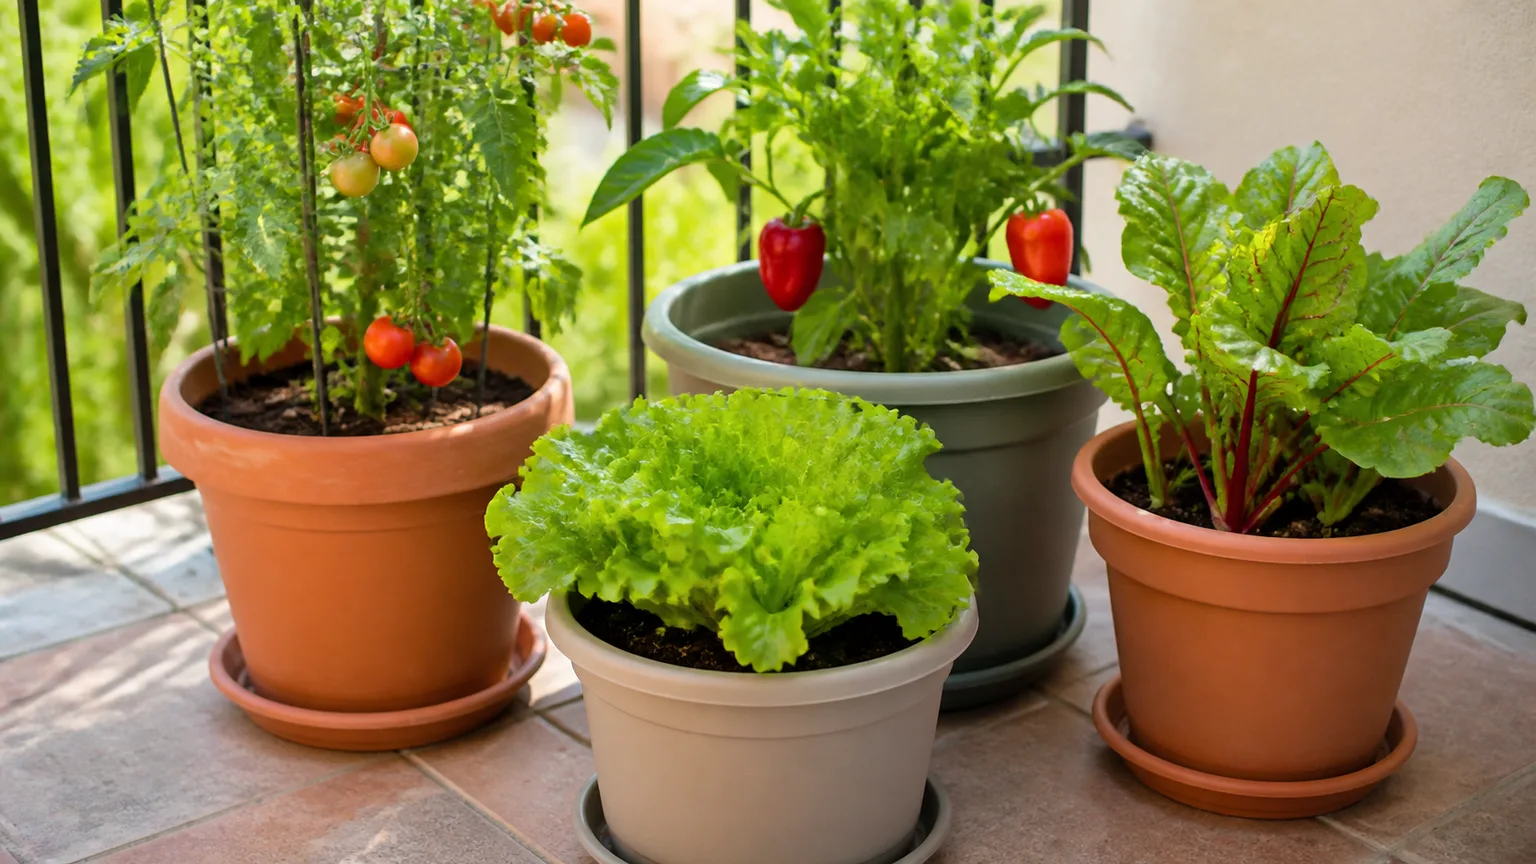
You do not need a backyard row to grow food you can actually eat. A sunny patio, balcony rail, driveway edge, or front stoop can carry a productive vegetable container garden if you match each crop to the right pot, soil, light, and watering rhythm. Containers trade some flexibility for control: you choose the soil, move pots to follow the sun, and keep tender crops off cold ground in spring.
The catch is that pots are unforgiving. They dry out faster, heat up faster, and restrict roots more sharply than open ground. Beginners who succeed treat container gardening as a small set of repeatable decisions—not a random collection of leftover pots and bagged soil.
Start with the Harvest You Will Actually Eat
Begin with the kitchen, not the seed display. Write down what your household eats in a normal week: salad greens, snacking tomatoes, peppers for stir-fries, herbs, or a steady supply of cut-and-come-again lettuce. A container garden that grows beautiful plants you never cook with is still a failed harvest.
Next, set a maintenance limit. Two well-tended five-gallon tomatoes plus a trough of lettuce usually outperform six neglected pots that dry out on a hot afternoon. NC State Extension recommends starting small and expanding only after you know how often you can water, feed, and harvest during your busiest weeks (NC State Extension Gardener Handbook).
If this is your first season, peas and lettuce are excellent confidence builders. They germinate readily, tolerate cool weather, and produce usable food quickly—often before your warm-season crops are ready to plant out. A single 24-inch window box of mesclun can supply salads for weeks if you sow thickly and cut above the crown. One five-gallon tomato is enough to learn whether your balcony truly gets the six hours of direct sun the plant needs before you invest in three more pots you cannot water on vacation week.
Choose Containers That Match Each Crop
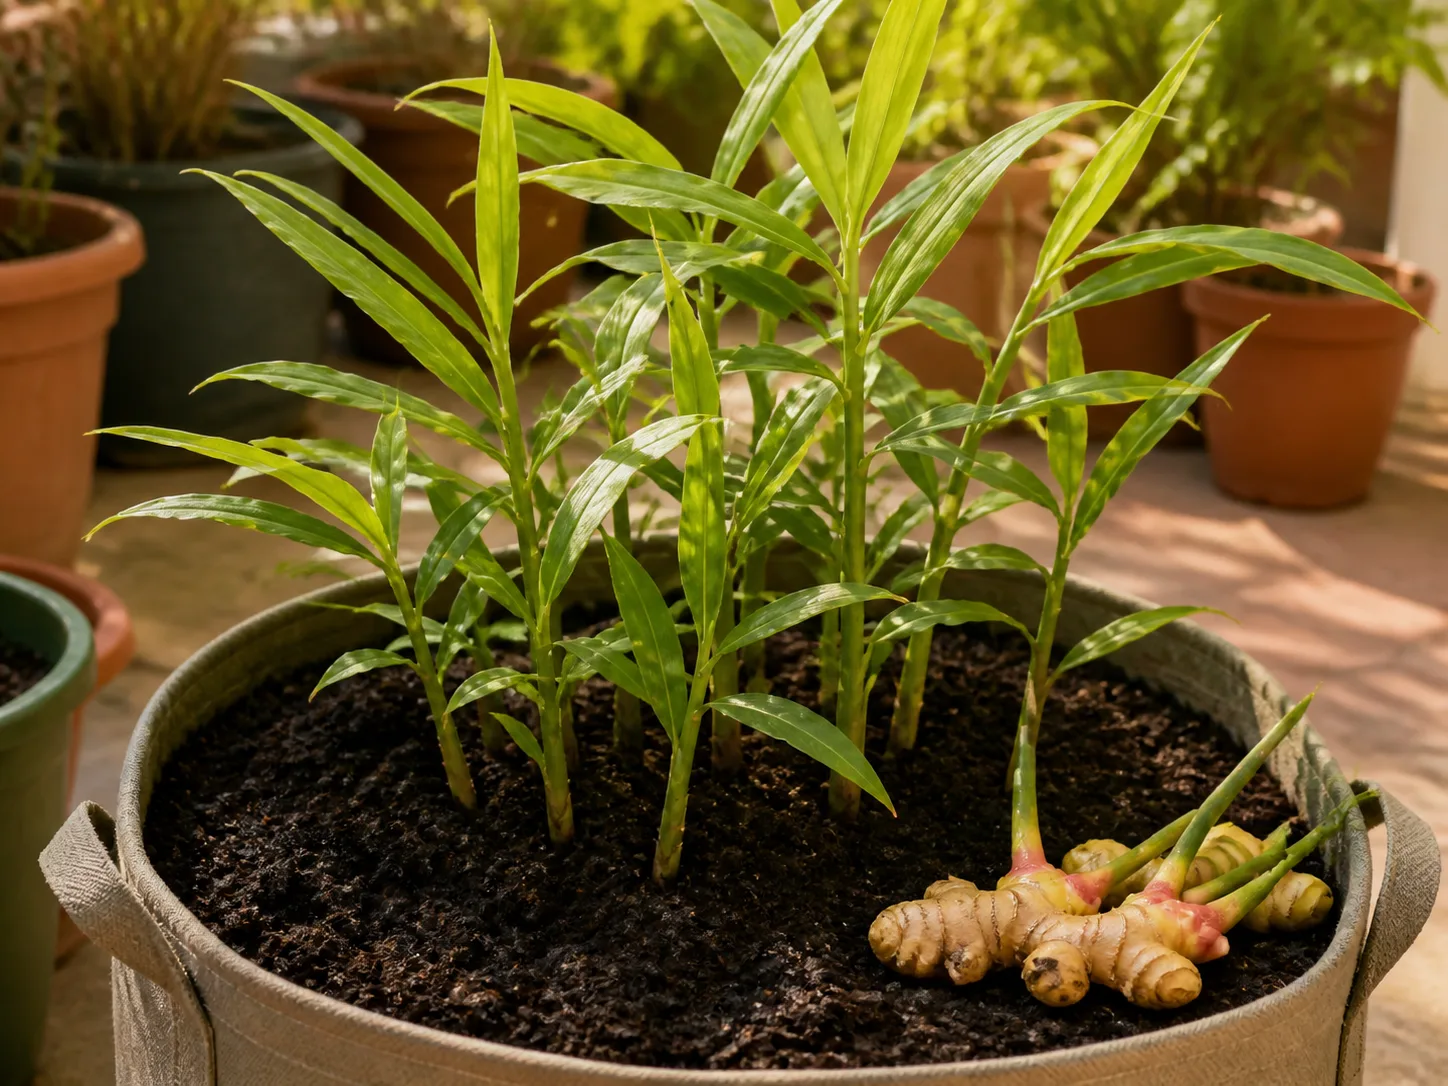
Almost any food-safe vessel can hold a vegetable if it is large enough, drains freely, and will not leach harmful chemicals into the root zone. The most common beginner error is not choosing a quirky container—it is choosing a pretty pot that is too small for the plant at maturity.
Container Size Rules That Prevent Stunted Plants
Container size is directly tied to how easy the garden is to maintain. Larger pots hold more moisture and nutrients, so they need watering less often and produce more forgiving growth. NC State Extension’s container chapter lists minimum volumes per crop; treat those as floors, not targets (Plants Grown in Containers).
| Vegetable | Minimum container size | Notes |
|---|---|---|
| Lettuce, spinach, radishes | 1 gallon | Shallow roots; wider trays work for cut-and-come-again greens |
| Beans, peas, bush cucumbers | 2 gallons | Peas need a trellis even in pots |
| Peppers, kale, collards | 2–3 gallons | One plant per pot for best yield |
| Tomatoes, eggplant | 5 gallons | One plant per container; larger is better |
| Carrots, beets | 3 gallons with 10–12 inches depth | Depth matters more than width |
| Potatoes | 10–30 gallons | Depends on variety and hilling method |
| Bush squash | 5+ gallons | One plant; do not crowd |
Tomatoes, peppers, eggplant, cucumbers, and cabbage-family crops belong in at least five-gallon containers. Beets, carrots, lettuce, and scallions can grow in three-gallon pots if depth is adequate. Most herbs and radishes tolerate one-gallon pots or less.
Tall or top-heavy crops—indeterminate tomatoes, trellised peas, bush squash—also need a stable, deep pot so wind does not tip the container. Root crops need depth; leafy greens need surface area. When in doubt, size up. A slightly oversized pot is almost always easier to keep alive than a root-bound plant gasping in a decorative quart container.
Material Trade-offs: Plastic, Wood, Ceramic, and Metal
Plastic and resin pots are light, inexpensive, and retain moisture longer than porous materials. They are the most practical choice for most beginners, especially on balconies with weight limits.
Wood planters look excellent and insulate roots moderately well, but they eventually rot in constant moisture. Line or replace them before structural failure sends soil across the patio.
Glazed ceramic and terracotta are attractive but porous. Terracotta pulls water out of the mix faster, which means more frequent watering in summer. Ceramic pots can also crack if left full of wet soil through freeze-thaw cycles—store them empty in cold climates.
Metal containers heat up quickly in full sun and can cook roots on a hot deck. If you use them, shade the pot exterior, cluster pots for insulation, or choose light colors.
Self-watering containers can simplify summer maintenance because a reservoir supplies moisture from below. They work well for thirsty crops like tomatoes, but you still need to fertilize regularly and keep the reservoir from going dry during heat waves.
Food safety matters. Do not repurpose containers that held solvents, pesticides, or unknown chemicals. Clean recycled buckets thoroughly, drill drainage holes, and confirm they are labeled food-safe when growing edibles. Five-gallon food-grade buckets from a bakery or deli are a classic budget option—just verify they never stored anything toxic and drill at least three drainage holes in the bottom plus one near the side base if the pot sits on pavement.
When weight is a concern on a balcony, cluster smaller pots on a wheeled plant caddy rather than filling one enormous ceramic planter you cannot move. Check your building’s rules on total load before filling multiple large containers with wet soil, which can exceed several hundred pounds.
Build Drainage That Actually Works
Drainage is not optional. Every vegetable container needs holes that let excess water escape so roots are not sitting in saturated mix—a condition that leads to root rot and poor growth (University of Illinois Extension on overwatering).
Drill additional holes if a pot has only one small opening. If the container sits flat on pavement, elevate it with pot feet, bricks, or a plant trolley so holes do not seal against the surface. Side drainage holes placed a quarter-inch above the bottom can help on solid patios.
Covering a large hole with a coffee filter or mesh screen keeps mix from washing out without blocking flow. What you should not do is add a layer of gravel or broken pottery at the bottom “to improve drainage.” NC State Extension explains that this creates a perched water table: water sits above the gravel until the entire mix is saturated. Holes at the base—not filler layers—are what protect roots.
Use Potting Mix, Not Garden Soil
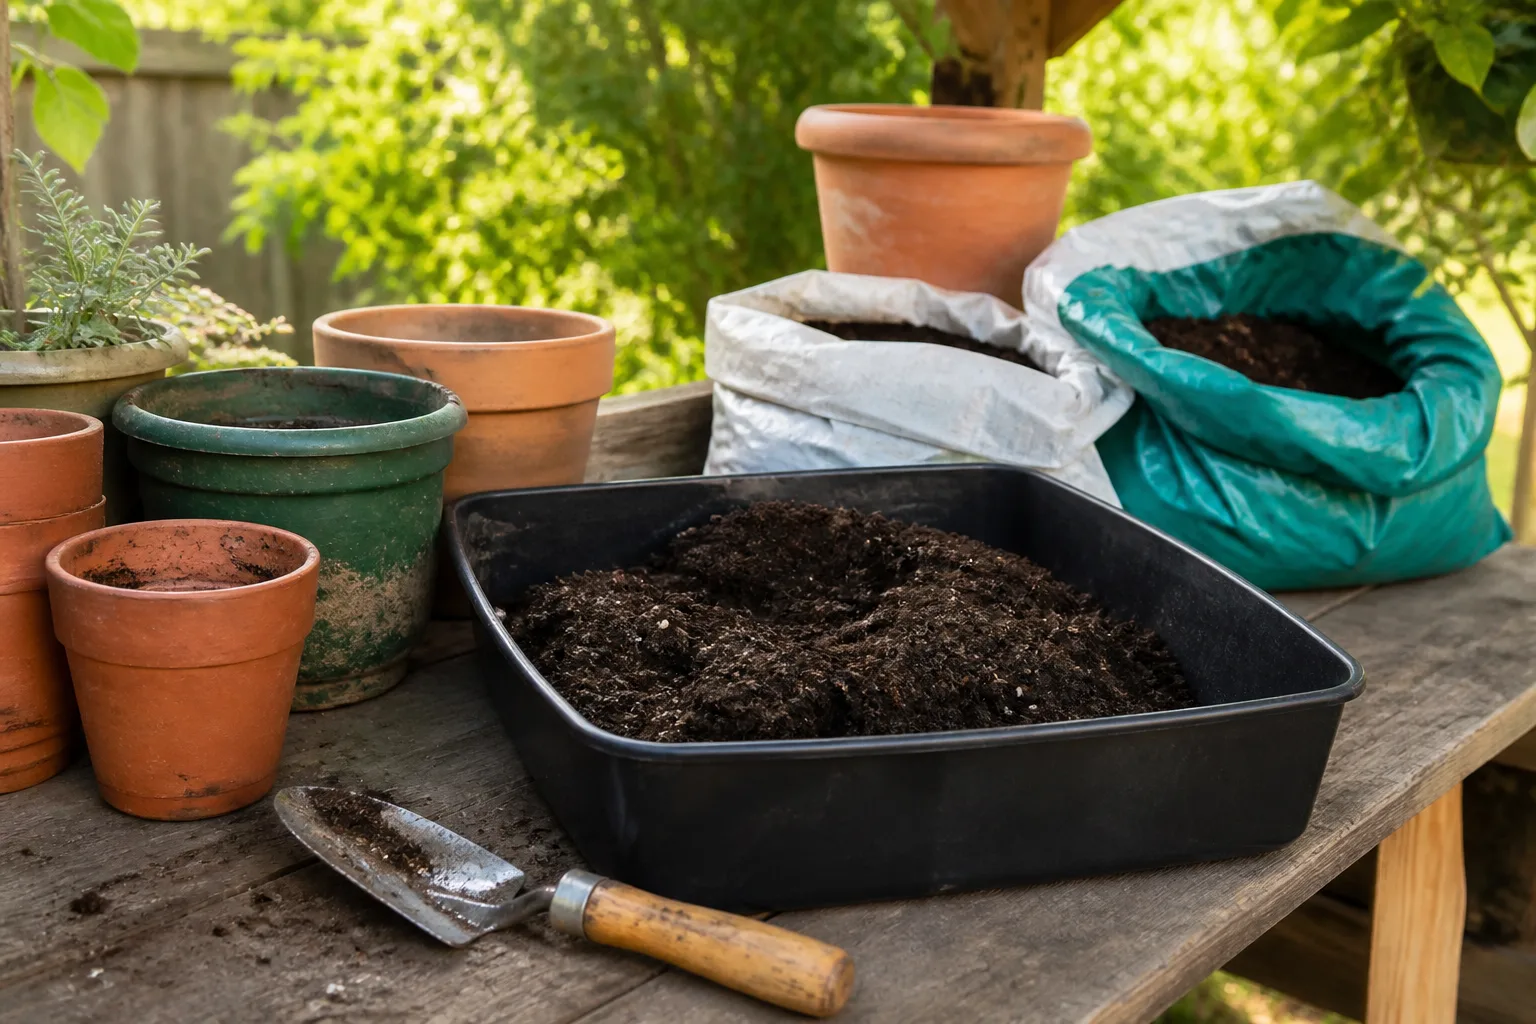
Potting mix and garden soil are not interchangeable. Field soil compacts in a pot, drains poorly, and can introduce weeds, insects, and soil-borne diseases into a confined root zone (NC State Extension on container media). One reason people container-garden is to avoid those problems—importing backyard dirt defeats the purpose.
Buy a labeled potting mix or container mix made from soilless components such as peat or coconut coir, pine bark, perlite, and vermiculite. These blends balance air space and water retention. Many commercial mixes include a small starter charge of fertilizer that lasts only a couple of weeks—plan on supplemental feeding after that.
You can blend your own mix for specific needs. A common starting point is equal parts compost, pine bark fines, and perlite or vermiculite. For thirsty fruiting crops like tomatoes, increase water-holding components; for herbs that prefer drier roots, increase perlite. Moisten mix before planting so dry peat is not impossible to re-wet later.
Fill containers so the crown of each plant sits at the substrate line—never buried deeply and never perched with roots exposed. Leave an inch or two of reservoir space below the rim so water does not spill over when you soak the pot after planting. When repotting root-bound seedlings, loosen circling roots gently and spread them outward in the new mix rather than simply dropping a solid root ball into a slightly larger pot.
If you are reusing mix from last season, screen out old roots, refresh with compost, and add slow-release fertilizer rather than planting into depleted media. For a deeper dive on when reuse is safe, see our guide on reusing potting soil.
Place Pots Where Light and Temperature Fit the Crop
Most fruiting vegetables—tomatoes, peppers, eggplant, cucumbers—need full sun, generally at least six hours of direct light daily. Leafy greens and some herbs tolerate partial shade, especially in hot climates where afternoon protection prevents bolting.
How to Measure Sun Before You Commit
Do not guess from memory. On a clear day, check your candidate spot every hour from mid-morning through late afternoon. Count how many hours of direct sun hit the exact place the pot will sit—not the wall ten feet away that looks bright in winter.
If the reading falls short, move the container before planting, not after the crop stretches and weakens. On balconies, remember that rail shadows and overhangs change angle through the season.
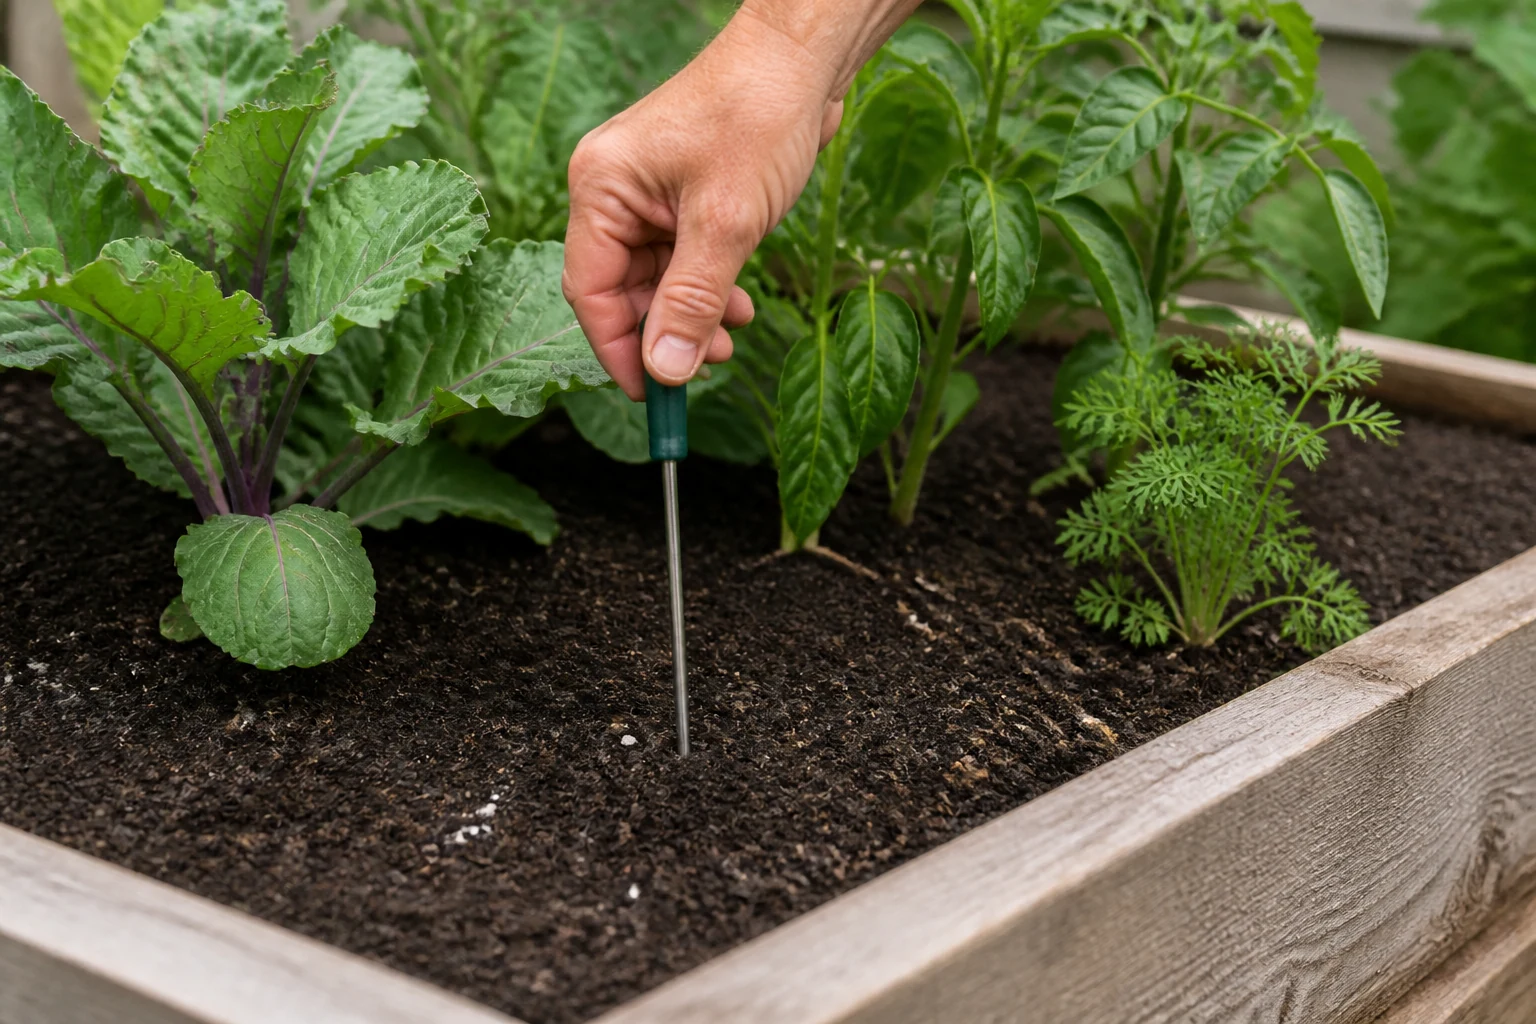
Temperature matters as much as light. Many warm-season vegetables stall in cold mix. Wait until soil in the container reaches roughly 60°F before planting tomatoes, peppers, beans, and basil outdoors in cool climates. A soil thermometer pressed into the top few inches of mix is more reliable than air temperature alone.
Dark containers absorb heat. In hot regions, cluster pots, use lighter colors, and provide afternoon shade for cool-season crops. In cool regions, dark pots against a south-facing wall can extend the season slightly—but monitor moisture because warmth increases evaporation.
Wind is an overlooked factor on balconies and rooftops. A tomato in full leaf acts like a sail. Pair large fruiting plants with heavy pots, low centers of gravity, and sturdy stakes lashed to the rail only where building rules allow. A windbreak of shorter herbs or lettuce in front of taller crops can reduce desiccation without stealing all their light.
Water on a Rhythm Containers Can Survive
Container vegetables need consistent moisture to set fruit and avoid stress. The goal is evenly moist mix—not a daily flood and not a cycle of bone-dry soil followed by emergency soaking.
Check the top inch with your finger. If it feels dry, water until a little drains from the bottom. If you are unsure, wait an hour and check again rather than guessing twice in five minutes. In midsummer, many containers need water once or even twice daily; a sudden heat wave can dry a small pot before lunch.
Water the soil surface slowly until the entire root zone is wetted. Brief sprinkles that only dampen the top inch encourage shallow roots and blossom-end rot in tomatoes. Early morning watering reduces evaporation loss and gives foliage time to dry, which lowers disease pressure.
Mulching the surface with fine compost or shredded bark slows drying. Grouping pots creates a slightly more humid microclimate, though you must still check each container individually because a sheltered pot behind a wall can dry differently from one on an open railing.
Learn the weight test: lift the pot after a thorough watering and note how heavy it feels. When it feels noticeably light, the root zone is likely dry even if the surface still looks slightly damp. Saucers can catch runoff, but empty them within an hour so roots are not sitting in standing water. For more on timing and technique, our vegetable garden watering guide covers in-ground and container rhythms side by side.
Feed Pots More Often Than In-Ground Beds
Nutrients wash out of containers every time water drains. Even a rich potting mix cannot feed a hungry tomato through an entire season without replenishment.
At planting time, mix a measured dose of slow-release organic granular fertilizer into the top few inches of moist potting mix according to label rates—more is not better. Then supplement every two to three weeks with diluted liquid fish emulsion, seaweed extract, or another balanced organic feed during active growth.
Fruiting crops have higher nitrogen and potassium demands during bloom and fruit set. Leafy greens need steady nitrogen but less overall volume. Stop heavy feeding late in the season for crops you are finishing off, and always follow package directions rather than improvising concentrations.
If leaves pale while veins stay green, suspect iron or magnesium issues tied to pH or inconsistent watering before dumping more nitrogen on the plant. Container gardening rewards steady, moderate feeding over rare heroic doses.
Seeds or Transplants: What Beginners Should Buy
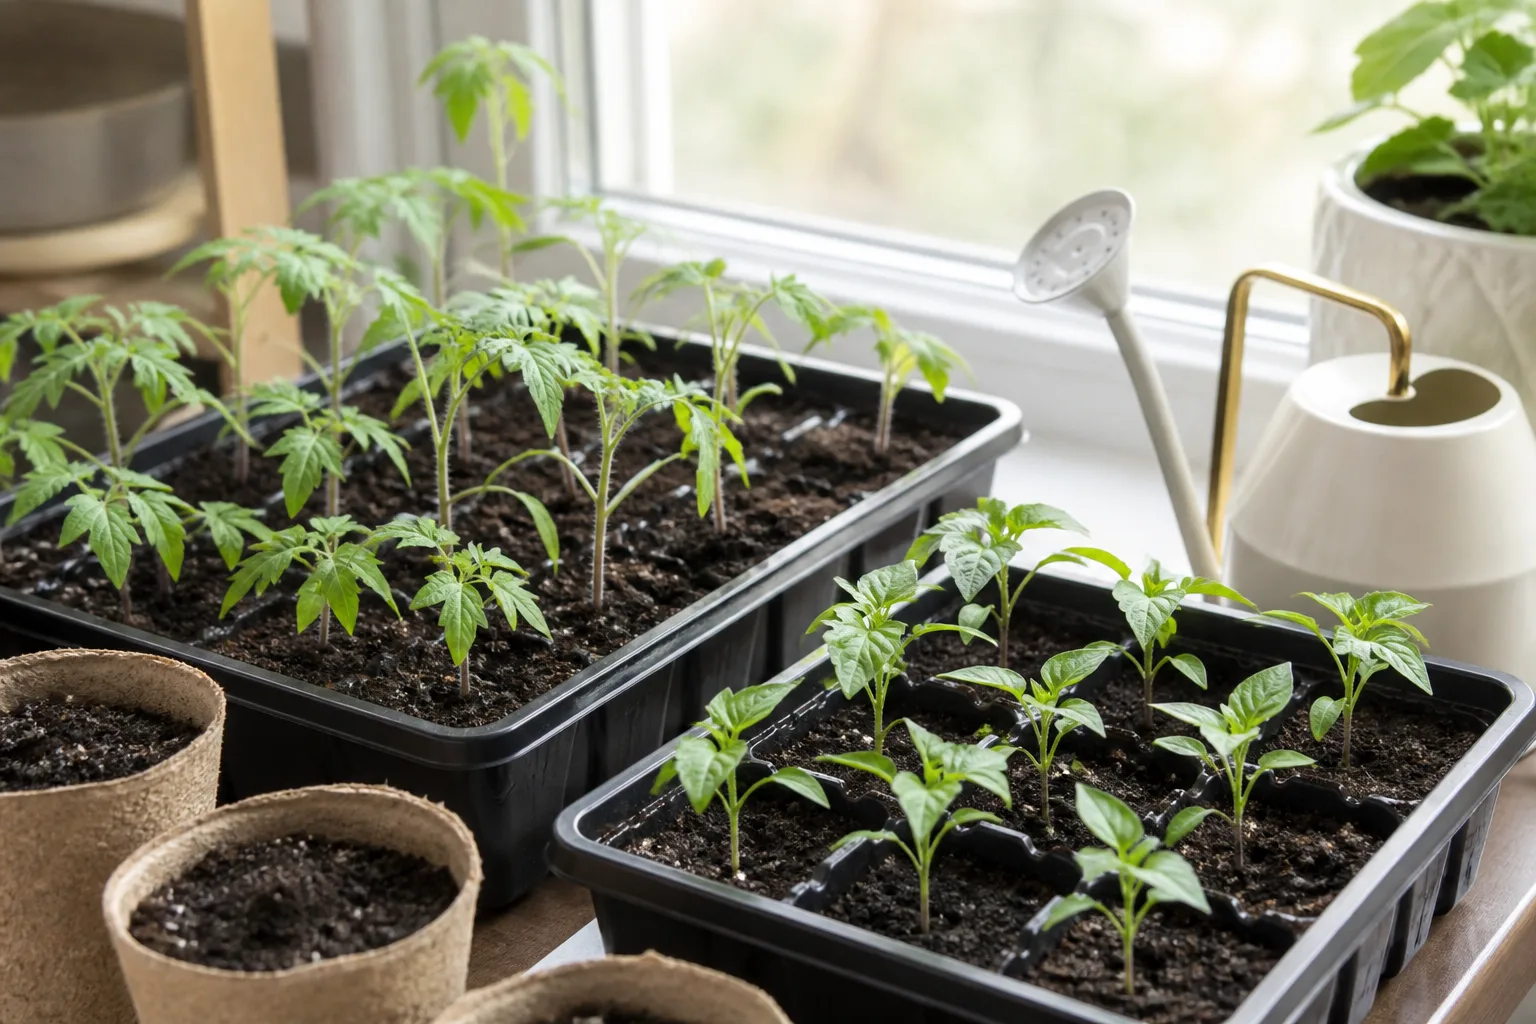
Both routes work. The right choice depends on your budget, timing, and patience—not on which method is “more authentic.”
Direct sowing suits fast crops like radishes, lettuce, peas, beans, and carrots. Seeds are inexpensive, and you avoid transplant shock. Follow packet depth and spacing; in containers, thin seedlings ruthlessly so survivors are not competing in a crowded pot.
Transplants make sense for tomatoes, peppers, eggplant, and any crop that needs a long head start in a short season. Buying one healthy seedling can be cheaper than running grow lights for ten weeks if you only need two plants.
Starting seeds indoors saves money at scale and opens rare varieties, but it has real overhead. UNH Extension notes that seedlings need bright light for 12–16 hours daily, good air circulation, and careful moisture—dry once and they may die; waterlogged and they collapse (UNH seed-starting guide). If you cannot provide strong light, buy transplants for tomatoes and peppers and sow easy crops directly outdoors.
Harden Off Seedlings Before They Stay Outside
Whether you grew them or bought them, seedlings need hardening off: a week of gradual exposure to outdoor sun, wind, and temperature swings. Start with an hour of shaded outdoor time, increase daily, and bring plants in if frost threatens. Skipping this step sunburns leaves and can set growth back by weeks—right when your planting window is narrowest.
Best Vegetables for Container Gardens
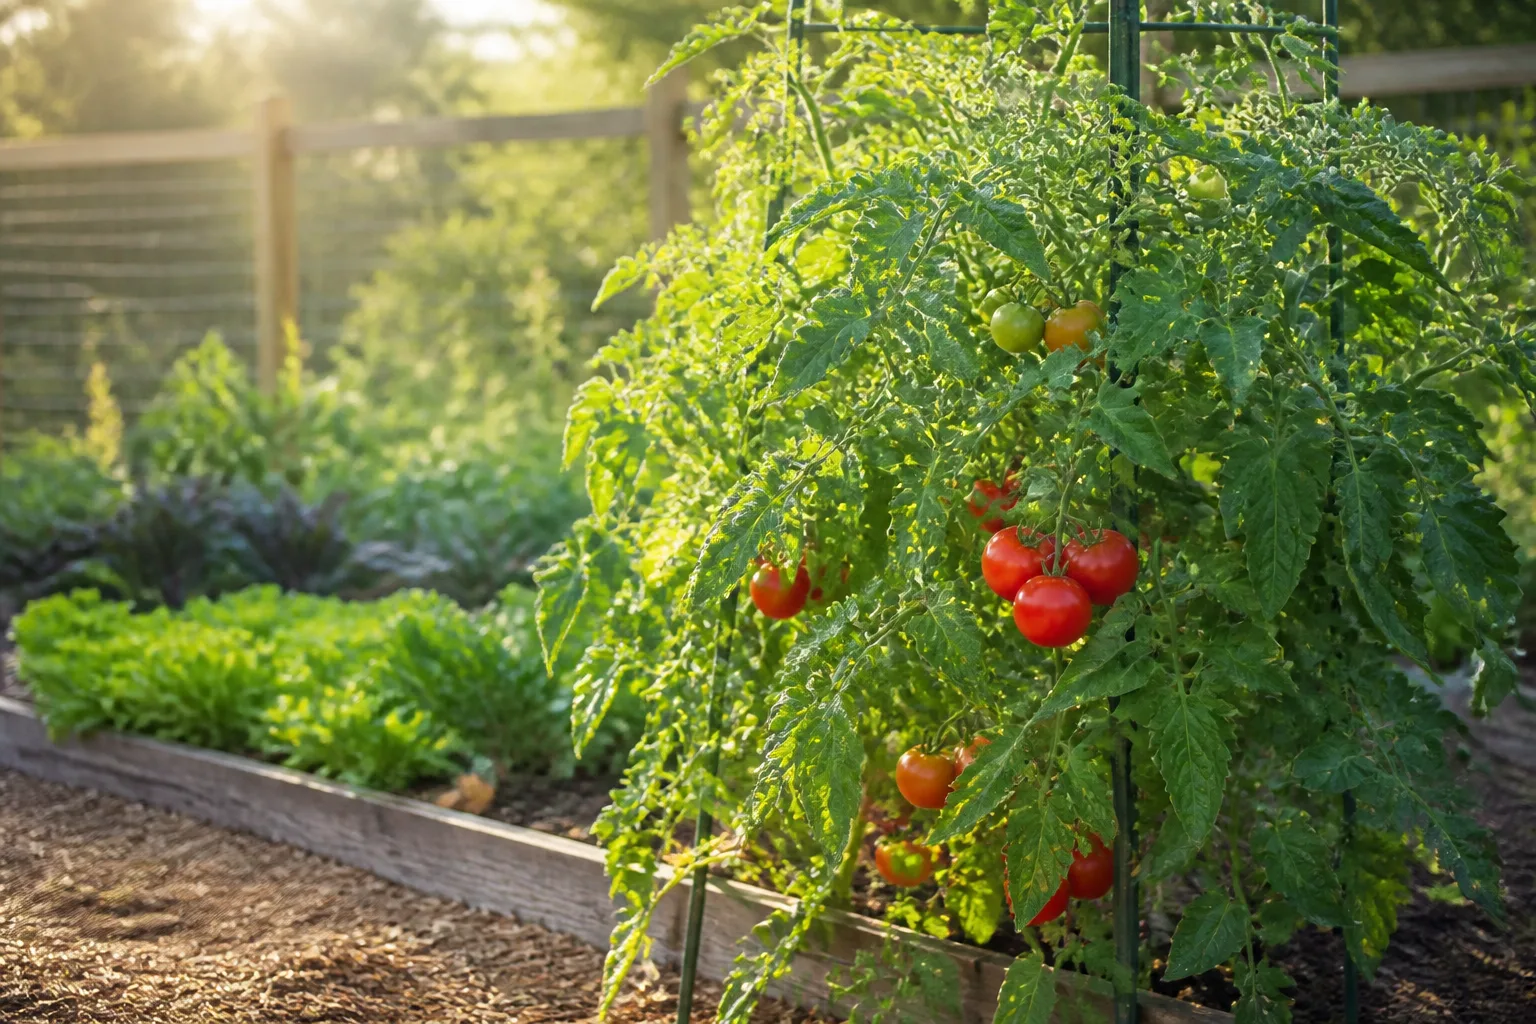
Choose compact, bush, patio, or dwarf varieties bred for confined root space. Read days-to-maturity on the packet and confirm your frost-free season is long enough—some potatoes need 120 days, which will not finish on a late-planted balcony in a short-summer climate.
Peas: Put a trellis in the pot at planting time. Keep mix moist and feed lightly; harvest prompts more pods on many varieties.
Lettuce, spinach, and mesclun: Sow every two weeks for continuity. Partial shade extends spring quality in hot regions. Cut outer leaves and let centers regrow.
Radishes and scallions: Fast and forgiving in shallow containers. Ideal first crop for children and impatient adults alike.
Carrots and beets: Need depth. Choose shorter varieties like ‘Thumbelina’ or ‘Parisian’ carrots if depth is limited.
Tomatoes: One plant per five-gallon—or larger—container. Determinate or patio types stay manageable; indeterminate cherries can work with a sturdy cage if the pot is large enough.
Peppers: One plant per two- to five-gallon pot. They stall in cold mix; wait for warmth.
Eggplant: Heat lovers. Avoid exposure below about 50°F.
Bush cucumbers and bush squash: One plant per large pot with a trellis for air circulation. Do not crowd seeds—one vigorous squash plant can fill a 24-inch container.
Potatoes: Use a tall container or grow bag and hill as stems emerge. Choose early-maturing varieties in short seasons.
Herbs: Basil, parsley, chives, and thyme complement any vegetable container garden and tolerate tighter pots. Basil especially rewards warm soil—plant it beside tomatoes only after nights stay mild.
Match companions to shared needs, not internet folklore. Tomatoes and basil in one large planter can work when both get full sun and steady moisture, but a shade-loving herb wedged beside a sun-hungry pepper will always lose. When planning a mixed pot, choose crops with similar water and light demands and give each its minimum root volume.
Crops That Rarely Work in Pots
Be honest about scale. Sweet corn needs block planting for pollination and deep root run—skip it on a balcony. Large melons and vining pumpkins overrun rail space and rarely ripen on a late start. Full-size indeterminate tomatoes without room for large pots and trellises become a maintenance burden. If you love these crops, support a community garden plot or swap your surplus cherry tomatoes with a neighbor who has ground space.
A First-Month Starter Plan for Patios and Balconies
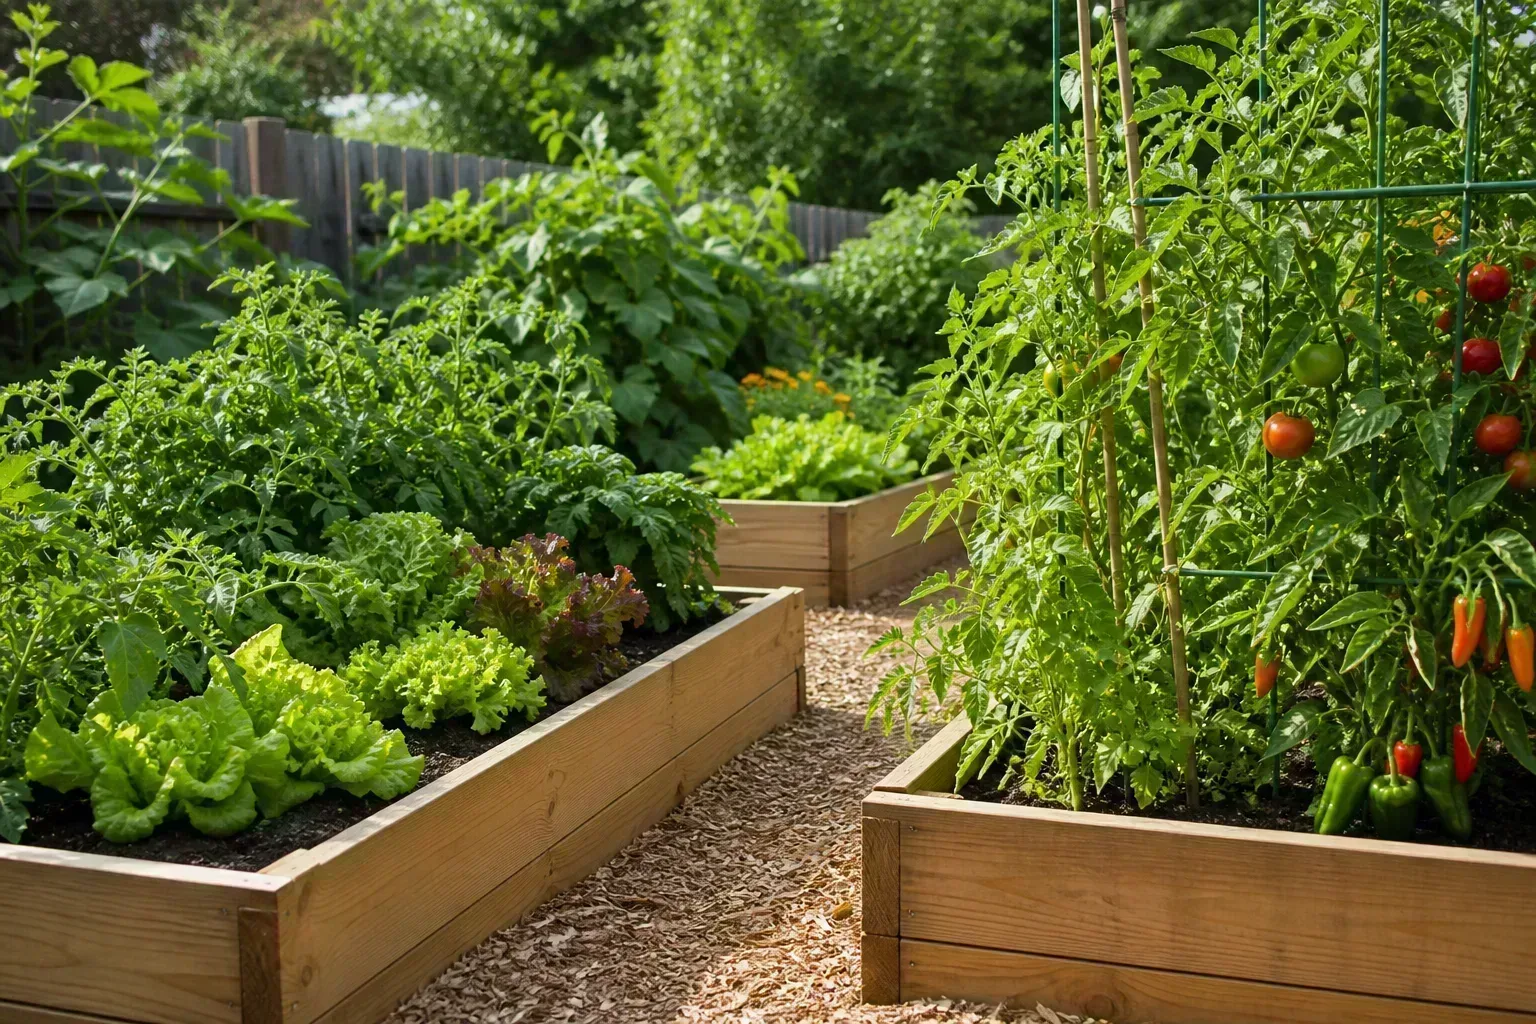
Week 1: Place empty pots in the sunniest viable spot and confirm six-plus hours of direct light for fruiting crops. Buy or assemble containers with drainage, pot feet, mix, slow-release fertilizer, and a watering can or hose adapter.
Week 2: Fill pots with pre-moistened mix blended with slow-release feed. Direct-sow peas, radishes, and lettuce in cool weather. If nights are still frosty, keep tender seedlings indoors.
Week 3: Transplant or pot up tomatoes and peppers only after soil mix warms and frost risk drops. Install cages or trellises at planting time—adding them later usually snaps stems.
Week 4: Begin liquid feeding on a two-week rhythm. Mulch surfaces. Start a second sowing of lettuce or radishes before the first batch finishes. Write watering times on your calendar for July now, while enthusiasm is high.
By the end of month one you should know your real sun hours, how fast each pot dries on a warm afternoon, and whether your household will actually eat another zucchini. That feedback is more valuable than any generic planting chart. If a crop struggles twice, swap the variety or the pot size next season rather than repeating the same setup and blaming your thumb.
This sequence builds skill before the hardest maintenance month arrives. Add containers only after the first set feels routine.
Common Beginner Mistakes and Quick Fixes
Too-small pots produce stunted plants and blossom drop. Fix: pot up before roots circle heavily, or start with larger containers next season.
Garden soil in pots leads to compaction and poor drainage. Fix: repot into proper mix; trim damaged roots if rot is present.
Gravel in the bottom worsens drainage. Fix: remove gravel layer at repotting and rely on holes plus elevation.
Irregular watering causes cracked tomatoes and bitter lettuce. Fix: set a morning check routine; cluster pots; upgrade pot size.
Skipping hardening off burns transplants. Fix: shade cloth and gradual exposure; do not plant sun-scorched seedlings deeper to “hide” damage.
Overcrowding seeds in one container. Fix: thin to one squash, one tomato, or proper spacing per packet—empty soil does not help yield.
Dark pots on hot decks cook roots. Fix: shade pot exteriors, double-pot for insulation, or switch to lighter containers.
Conclusion
Vegetable container gardening for beginners comes down to matching each crop to a large enough pot, a soilless mix, real sun, steady water, and regular feeding. Start with food you will eat, choose compact varieties, and favor a few well-maintained containers over a crowded patio of stressed plants.
Measure your light, drill your drainage holes, and size up before you plant. Sow easy cool-season crops while you wait for warm soil, harden off transplants with patience, and add pots only when the first ones feel manageable through a hot week. Do that, and a balcony or stoop can produce tomatoes worth bragging about—without pretending it is the same as growing in open ground.



