How to Fertilize a Vegetable Garden: A Practical Guide
Learn when vegetables need fertilizer, how to read NPK labels, and how to use soil tests, crop timing, and safe side-dressing instead of guesswork.

The right vegetable-garden fertilizer is not a specific bag, a universal 10-10-10 ratio, or an application every few weeks. It is the smallest, correctly placed nutrient application that fills a real gap in your soil for the crop you are growing. Start with a soil test, read the whole label, and adjust timing to the vegetable’s growth stage. If the soil already has adequate nutrients, adding more can create lush leaves, fewer fruits, salt damage, or nutrient runoff without improving the harvest.
This approach works whether you grow a few tomatoes in raised beds or rows of mixed vegetables. Fertilizer needs vary with soil, crop, weather, previous amendments, and product type. Use your local extension lab’s recommendation and the product’s label for rates; numbers from another state or another garden are not a substitute for either.
Why fertilizer choices start with soil and crop
Vegetables need nitrogen (N), phosphorus (P), potassium (K), and smaller amounts of other nutrients. Those nutrients may already be present in the soil, released gradually from organic matter, or supplied by compost and previous fertilizer applications. The fact that a vegetable grows quickly does not mean the bed needs a full dose of every nutrient.
First separate two goals that often get blended together. A soil amendment improves the soil’s physical or biological condition, while a fertilizer is sold with a guaranteed nutrient analysis. Compost can help with organic matter and soil structure, but its nutrient content varies; a bag of fertilizer provides a stated analysis but does not fix compaction or poor drainage. Colorado State University Extension explains that compost and manure can improve tilth while supplying only nominal or slowly released nutrients, so improving soil and fertilizing are related but different jobs (Colorado State University Extension).
Match the product to the need. A soil test that reports high phosphorus does not call for another balanced fertilizer just because the plant looks hungry. A bed with low nitrogen but adequate phosphorus and potassium may need a nitrogen-focused product, not more of all three. If a test shows that no additional nutrients are needed, focus on watering, light, roots, temperature, pests, or disease before buying fertilizer.
Do a soil test before choosing fertilizer
A soil test is the most reliable way to find out what a garden bed needs. It can report soil pH and nutrient levels, then translate the results into crop-appropriate amendment or fertilizer recommendations. pH matters because a nutrient can be present in soil but unavailable to roots when the soil is too acidic or alkaline. Most vegetables do well in slightly acidic soil, but the target and adjustment depend on the crop, soil type, and local test system; follow the laboratory’s result rather than adding lime or sulfur by habit.
Test a new garden before you start amending it, and retest periodically according to your extension lab’s schedule. Rutgers Cooperative Extension recommends testing before spring fertilization or after harvest in fall, and emphasizes that adding fertilizer without a soil test can be wasteful or harmful (Rutgers Cooperative Extension). If you are growing in a newly filled raised bed, use a lab that can test the type of soil or growing mix you actually have; some routine field-soil tests are not designed for soilless mixes.
Collect a representative sample
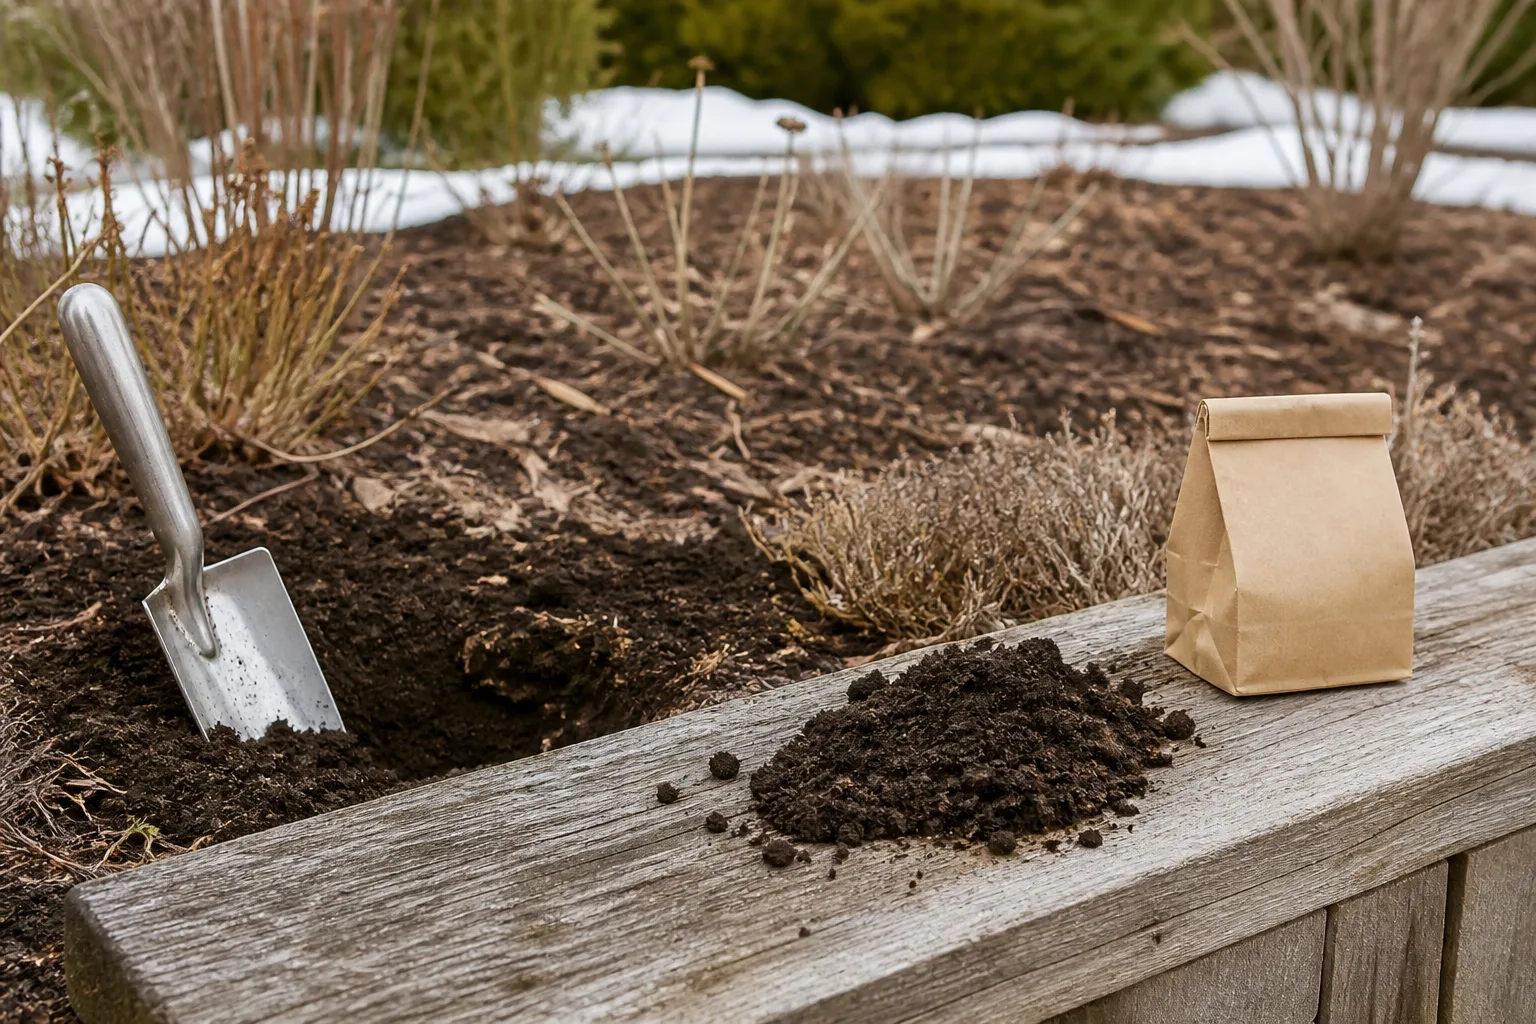
Follow the test lab’s sample instructions because depth and sample quantity can differ. As a general method for an in-ground bed, remove mulch and surface debris, then take several small soil cores from different spots across the same growing area. Mix them in a clean container and submit the requested amount. Do not combine a vegetable bed with lawn soil, a compost pile, or a separate raised bed filled with different material. If one section has a history of poor growth or a distinctly different soil source, test it separately so its results do not disappear in a blended sample.
Sample before applying fertilizer, lime, manure, or large compost additions; recent amendments can skew a reading. Virginia Cooperative Extension recommends that gardeners sample soil before making amendments, while Creative Vegetable Gardener’s hands-on soil-testing walkthrough also explains why separate areas with different histories may need separate tests (Virginia Cooperative Extension, Creative Vegetable Gardener). Keep the report with a simple map or label for each bed. That record lets you compare future tests and avoid repeating an application that is already building up in the soil.
Understand fertilizer labels and N-P-K
On a conventional U.S. fertilizer label, the three numbers list the guaranteed percentages by weight of nitrogen, available phosphate (expressed as P₂O₅), and soluble potash (expressed as K₂O). A 5-10-10 product therefore contains 5 percent nitrogen, 10 percent phosphate, and 10 percent potash by weight. The remaining material may include other nutrients, carriers, coating, or filler. The numbers do not tell you what your garden needs, how much to apply, or how quickly every nutrient becomes available.
The ratio also is not a ranking of quality. A higher middle number is not automatically better for roots or fruit, and a high first number is not automatically the right choice for leafy crops. Choose an analysis that matches the soil-test recommendation and crop plan. If the lab says phosphorus is already high, an all-purpose fertilizer with substantial phosphorus can make the imbalance worse. UGA Cooperative Extension describes the numbers as nutrient percentages and explains that the same nutrient ratio can come at different strengths, which changes how much product is needed to supply a given amount of nutrient (UGA Cooperative Extension).
Nitrogen supports vegetative growth; phosphorus and potassium are essential for a wide range of plant functions, including root growth, energy processes, water regulation, and fruit development. These are roles, not a shopping shortcut. A plant with poor fruit set does not necessarily need extra phosphorus, and blossom-end rot on tomatoes is not proof that the soil lacks calcium. Water stress can interfere with calcium movement through the plant; address uneven moisture and consult the soil test before adding calcium or other amendments.
For more background on analyzing the three label numbers, see our fertilizer numbers guide. For this garden, the test result and label directions still determine the product and dose.
Choose a fertilizer form without overbuying
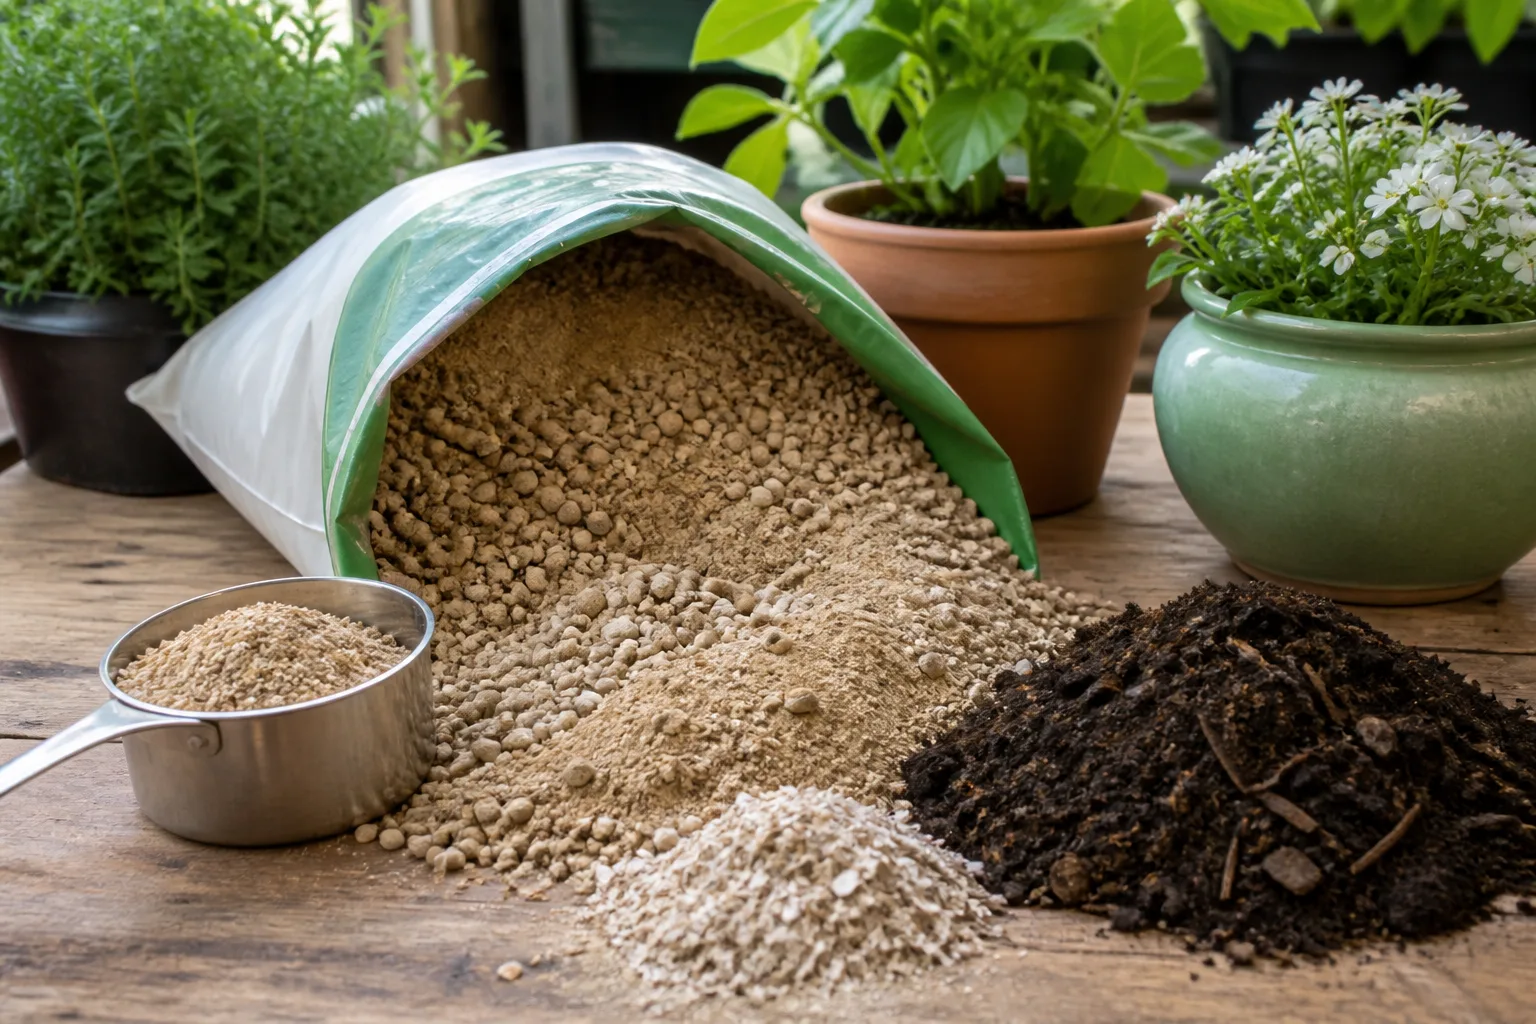
Fertilizers come as dry granular blends, water-soluble powders, liquids, slow-release granules, and organic materials such as meal, composted manure, or fish-based products. Choose a form you can measure and apply evenly. A small liquid dose can be useful for a container or an approved starter solution, while a measured granular product may be easier to spread over a bed. “Organic” and “synthetic” describe different sources or production pathways; they do not tell you whether an application rate is correct or whether overuse is harmless.
Many synthetic fertilizers supply nutrients in forms roots can use relatively quickly. Organic fertilizers often depend more on warmth, moisture, and soil organisms to release nutrients; rates vary among products and ingredients. Some organic meals are concentrated, and manure-based composts can contain salts or more phosphorus than expected. Rutgers notes that organic fertilizer can pollute water when overapplied just as conventional fertilizer can. Read the analysis and directions for the specific product instead of assuming that a natural product can be applied freely.
Buy only what you can use according to the label and store it in its original, closed container in a dry, secure location. A large bag of an unsuitable blend is not a bargain. Get Busy Gardening’s practical guide distinguishes broad preplant application from side-dressing an established row; that method overview can help visualize the job, but the product label and local extension recommendations—not a blog’s sample schedule—set the rate (Get Busy Gardening).
Prepare the bed before planting
Clear weeds and assess the bed before adding anything. If the soil is compacted, wet, depleted, or low in organic matter, a fertilizer alone will not fix the underlying problem. Add finished compost or another suitable amendment when it benefits soil structure, but account for what it contributes: repeated additions can accumulate phosphorus, salts, or other nutrients. CSU Extension warns that some manure- or biosolids-based composts can carry high salts and recommends adjusting the application to the material and soil test.
If the soil-test report recommends preplant fertilizer, apply the specified product and amount to the area listed. For a broadcast application, measure the bed’s length and width, calculate its area, and measure the product rather than scattering it by eye. Incorporate only to the depth stated by the test report, product label, or local extension guide. If fertilizer is placed in a band beside a seed row, keep it separated from the seed and young roots; concentrated fertilizer salts can injure them.
Apply only the preplant nutrients called for
Use the result and label to calculate the amount for the actual bed, not a larger reference area. For example, a recommendation stated per 1,000 square feet must be scaled down for a compact raised bed, and a row-foot recommendation is not interchangeable with a square-foot recommendation. If calculations feel uncertain, ask the soil lab or extension educator to help interpret the report before applying anything.
Do not add a starter fertilizer or a handful of granular fertilizer to every transplant hole unless the product label or a local recommendation calls for that method. Granules placed against roots can burn them, and adding fertilizer to a hole when the bed already received a full broadcast rate can double-feed the plant. Water newly planted vegetables according to their normal establishment needs; add fertilizer through water only when the product is labeled for that use and the dilution is measured correctly.
Match feeding to what each crop is doing
Vegetables differ in nutrient demand and timing. A leafy crop needs enough nitrogen to replace harvested leaves; a fruiting crop may produce a tall, dark canopy at the expense of flowers if it receives excess nitrogen; corn can have a higher nitrogen demand than many home-garden vegetables; and root crops are vulnerable to too much leafy growth. Soil type, rain, irrigation, previous compost, and the fertilizer’s release rate alter the schedule too.
Use this table as a planning lens, not a rate chart. The soil test and local crop-specific recommendations decide whether an application is needed and how much to use.
| Crop group | What to watch | Fertilizing approach |
|---|---|---|
| Leafy greens and brassicas | Harvested leaves and rapid regrowth | Supply nitrogen only when the test or local guidance indicates; avoid repeated high-nitrogen feeding by calendar. |
| Corn | Fast growth and high nutrient demand | Use a local extension schedule for preplant and sidedress stages; do not borrow a row rate from another state. |
| Tomatoes, peppers, squash, and cucumbers | Balance between foliage, flowers, and fruit | Avoid excessive nitrogen, especially before fruit set; use a crop-specific plan and observe the label interval. |
| Carrots, beets, and other root crops | Healthy tops without excessive leaf growth | Avoid overfeeding nitrogen; apply other nutrients only when the soil test identifies a need. |
| Beans and peas | Nodulation and steady growth | Do not automatically treat legumes like hungry corn; check the test, crop condition, and local recommendation before adding nitrogen. |
Virginia Cooperative Extension notes that crop type influences timing, with root crops generally needing less nitrogen than leafy crops, while excessive nitrogen can delay fruiting in tomatoes and potatoes. Use those differences to decide what to ask your extension office—not as a reason to fertilize every crop at the same interval (Virginia Cooperative Extension).
Leafy crops and corn
Lettuce, kale, cabbage, broccoli, and other leafy or cole crops use nitrogen to build stems and leaves, but more is not always better. If leaves are pale and growth is slow, first check soil moisture, root health, temperature, crowding, and pest damage. When nitrogen is actually low, follow the report or a local schedule so the crop can use it without receiving a large excess that runs off or leaves salts behind.
Corn is a heavier feeder and often receives nitrogen in stages. The correct timing depends on local recommendations, soil texture, and the product being used. If you grow corn beside beans or lettuce, do not spread a corn-specific side-dress dose over the entire mixed bed; apply only where the intended crop can use it, and follow the extension schedule for that region.
Fruiting crops such as tomatoes and squash
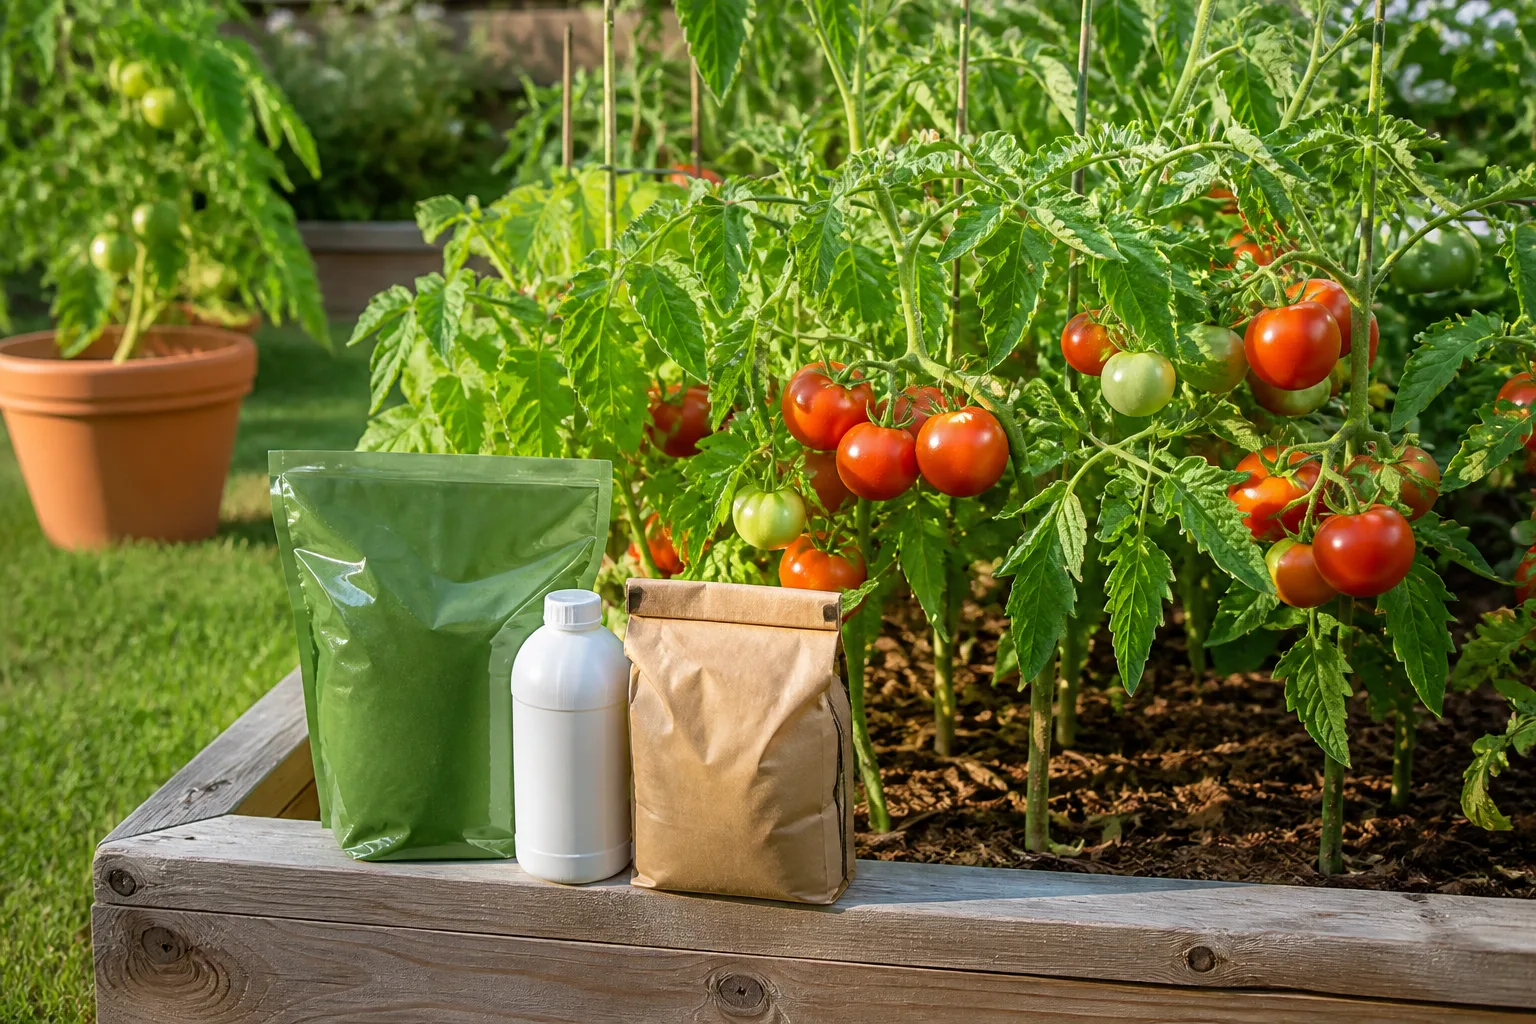
Tomatoes, peppers, cucumbers, and squash need balanced nutrition to establish roots, stems, flowers, and fruit. If plants are already large, dark green, and full of leaves but have few flowers, additional nitrogen is unlikely to solve the problem. Too much nitrogen can encourage vine growth and delay fruiting. Light, temperature, pollination, water swings, and the variety may also explain a poor set.
Do not use a universal “feed when flowering” rule. Some local schedules call for a later sidedress after fruit set; other products provide enough nutrients through the season or release them slowly. Check the tag and a local crop guide. For a tomato-specific plan, see our best tomato fertilizer guide, but still use your own soil test and the product label.
Root crops and legumes
Carrots, radishes, beets, turnips, and other root vegetables can become overly leafy when nitrogen is excessive, while roots remain small or forked. Soil texture, stones, compaction, and moisture also affect root shape, so fertilizer is not the only variable. Avoid choosing a high-phosphorus or high-potassium product as a supposed root booster unless the test calls for that nutrient.
Beans and peas partner with nitrogen-fixing bacteria when their roots are well nodulated. That does not mean they never need any nitrogen, but it does mean that a high-nitrogen default application can be wasteful. If legumes look weak, inspect drainage, soil pH, inoculation history, root nodules, and disease before adding nitrogen.
Side-dress established plants carefully
Side-dressing means placing fertilizer beside a growing row or around an established plant after it is up and growing. Use it only when a crop plan or soil-test recommendation calls for another application. Measure the amount for that row or plant, keep granules off wet leaves and away from direct contact with stems, and lightly work them into the soil only if the label or local instructions direct you to. Water in the product when instructed; some fertilizers should not be applied to foliage, while others are formulated for liquid or foliar use.
If a bed is mulched, pull the mulch back enough to place the fertilizer on the soil, then replace it after watering if the product directions allow. Avoid spreading fertilizer between rows where weeds will capture it. On sandy ground or in a wet season, local guidance may split applications because nitrogen can move more readily; do not invent extra feedings just because the soil drains quickly.
Fertilize containers differently
Container vegetables rely on a small volume of mix, and frequent watering can carry nutrients through drainage holes. But first inspect the potting-mix label: many mixes include a starter charge or slow-release fertilizer, and adding more immediately can burn roots or overfeed plants. Use a container-vegetable product and follow its dilution or release interval. If the mix is old, a container plant is producing heavily, or the label says supplemental feeding is needed, use the stated dose rather than a bed-garden rate.
Water-soluble fertilizer is easy to over-concentrate when measured with a spoon or mixed into a small can. Use a marked measure, mix thoroughly, and do not double a dose to compensate for missed feedings. Stop and reassess if leaf tips burn, a white crust forms on the mix, or growth becomes lush but unproductive. Excess salts may need to be flushed according to the product label and local container guidance; ensure the pot drains freely and do not allow nutrient-rich runoff to reach a storm drain.
Compost, manure, and cover crops have separate roles
Finished compost adds organic matter and may supply nutrients, but its analysis is usually less predictable than a labeled fertilizer. Use the bag or lab analysis when available, and consider how much compost has gone into the bed over previous seasons. Routine heavy additions can raise soil phosphorus or salts even when the compost looks dark and healthy. A cover crop can protect the soil and return plant material when incorporated, but its nutrient contribution also depends on species, growth, and management.
Manure requires special care in an edible garden. Raw manure can carry pathogens, and manure-based compost can contain salts or uneven nutrient levels. Use a properly processed source and check your local extension or food-safety guidance for the required interval before harvest. Never treat a homemade manure tea or an untested manure product as a guaranteed, clean fertilizer. UGA Extension notes that bulk organic sources vary in nutrient strength and that gardeners should have unknown material tested when possible.
Organic fertilizers can be useful when their analysis fits the need, but they are not inherently dose-free. Bone meal, blood meal, poultry manure, and other concentrated materials can create nutrient imbalance or burn roots when overused. Do not add lime, wood ash, Epsom salt, or a trace-mineral mix as a generic “natural” fix; each changes soil chemistry and belongs in a plan supported by a test.
Prevent fertilizer burn and nutrient runoff
Fertilizer injury can look like brown leaf margins, scorched roots, wilt, or sudden plant decline. It may follow an application that was too concentrated, too close to stems, spread over wet foliage, or not watered as directed. If you suspect burn, stop feeding, check the label, and assess whether the product is dry on leaves or concentrated around a root zone. Do not add a second product to counteract the first. If the label permits flushing the soil with water and the bed drains freely, follow that guidance; if the soil is saturated or contaminated with an unknown product, contact a local extension service.
Keep fertilizer on the bed. Sweep granules from paths and driveways into the intended soil before watering; do not rinse them into street drains. Avoid application before heavy rain, onto frozen ground, or on soil that cannot absorb water. Store products sealed and out of reach of children and pets. Wear the protective equipment on the label, avoid skin and eye contact, wash hands and tools after use, and keep fertilizers in their original containers so the directions remain available.
Do not use lawn weed-and-feed products in a vegetable bed unless the label explicitly lists the edible crop and use site; many lawn products contain herbicides that are not intended for food crops. Follow the exact label for crop eligibility, amount, placement, watering, harvest interval where applicable, storage, and disposal. Local restrictions or extension guidance may add requirements, so check them before use.
Diagnose symptoms before you add more
Yellow leaves, slow growth, small fruit, or poor yield can indicate a nutrient problem, but they can also come from underwatering, overwatering, cold soil, pests, disease, root damage, or poor light. Before fertilizing, note which leaves are affected, whether symptoms occur across the whole bed or just one crop, and what changed recently. Compare the pattern with a soil test; do not diagnose an exact deficiency from one photo or symptom alone.
Blossom-end rot is a common example of a symptom that tempts gardeners to add calcium. Calcium may be present in the soil, but irregular watering can disrupt its movement into developing fruit. Keep soil moisture steadier and follow a soil test before using lime or a calcium product. UGA Extension describes poor irrigation as one possible contributor to calcium deficiency symptoms, including blossom-end rot.
If plants are lush and dark but flowering poorly, pause nitrogen and check crop stage, heat, light, and pollination. If leaves are pale after a cold snap, give the soil time to warm before assuming a nutrient is missing. When symptoms persist, get a soil test or ask your county extension office to assess the plant, roots, and growing conditions. That step is usually cheaper than applying several products and trying to undo the imbalance later.
A practical season-long fertilizing routine
Use this sequence to make feeding decisions without committing to a calendar that does not fit your garden:
- Before the season: map beds and crop groups, then test each distinct soil area. Ask the lab about sample depth, raised-bed mixes, and how to read the recommendations.
- Before planting: add only the nutrients and pH amendments the report calls for. Record the product, analysis, amount, bed, and date.
- At planting: check whether potting mix or transplants already contain fertilizer. Use a starter solution or band only if the label or local crop guide recommends that method.
- During growth: watch the crop and soil, not the calendar alone. Side-dress only crops that need it at that stage, and keep each product’s label nearby.
- After harvest: note where yields were strong or weak and retest at the interval your lab recommends. Use that evidence to refine next year’s plan.
If you are unsure whether to fertilize, wait long enough to check the soil moisture, crop history, and test result before applying a product. A measured, targeted treatment is easier to adjust than an entire bed that received an unnecessary dose.
Conclusion
Fertilize a vegetable garden by matching the soil-test recommendation, crop, growth stage, and product label—not by choosing a familiar ratio or repeating a fixed schedule. Build soil structure with suitable amendments, but do not assume compost supplies a known amount of every nutrient. Apply only what is called for, measure it accurately, keep it away from foliage and stems unless the product is designed for that use, and prevent excess from washing out of the bed.
With a soil report, a simple application log, and crop-specific timing, most home gardeners can feed vegetables confidently without overfertilizing. When a plant struggles, check water, roots, light, and temperature before adding more. The best fertilizer plan is the one that answers a demonstrated need and leaves the soil in better balance for the next crop.