Winter Garden Planning: What to Do First
Do not wait for March. Use winter to evaluate your yard, fix drainage, plan flowerbeds, and build a planting calendar tied to your frost dates.
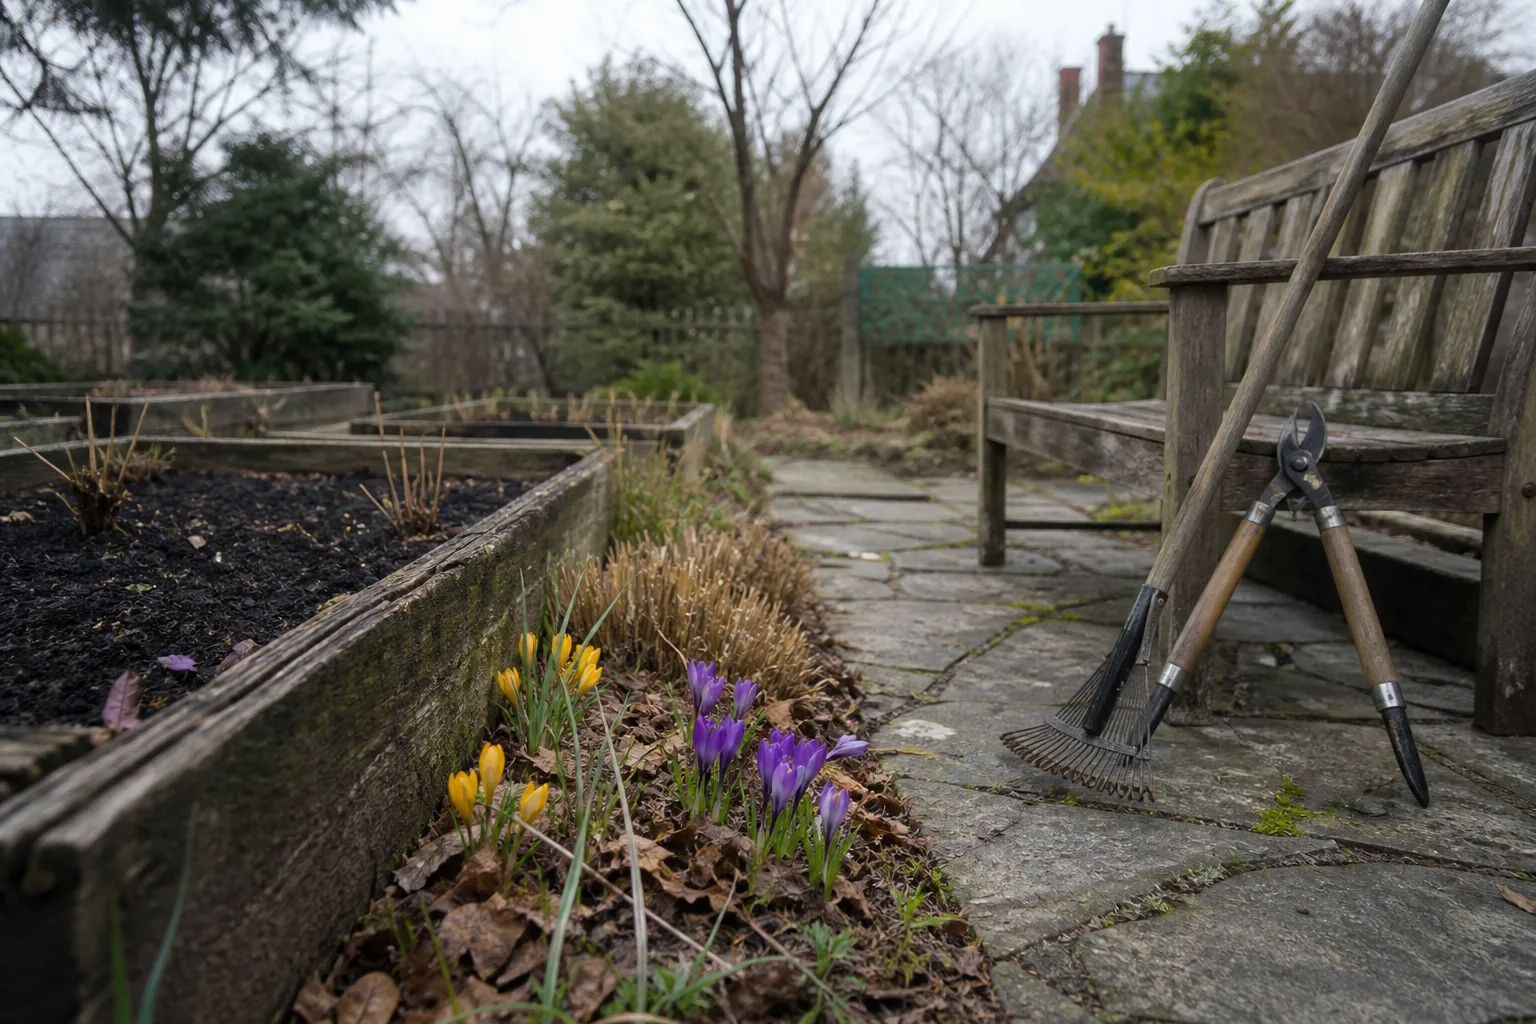
Snow on the beds and seed catalogs on the kitchen table are not contradictions—they are the same season. Winter garden planning is when you have time to think clearly, fix structural problems, and build a calendar before warm weekends disappear into weeding and watering. Spring is for planting. Winter is for deciding what to plant, where it goes, and whether your soil and drainage can support it.
If you open this page wondering where to start, the short answer is backward: review last year, lock in your frost dates, then test your soil. Only after those three steps should you shop for plants, sketch beds, or sharpen pruners. Everything else in this guide hangs on that sequence.
Why Winter Planning Beats a Rushed Spring Weekend
The University of Georgia Extension Vegetable Garden Calendar opens its January section with a simple instruction: make a garden plan. January and February are prime months for studying seed catalogs, preparing plots, and getting ready for a productive season—not for idly waiting until the weather feels right. That advice applies far beyond Georgia. In cold climates, winter is when popular seed varieties sell out, soil labs process samples before the spring rush, and you can walk the yard without crushing tender shoots underfoot.
Planning now also spreads the workload across months instead of cramming it into two frantic weekends. Soil tests take weeks to return. Lime and sulfur need time to react. Slow crops like onions and celery need 10–12 weeks indoors before transplant. None of that happens well when you are standing in a nursery parking lot on the first 70°F Saturday in April.
What Experienced Gardeners Know That Newcomers Miss
Veteran growers treat winter as a decision season, not a dormant gap. They inventory what failed, map where each crop family grew last year, and note drainage pooling that only shows up during melt. They order seeds in January while packets are in stock. They service the mower in February when repair shops are empty. New gardeners often do the reverse—buy plants first, discover compacted clay later, and wonder why last year’s tomatoes never ripened.
The difference is not talent. It is sequence. Our guide on when to start planting a garden covers frost-date math in depth; this page tells you what to finish before that calendar kicks into outdoor work.
What to Do First: A Priority Order That Actually Works
Winter garden planning works best as a fixed order. Skip a step and you will redo work in spring—or lose plants to timing mistakes you could have prevented on paper.
Step 1 — Look Back Before You Look Forward
Start with an honest review of last season. Walk the property on a mild day—or study photos you took in summer—and answer four questions: What produced well? What struggled? What never got harvested? What surprised you? Write the answers in a notebook or spreadsheet. This is not nostalgia; it is data.
Note bed locations and crop families for rotation. Planting tomatoes in the same spot three years running invites disease buildup and nutrient depletion. A simple three-year rotation—legumes, then leafy crops, then fruiting crops—reduces that risk without requiring a farm-scale map. If you saved seeds, check dates and run a germination test on questionable packets before reordering duplicates. Our garden chores before spring guide walks through the 10-seed paper-towel test if you need a refresher.
Step 2 — Anchor Your Calendar to Frost Dates and Zone
Two numbers anchor every planting decision: your USDA Plant Hardiness Zone and your average last spring frost date. They are related but not interchangeable. The USDA updated its Plant Hardiness Zone Map in 2023, showing which perennials survive your winter lows. Frost dates—tracked by your state cooperative extension—tell you when to sow and transplant annual vegetables.
Look up your county’s average last spring frost and first fall frost through your extension office or a regional frost-date tool. Treat those dates as planning tools, not guarantees. Every year deviates. A late Arctic blast in May can wipe out peppers set out on a warm April weekend—exactly the trap described in our guide on how false spring can set your garden back. Build margin: keep row cover handy and resist planting your entire warm-season plot on a single day.
Count backward from last frost for indoor starts. Tomatoes typically need six weeks inside; peppers and eggplants need eight. That math belongs on paper in January, not on a napkin in March.
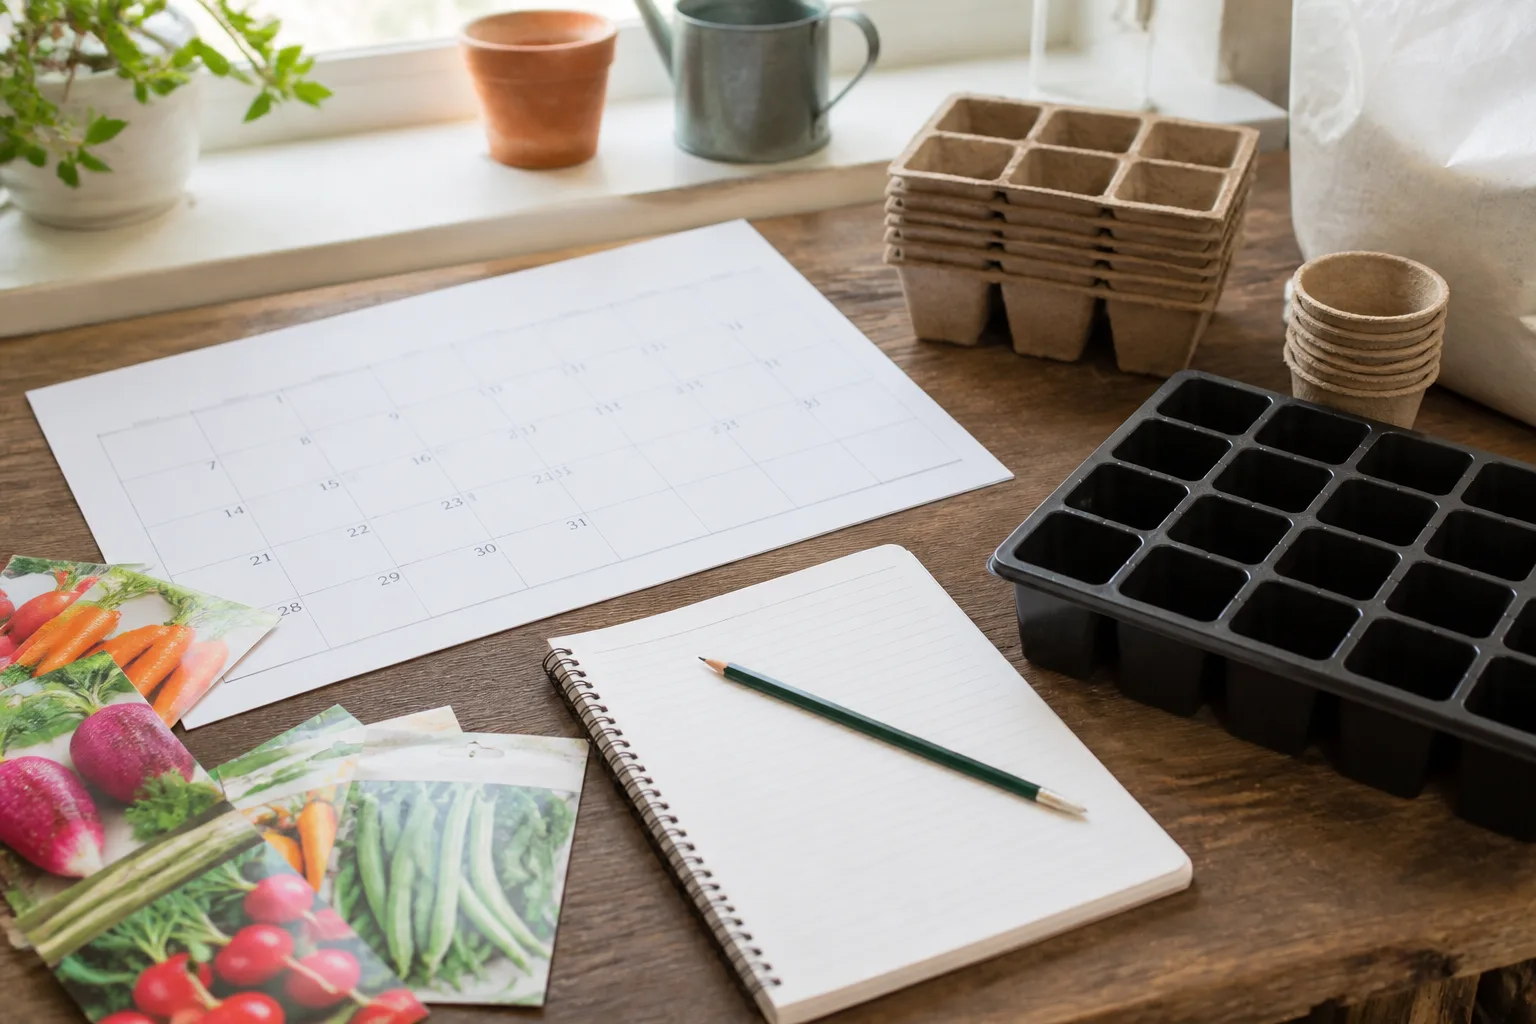
Step 3 — Test Soil and Order Amendments
Winter is the best window for a soil test because labs are less busy and you have time to apply lime, sulfur, or fertilizer before planting. Penn State Extension recommends collecting a slice or core 4 inches deep for lawns and 6 to 8 inches deep for gardens from 8 to 10 random spots, mixing them in a plastic bucket, and submitting one composite sample per bed zone. Sandy soils benefit from retesting every 2 to 3 years; clay soils every 3 to 4 years.
A standard test reports pH, organic matter, and plant-available nutrients—then recommends amendment rates so you are not guessing. Urban gardeners should ask about lead testing if beds are near old paint or busy roads. Apply lime or sulfur according to results and allow weeks for soil chemistry to shift before spring planting. Guessing with bagged fertilizer in April often means too much nitrogen and not enough calcium—a common reason blossom end rot appears on tomatoes you worked hard to start indoors.
Evaluate Your Hardscape While Foot Traffic Is Low
Hardscape—patios, walkways, retaining walls, fences, trellises, and water features—sets the bones of your landscape. Plants fill in around it. Winter is when you can inspect those permanent elements without trampling emerging bulbs or baking on compacted summer soil.
Walk the property after rain or snowmelt and look for trouble signs: crumbling concrete, heaved pavers, leaning fence posts, and water pooling against foundations or along paths. Pooling water is a planting problem disguised as a construction problem. No amount of drought-tolerant perennials will thrive in a bed that stays saturated every spring.
Inspect Drainage Before You Shop for Plants
Drainage fixes belong on your winter to-do list because they often require digging, grading, or adding swales—work that is miserable to schedule once beds are full. Common solutions include regrading soil away from the house, cutting shallow trenches to move runoff, building berms to redirect flow, or installing a French drain in chronic wet spots. Our DIY yard drainage methods guide compares approaches when you need more than a shovel and a weekend.
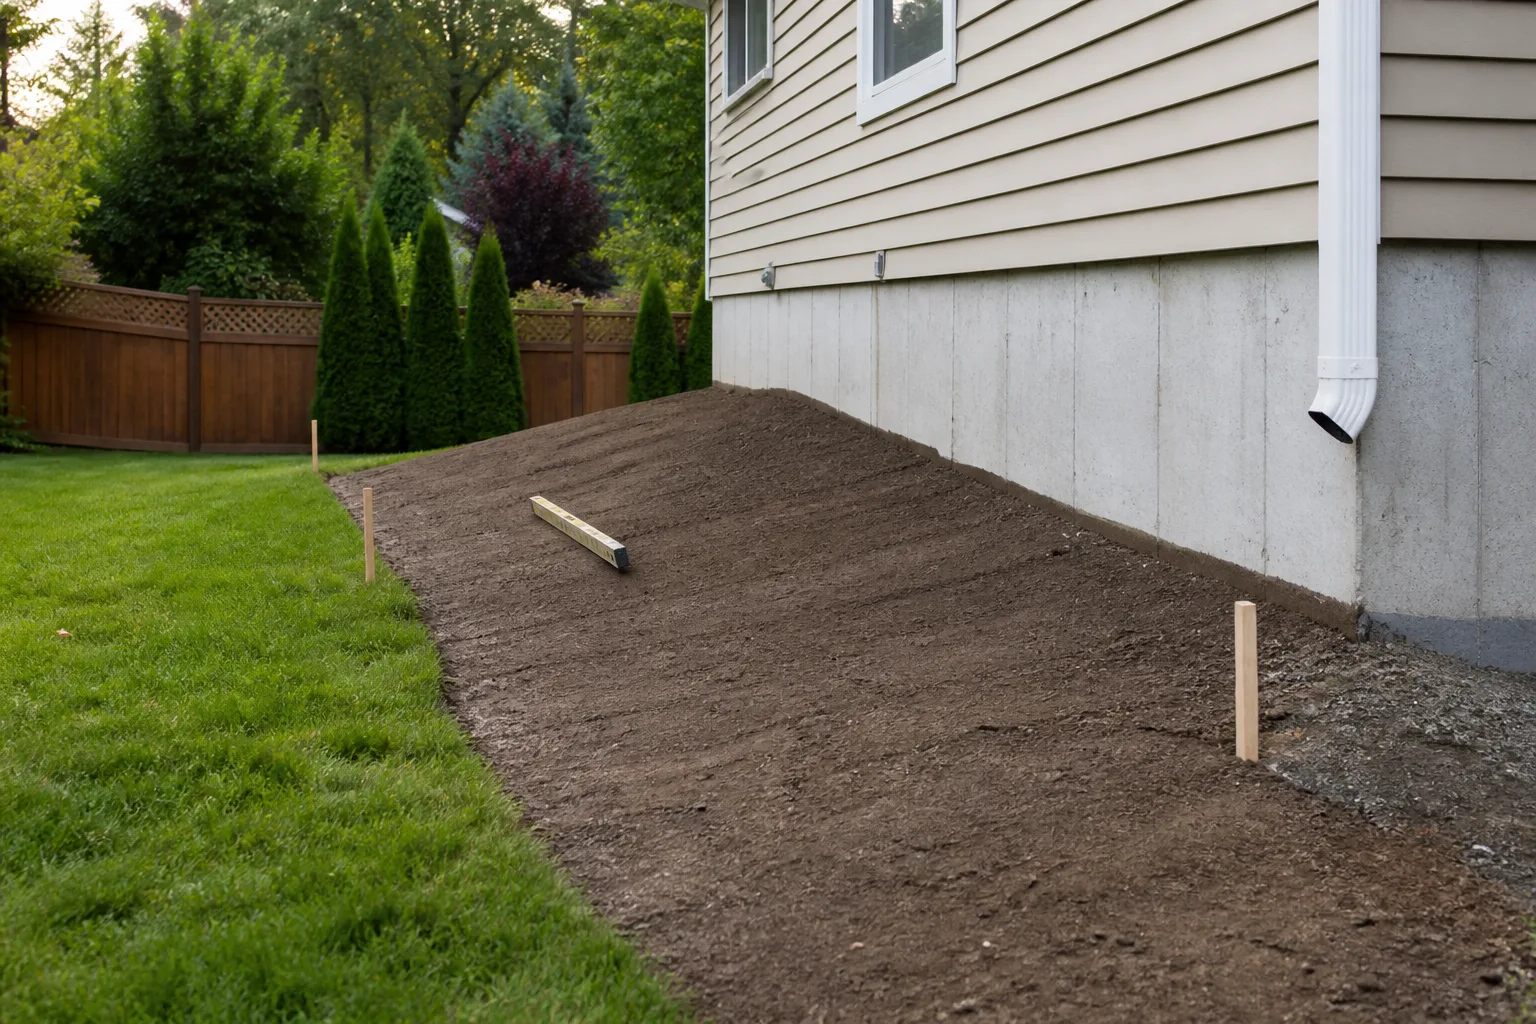
If you are planning a major addition—a new patio, extensive retaining wall, or regraded driveway—winter is also when contractors have availability and you can compare bids without spring markup. Gather material samples now so you are not choosing paver color under pressure in May.
Plan Foundation Plantings, Trees, and Shrubs
Foundation plantings—the trees, shrubs, and structural vines around your home—frame everything else. Winter reveals their true architecture: bare branches, gaping corners, and views you forgot existed under summer foliage.
Walk the perimeter on a sunny day and note where the landscape feels flat, overgrown, or harsh against siding. Evergreens add winter structure and privacy screening. Deciduous shrubs like hydrangea or Japanese maple soften corners and add height without blocking windows year-round. Before buying, evaluate sun exposure, soil type, and drainage at each spot—the same site assessment you would run for a vegetable bed. A shade-loving hydrangea baking on a south-facing wall will struggle no matter how much you water.
Check young trees and shrubs for swelling terminal buds—a sign dormancy is ending. Plan light corrective pruning for late winter, but know which plants bloom on old wood before you cut.
Dormant Pruning vs What to Leave Alone
Late winter is prime time for dormant pruning on many summer-blooming shrubs, roses, fruit trees, and ornamental grasses—while branches are bare and disease spores are less active. Remove dead, crossing, and inward-facing wood. Shape for airflow and access.
Do not hard-prune spring-blooming shrubs—lilac, forsythia, rhododendron, old-wood hydrangeas—in late winter unless you are willing to sacrifice this year’s flowers. Trim dead wood only and save shape cuts until after bloom. Stone fruits like cherry and plum are sometimes better pruned in late spring or summer in wet climates to reduce disease entry through fresh cuts. Our why prune in winter guide breaks down species-by-species timing if you are unsure.
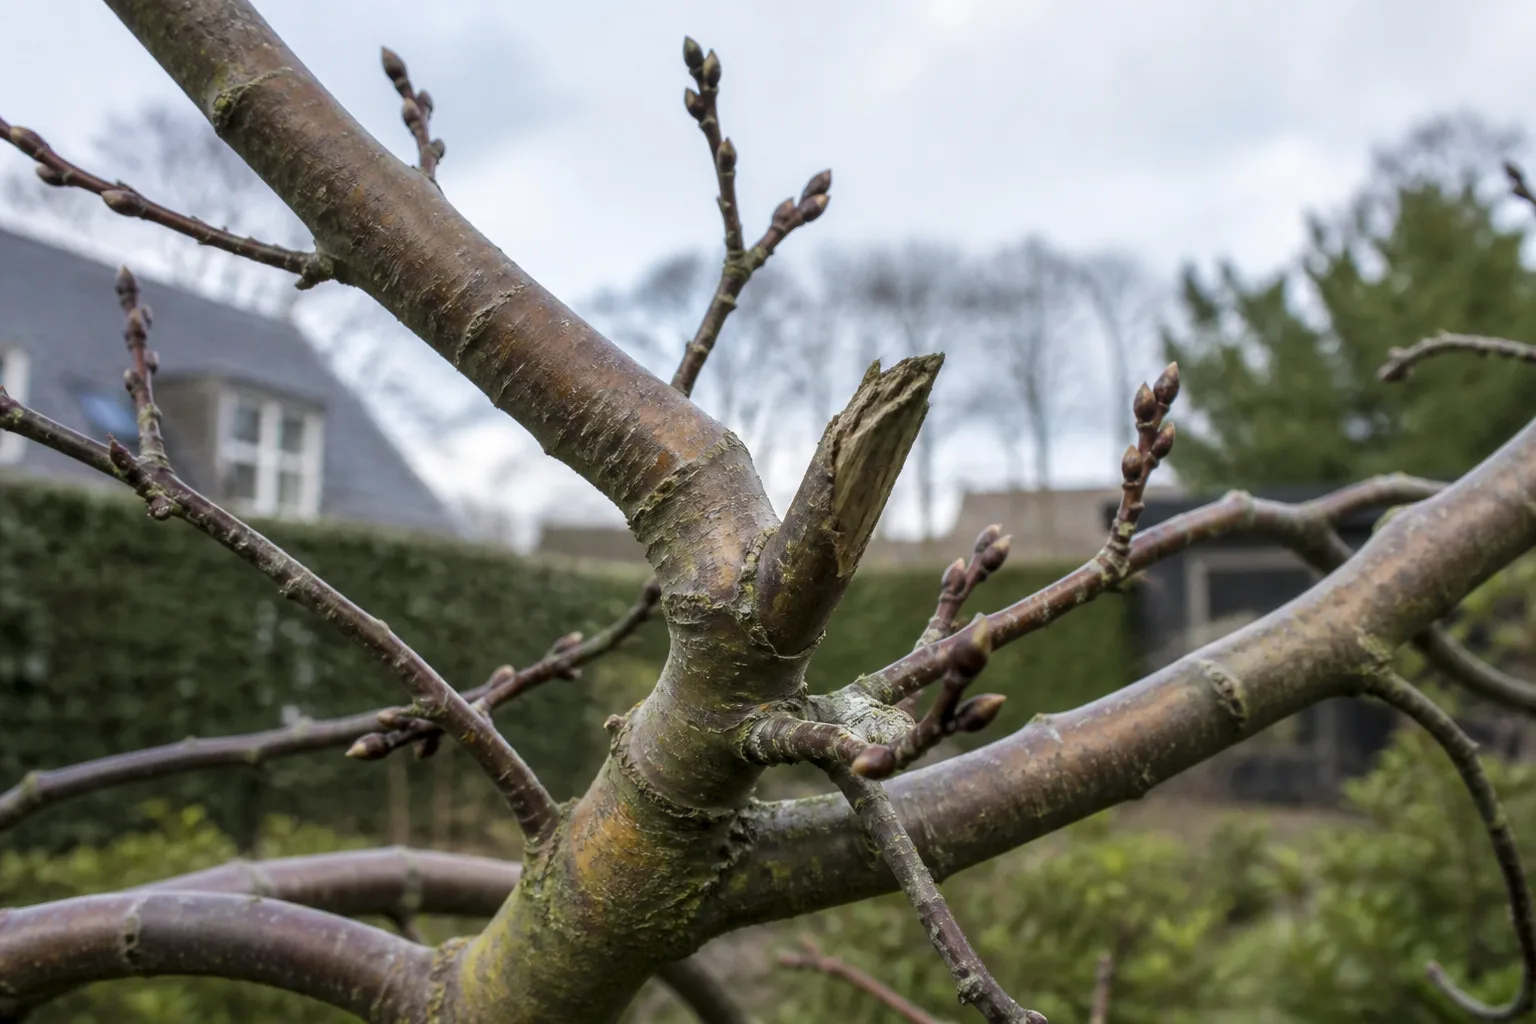
While you are at the base of trees, check for rodent girdling, broken stakes, and mulch piled against trunks—common winter damage that is easier to fix now than after sap rises.
Map Flowerbeds Before Catalog Fever Hits
Flower catalogs are dangerous in January. They are also useful—if you have a map before you order. Sketch each bed to scale, noting existing perennials, sun zones, and mature heights. Tall plants belong on the north side of beds so they do not shade shorter neighbors. Mix foliage texture and bloom time so beds look intentional from April through October, not just during one May weekend.
Relocate, Divide, and Order Seeds on Paper First
Relocation is a normal part of gardening. That columbine that sulked in wet clay might thrive three feet uphill. That daylily clump overtaking the path is ready to divide. List moves and divisions now so you can act the first week the soil is workable—not after you impulse-buy six flats of annuals.
For new beds, stake the outline while the ground is visible and measure square footage. That number drives how many plants or seed packets you need—without the guesswork that leads to overcrowding. Order seeds in January and February before popular cultivars sell out. UGA Extension recommends buying enough quality seed for two or three succession plantings to extend harvest windows.
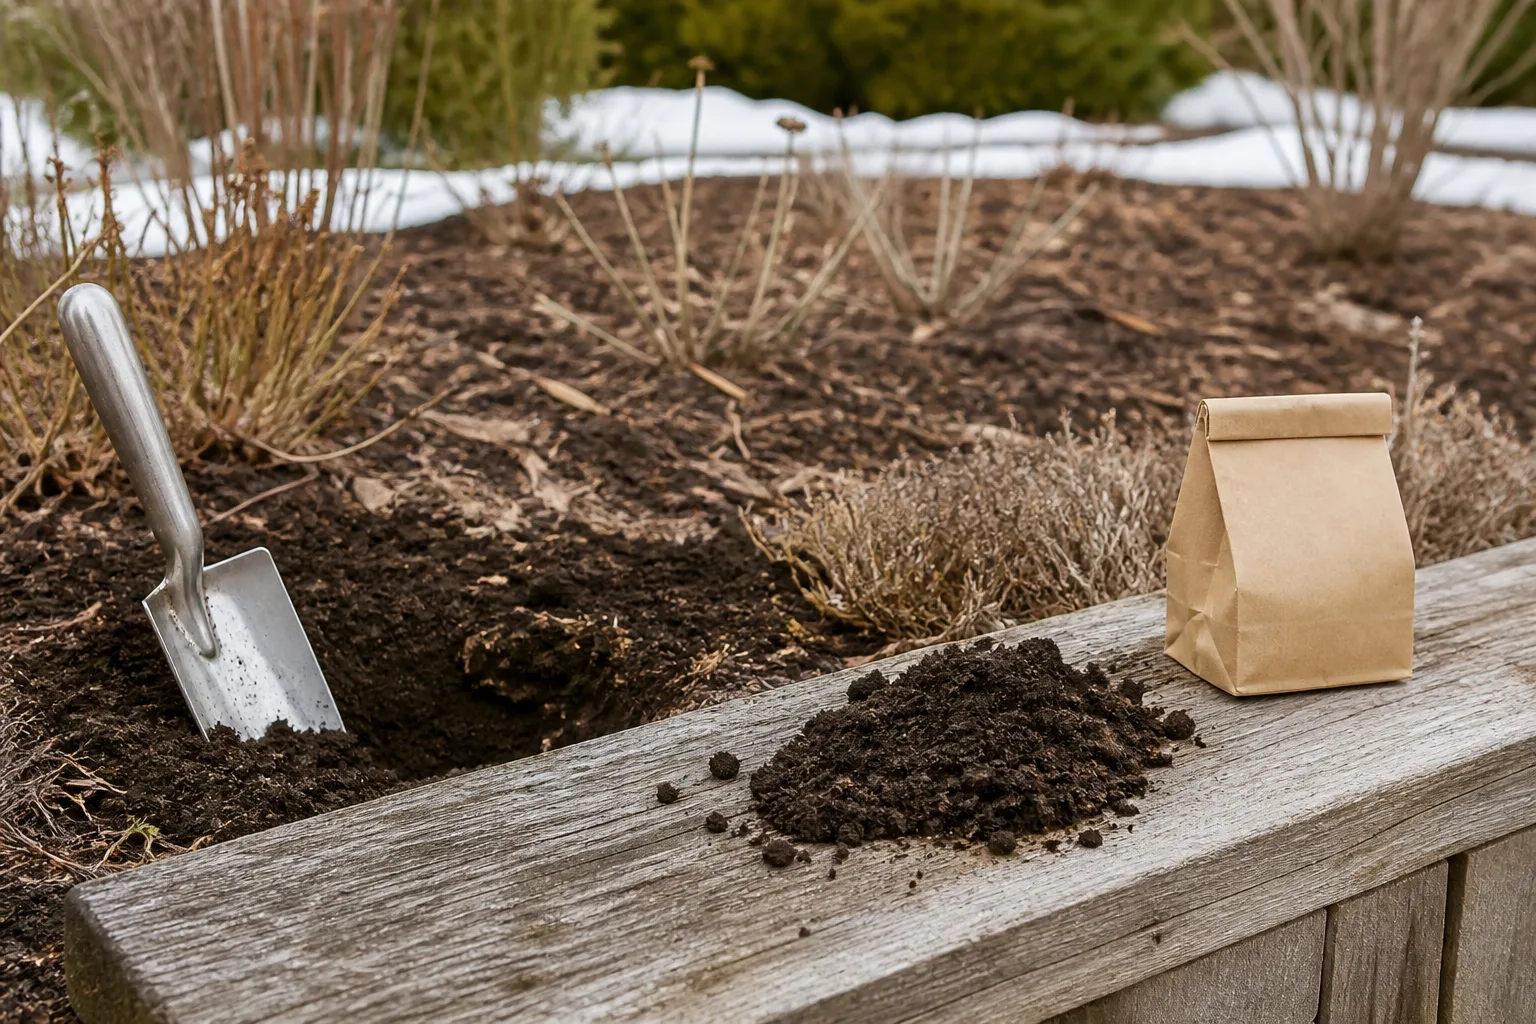
Check fertilizer, compost, and potting soil inventory while prices are stable. Replenish slow-release organic amendments and seed-starting mix before the March rush at big-box stores. If you are starting indoors, align your setup with our when to start vegetable seeds indoors calendar and seeds to start in February list so lights and trays are ready before the first sowing date.
For beds you can access without digging, winter prep still helps—see our guide on ways to start prepping garden beds in winter for cleanup, mulch, and vole control that does not require thawed soil.
Set Up Your Lawn for a Strong Spring
Lawns look dormant in winter, but planning now prevents patchy recovery later. If you missed fall overseeding, early to mid-spring is your next window—once turf begins active growth and soil passes the crumble test. Waiting until summer heat arrives stacks the odds against seedling survival.
Mower Maintenance and Winter Damage Repair
Late winter is the right time to service your mower: sharpen or replace the blade, change oil, clean or replace the air filter, and stabilize fuel in gas models. Repair shops are quieter now than the first warm weekend when everyone arrives with a machine that “worked fine last fall.”
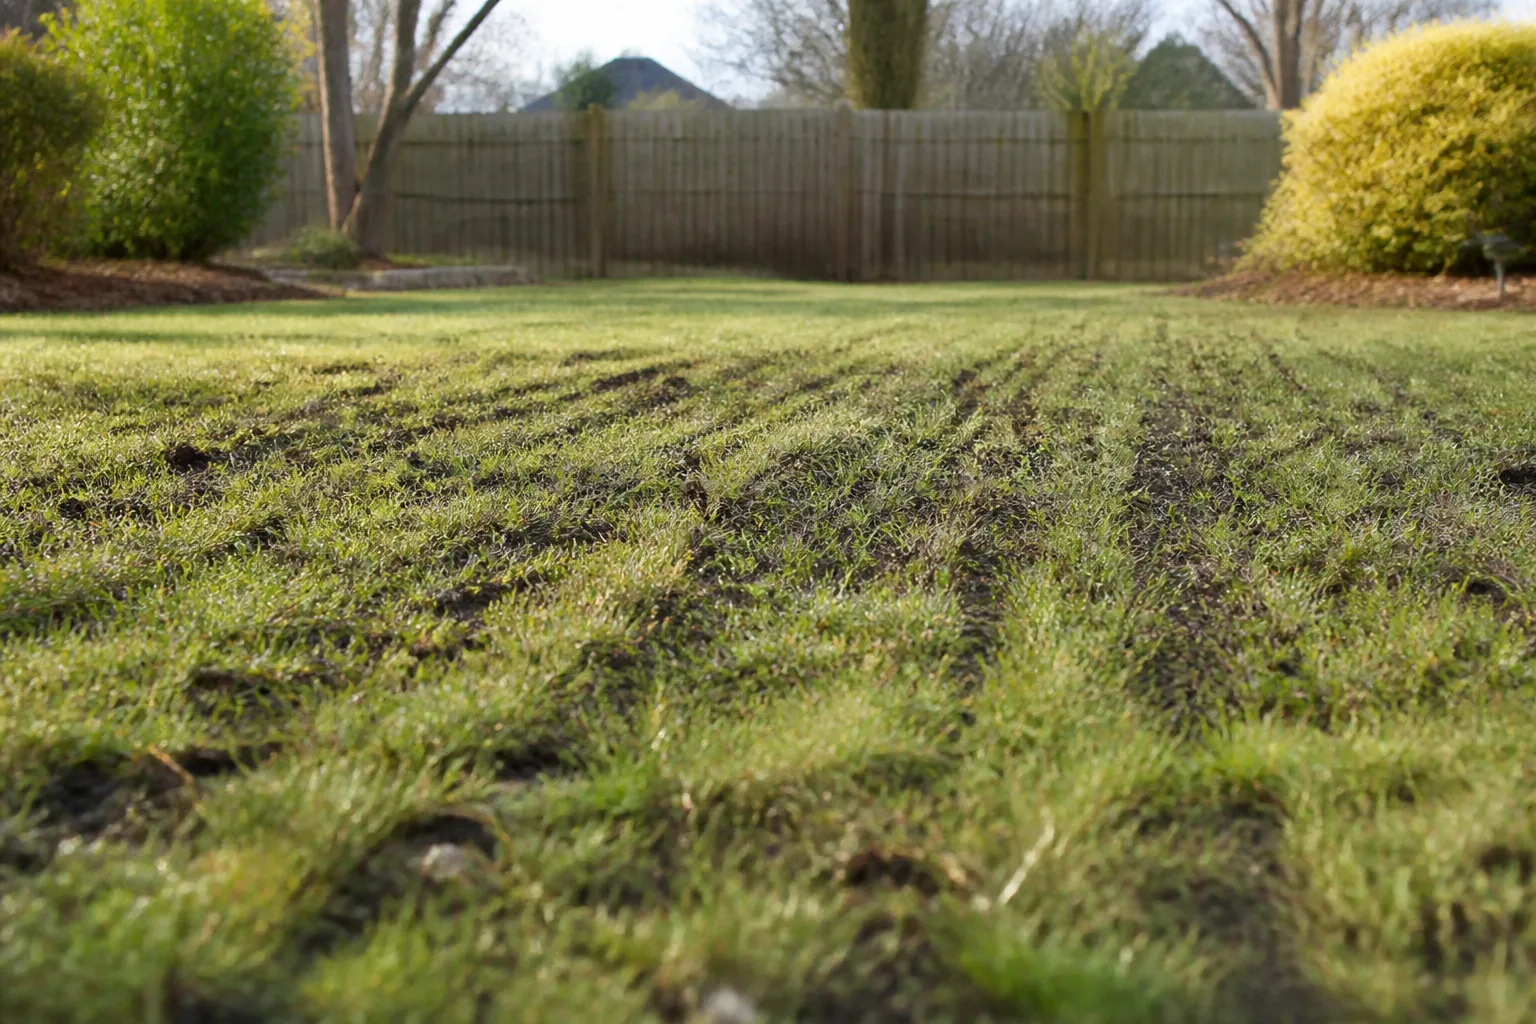
Inspect turf for snow mold—circular matted gray or pink patches—and salt injury along sidewalks and driveways. Rake lightly to break up mold crust once grass is dry, and flush salt-affected strips with water as soon as soil thaws. Buy repair seed matched to your existing grass type so you are ready to overseed bare spots when growth resumes. Our guide on why slit seeding in early spring leads to a great lawn explains when mechanical overseeding beats hand scattering.
Sharpen hand tools—hoes, spades, pruners—while you have bench space. Dull edges tear stems and make spring bed prep slower than it needs to be.
Build Your Winter Planning Toolkit
Good planning needs minimal gear and maximum consistency. You do not need expensive software—a binder, graph paper, and a phone camera cover most yards.
Journal Pages That Save You Hours in April
Divide your journal into four sections: site map, crop and plant list, calendar, and supply inventory. The site map shows bed dimensions, sun zones, hardscape, and last year’s plant families for rotation. The plant list records varieties, sources, and quantities. The calendar counts backward from last frost for indoor starts and forward for direct sowing. The inventory tracks seeds on hand, soil amendments ordered, and tools needing repair.
Photograph problem areas after rain—ponding water, cracked walkways, wind-exposed corners—and date the images. Winter memory fades fast; photos do not. If you prefer digital tools, a simple spreadsheet works. The format matters less than updating it once a week through February.
When NOT to Work in the Garden This Winter
Winter planning does not mean winter digging. Stay off saturated beds and lawns when footprints leave shiny smears or a soil handful forms a tight mud ball that will not crumble. Working wet soil destroys structure and compacts pore space that roots need in spring. If the ground is frozen, limit yourself to above-ground tasks: pruning dormant wood, inspecting hardscape, testing seed viability, and ordering supplies.
Do not strip every leaf from beds in pursuit of tidiness. Loose, dry leaf mulch insulates roots and feeds soil life. Remove only matted, diseased piles—especially around roses and phlox—and rake leaves away from crowns of early bulbs so light reaches new shoots.
Do not prune spring-blooming shrubs for shape in February. Do not fertilize frozen ground expecting instant results. Do not plant tender crops because one warm week arrives—false spring kills more tomato seedlings than honest frost.
Conclusion
Winter garden planning is not a hobby for people with too much free time—it is how you buy back your spring. Look back at last season, lock in frost dates, test your soil, then walk the hardscape, structure plantings, map beds, and service the lawn. That order keeps you from decorating a yard that still drains poorly, feeds soil you have never tested, or fills beds you have not measured.
Start with Step 1 this week: fifteen minutes reviewing what worked and what did not. The catalogs can wait until you know what you actually need.



