The Potato Planting Mistake That Ruins Harvests
Cold, wet soil is the potato planting mistake that ruins harvests. Use this extension-backed checklist for drainage, seed potatoes, hilling, water, pests, cultivars, and storage.
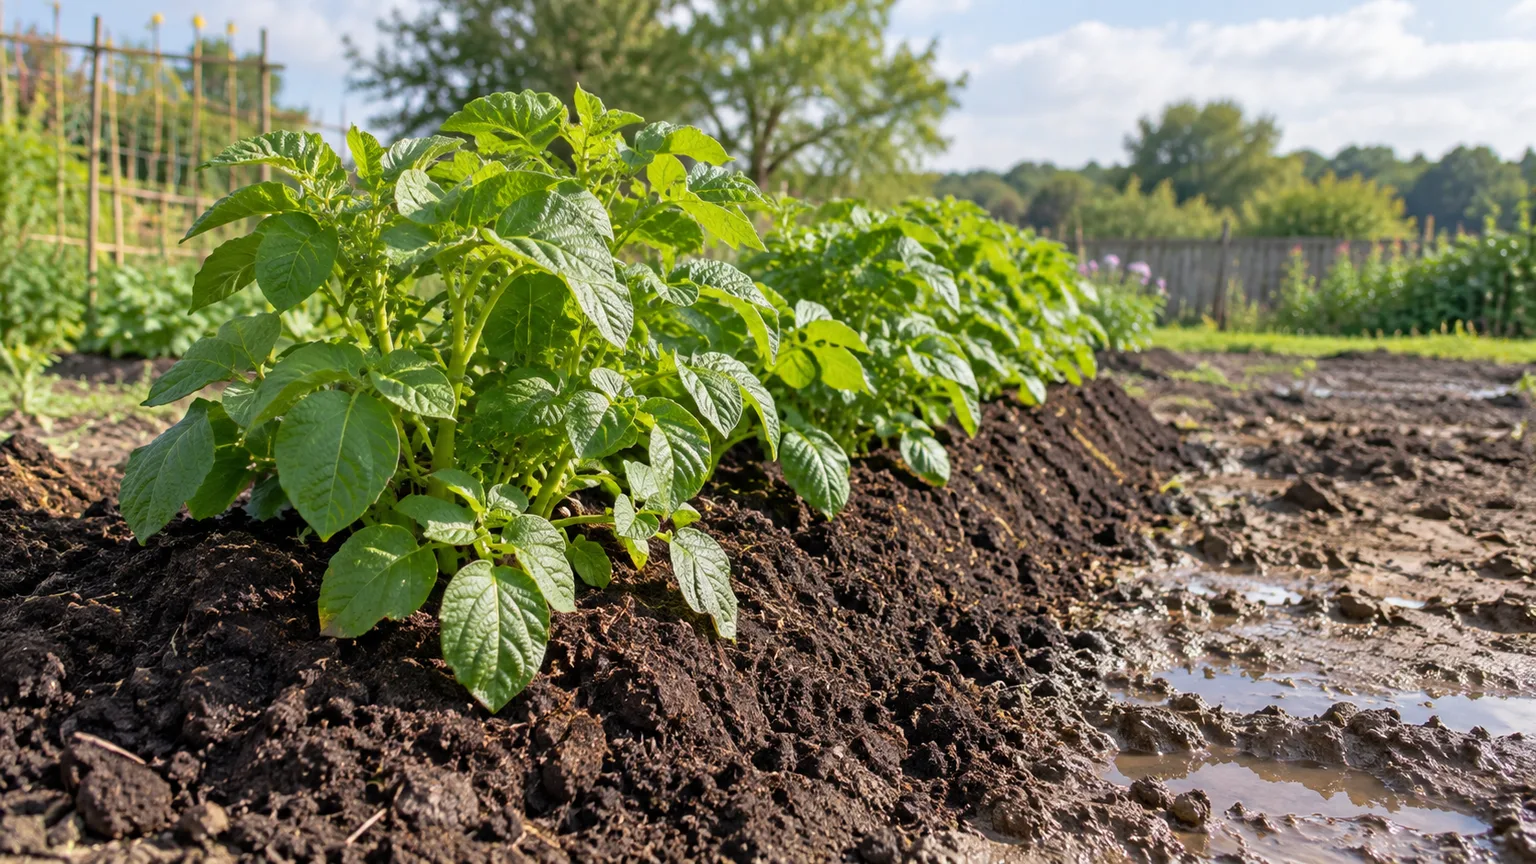
The most damaging potato growing mistake usually happens before a green shoot appears: planting seed potatoes into soil that is cold, saturated, and slow to drain. A potato plant can look vigorous above ground while its seed piece is rotting below it, which is why a lush patch can still produce a disappointing harvest.
That does not mean every failed crop has one cause. Variety, temperature, fertility, pests, disease, watering, spacing, and harvest timing all matter. But soil condition is the first gate: if air cannot reach the seed piece and excess water cannot leave, later fixes cannot fully rescue the crop. The University of Maine Cooperative Extension advises planting once soil reaches about 50°F and warns that seed pieces sitting in cold, wet soil are susceptible to decay. (University of Maine Cooperative Extension)
Written by Sai Ananth and reviewed by the LeafyPixels Review Board. This is a general home-garden guide, not a local planting calendar or a disease-treatment prescription. The numeric ranges below are starting points from extension guidance; cultivar, soil, weather, and local recommendations can change the best choice.
The practical goal is not perfectly fluffy soil. It is a root zone that is loose enough for stolons and tubers to expand, moist enough to prevent drought stress, and porous enough that rain does not sit around the seed piece. Start there, then use hilling, mulch, steady irrigation, and careful harvest to protect what the plant produces.
Why cold, waterlogged soil is the first failure point
Potatoes are cool-season crops, but “cool-season” does not mean “plant as soon as the calendar says spring.” The seed piece needs a warming root zone with usable oxygen. When a furrow stays cold and muddy, sprouts may emerge slowly, decay may begin, and the crop can lose its early momentum before you know anything is wrong.
Before planting, squeeze a handful of soil from the intended depth. It should hold together briefly and then crumble when tapped; if it smears like modeling clay, shines with water, or releases a puddle when you press the hole, wait. A short delay is cheaper than sacrificing seed potatoes to a bed that has not recovered from winter rain. If your native soil is heavy, compare it with the drainage guidance in our raised garden bed depth guide before you commit to an in-ground row.
What healthy potato soil feels and drains like
Drainage is not the same as dryness. Good potato soil holds a little moisture around organic particles but contains connected air spaces. Sandy soil may drain quickly but need more frequent watering; clay soil may contain nutrients yet seal into a dense mass after rain. A raised bed can improve the geometry of either problem, but piling compost on top of a hardpan does not automatically fix the layer below.
Test the bed after a soaking rain. Dig a hole roughly 12 inches deep, fill it with water, let it drain, and fill it again. If water remains for hours, use a different site, build a genuinely raised bed (see best raised garden beds for setup context), or grow in a container with drainage holes. Do not “solve” standing water by watering less while leaving the seed pieces in a bathtub.
| Condition at planting | Likely outcome | First response |
|---|---|---|
| Cold, waterlogged clay after heavy rain | Seed-piece rot, patchy stand, slow emergence | Delay planting; improve drainage or switch to raised beds |
| Workable soil at ~50°F with crumbly texture | Uniform emergence and early root growth | Plant at recommended depth and spacing |
| Sandy soil that drains fast but warms early | Quick emergence; drought risk at tuber bulking | Mulch, check moisture at 4–6 inches, irrigate steadily |
| Compacted path soil pressed into the furrow | Restricted stolons, small or misshapen tubers | Loosen only when dry; never work wet clay |
| Soil heat approaching 90°F during tuber set | Tuber set and fill can slow; tops may outgrow the crop | Mulch, plant earlier where appropriate, and choose locally suitable varieties |
Pre-plant go/no-go checks
Run this list on planting day before you open the seed bag. It is faster than diagnosing rot three weeks later.
- Soil at planting depth is about 50°F and workable, not sticky mud. (University of Maine Cooperative Extension)
- The furrow drains within hours after a test watering; no standing water in the row.
- You have certified seed potatoes (or accept grocery-store risk knowingly).
- The bed was not manured heavily this season; manure encourages scab on potatoes. (University of Maine Cooperative Extension)
- You are not repeating potatoes or other nightshades in the same spot.
- You have a plan to hill within a few weeks and enough loose material on hand.
- A soil test or crop history supports any fertilizer you intend to use, with granules kept off seed pieces.
If two or more “no” answers apply, fix the bed or wait. Neighbors planting on a calendar date is not a soil thermometer.
Choose a site and growing system that can drain
Give potatoes a site with at least six hours of direct sun, good air movement, and enough room to draw soil toward the row without stepping on the root zone. Avoid the lowest part of the yard, the strip below a downspout, and any bed where last year’s tomatoes, peppers, eggplants, or potatoes left disease behind. Rotating away from nightshades helps reduce recurring soilborne problems. For broader bed planning, our vegetable garden ideas roundup covers layout and crop placement.
In-ground rows are efficient when native soil drains and you have room for a broad hill. Raised beds warm sooner and let you control the soil profile, but they can dry faster in wind or heat. Containers and fabric grow bags are useful when ground soil is heavy or contaminated, provided they are deep enough, have generous drainage holes, and are placed where the foliage receives sun.
| Growing system | Best fit | Main risk to manage |
|---|---|---|
| In-ground row | Well-drained garden soil and room to hill | Compaction, standing water, and difficult harvest |
| Raised bed | Heavy native soil or a short-season site | Drying too quickly and shallow beds that limit tubers |
| Grow bag or deep container | Patio, balcony, or unrepaired clay | Rapid dry-down, overheating, and insufficient volume |
The container is not a shortcut around plant care. Use a loose, quality potting mix rather than garden soil alone, keep the container stable, and check moisture more often than you would in a bed. A small pot can make a healthy plant look productive while leaving no room for a useful tuber set.
Prepare soil without creating new problems
Start with a soil test when possible. Potatoes tolerate a range of soils, and a slightly acidic root zone is commonly recommended; University of Maine guidance cites roughly pH 5.3 to 6.0 as typical for potato production, while noting that higher pH can favor scab. If your soil is already alkaline, choose a scab-resistant variety such as Russet Burbank rather than blindly adding lime. (University of Maine Cooperative Extension)
Work mature compost into the planting area if the soil needs better structure, but do not turn the bed into a rich manure pile. University of Maine guidance specifically cautions that manure can encourage potato scab, and it also warns that overfertilized plants may produce excessive foliage and tubers that store poorly. (University of Maine Cooperative Extension) Our signs of good quality soil guide explains texture and structure tests that complement a lab report.
Use a fertilizer only when a soil test or crop history supports it, and keep granules from touching seed pieces. Direct fertilizer contact can injure or dry the cut surface and can contribute to decay. The best amendment is the one that solves the measured problem: compost for structure, a targeted nutrient for a documented deficiency, and time for wet soil to drain.
Plant seed potatoes for a strong start
Choose certified seed potatoes from a reputable supplier when you can. Grocery-store potatoes may sprout, but they may be treated to slow sprouting and can carry pathogens that are a poor bargain for a small garden—similar to other crops you start from tubers rather than seed, as noted in our guide to fruits and veggies you can grow without seeds. Certified seed does not make a crop disease-proof, yet it gives you a cleaner starting point and a variety selected for growing rather than shipping and storage.
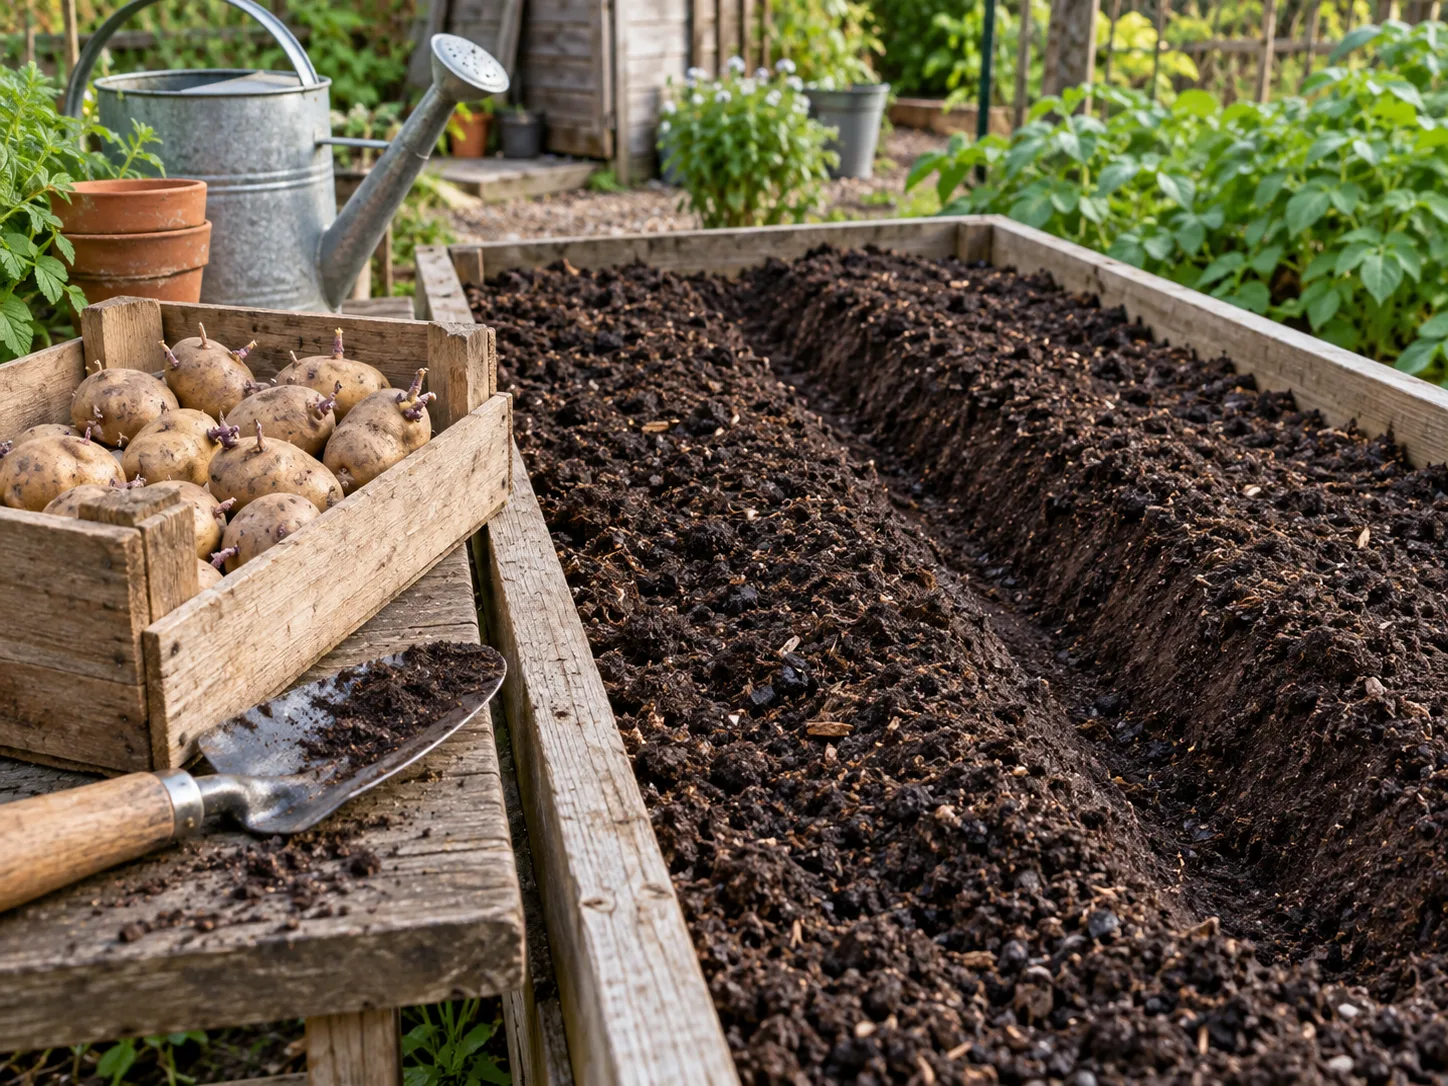
Each seed piece should have at least one sound eye; two or three gives a cut piece more than one chance to establish. If you cut larger potatoes, use a clean knife, leave a substantial piece of flesh around each eye, and let the cuts dry and callus briefly in a cool, airy place. Do not plant shriveled pieces or pieces with soft, wet decay.
Wait until the soil at planting depth is around 50°F and workable. Utah State University Extension recommends planting when soils are at least 50ºF. (Utah State University Extension) Dig a furrow about 4 to 6 inches deep, set pieces with eyes facing up, and cover initially with roughly 2 to 3 inches of loose soil. University of Maine gives a practical spacing range of 8 to 12 inches within a row and 30 to 36 inches between rows, with typical yields of about one to two pounds per foot of row. (University of Maine Cooperative Extension)
Closer spacing can produce more small tubers but makes foliage dry slowly after rain and makes scouting harder. Wider spacing gives each plant more room but uses more bed area. Follow the seed supplier’s variety guidance when available, especially for early potatoes, fingerlings, and compact container plantings.
Build the crop with hilling and mulch
Hilling means drawing loose soil or another breathable mulch around the lower stems as the plant grows. It protects developing tubers from light, adds depth for expansion, suppresses weeds, and helps keep the root zone cooler. It is not a license to bury the whole plant or to keep piling material on a compacted, wet base.
A stage-based hilling schedule
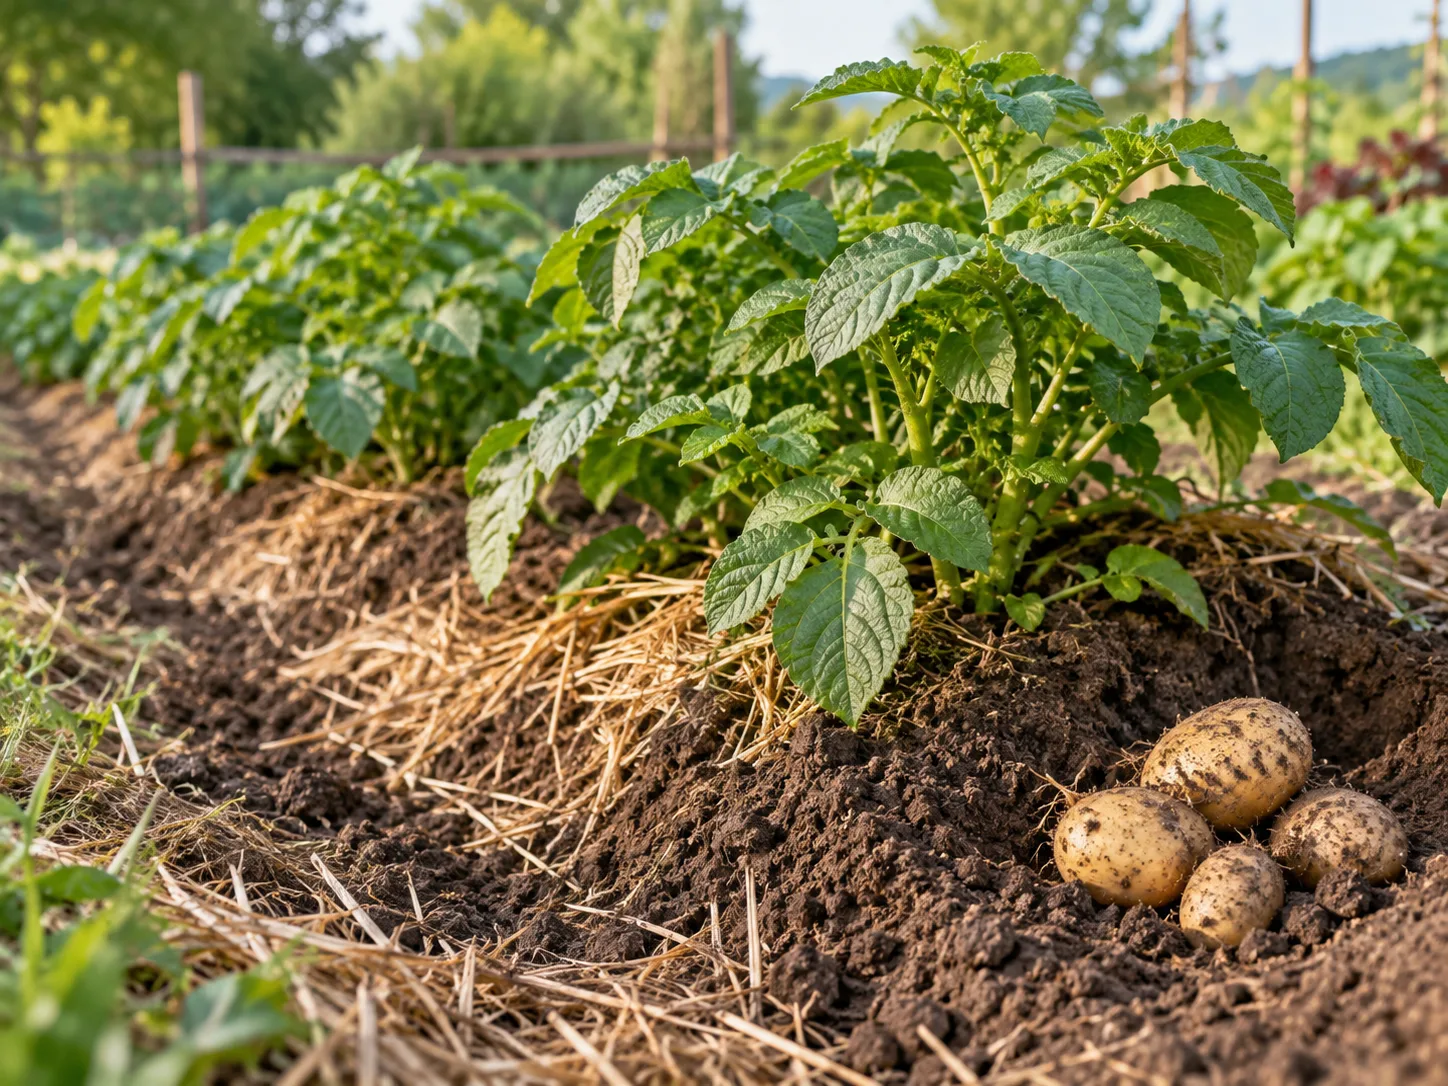
When shoots reach about 6 inches tall, pull enough material around the row to cover the lower portion while leaving several inches of foliage exposed. Utah State University Extension notes that hills should generally be built within four weeks of planting and that hilling improves drainage and reduces tuber greening later in the season. (Utah State University Extension) Repeat when the plant adds another several inches of growth or when rain exposes the side of a hill. Two or three modest rounds are usually more useful than one enormous mound.
Use soil from the paths, finished compost, chopped leaves, or clean straw, depending on your conditions. The material must be loose and free of herbicide residues, weed seeds, and diseased plant debris. Wet whole leaves can mat against stems; fresh manure can burn roots and raise scab risk.
Stop treating flowering as a rigid deadline. Some gardeners stop hilling once the canopy is large or flowering begins, while others maintain coverage where tubers are exposed. The better rule is to protect tubers without repeatedly burying active foliage and without disturbing roots. If a hill washes down, rebuild it gently after the soil surface dries enough to work.
Water for steady tuber growth
Potatoes need consistent moisture, especially as tubers form and size up, but they do not want a permanently wet bed. Utah State University Extension recommends applying about 1 to 2 inches of water per week, with most uptake from the top foot of soil, and cautions that irregular watering can cause knobs, cracks, and other abnormal tuber growth. (Utah State University Extension)
Push a finger or narrow trowel 4 to 6 inches into the hill. If that zone is dry and the leaves are losing firmness, water slowly at the base so moisture reaches the root zone. If it is wet and cool after several days without rain, skip irrigation and improve drainage rather than adding a little more water each day.
Drip lines and soaker hoses reduce leaf wetness and deliver water more evenly than a brief surface sprinkle. Mulch slows evaporation and buffers temperature, but it also hides the soil, so lift it occasionally and check underneath. As vines begin to yellow late in the season, reduce watering; wet conditions near harvest contribute to tuber rot in storage per USU guidance. (Utah State University Extension)
Avoid the foliage-only harvest
Large green plants do not guarantee large potatoes. Excess nitrogen, too much shade, heat, crowding, or a long delay before tuber initiation can all produce impressive tops with a weak underground crop. A balanced fertility plan and full sun help, but so does resisting the urge to keep feeding a plant simply because its leaves look pale.
Potatoes perform best when temperatures stay moderate. Utah State University Extension notes that tuber set and fill are inhibited when soils exceed about 90ºF. (Utah State University Extension) In hot climates, plant early enough to finish tuber bulking before the hottest stretch, use a heat-tolerant variety recommended locally, and keep hills mulched. In a cool short season, choose an early variety and avoid planting so early that seed pieces sit in cold mud—timing overlap with our when to start planting a garden framework can help you read soil readiness, not just the calendar.
Scout for pests and disease before they spread
Walk the patch at least once a week. Turn over leaves to look for Colorado potato beetles, larvae, and aphids. Utah State University Extension describes yellow-and-black striped adults, reddish larvae with black spots, and yellow egg clusters under leaves, and recommends hand-picking and limiting insecticide use because beetles are often resistant. (Utah State University Extension)
Late blight deserves special caution because spores can move beyond one garden. University of Maine identifies late blight and early blight as common home-garden diseases and recommends protecting plants with fungicides containing mancozeb, maneb, or chlorothalonil at label intervals when warranted, while noting varieties with some late blight resistance such as Kennebec. (University of Maine Cooperative Extension) Remove severely diseased foliage according to local guidance, avoid working among wet plants, and do not save infected tubers as seed.
Crop rotation, certified seed, clean tools, adequate spacing, and dry foliage are preventive measures that reduce the need for rescue treatments. Always follow the product label and your local extension recommendations; a generic spray schedule is not a substitute for identifying the disease, checking registration, and observing harvest intervals.
Prevent green potatoes and tuber-quality problems
Light is a quality warning, not a cosmetic issue. A potato that pushes above the soil or sits in a cracked hill can develop green skin. University of Maine harvest guidance instructs gardeners to get dug potatoes out of the light promptly to avoid greening and to handle tubers gently because they bruise easily. (University of Maine Cooperative Extension) Green or bitter portions can harbor elevated glycoalkaloids such as solanine; discard heavily green or bitter potatoes rather than tasting them to decide.
Keep tubers covered with soil or airy mulch during the season, and store harvested potatoes in a dark place. Potato scab often becomes worse in dry, alkaline conditions and where fresh manure has been used. Smooth skins are not the only measure of success, but if scab repeats, test soil before changing pH, improve even moisture during tuber formation, rotate crops, and choose a scab-resistant variety such as Russet Burbank where alkaline soil is unavoidable. (University of Maine Cooperative Extension)
Cracks and hollow centers can reflect uneven moisture or rapid growth, so note weather and irrigation patterns before blaming the seed. Utah State University Extension links rough skins, cracking, and irregular shapes primarily to wet/dry soil swings and high soil temperatures—another reason to mulch and irrigate evenly. (Utah State University Extension)
Diagnose a struggling potato patch
Start at the base, not the leaves. Dig one plant carefully and inspect the seed piece, roots, stolons, and tubers. A mushy seed piece with a sour smell suggests decay from wet conditions; tiny tubers with dry soil suggest moisture stress or a shortened season; a large root mass with almost no tubers suggests heat, excess nitrogen, shade, or variety timing.
Use this decision sequence:
- If the soil is saturated: stop watering, open drainage, and do not cultivate while the soil smears. Severely rotted plants are unlikely to recover.
- If tubers are exposed: cover them immediately with loose soil or straw and check nearby hills for cracks.
- If foliage is lush but tubers are scarce: review sunlight, nitrogen, planting date, variety maturity, and heat before adding fertilizer.
- If leaves collapse quickly or show spreading lesions: isolate the problem, avoid wet handling, and get a local disease diagnosis.
- If the patch is dry: water deeply and evenly; repeated shallow sprinkling will not rebuild a dry hill.
Do not pull the entire crop to investigate unless the plants are near harvest. One carefully lifted plant is a useful sample and leaves the rest growing while you adjust the routine.
Harvest new potatoes versus storage potatoes
Harvest timing depends on what you want. New potatoes are young, thin-skinned tubers harvested while the plant is still active; they are tender but bruise easily and do not store for long. Check one plant after flowering or when the variety’s expected days to maturity approach, then harvest only what you will eat soon.
For storage potatoes, wait until the tops yellow and die back and the skins have set. University of Maine recommends removing tops at least seven days before harvest if they have not died naturally, then lifting carefully and keeping tubers dark to prevent greening. (University of Maine Cooperative Extension) If frost or disease threatens, cut or remove tops according to local guidance and allow the tubers time to mature underground when conditions are dry and safe. The calendar is a prompt to inspect, not proof that every variety is ready.
Use a digging fork or broadfork well away from the plant base, lift the hill, and finish by hand. Soil-covered potatoes are easier to bruise than they look. Set damaged tubers aside for immediate use rather than placing them with sound potatoes.
Cure and store potatoes without bruising them
Do not wash storage potatoes immediately after digging. Brush off loose soil gently, spread them in a dark, well-ventilated area, and keep them from direct sun while the skin toughens. Utah State University Extension recommends curing for two to three weeks, then storing tubers in the dark at about 40–45ºF. (Utah State University Extension) University of Maine likewise emphasizes cool, dark, humid storage for long keeping, with only intact, healthy potatoes selected. (University of Maine Cooperative Extension)
Inspect the crop during curing. A soft spot, cut, leak, or bad smell is a reason to remove that potato, not a reason to seal the whole batch in plastic. Once cured, store in breathable crates or paper sacks in the coolest dark place available that does not freeze. Light, warmth, trapped condensation, and rough handling are the enemies of storage life.
Cultivars worth trying in a home garden
Variety choice shapes maturity, texture, and disease pressure. University of Maine’s home-garden variety table highlights several dependable names:
| Variety | Notable trait | Best use |
|---|---|---|
| Kennebec | Some late blight resistance; smooth skin | Boiling, baking, general kitchen use |
| Yukon Gold | Yellow flesh; early-to-mid season | Boiling, baking, salads |
| Red Norland | Red skin; early season | New potatoes, salads |
| Russet Burbank | Scab resistance on higher-pH soils | Baking, storage |
(University of Maine Cooperative Extension) Utah State University Extension lists Kennebec and Yukon Gold among smooth-skinned types and Red Norland among colored varieties, which aligns with common nursery stock. (Utah State University Extension) Match the variety to your season length and kitchen plan rather than buying whatever tuber is left on the rack.
Regional planting windows and green sprouting
Soil temperature matters more than a fixed calendar date. As a starting framework:
- Cool, short-season regions: Plant when soil reaches ~50°F and remains workable—often a week or two before the last frost if the bed drains well, but only after the go/no-go checks pass. Consider early varieties such as Red Norland.
- Mild maritime or Midwest spring: Watch for saturated clay after snowmelt; many gardeners plant mid-spring when repeated 50°F readings occur at 4-inch depth.
- Hot-summer areas: Plant early enough to bulk tubers before sustained heat; USU notes black plastic mulch can warm soil, reduce weeds, and advance maturity where early harvest is the goal. (Utah State University Extension)
- High-elevation or late springs: Delay planting rather than mudding seed into cold soil; yields recover more from a late start than from rot.
For short seasons, green sprouting (also called chitting) can help. University of Maine describes spreading seed potatoes in a single layer in light at about 70°F with high humidity, turning them for uniform sprouts, and producing short, stubby sprouts under an inch that emerge quickly and set tubers early. (University of Maine Cooperative Extension) It is optional, not mandatory, but it is a useful tool when your frost-free window is tight.
A weekly potato-care checklist
Once a week, walk the row in the same order: check the soil at hill depth, look for exposed tubers, inspect leaf undersides, scan for disease spots, and assess whether the hill has settled. Water only when the root zone needs it, rebuild coverage with loose material, and record unusual heat, heavy rain, or pest pressure.
That routine takes minutes and catches the failures that are otherwise invisible underground. It also gives you a record for next season: planting date, variety, first hilling, weather, harvest date, and what one test plant revealed.
Conclusion
If you remember one rule, make it this: never plant potatoes into soil that is cold, wet, and compacted just because the calendar says it is time. Use the checklist below on planting day, then maintain the bed with timely hilling, even moisture, and weekly scouting.
Pre-plant go/no-go checklist
- Soil near 50°F at planting depth and crumbly, not muddy
- Furrow drains within hours; no standing water
- Certified seed potatoes ready; cuts callused if pre-cut
- No fresh manure on the potato bed; scab-prone pH addressed
- Rotation away from last year’s nightshades
- Hill materials staged; fertilizer placed away from seed pieces
- Variety matched to season length and kitchen use
When those boxes are checked, plant at 4 to 6 inches deep with proper spacing, hill as shoots reach 6 inches, irrigate steadily without flooding the row, and lift a test plant before you judge the crop by leaves alone. That sequence protects the underground part of the plant—the part you cannot see until harvest day.



