Why Raised Garden Beds Fail (and How to Fix Them)
Raised garden beds not thriving? Diagnose soil depth, watering, disease, crop timing, and layout problems with fixes that work season after season.
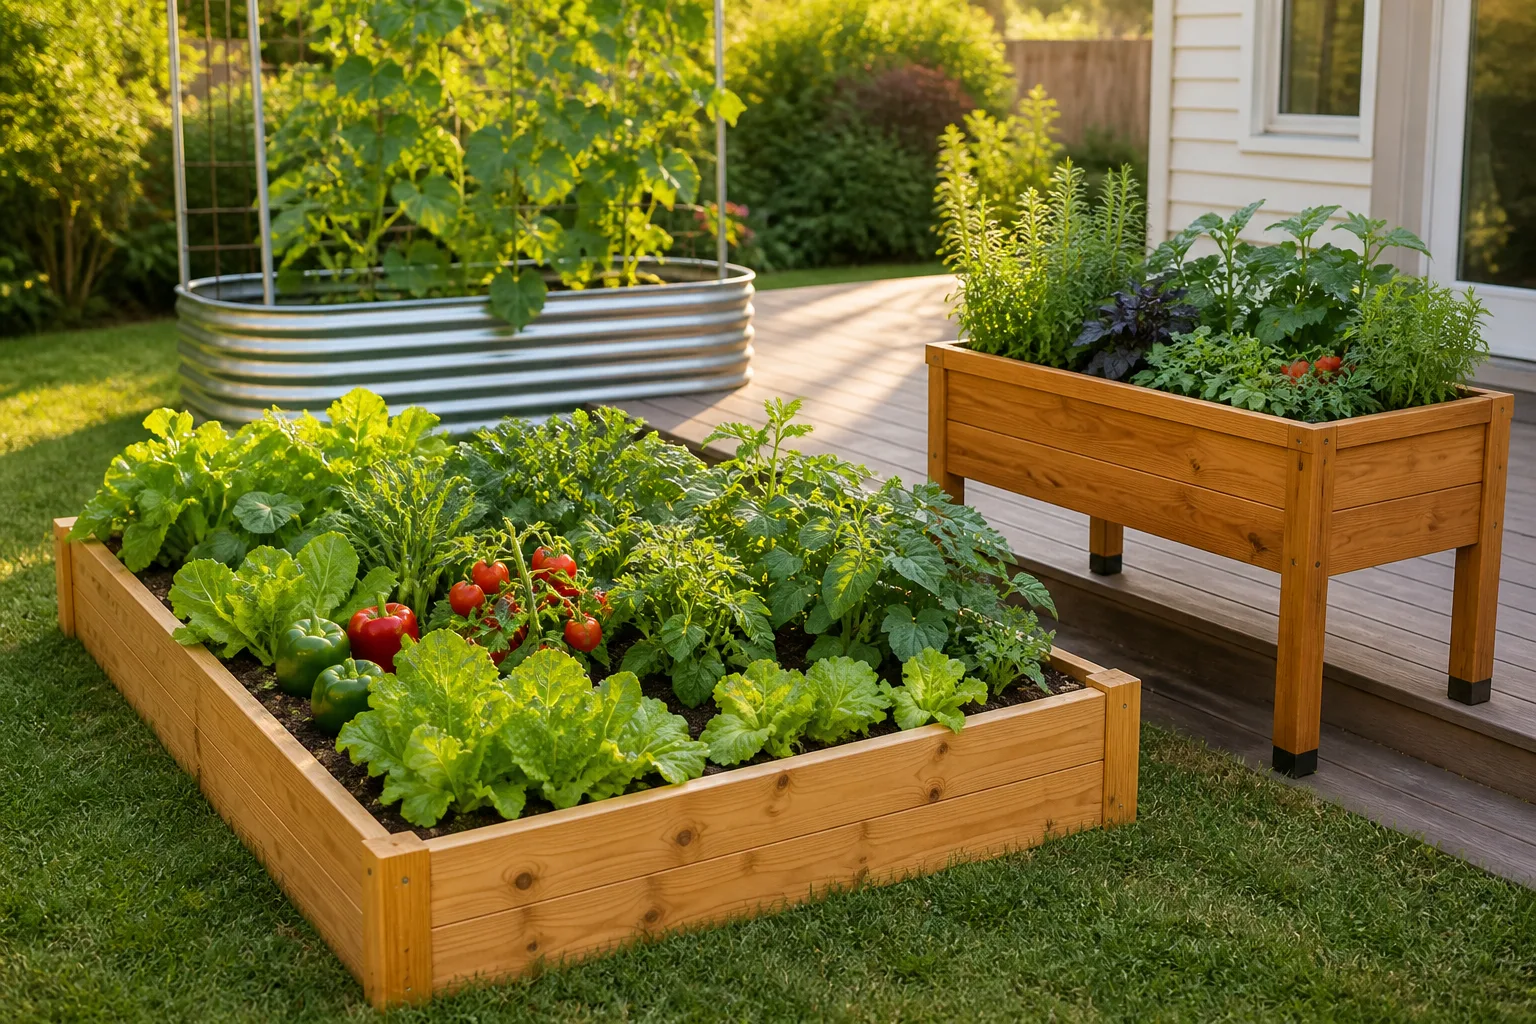
Start with the symptom, not another bag of soil
Raised beds are not automatically healthier than in-ground soil. They are a way to create a controlled root zone, and that zone can be excellent or miserable depending on what is underneath it, what went into it, and how quickly it loses water. If plants are stunted, yellow, wilted, or producing little, the smartest first move is to identify the limiting condition rather than adding a random fertilizer.
Use the pattern as a starting clue. Uniformly slow growth across the bed suggests a site, depth, soil, or fertility problem; wilted plants in dry soil suggest water loss; wilted plants in wet soil suggest poor drainage or damaged roots; weak plants in one corner suggest shade, a rain shadow, or uneven irrigation. A few sick plants may have a crop-specific pest or disease, while every plant struggling at once usually points to the bed system.
If depth is the first thing you need to settle, use our raised garden bed depth guide to match root room to the crop and surface beneath the frame.
1. Choosing a site that fights the bed
Sunlight, slope, wind, and water access determine more than the frame material does. A vegetable bed hidden beside a tall fence may receive less direct light than the rest of the yard, and a bed tight against a wall can sit in a rain shadow. The BBC Gardeners’ World raised-bed guidance recommends evaluating location, light, and drainage before settling on a shape.
For fruiting crops, aim for a site with roughly six to eight hours of direct sun unless your crop is specifically suited to less. Observe the bed at three points in the day before you build: morning, solar noon, and late afternoon. If the footprint is shaded for most of the day, a deeper box and richer soil will not compensate for inadequate light.
Slope creates a different problem. A bed on a slight slope can be leveled, but a steep or poorly draining site may put one end in saturated soil and the other in a dry, shallow root zone. Level the frame, direct runoff away from the bed, and leave enough room to reach the back edge without leaning into a fence. Put a water source nearby; a bed that requires dragging a hose across a patio will eventually receive irregular care.
2. Building too wide to reach without stepping in
The center of a raised bed should be reachable from the paths, not from your boots. Once you step into the soil to weed or harvest, you compress pore space, reduce infiltration, and create a hard strip that roots have to work around. The practical ceiling is about four feet for access from both sides; a bed against a wall should be narrower because you can only reach from one side.
Length is flexible, but width is an everyday maintenance decision. The RHS raised-bed guidance emphasizes keeping the bed workable, while Savvy Gardening describes three- to four-foot widths as a common reach-friendly range. If children, wheelchair users, or gardeners with limited mobility will use the space, measure the reach of the actual person and allow a stable path rather than borrowing a dimension from a plan online.
Do not solve a reach problem by adding stepping stones inside a food bed. They take away root space and make it harder to rotate crops. Split an oversized rectangle into two beds instead, with the path between them wide enough for the tools and mobility aid you actually use.
3. Treating every raised bed like a bottomless box
A raised frame can be six inches tall, two feet tall, or an elevated planter on legs, but those dimensions do not mean the same thing to a root. The key number is usable soil depth: the loose, draining soil roots can occupy before they hit compacted ground, concrete, a false bottom, landscape fabric, or a permanently wet layer.
Match usable depth to the crop and surface
For a mixed vegetable bed on open ground, about 10 to 12 inches of quality soil is a useful baseline when the soil below has been loosened. Salad greens, radishes, herbs, and green onions can use less; carrots, peppers, beets, bush beans, and compact tomatoes need more reliable volume; indeterminate tomatoes, melons, perennial vegetables, and long-rooted crops deserve roughly 14 to 24 inches depending on the crop and whether roots can escape downward.
| Situation | Practical usable depth | What changes the decision |
|---|---|---|
| Greens, radishes, herbs on prepared open soil | 6–10 inches | The ground below must be loose and draining. |
| Mixed vegetables on open ground | 10–12 inches | Add depth for deep crops or hardpan below. |
| Roots, peppers, bush crops on hardscape | 12–18 inches | All root space must be inside the bed. |
| Indeterminate tomatoes, melons, perennial crops | 14–24 inches | Plan for root volume, support, and water demand. |
On lawn or garden soil, remove sod and loosen the footprint before building. The RHS creating-raised-beds guidance specifically warns that taller beds need more soil and more watering, while Savvy Gardening recommends at least 10 to 12 inches when a bed sits over hard-packed soil. On concrete, pavers, a rooftop, or a deck, assume nothing below the frame counts; provide the full root depth inside and consider structural load before filling.
This mistake often appears after a bed settles. A box filled with fluffy compost, leaf litter, or a large amount of fresh wood can drop several inches as it decomposes. Start with stable soil in the root zone, expect some settling, and keep spare soil or finished compost available for top-ups. A 4-by-8-foot bed filled 12 inches deep holds 32 cubic feet—about 1.2 cubic yards—so calculate the volume before buying the frame.
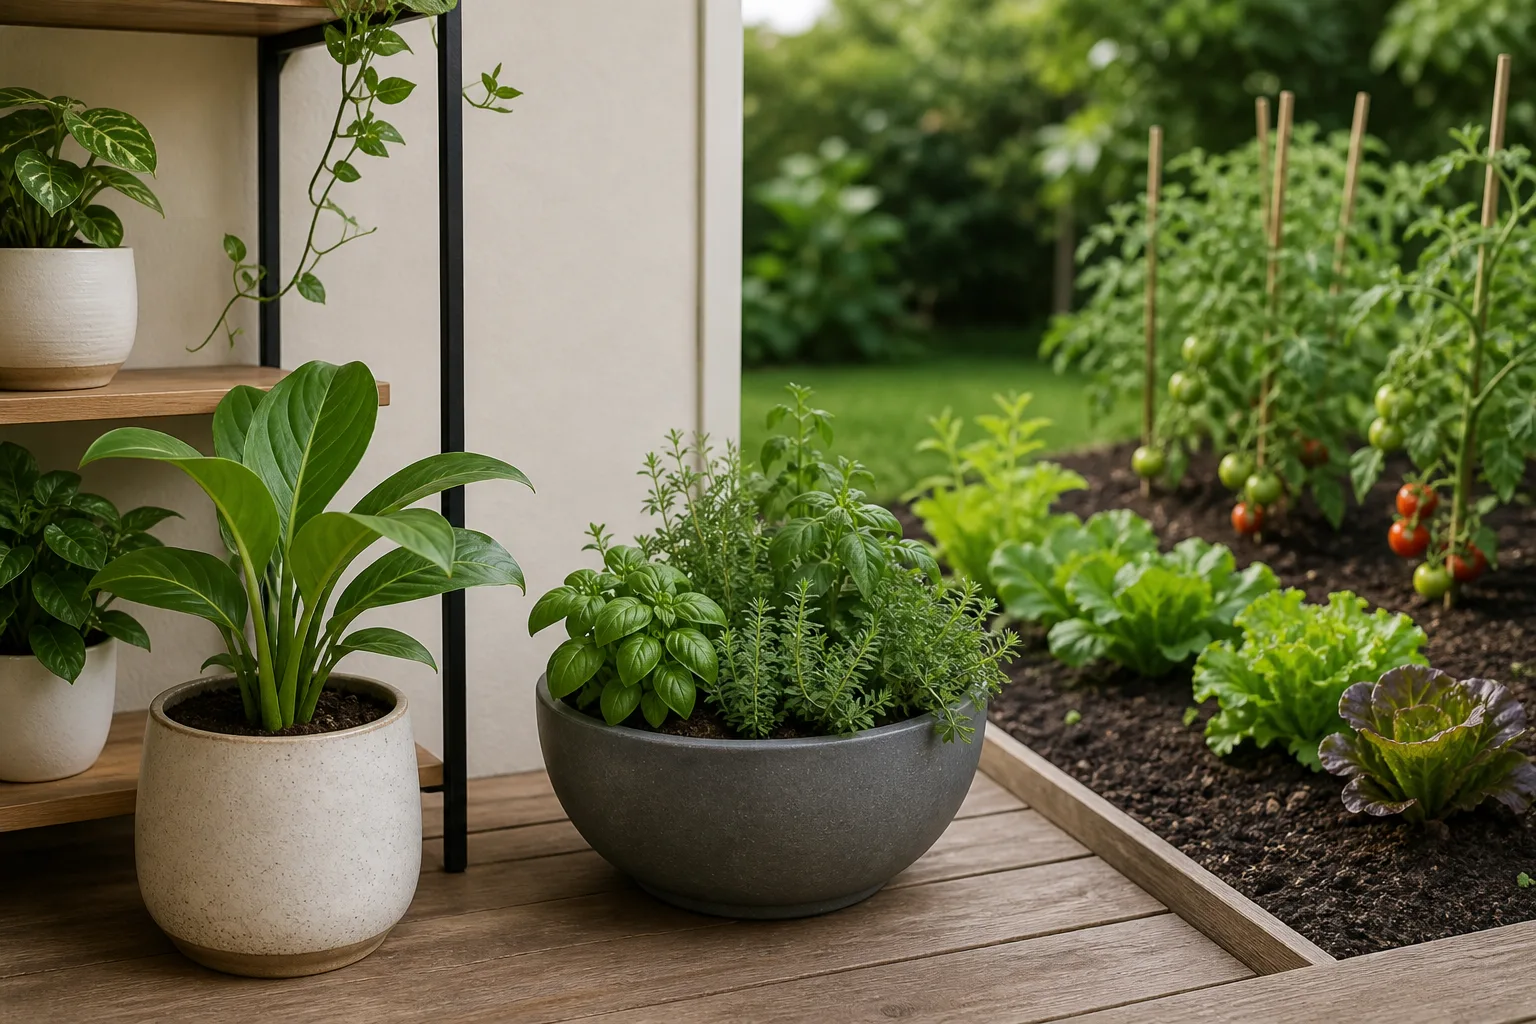
4. Filling with unstable or inappropriate materials
Layering can reduce the cost of a very tall bed, but “anything organic” is not a planting mix. Large untreated logs or coarse branches can be useful in the lower volume of a deep, open-bottom bed, where settling is expected and the upper soil cap remains deep. Fresh sawdust, thick uncomposted chips, grass clippings in a dense mat, and half-rotted kitchen scraps belong in a managed compost system or a designated lower layer, not mixed through the seedbed.
Decomposers need nitrogen as they break down high-carbon wood. That does not mean wood is poisonous to plants, but a thick layer of fresh woody material in the root zone can temporarily reduce available nitrogen, shift the soil structure, and create uneven settling. If you use coarse filler, close large gaps with smaller material, moisten each layer, and cap it with enough stable soil that roots will not reach the active decomposition zone during the first crop.
Avoid putting a thick gravel layer under a shallow open-bottom bed as a default. It does not magically improve drainage when the surrounding soil is compacted; it can create an abrupt interface that holds water above dense ground. Use a bottom drainage layer only when the bed is a container on an impervious surface and the design has an actual outlet. Otherwise, improve the site and the soil texture instead.
5. Buying soil by color instead of structure
Very dark soil can still be too fine, salty, immature, or mostly soilless organic material. Judge a mix by how it behaves after wetting and drying: it should hold together lightly when squeezed, crumble when disturbed, drain without becoming a muddy slab, and re-wet after drying. It should not smell sour, contain obvious undecomposed waste, or shrink dramatically after one hot season.
For most vegetable beds, start with a screened mineral soil or quality topsoil and blend in finished compost or well-rotted manure. The BBC Gardeners’ World filling guidance recommends screened topsoil with well-rotted organic matter for raised beds; the RHS notes that a bed should be mainly soil because it does not slump as quickly as compost alone. The exact ratio depends on the supplier and local soil, so use the label and a soil test rather than treating a popular recipe as universal.
If you are buying bulk mix, ask what the “topsoil” contains, whether it was screened, and whether compost, manure, biosolids, or other amendments are already included. Ask for a test report when available. For an older urban lot, test the native soil for lead or other contaminants before letting edible crop roots explore it; a raised bed can reduce exposure only when the clean soil is deep enough and the barrier or site is correctly managed.
Our raised garden bed filling guide covers safe lower layers and the stable soil cap in more detail.
Soil is also a crop-specific decision. A moisture-holding mix that suits lettuce may stay too wet for Mediterranean herbs. A gritty mix that suits lavender may dry too quickly for spinach. Design one bed for similar moisture and fertility needs instead of trying to make one mix perfect for every plant.
6. Ignoring drainage on hard surfaces
An open-bottom bed on healthy garden soil generally drains into the ground. A bed on concrete, paving, a compacted driveway, or a sealed rooftop cannot make water disappear; it needs a clear path out. The Library of Congress agricultural resource on raised beds describes a raised bed as an elevated box filled with enough soil to support plants without relying on the soil beneath it, a useful distinction for patios and urban gardens.
Check the site after a heavy rain before filling. If water pools around the footprint, fix the grade or choose another location. If the bed itself has a bottom, verify that drainage holes are open, the base is lifted above standing water, and runoff will not collect against a wall or damage a deck. A liner on the sides can protect wood, but sealing the bottom turns a garden bed into a bathtub.
Do not diagnose wet soil by looking only at the top inch. Dig or use a narrow probe at several points. A bed can look dry on top while the lower layer is saturated, especially when a fine mix sits over compacted native soil. Yellow leaves, slow growth, and wilt in wet soil are a reason to check roots and drainage—not to water again.
7. Skipping soil testing and seasonal replenishment
Plants remove nutrients, harvest removes even more, and repeated watering can move soluble nutrients below the active root zone. Compost improves structure and contributes nutrients, but it is not a precise substitute for knowing pH and nutrient levels. Test the bed when growth is weak across a whole section, when you are starting a new bed, or when you have repeatedly added fertilizer without seeing improvement.
The University of Arkansas Cooperative Extension guidance on fall garden sanitation also points to fall as a good time to test soil. Use the lab’s sampling instructions, take several cores from the growing area rather than a single handful, and record which bed and crop the sample represents. Do not apply lime, sulfur, or a strong fertilizer just because a plant looked pale; nutrient lockout, damaged roots, poor light, and wet soil can look similar.
For routine maintenance, spread a modest layer of finished compost over the surface after harvest and mix it only into the top few inches if the bed is empty and the soil is not wet. Avoid deep annual tilling, which breaks soil aggregates and disturbs roots and soil life. Top up settled beds with a stable soil-compost blend, then mulch the surface to slow erosion and moisture loss.
8. Planting the same crop family in the same strip
A raised bed makes rotation easier, but only if you use the map. Tomatoes, peppers, eggplants, and potatoes are all in the nightshade family; broccoli, kale, cabbage, and radishes are brassicas; beans and peas are legumes. Planting the same family in the same soil year after year can concentrate host-specific pests and pathogens and can repeat the same nutrient demand.
You do not need a four-year farm rotation to improve a small bed. Move a crop family to the other side of the garden, follow a heavy feeder with a less demanding crop, and keep a simple note of where each family grew. If space is tight, replace old soil in a diseased container, grow a non-host crop, or use a cover crop suited to your climate rather than pretending the same tomato corner is a fresh site.
Rotation is not a cure for every problem. Soilborne diseases, perennial weeds, and contaminated soil can persist beyond one season. Treat rotation as one layer of prevention alongside clean transplants, sanitation, resistant varieties when available, and sensible watering.
9. Leaving diseased debris in the bed
Healthy plant debris and diseased debris deserve opposite treatment. If leaves show a spreading pattern of spots, blight, mildew, bacterial ooze, unusual wilting, or a heavy pest infestation, remove the plant and nearby fallen material instead of chopping it into the bed. The University of Arkansas sanitation guide explains that removing debris can reduce places where pests and pathogens survive between seasons; Iowa State Extension gives the same core advice for infected vegetable residue.
Do not put questionable material into a small home compost pile that may not reach pathogen-killing temperatures. Bag it according to local waste rules, burn only where legal and safe, or use a municipal program that accepts diseased plant waste. Clean soil from stakes, cages, pruners, and row covers before storing them, because tools and supports can carry residue back into the next bed.
The first action is not always “pull everything.” Identify the plant and symptom enough to distinguish a disease from normal senescence, sunscald, insect feeding, or drought. Remove confirmed diseased material promptly, but do not strip a healthy bed bare simply because leaves are turning yellow in autumn.
10. Removing every healthy leaf and stalk
Over-cleaning creates a different failure: bare soil, less habitat, and fewer organic inputs. Healthy fallen leaves can be shredded and used as a surface mulch; clean annual roots can be cut at soil level and left to decay if they are not diseased and the next crop will not be hindered. Hollow stems and seed heads in adjacent ornamental areas can shelter overwintering insects and provide food for birds.
The best rule is remove disease, manage volume, and keep clean organic matter. A thick mat of whole leaves can block water from reaching the soil and harbor slugs in a wet climate, so shred or thin it. Keep mulch a little away from seedling stems, and do not bury perennial weeds or seed-filled weeds in a bed you want to keep clean.
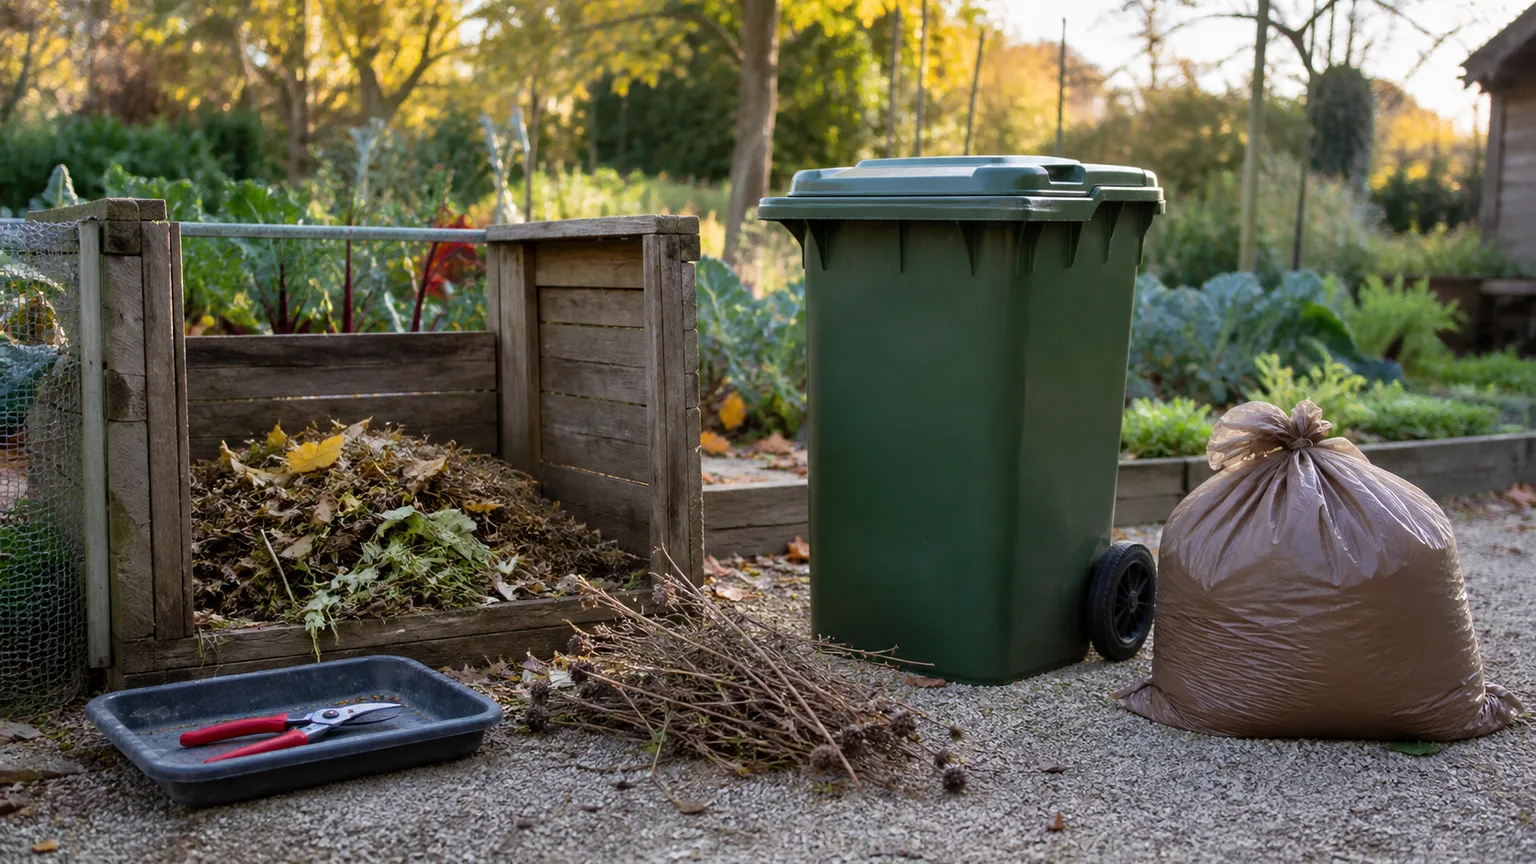
If the bed will be planted in spring, a two- to three-inch layer of shredded leaves or finished compost can protect the surface. If you are sowing tiny seeds now, keep the seed strip fine and open; mulch the pathways and the spaces between established plants instead.
For a deeper look at finished compost and when it earns a place in the bed, see why compost is useful in the garden.
11. Planting fall crops by calendar alone
“Plant in September” is not a complete instruction. Fall planting depends on the crop’s days to maturity, your local first frost, whether the crop tolerates frost, and the cooling rate of your soil. Colorado State University Extension’s fall vegetable guidance recommends working backward from the first major frost and notes that crops with 60- to 90-day maturity windows need an earlier start than short-season crops.
Use this simple calculation: days to maturity + about 14 days for slower fall growth + a weather buffer = days before your target harvest or frost date. Sow quick radishes, baby greens, spinach, and some lettuces later than full-size carrots or broccoli. In warm climates, delay planting until peak heat eases; in short-season cold climates, use transplants, row cover, or a cold frame when appropriate.
Cool-season choices commonly include spinach, kale, lettuce, radishes, beets, peas, carrots, chard, and some brassicas. They do not all share the same timing, and a crop that survives frost may not reach harvest size after a late sowing. Read the seed packet, use a local extension calendar, and protect new seedlings from drying winds while they establish.
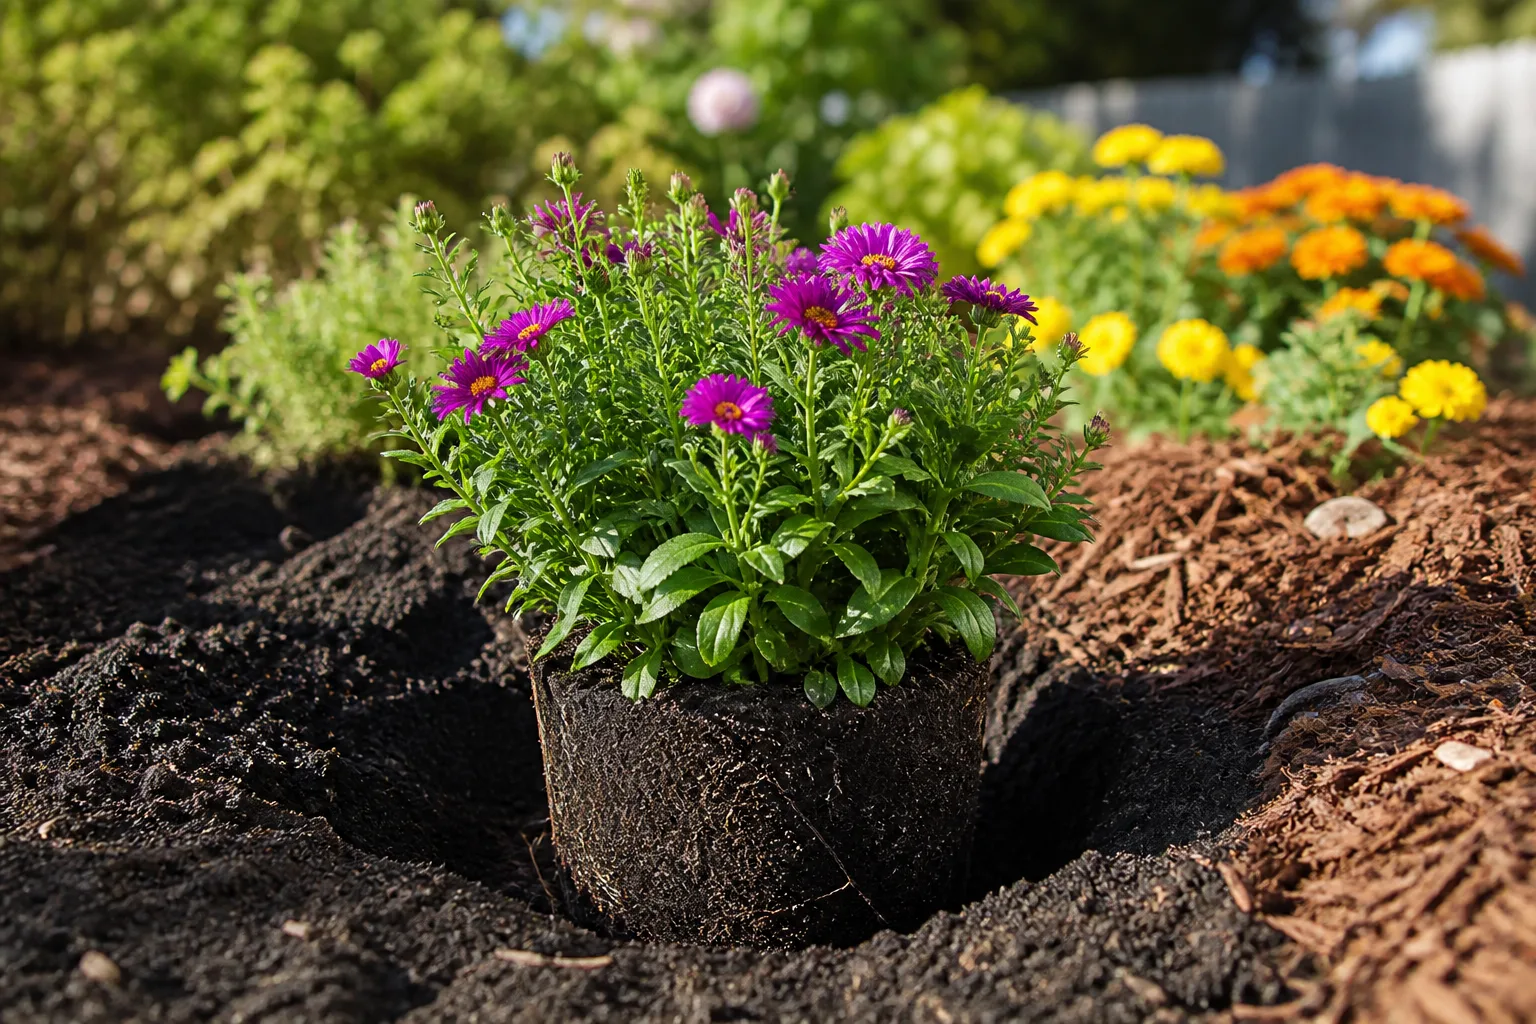
12. Watering raised beds like ground soil
Raised beds often dry faster because their sides are exposed to sun and wind, their soil warms earlier, and dense plantings pull water from a finite volume. The RHS warns that raised beds dry out more quickly than soil at ground level; Gardeners’ World likewise recommends staying on top of watering and considering drip irrigation. A weekly schedule can be useful as a reminder to check, but it cannot account for a windy patio, a cool cloudy week, or a bed beneath an overhang.
Check moisture below the surface near the root zone, not just at the edge. Water slowly at the soil line until the root zone is evenly moist, then let the surface begin to dry according to the crop. Newly sown seeds need shallow, consistent moisture; established carrots and tomatoes need deeper wetting followed by a sensible dry-down rather than daily sprinkles.
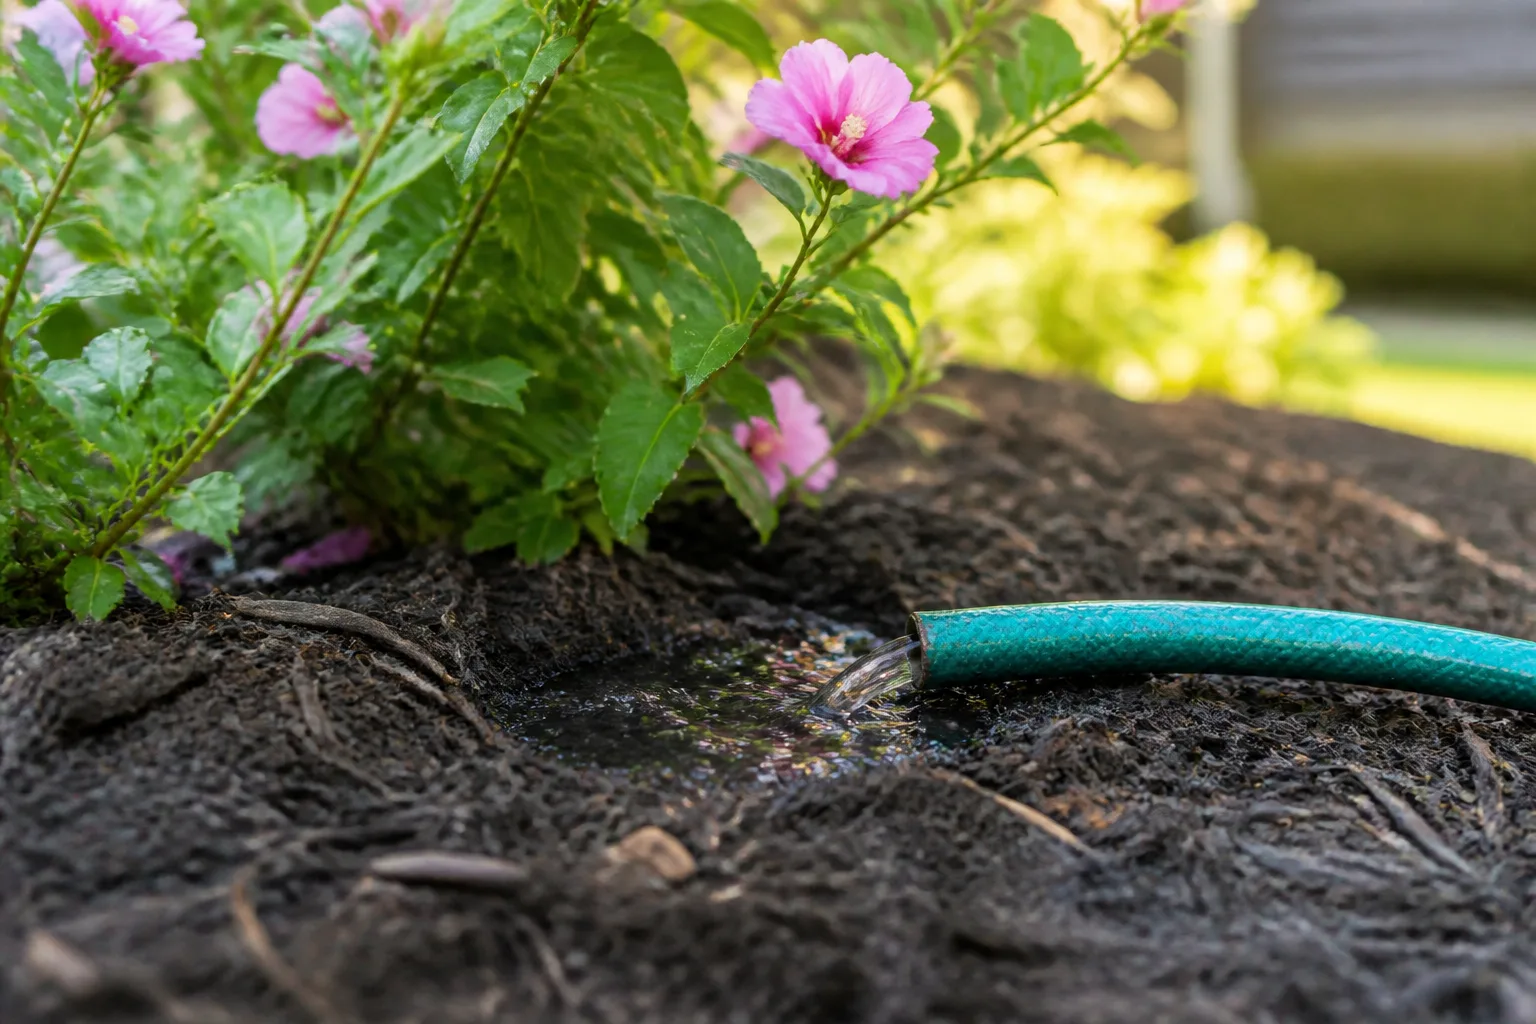
Mulch helps, but it cannot repair a bed with blocked drainage. Use a thin layer of clean shredded leaves, straw, or another crop-appropriate mulch, leave air around stems, and inspect under the mulch before watering. Drip lines or soaker hoses are easier to keep consistent than a hose that wets one corner and leaves the center dry; install them before paths and thick mulch make the layout difficult to change.
13. Crowding crops and pathways
Intensive planting increases yield per square foot only when light, air, water, and root space remain adequate. A bed packed with mature tomatoes may look productive in June and become a humid wall of foliage by August. Crowding slows drying after rain, makes disease scouting harder, and encourages you to water the whole canopy instead of the soil.
Use the mature plant size on the seed packet, not the size of the transplant. Give vining crops a trellis or an edge to spill over, place tall crops where they will not shade shorter ones, and leave enough path width for harvesting equipment. The vegetable garden layout guide from Gardeners’ World supports designing for access, while Savvy Gardening recommends planning irrigation and bed dimensions before filling.
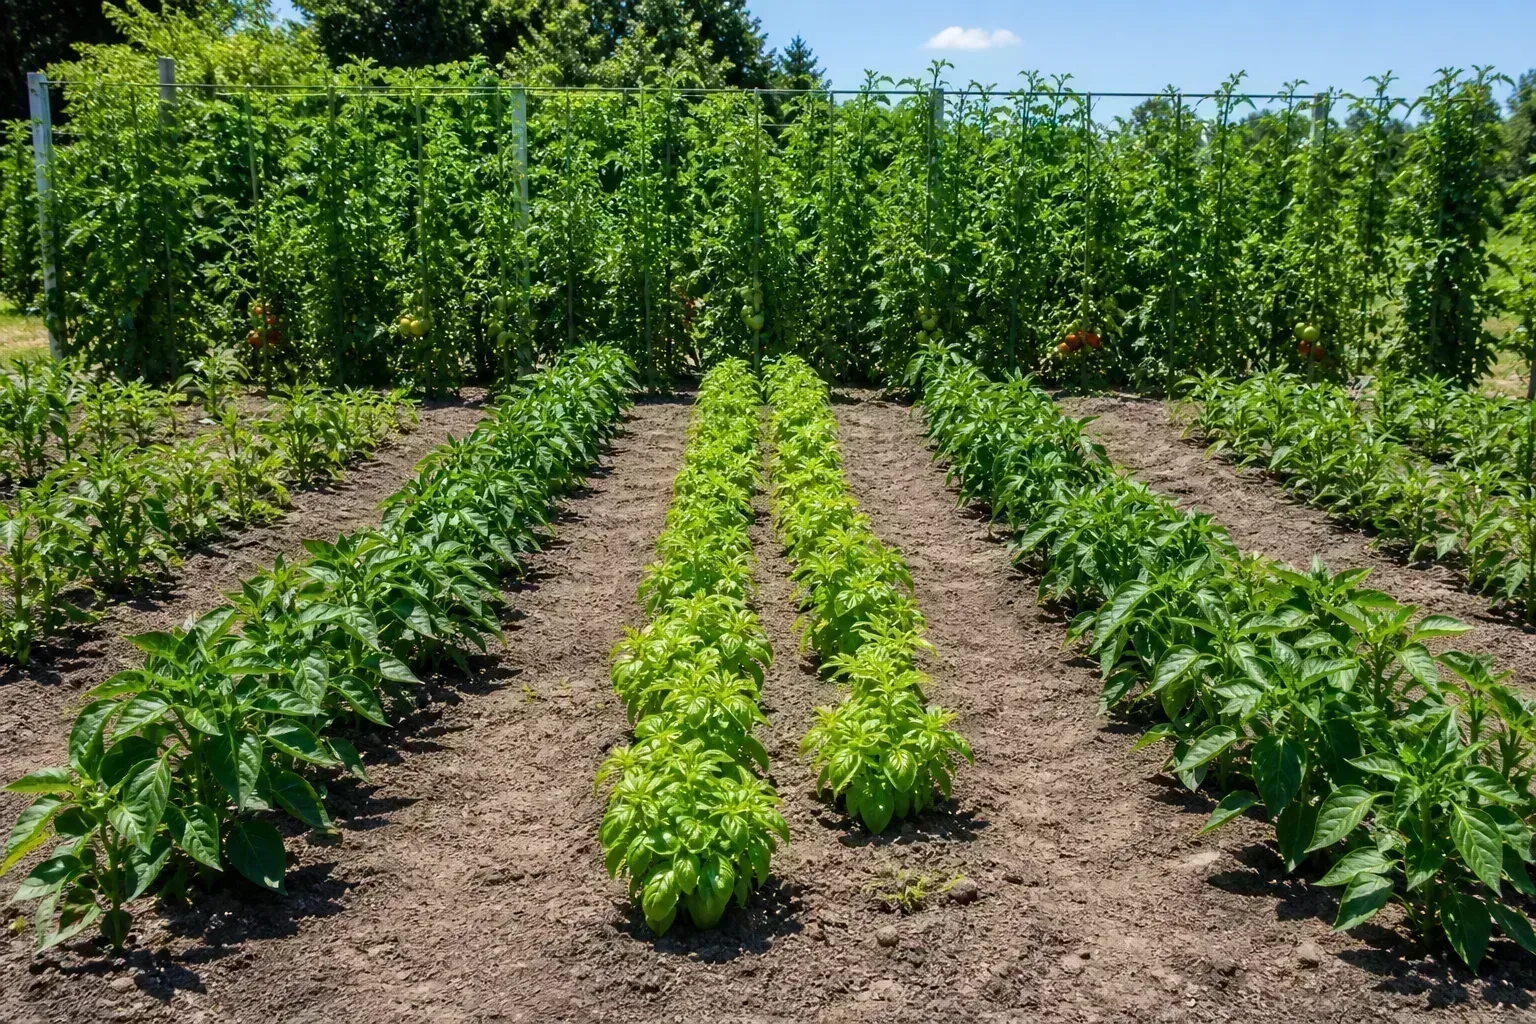
If a bed is already crowded, harvest baby greens early, remove the weakest plants, and prune only according to the crop’s needs. Do not “fix” crowding by adding nitrogen; lush new growth can worsen shading and disease. A slightly emptier bed that you can inspect and water evenly usually outperforms a full bed that you cannot reach.
A fall reset that gives the bed a fair chance
Fall preparation works best as a sequence rather than a single cleanup day. Start with what is still growing, because pulling a healthy crop too early wastes food and removes living roots that protect the soil. Then make decisions based on evidence:
- Harvest and photograph symptoms. Note which crops were productive, which wilted, and where water pooled.
- Remove confirmed diseased plants and weeds with seeds or persistent roots. Keep clean roots and leaves separate for composting or mulching.
- Inspect the structure and paths. Tighten loose boards, check for bowing, clear drainage outlets, and widen paths if you cannot reach the center.
- Test the soil if the whole bed underperformed. Record the crop and bed location with the sample.
- Top-dress, do not blindly dump amendments. Add finished compost or a soil-compost blend based on the test and the amount the bed settled.
- Plan the next crop family. Move brassicas, nightshades, and legumes to a different strip when possible.
- Install or repair irrigation before sowing. Run the system long enough to look for dry patches and leaks.
- Protect the surface. Use clean mulch or a suitable cover crop, leaving seed rows open if you are planting immediately.
If you are planting again now
Choose crops that can reach your target size before the local frost window, not simply crops that are labeled “fall vegetables.” Soak dry soil deeply before sowing, then keep the seed zone evenly moist until emergence. Space for mature plants even if the bed looks bare on planting day; cool weather slows growth but does not cancel air-flow needs.
When frost approaches, row cover can buy time for tolerant greens and protect young plants from wind. It is not a substitute for correct planting dates, and it must be supported so the fabric does not crush foliage. Vent or remove it when temperatures rise, and continue checking soil because covered beds can dry or overheat depending on the day.
If the bed will rest until spring
Remove diseased residue, top-dress with finished compost if needed, and cover the soil with clean mulch rather than leaving it exposed to winter rain. Keep a simple map of crop families and notes about dry spots, shade, and harvest dates. In a wet climate, do not pile impermeable material over the bed; the surface still needs to exchange air and shed excess water.
Use winter to solve structural problems that are hard to fix once the bed is planted: add a center brace to a long tall box, move a bed away from a downspout, widen a path, route irrigation under the path, or reduce the frame height if you built an expensive soil trap. If the bed is on a deck or roof, confirm its filled weight and drainage with the property owner or a qualified professional before adding more soil.
Conclusion
Most raised garden bed failures are not caused by one dramatic mistake. They come from a mismatch: a shallow root zone for a deep crop, rich-looking compost without stable soil, a wet bottom under a dry top, a fall planting date copied from another climate, or a bed cleaned so aggressively that it loses useful organic cover.
Start with the symptom, check the soil and drainage, and make one change at a time. Build for reach, fill for roots, rotate crop families, remove disease without removing every healthy stem, and water according to the bed’s actual drying rate. A raised bed becomes resilient when its design, soil, crop plan, and maintenance routine agree with the site—not when the frame simply looks impressive.



