Common Mistakes Growing Tomatoes in Containers
Growing tomatoes in pots? Learn the common container mistakes—small pots, bad soil, uneven water, late staking—and how to fix them before fruit sets.
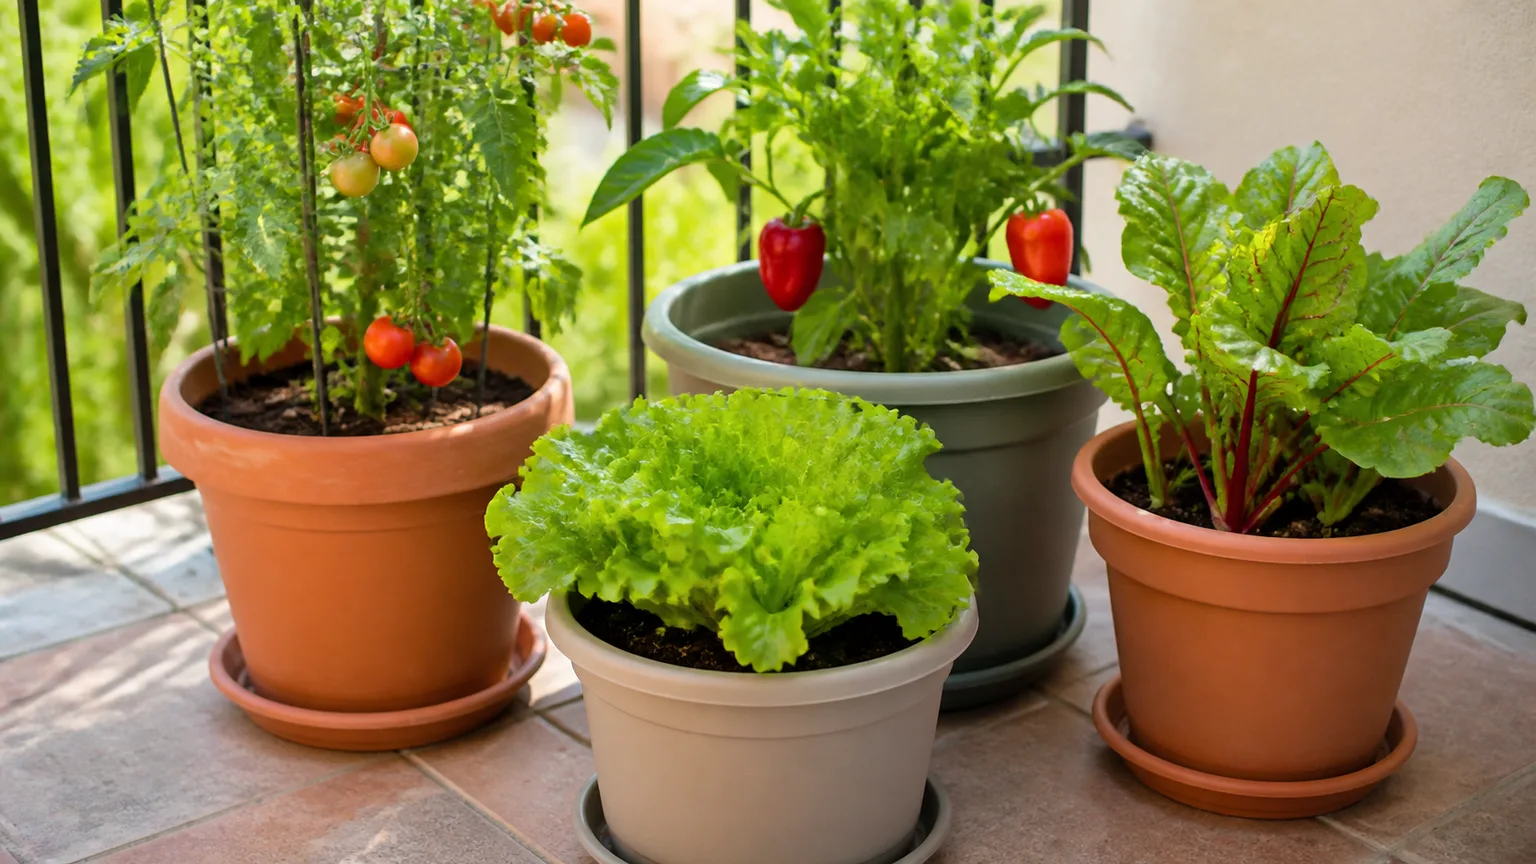
A patio tomato can produce the best sandwich of your summer—or collapse in July with cracked fruit, yellow leaves, and three hard green orbs that never ripen. Container tomatoes fail for predictable reasons, and most of them are fixable once you stop treating a pot like a miniature in-ground bed. Pots dry faster, heat faster, and forgive almost nothing. The mistakes below are the ones that show up season after season on balconies, driveways, and deck rails.
This page is a troubleshooting guide, not a generic “tomatoes need sun and water” lecture. If you want the full positive playbook for pot culture, pair this with our tips for growing tomatoes in containers and vegetable container gardening for beginners guides. Here, the job is to name what went wrong—and what to do before you buy another seedling out of frustration.
Why Container Tomatoes Fail Faster Than In-Ground Plants
In open soil, tomato roots can chase moisture and nutrients deep and wide. In a pot, the entire life support system lives inside a few gallons of mix that you are solely responsible for refilling. WVU Extension notes that container tomatoes have no access to the deep soil reservoir of water and nutrients that in-ground plants rely on, which is why pot size, mix, and daily attention matter more in pots than in rows (WVU Extension).
That confined root zone also amplifies every swing in weather. A hot afternoon on black concrete can push root-zone temperature past what the plant tolerates, even when leaves look fine. Wind on a tenth-floor balcony pulls moisture out of foliage and mix simultaneously. A two-day vacation without a sitter can trigger blossom end rot on the first fruit truss—not because your soil lacks calcium, but because roots could not move water to developing fruit during a dry spell (Wisconsin Horticulture).
Understanding that pots are high-maintenance by design reframes the mistakes below. You are not failing as a gardener; you are often failing to upgrade one structural decision—volume, mix, support, or moisture rhythm—that a larger system would hide.
The First-Week Audit That Saves a Struggling Pot
Before you rip out a “bad” plant, run a one-week audit. Each morning, note pot weight, top-inch moisture, and how many hours of direct sun hit the leaves—not just bright reflected light. Check whether water drains freely within seconds of watering, or puddles on the surface. Confirm a cage or stake was installed at planting and is still taller than the plant.
If fruit shows a dark leathery patch on the bottom, read that as a moisture signal first, not a shopping list for lime. Our blossom end rot guide walks through the root-zone fixes that actually work in containers. If leaves wilt in midday but the mix is soggy, suspect overwatering or blocked drainage—see over-watered tomato plant before you add more water “to perk it up.”
One honest audit usually reveals a single dominant mistake: a 3-gallon pot for an indeterminate slicer, a saucer holding an inch of standing water, or “full sun” that is really three hours between buildings. Fix that first. Tomatoes recover slowly from chronic stress, but they respond within days when moisture and support stabilize.
Mistake 1: Choosing a Container That Is Too Small
The most expensive container mistake is buying the cutest pot instead of the largest practical one. Tomatoes are heavy feeders with aggressive root systems. A slicer in a 2-gallon decorative planter may look charming in May and tragic by August, with roots circling, mix that dries before lunch, and fruit that stalls at golf-ball size.
Most generic advice cites 10–20 gallons as a rule of thumb, which is directionally correct for full-size indeterminate plants—but it hides the nuance readers need. Cherry and patio determinates can start in 5–7 gallons if you water faithfully. Bush determinates for containers usually want 7–10 gallons. Indeterminate slicers in pots deserve 10–15 gallons—or a deep grow bag with equivalent volume—especially if you cannot water twice on heat-wave days.
WVU Extension recommends one tomato per 4- or 5-gallon container as a minimum for container culture, with artificial potting mix and support (WVU Extension). Treat that as a floor for compact varieties, not permission to cram a 6-foot indeterminate into a bucket and hope for the best.
Minimum Pot Sizes by Tomato Type
Match volume to habit, not marketing photos on the seed packet. Determinate and patio types stop growing at a set height; indeterminate types keep climbing until frost. If you are unsure which you bought, our determinate tomato varieties guide explains how to tell before you invest in a trellis the plant will outgrow in June.
| Tomato type | Practical minimum | Better target | Why |
|---|---|---|---|
| Micro-dwarf or tabletop cherry | 3–5 gallons | 5 gallons | Short stature, still needs steady moisture |
| Patio / bush determinate | 5 gallons | 7–10 gallons | Root room for full fruit set |
| Standard determinate slicer | 7 gallons | 10 gallons | Heavy fruit load on one flush |
| Indeterminate cherry in pot | 7 gallons | 10–15 gallons | Vine length + continuous harvest |
| Indeterminate beefsteak in pot | 10 gallons | 15–20 gallons | Large fruit demands water and nutrients |
Depth matters as much as diameter. NC State’s container handbook emphasizes adequate depth and drainage holes for vegetable roots (NC State Extension Gardener Handbook). A wide shallow bowl fails even if the gallon math looks acceptable on paper.
Signs Your Tomato Has Outgrown Its Pot
Plants rarely announce root binding politely. Watch for mix that dries before noon every day despite deep watering, leaf wilt that returns minutes after you water (a sign roots cannot take up fast enough), fertilizer “burn” after modest feeding, and fruit that colors slowly while new flowers abort. If you lift the plant carefully and see circling roots at drainage holes, upsize now, burying the stem to the first healthy leaves if the plant is leggy—same technique as deep planting tomato seedlings.
Mistake 2: Filling Pots With Garden Soil or Heavy Mix
“Soil is soil” is the second-fastest way to kill a container tomato. Garden soil compacts in pots, shedding pore space after a few water cycles. Drainage slows, roots suffocate, and splash-borne diseases climb stems when you irrigate. Weeds, grubs, and nematodes hitchhike into a confined space with no biological buffer.
Use a labeled potting mix or soilless container blend—compost, pine bark, perlite, coir—not topsoil dug from the yard. Our vegetable container gardening guide explains why bagged mix is worth the cost: you are buying structure and predictability. If you blend your own, prioritize coarse particles that stay airy when wet; never “save money” by filling the bottom with gravel or packing peanuts—those myths worsen perched water tables.
Heavy peat-only mixes that never re-wet after drying are another hidden killer on vacation weeks. If water runs down the sides and out the drain while the core stays dry, break the crust, soak slowly, and consider a mulch layer or partial repot into fresher mix.
Mistake 3: Overwatering and Blocking Drainage
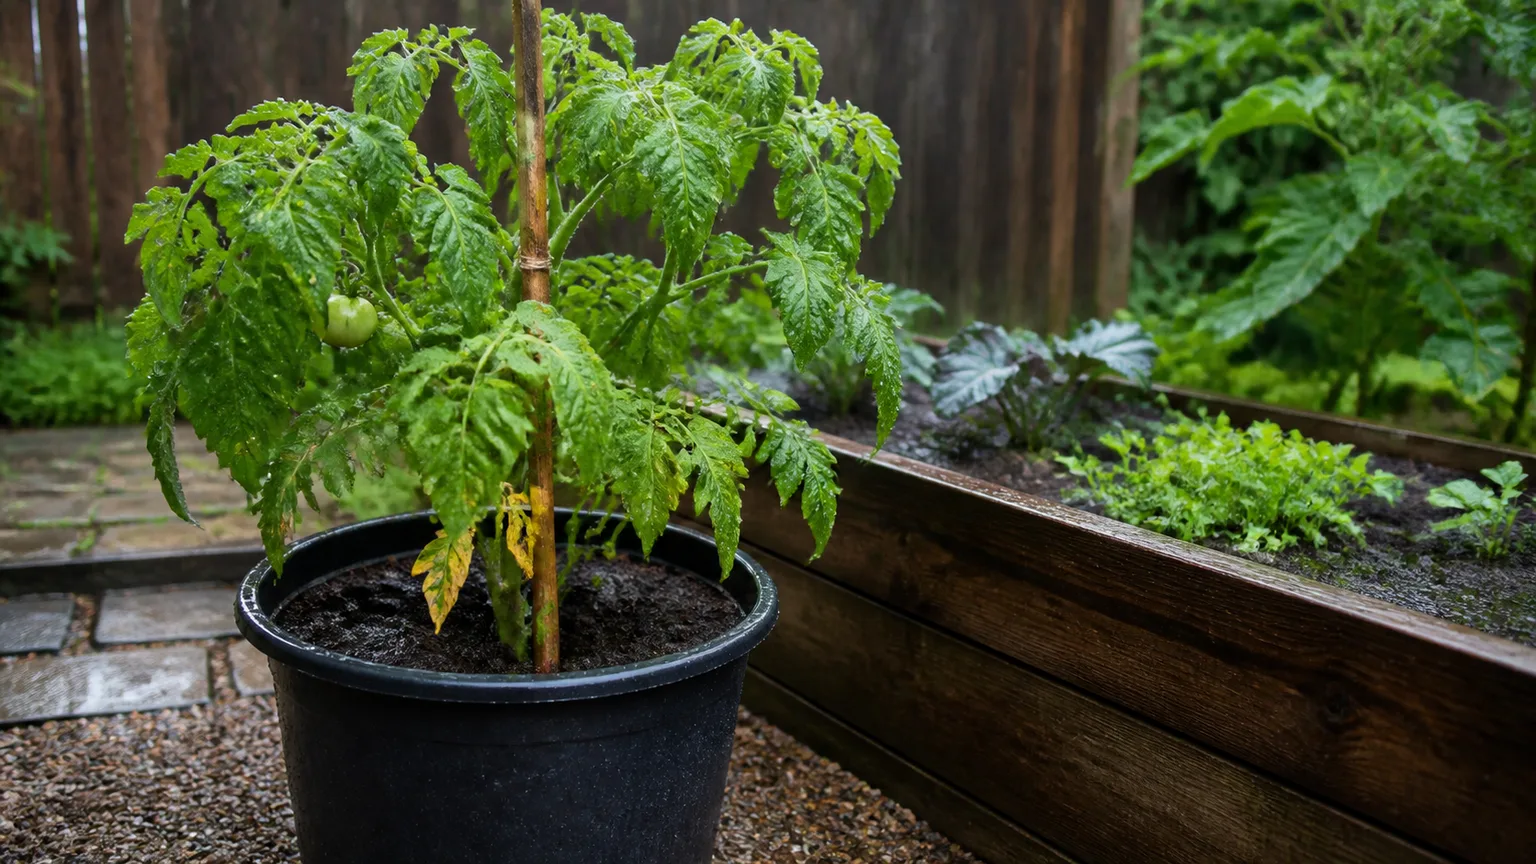
Container tomatoes die from drowning more often than newcomers expect—especially when saucers, trays, or “self-watering” reservoirs are misused. Excess water drives root rot and anaerobic mix; leaves may yellow while stems stay green, mimicking nutrient problems. Illinois Extension notes that repeated saturation causes drowning injury and edema-like symptoms in container plants when drainage is poor (University of Illinois Extension).
Overwatering also washes away calcium and other nutrients before roots can use them, setting up blossom end rot even in “good” soil. If your pot sits in a saucer, empty it after every irrigation. Elevate pots on feet or bricks so water exits freely. On patios, tilt slightly if a flat base creates a puddle under the drain hole.
How to Check Moisture Without a Calendar
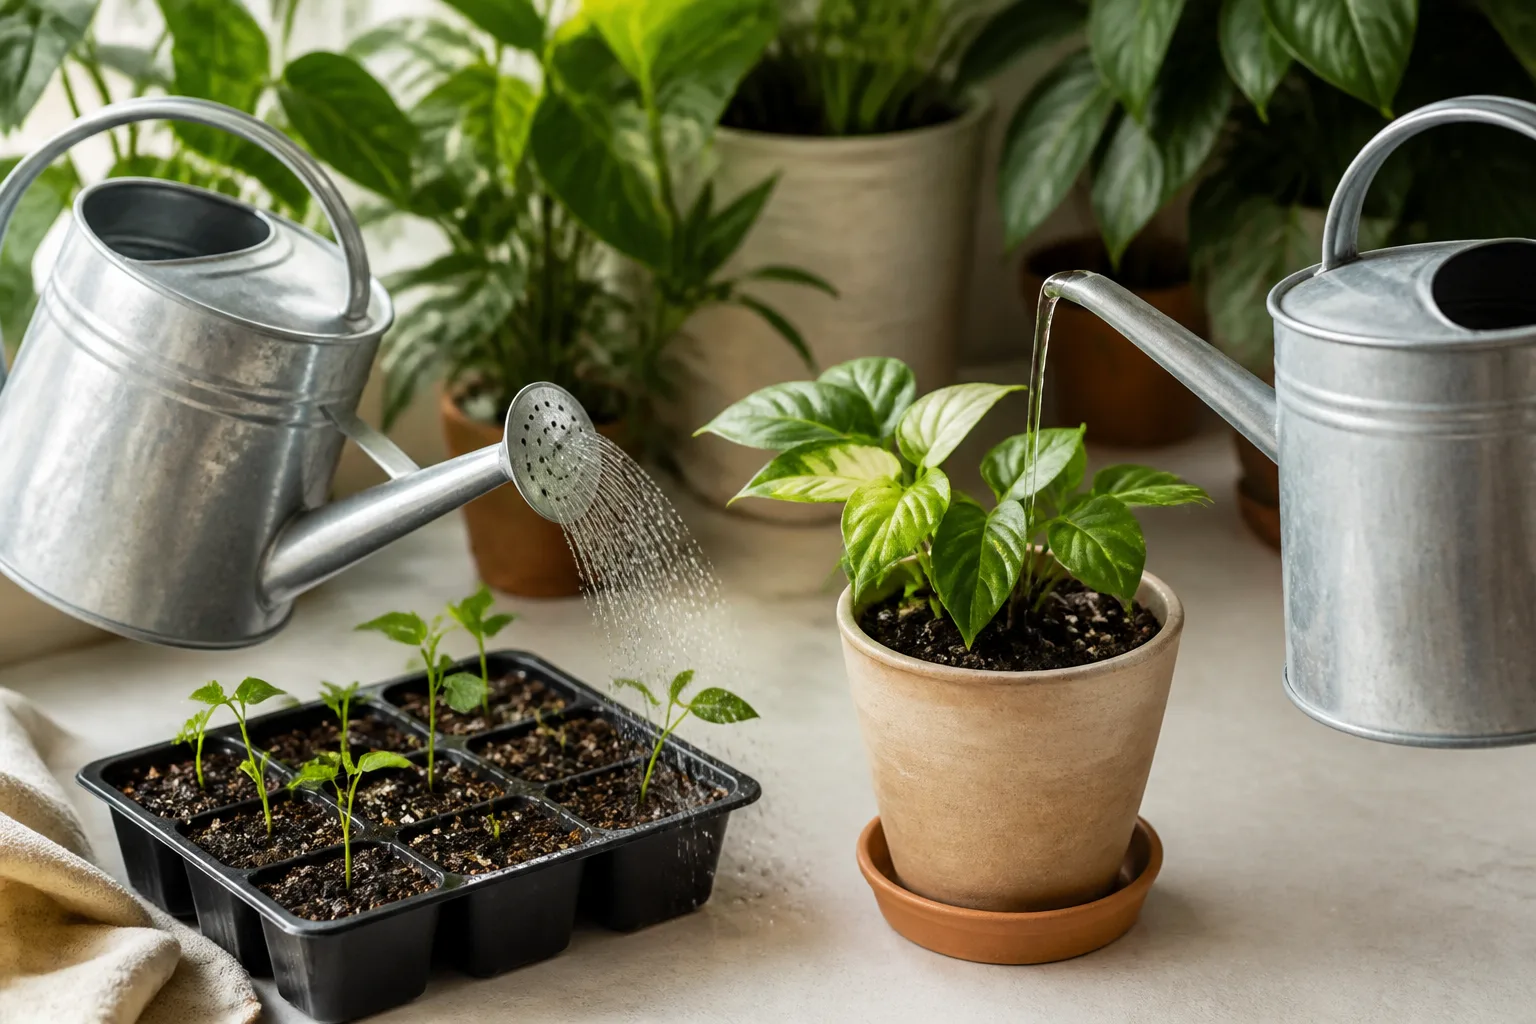
Schedules fail because weather changes daily. Use a two-step check instead:
Push your finger into the mix to the second knuckle. If it feels cool and crumbs stick slightly—like a wrung-out sponge—you are in range. If it is dusty and your skin comes away clean, water deeply until a little runs from the bottom. If water oozes around your finger without resistance, do not add more; investigate drainage and saucer pooling first.
Lift the pot edge when you can. A large container that suddenly feels feather-light needs water; one that stays heavy for days after a single watering may be waterlogged. Epic Gardening’s container guidance emphasizes this finger-and-weight habit over “every other day” rules (Epic Gardening).
Water at the soil line in the morning when possible—our best time to water tomato plants guide explains why leaf wetness overnight invites disease, especially in tight balcony microclimates.
Mistake 4: Underwatering and Letting Soil Swing From Dry to Wet
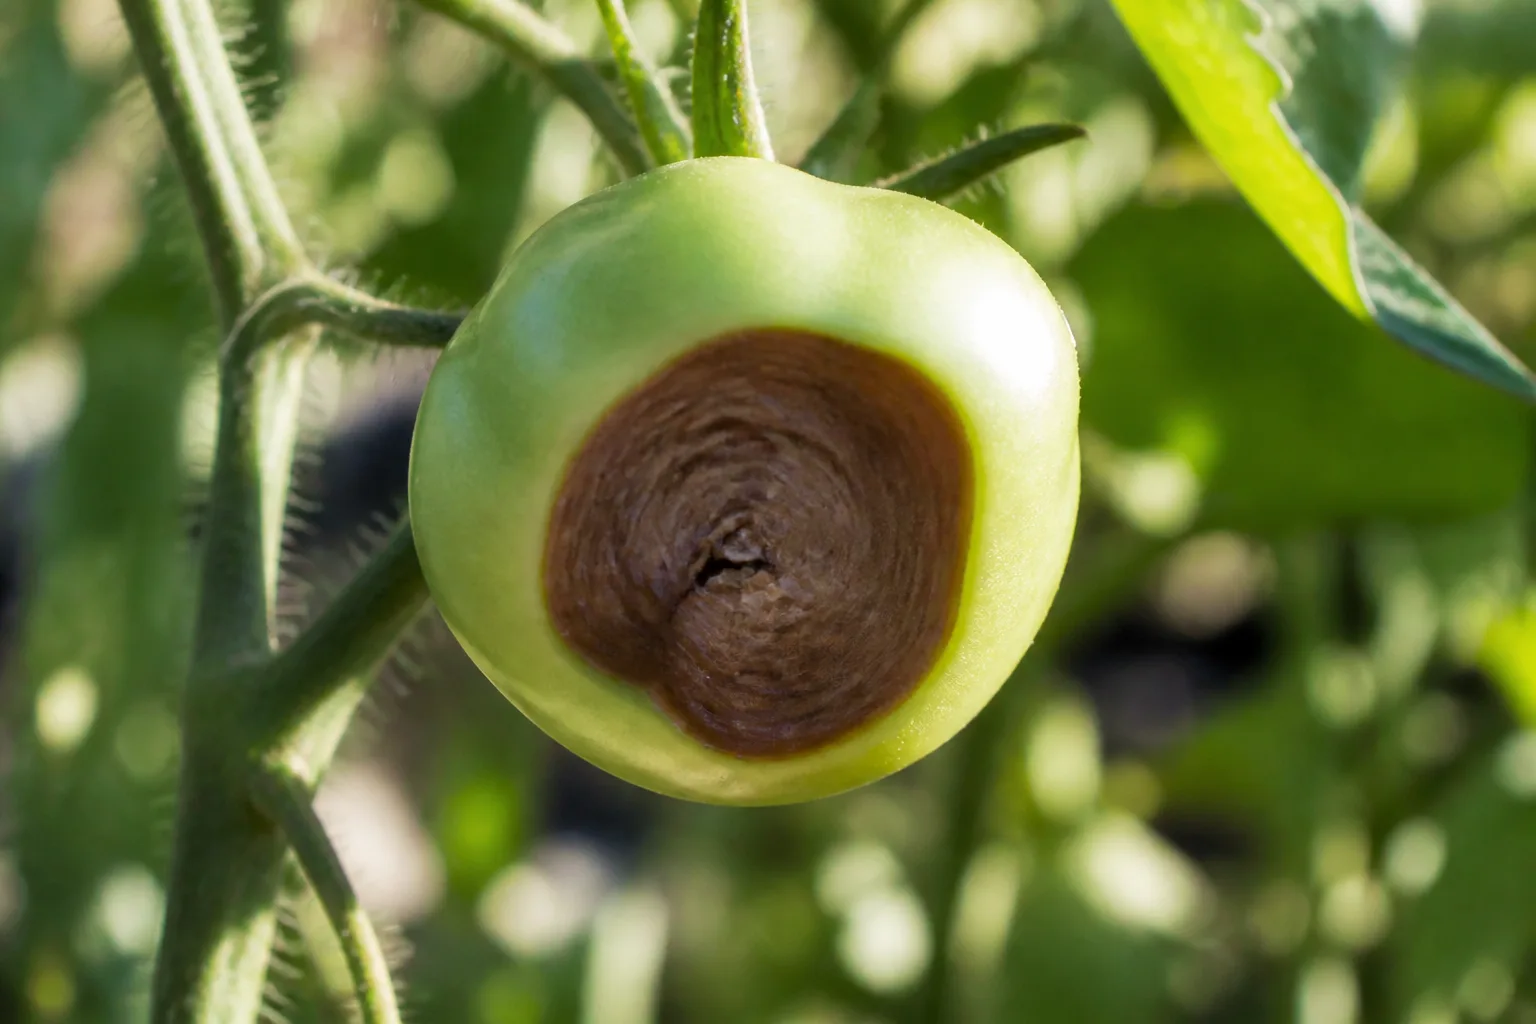
The opposite mistake—letting pots bake dry, then flooding them—is just as harmful. Blossom end rot, radial cracking, and flower drop all trace back to uneven root-zone moisture more often than true calcium deficiency (Wisconsin Horticulture). A tomato fruit is roughly 95% water; when roots cannot supply steady flow during sizing, the blossom end breaks down first.
Small pots on west-facing rails may need water twice on 90°F days; large fabric grow bags on east-facing patios may need once. The fix is not a universal calendar—it is a smaller swing between wet and dry. Mulch the surface with straw, shredded leaves, or compost to slow evaporation. Group pots so leaves shade rims. If you travel, a trusted neighbor beats water crystals; research consistently shows polymer crystals help marginally in containers compared with mulch and volume.
When fruit splits after rain, read that as a timing mistake: the skin hardened during drought, then expanded too fast after a deluge. Consistent moisture prevents more splits than any single “rescue” watering after damage appears—see why tomatoes split for salvage timing.
Mistake 5: Crowding More Than One Plant in a Single Pot
Unless you are using a very large planter—think half-barrel or dedicated raised planter with multiple discrete root zones—grow one tomato per pot. Two seedlings in one 12-inch pot compete for the same finite water and nutrients. Both stay stunted; neither reaches the fruit load you imagined when you bought the pair on sale.
WVU Extension’s container guidance assumes one plant per container with adequate volume (WVU Extension). If you want variety, use separate pots or choose a cultivar labeled for mixed planting, not two full-size vines sharing one drain hole. Cherry plus basil in a large window box works; two indeterminate slicers in a 5-gallon bucket does not.
Mistake 6: Putting Pots Where Sun Looks Bright but Stays Too Short
Tomatoes need full sun: at least six to eight hours of direct light on the plant, not ambient brightness on a north-facing wall. Reflected light from windows or pale siding helps, but it does not replace direct rays for flower production. Many balcony gardeners overestimate sun because the space feels hot at noon while morning and afternoon shade steal four hours.
How to Measure Real Sun Hours on a Patio
Pick a sunny day in late spring when trees are leafed out. Every hour on the hour, mark whether direct sun hits the pot rim. Count only hours when you could cast a sharp shadow on the mix—not “bright shade” under a translucent awning. Repeat weekly as the sun angle shifts; a spot that was perfect in April may be shaded by a neighbor’s umbrella tree in July.
If you land under six hours, shift pots on casters, prune overhanging branches where allowed, or accept that you are growing a leafy experiment—not a reliable slicer crop. For marginal light, switch to a compact cherry bred for pots rather than fighting a beefsteak. Our direct vs indirect sunlight guide walks through expectations when moving pots indoors/outdoors seasonally.
Mistake 7: Planting Outside Before Nights Stay Warm
Early planting feels like progress, but tomatoes are warm-season crops. Cold mix and air stall root growth, purple-tint leaves, and flower abortion. Seedlings shivering on a deck at 45°F nights may survive but set back harvest by weeks—long enough that late blight arrives before your first ripe fruit.
Wait until nights stay consistently above 50°F and soil in the pot—not just air on your phone app—has warmed. Harden off seedlings gradually: an hour of filtered outdoor light on day one, building to full days over 7–10 days. If a late cold snap hits after planting, move pots to a garage overnight or cover with frost cloth; wheels and handles pay for themselves here.
Buying a larger transplant in June often beats nursing a February seedling through six weeks of cold stress on a balcony. Match ambition to your climate, not the garden center’s earliest display table.
Mistake 8: Adding Stakes or Cages After the Plant Has Already Flopped
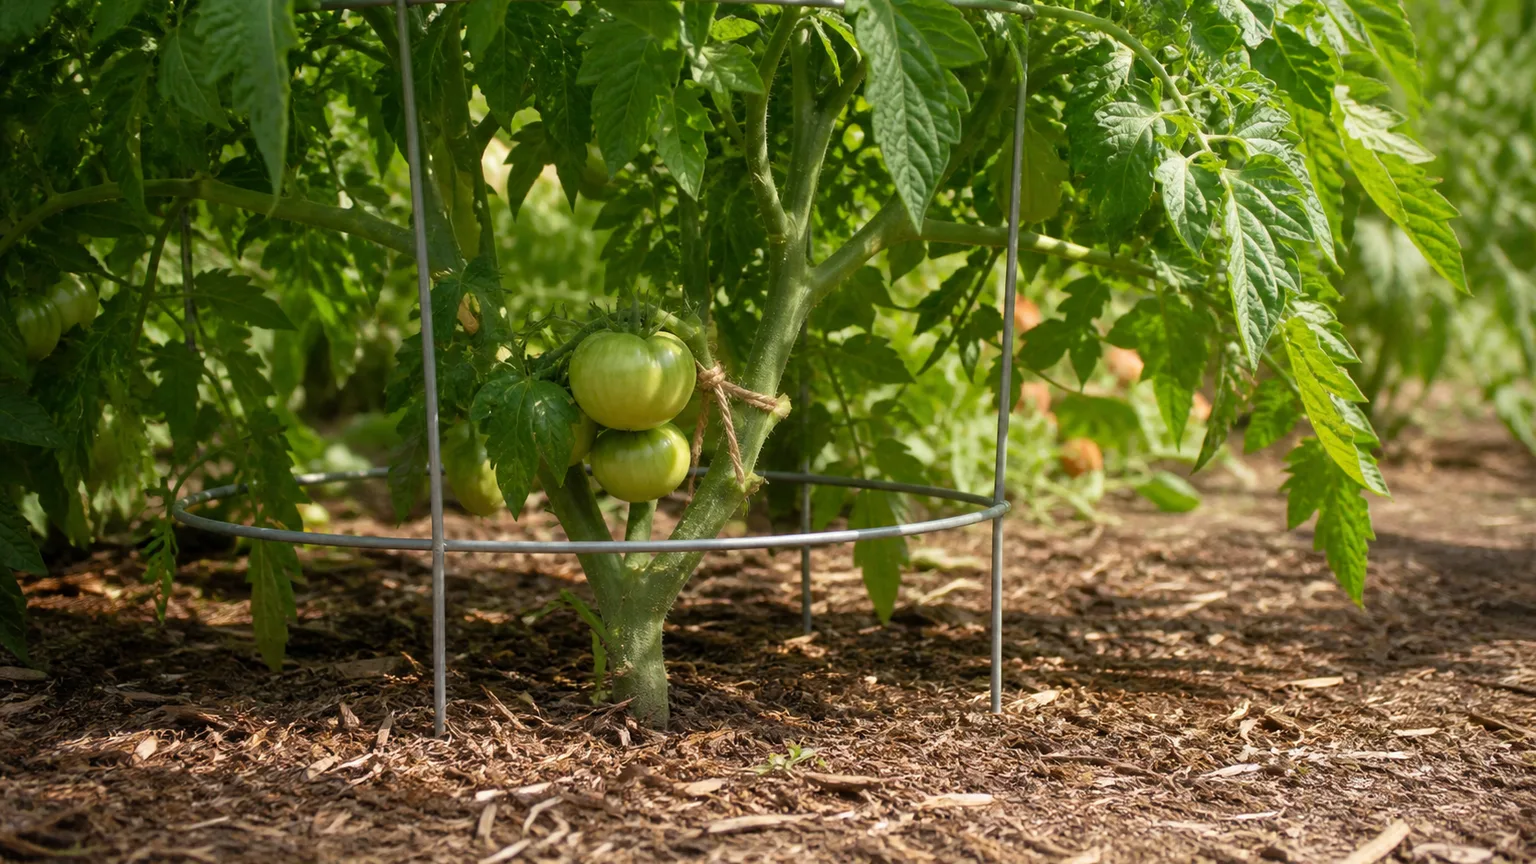
Tomatoes grow faster than beginners expect once nights warm. Install support at planting—the day the seedling goes into the final pot—not after the first flower opens. Late staking breaks branches, disturbs roots, and invites wind snap just as fruit loads.
WVU Extension recommends placing stakes about four inches from the plant at transplant, using soft ties with slack for stem thickening (WVU Extension). Cages should be sunk at planting so the plant grows up through the rings, not pushed in later like an afterthought. Compare stakes vs cages before you buy hardware sized for a 2-foot plant that will hit 5 feet by August.
On windy balconies, anchor cages to the rail or pot with a strap rated for outdoor use—without pulling the root ball sideways. Indeterminate cherries in pots often need a 6-foot stake or panel trellis plus weekly tying; determinates may survive a short cage if you prune lightly for airflow.
Mistake 9: Skipping Fertilizer or Overfeeding With Nitrogen
Bagged potting mix rarely carries enough nutrition for a full tomato season. Underfeeding yields pale leaves and thin fruit; overfeeding with nitrogen yields the opposite problem—a lush jungle with few flowers. Nitrogen pushes leaf growth at the expense of fruit set, especially when quick-release synthetics spike and fade.
Start with a balanced slow-release organic fertilizer mixed into fresh potting mix at planting—ratios near 4-4-4 or 3-4-6 work well. Supplement lightly every two to three weeks with diluted liquid feed once the first fruit is marble-sized, not at the first flower. Our guide to fertilizing tomatoes covers phase feeding without burning roots in small volumes.
Do not dump Epsom salt or lime by guesswork. Magnesium and calcium amendments solve specific soil-test problems; they do not replace steady watering for blossom end rot (Clemson Extension myth guidance on calcium sprays). In pots, leached nutrients and drought mimic “deficiency” on the fruit while tests still show adequate soil calcium.
Mistake 10: Ignoring Heat, Wind, and Deck Stress on Roots
The mistake that never appears on seed packets: microclimate abuse. Dark plastic pots on south-facing concrete can exceed safe root-zone temperatures, slowing uptake and cooking roots even when you water daily. Black fabric bags breathe better but dry faster—choose light colors or double-pot with an air gap if your deck hits triple digits.
Wind desiccates leaves and tips pots over when fruit loads. Cluster pots behind a permeable windbreak, use heavier ceramic bases, or stake the pot, not just the plant. Reflective walls help light but add heat; monitor fruit for sunscald if foliage is sparse from nitrogen excess or aggressive pruning.
If roots stall midseason despite good care, slide the plant out gently. Brown, mushy roots mean rot from past overwatering; white tips mean repotting into slightly larger fresh mix may reboot growth. Tomatoes tolerate careful upsizing once—twice is pushing your luck on a short season.
Conclusion
Growing tomatoes in containers rewards gardeners who treat pots as controlled life-support systems, not shrunken garden beds. Size up before you size down your expectations: one plant per adequately large pot, airy potting mix, support at planting, measured sun, warm nights, steady moisture without saucer soup, and balanced feeding that favors fruit over foliage.
When a container crop struggles, fix the highest-impact mistake first—usually volume or watering rhythm—before chasing exotic amendments. Pair this troubleshooting list with our positive how-to guides on container tomato tips, watering frequency, and pots vs in-ground trade-offs. Get those structural choices right and a patio tomato can outperform the back-corner in-ground plot that never gets watered until August.



